1:500 competition models and especially additions to those models are a fairly common topic in architectural model building. Understanding the fundamental principles of planning for such a model brings you a long way and can help to convey your project in the proper context.
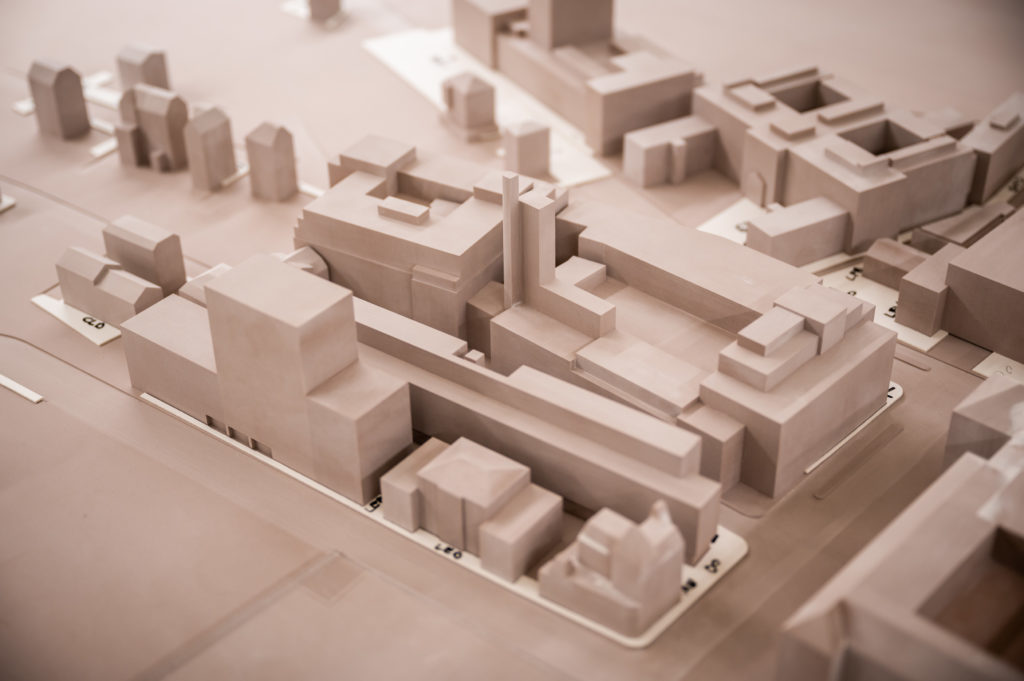
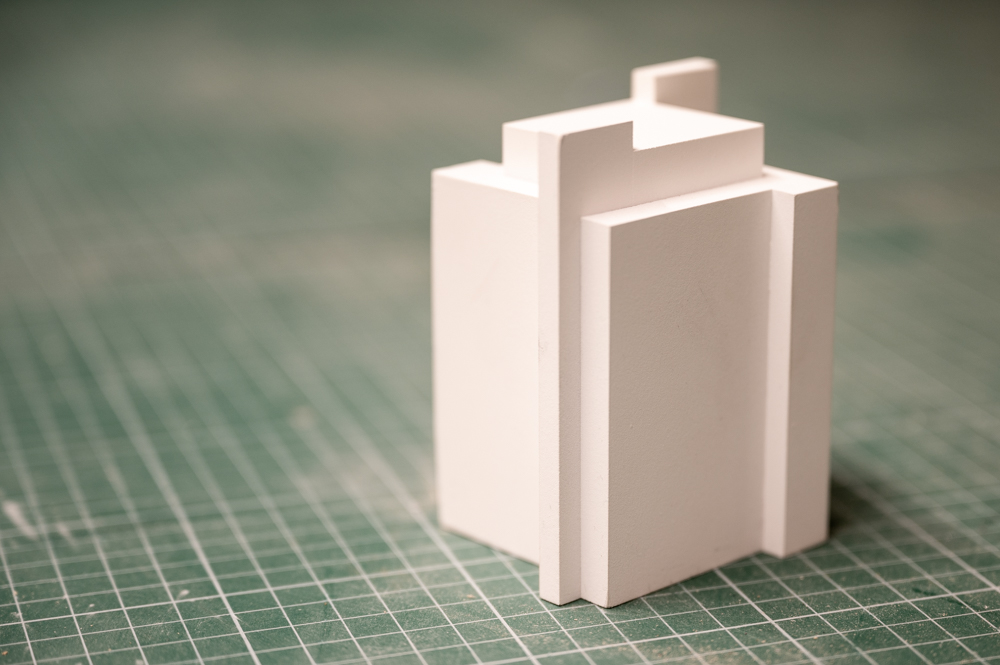
The white model is all about volumetric buildings and proportions. This model typology eliminates all other design aspects to give an “objectified” and comparable overview of a project. It is therefore imperative that details are reduced to only show the base volume of the building you want to build.
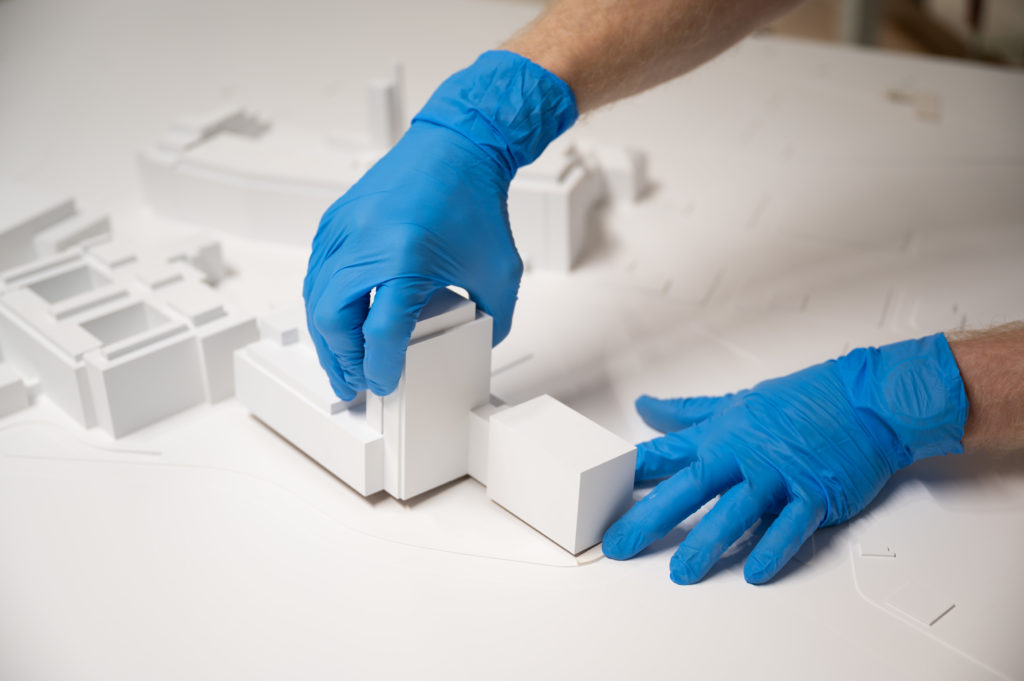
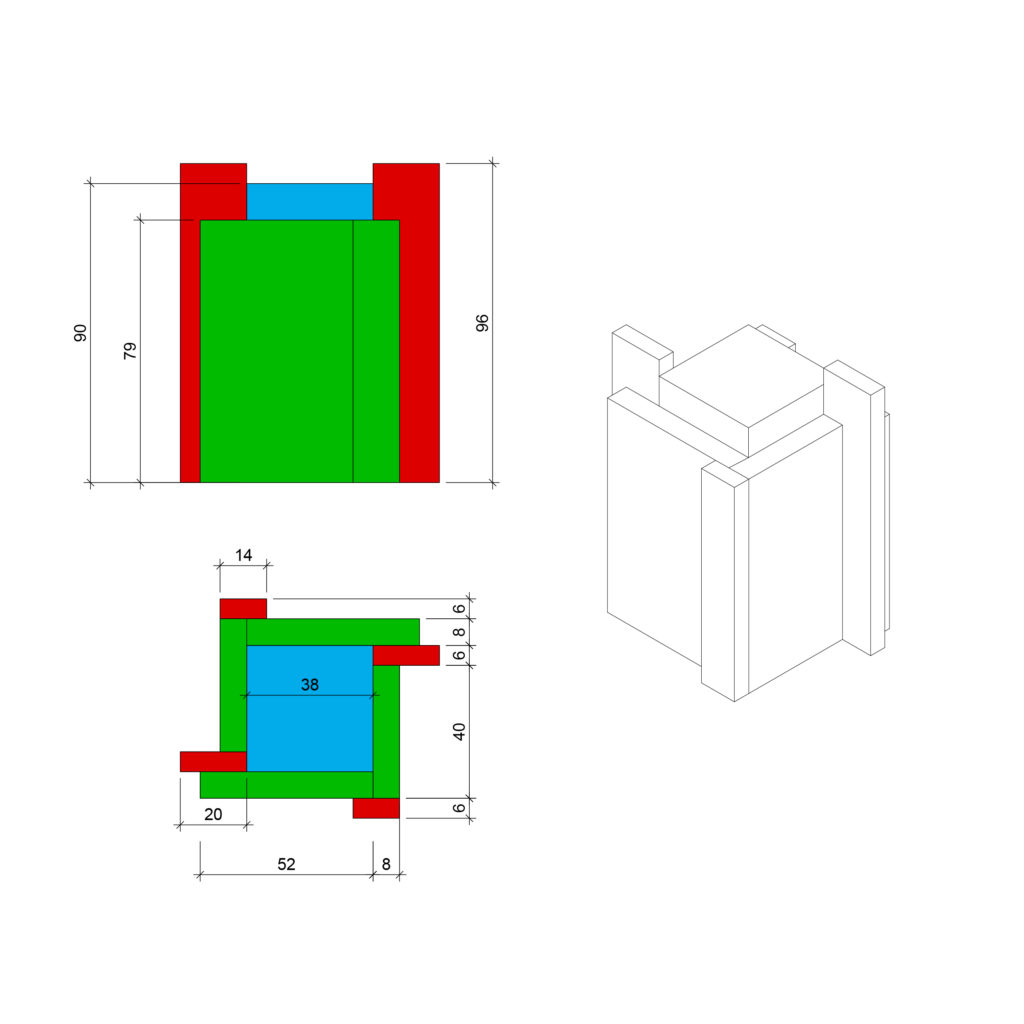
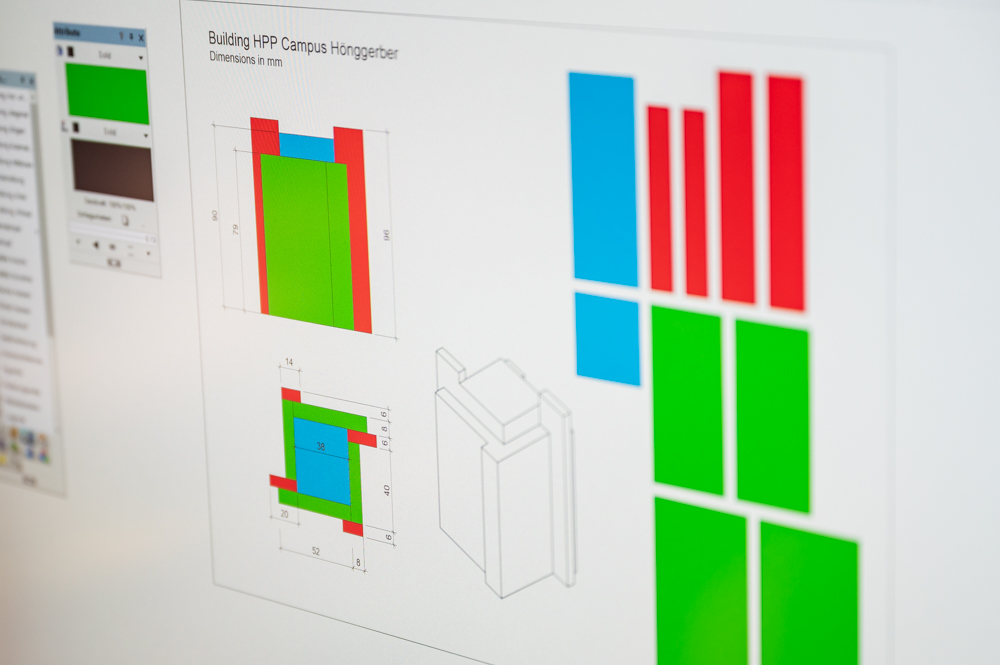
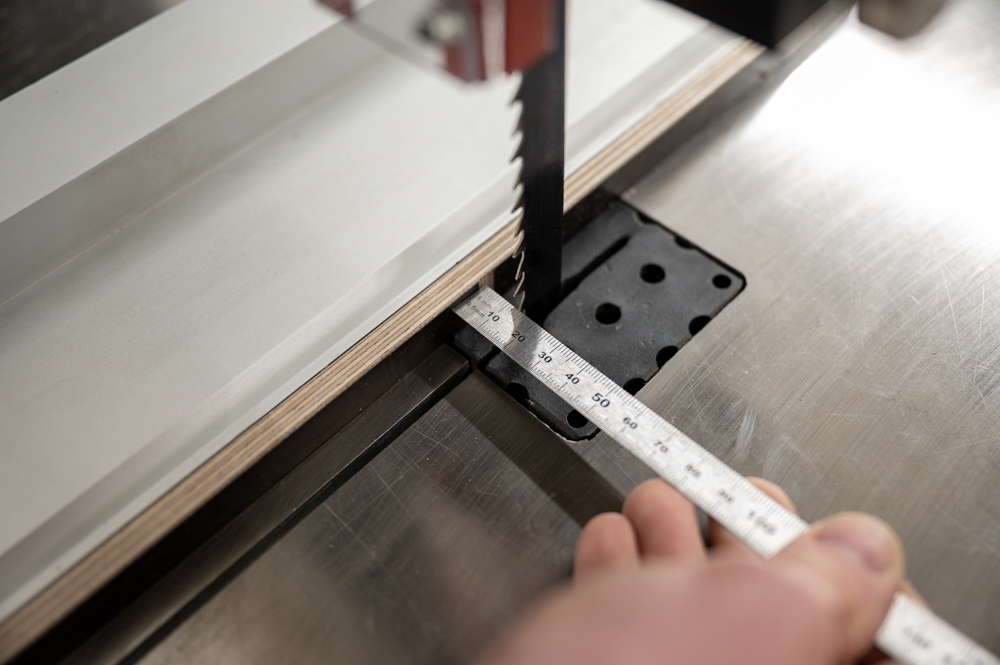
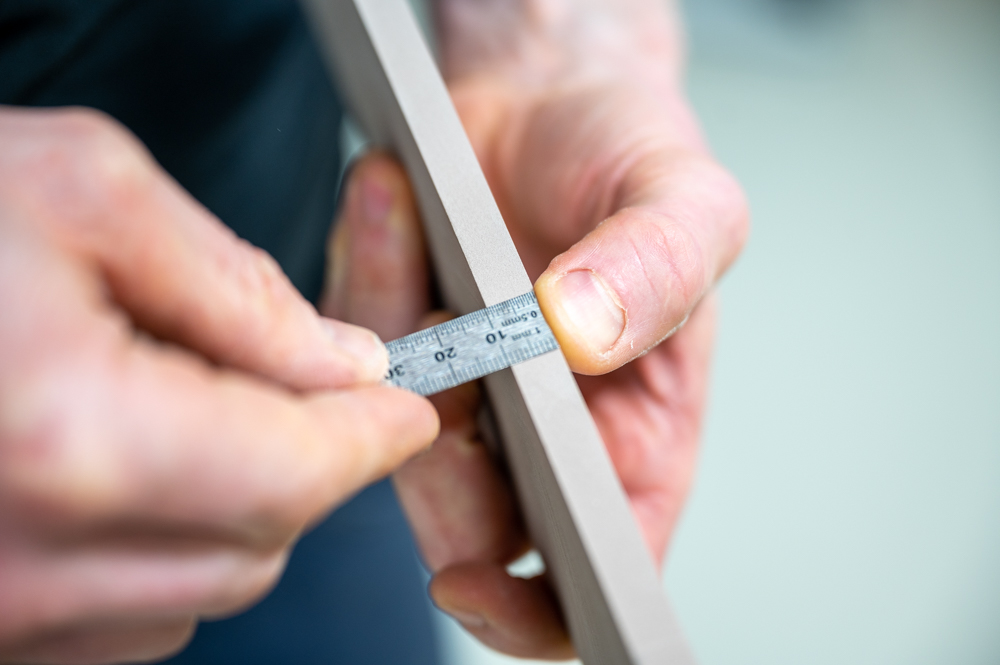
The first step in making these models is to analyze your essential volume and subdivide it into different parts. In this step, we typically try to round dimensions up or down to the full – or if not otherwise possible – half a millimeter. This facilitates the actual building process and allows using materials with specific thicknesses. This additional planning goes a long way to making your model-building experience more efficient and pleasant.
Material
Various materials can be used to build 1:500 models, ranging from MDF and basswood to plaster or polystyrene. In our example, we used a type of PUR (Polyurethane) block material sold under many brand names worldwide (Ureol, Prolab, Raku-Tool, Renshape, …). Model builders choose the material because of its workability. It is easy to machine, sand, and glue and can take almost any finish.
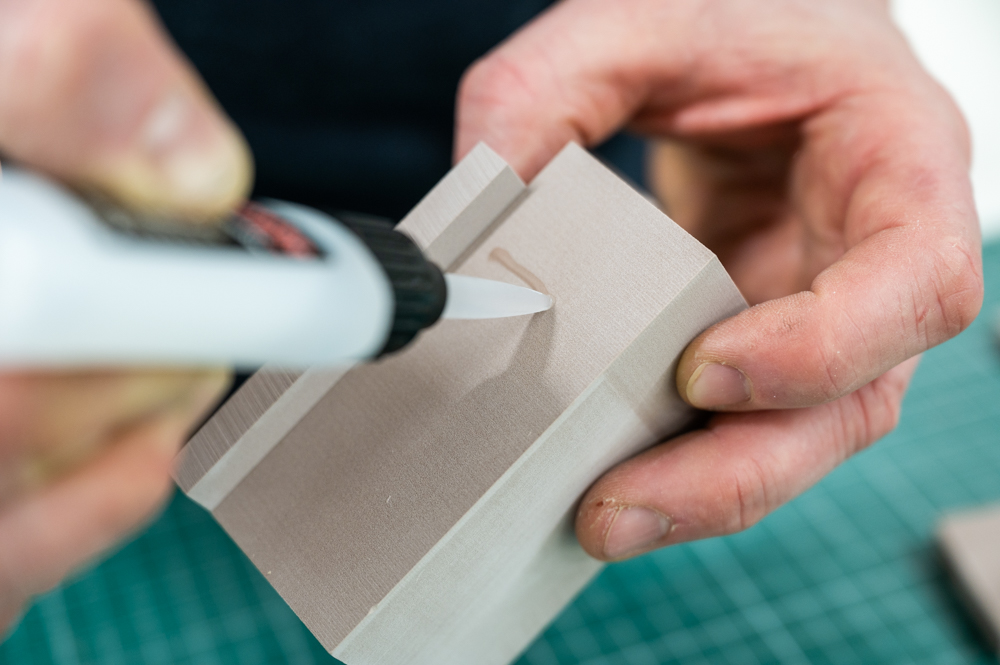
Raku-Tool has a density of 0.6g / cm3 and a shore hardness of 50-55. It can be used in the coated form as the final model or as the master for silicone forms. Joining two parts is quickly done with super glue, and gaps or imperfections can be filled with acrylic filler.
Technique
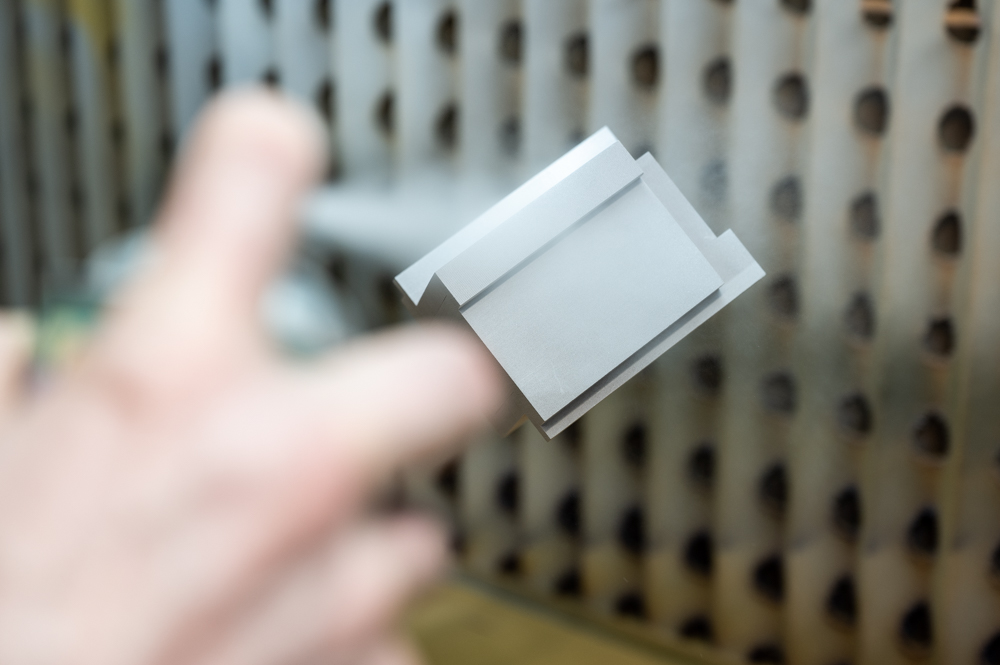
Building the model takes only a few simple steps that are repeated until all parts are finished and ready for assembly. We would like to point out that using the 3d-model to derive the surfaces and printing them as a template for producing parts is an essential technique that speeds up model-building and adds precision to your models. At this point, any preparation you’ve made during the modeling phase pays off its dividends. It typically shows in the details if the assembly logic of the model is simple and well understood. We hid some glue lines in the model by separating parts from the main body and covering the potential problem spots.
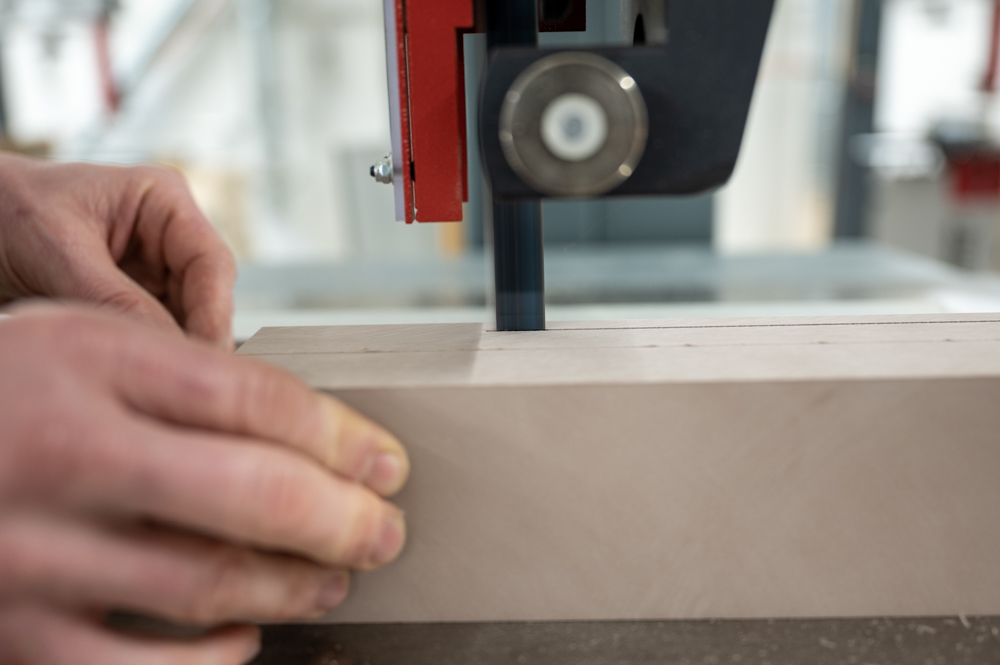
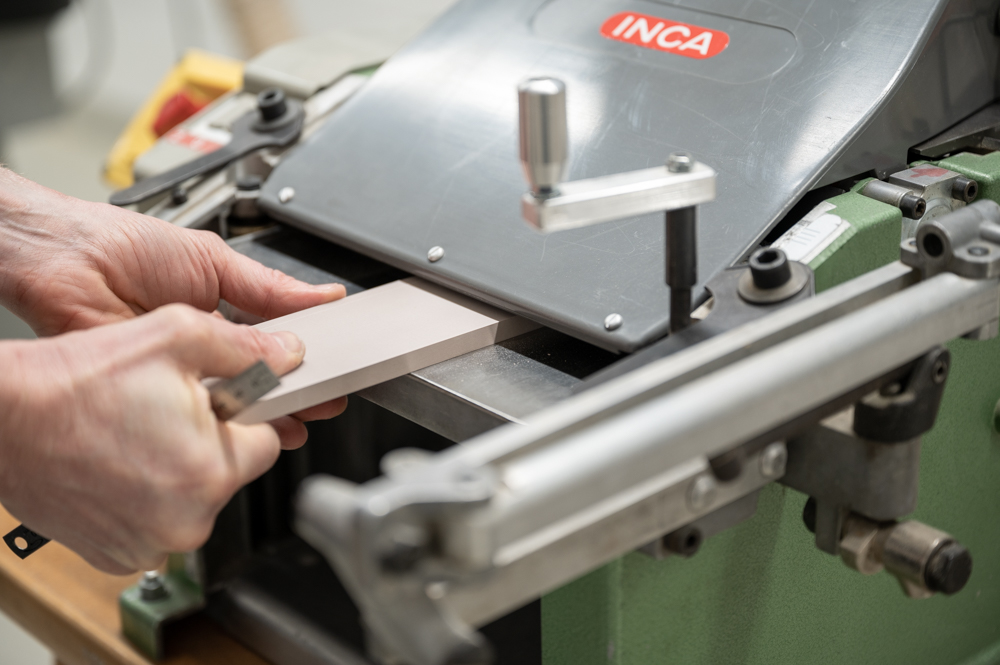
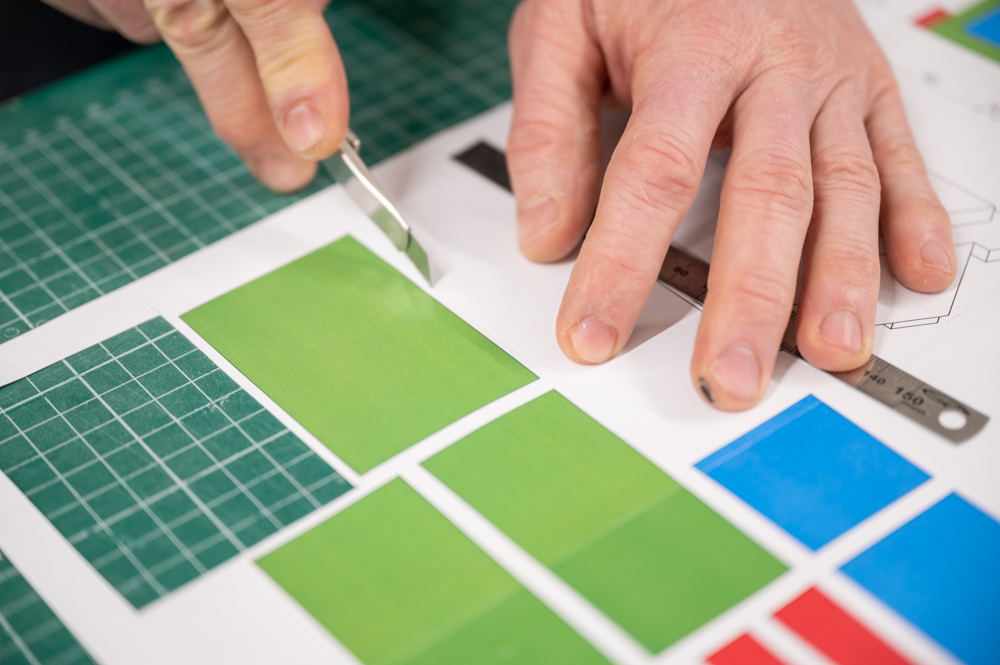
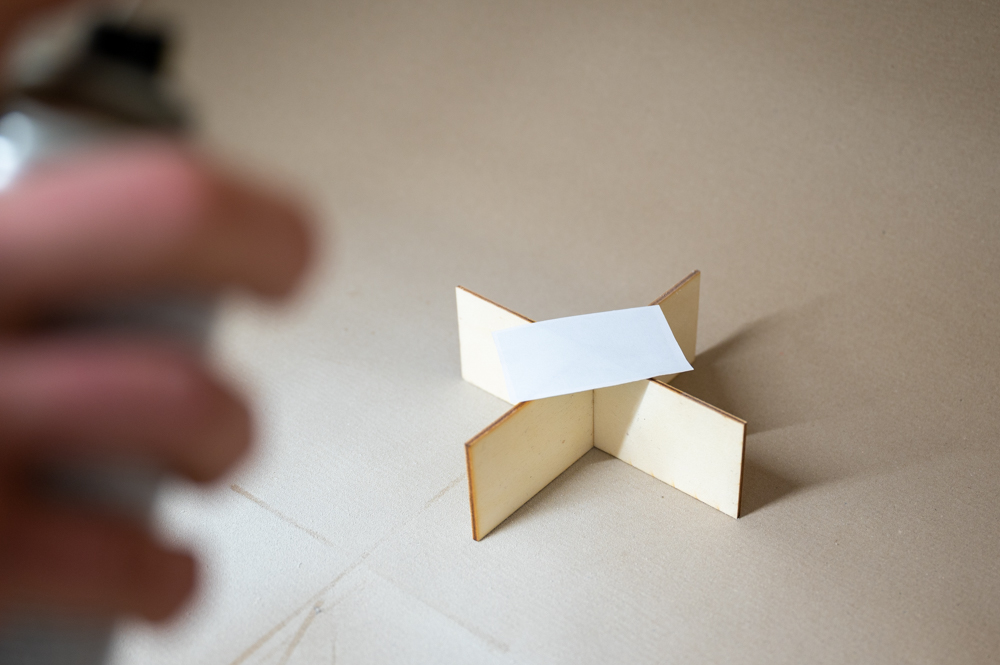
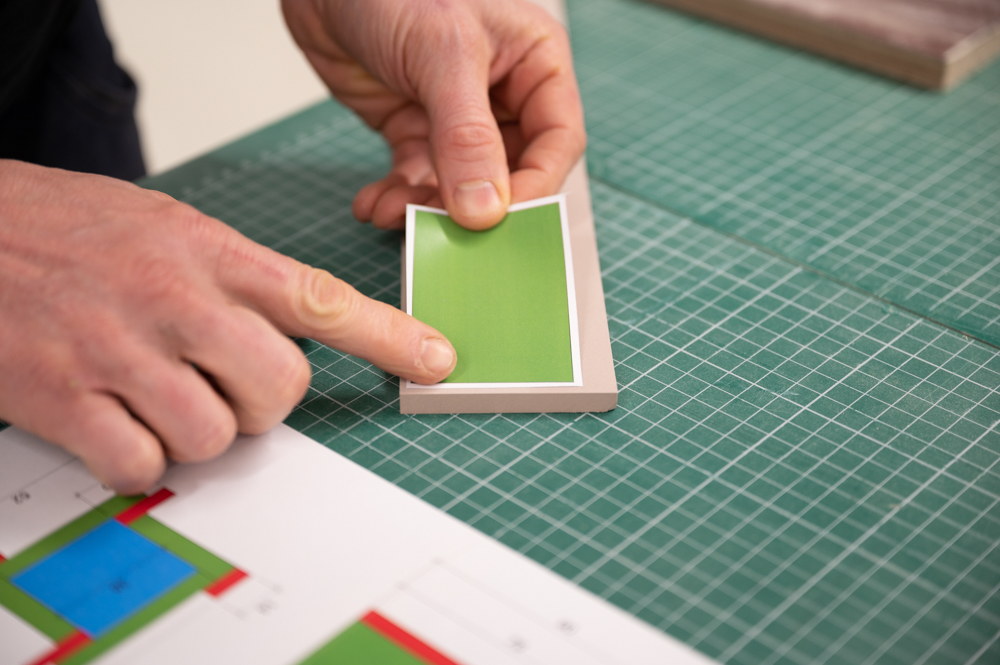
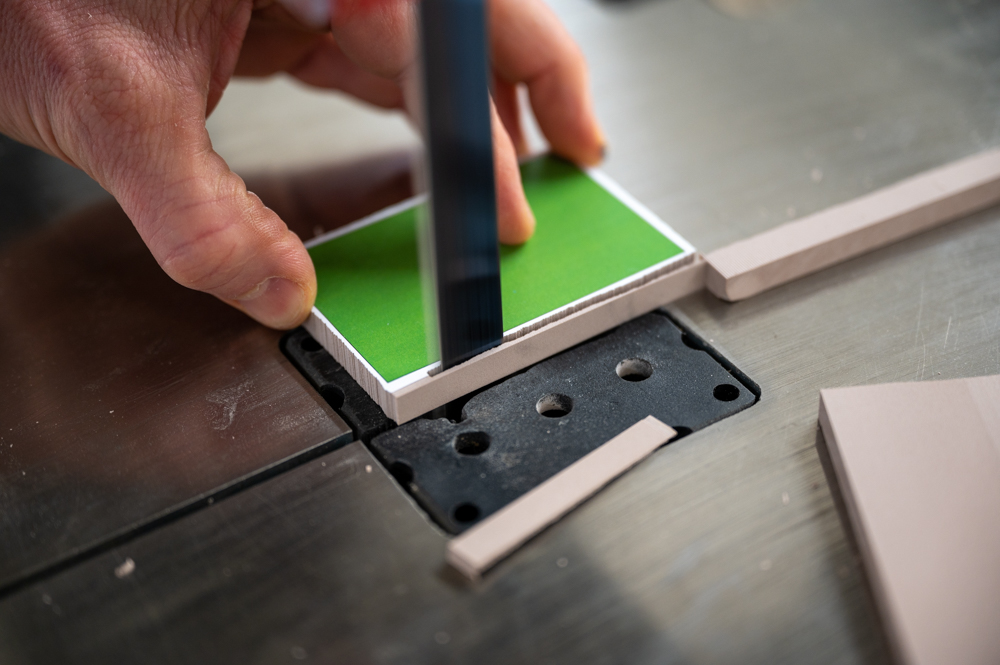
1. Create a simple 3d-model and subdivide it into parts 2. Cut your material on the bandsaw roughly into the different thicknesses needed for your project 3. Plane the material to the precise dimensions 4. Mount the templates with spray adhesive to your stock 5. Cut your parts to size, leaving a margin of approximately 1mm 6. Finish your parts on the disc sander 7. Assemble your parts according to your 3d-model ! Sand parts and surfaces that are difficult to reach (inside corners) first! 8. Make sure to sand your whole model with 220 grit to remove all marks from the disc sander 9. Finish your model with primer and top coat