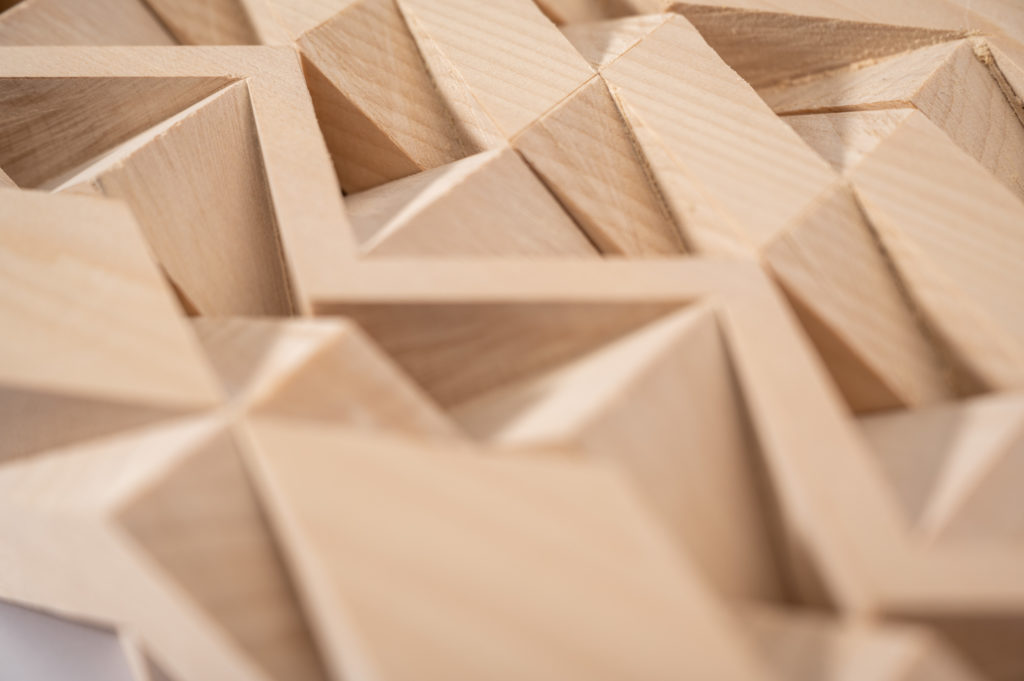
Following this freedom of cutting at any angle, we chose simple cubes as a starting point. The incisions are based on simple geometric constraints, like diagonals and mid-points. Repeating the pattern results in a longer profile marked with the help of a laser-cutter. The exercise tries to combine the advantages of analog and digital work so that both approaches work together to achieve the final result.
Supplemental material on cube subdivisions and the original material in terms of geometry can be found in the book: Papier, Versuche zwichen Geometrie und Spiel by Franz Zeier
Keep in mind that you will benefit the most from working with this material if you apply your twists and variations to it and do not just follow the examples.
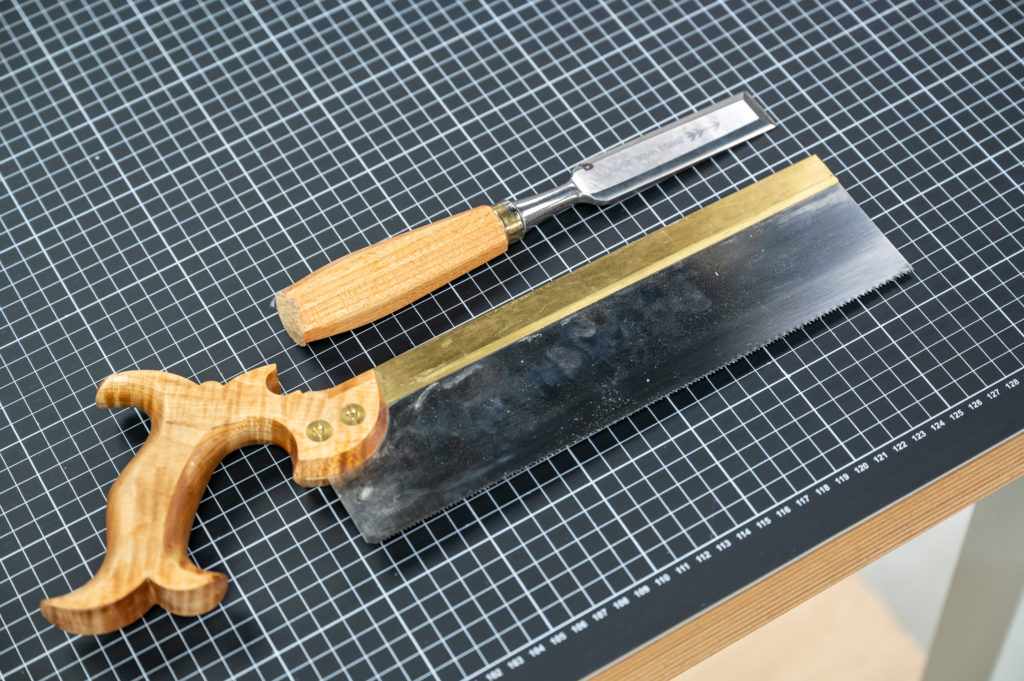
A simple handsaw and a pairing chisel are all that is needed to complete this example.
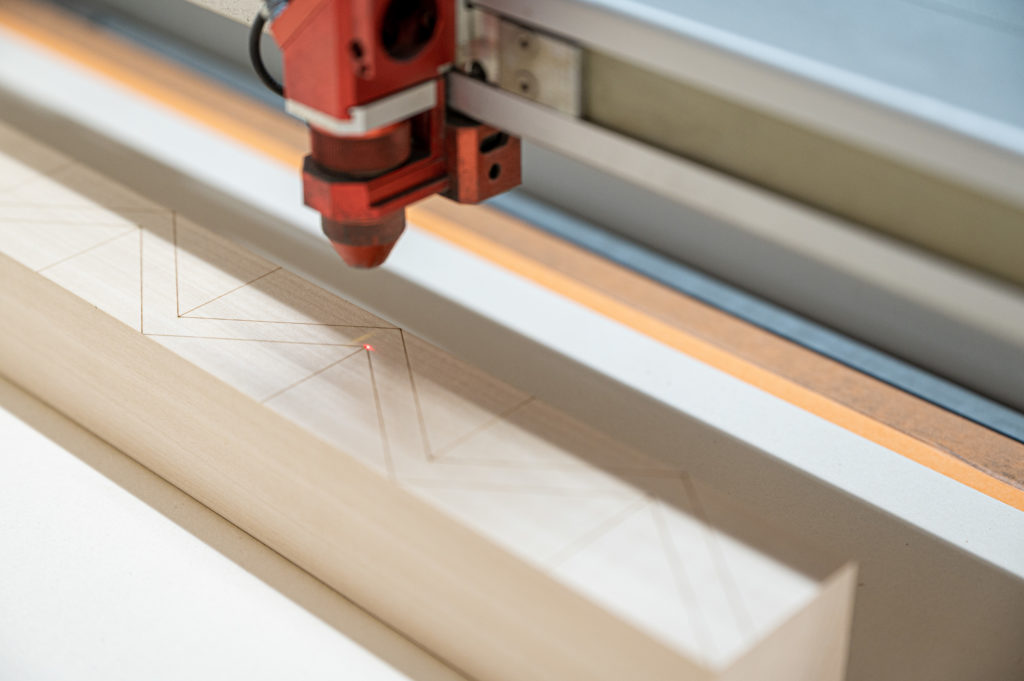
We can use the laser cutter for more than just cutting cardboard, and it is an indispensable tool for lots of other things – like marking – as well.
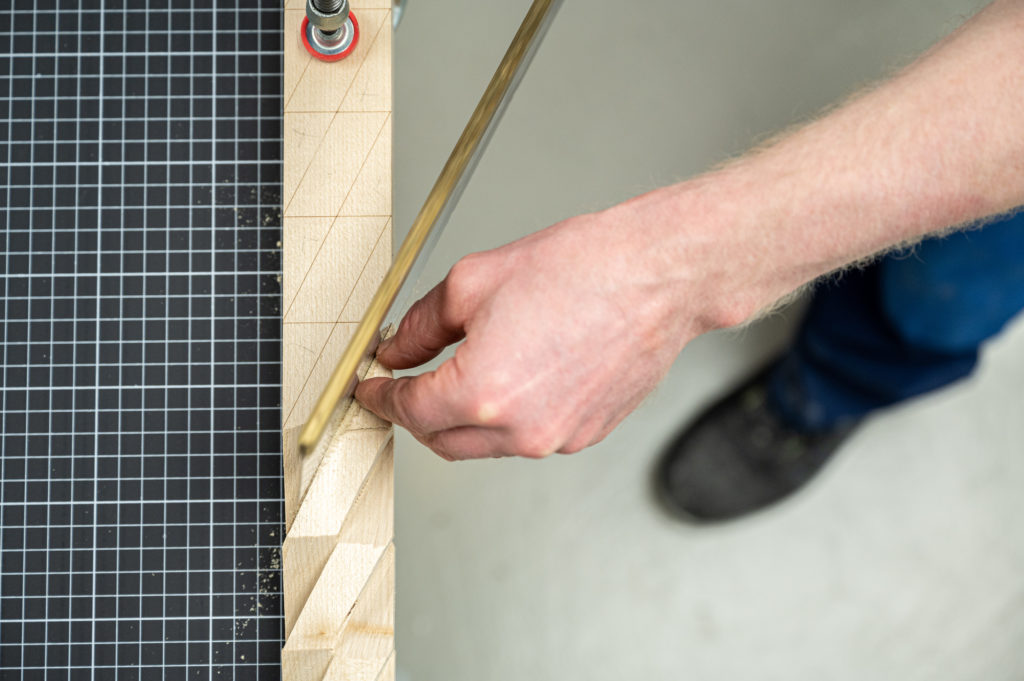
The handsaw is placed next to the cutting line to start the cut, and one hand helps guide the saw during the initial strokes.
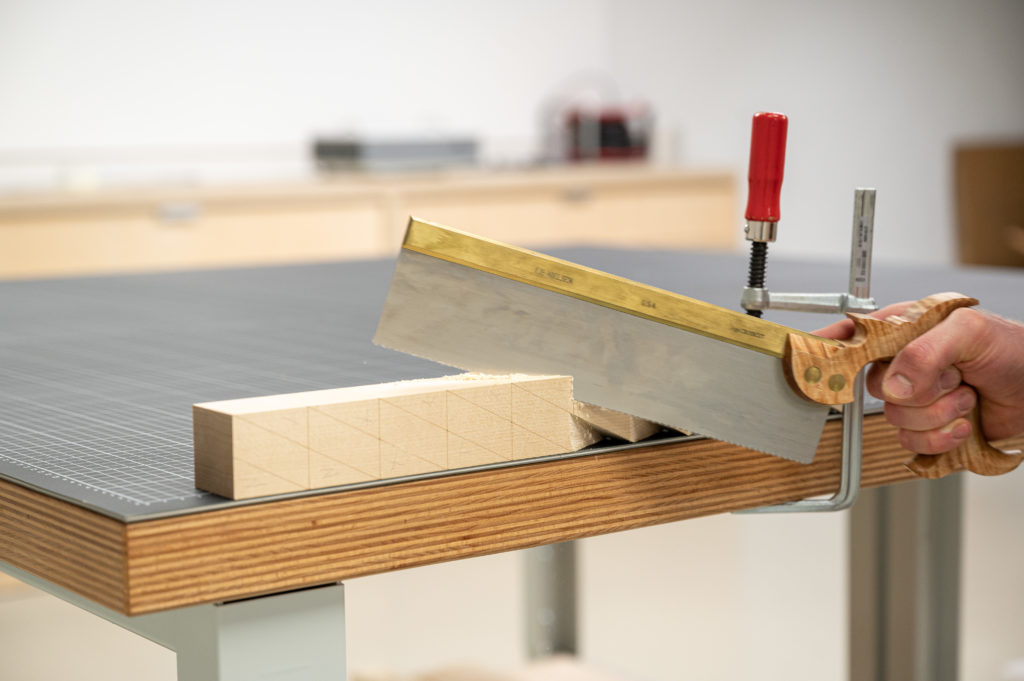
Frequently check your progress and make sure that you advance your cut on both lines.
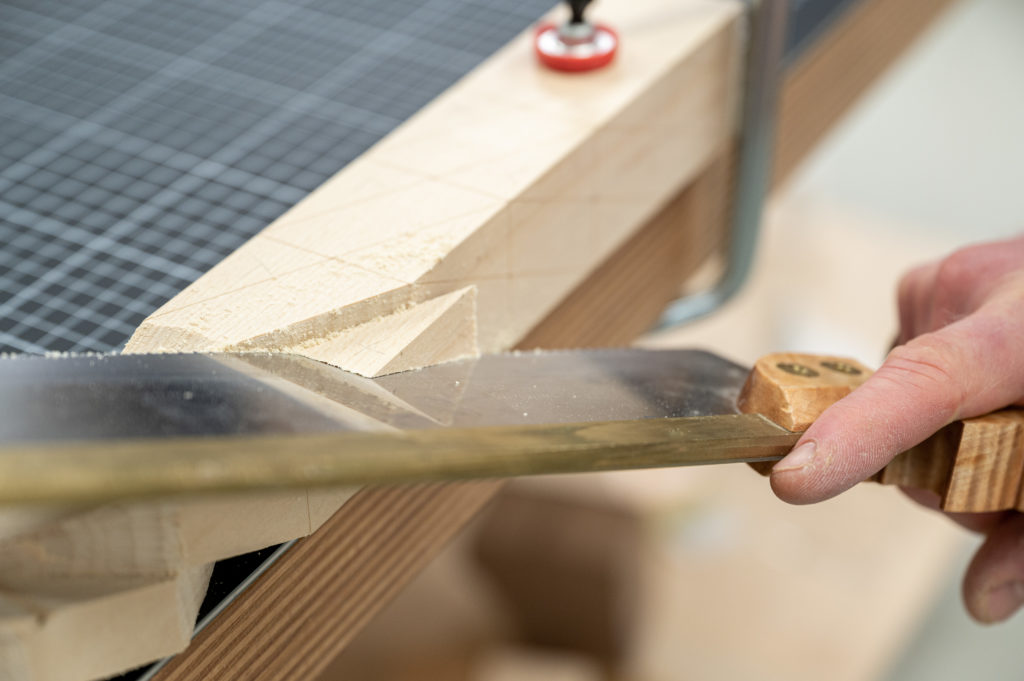
Not ideal, but cutting weird angles and under challenging conditions becomes easier with practice.
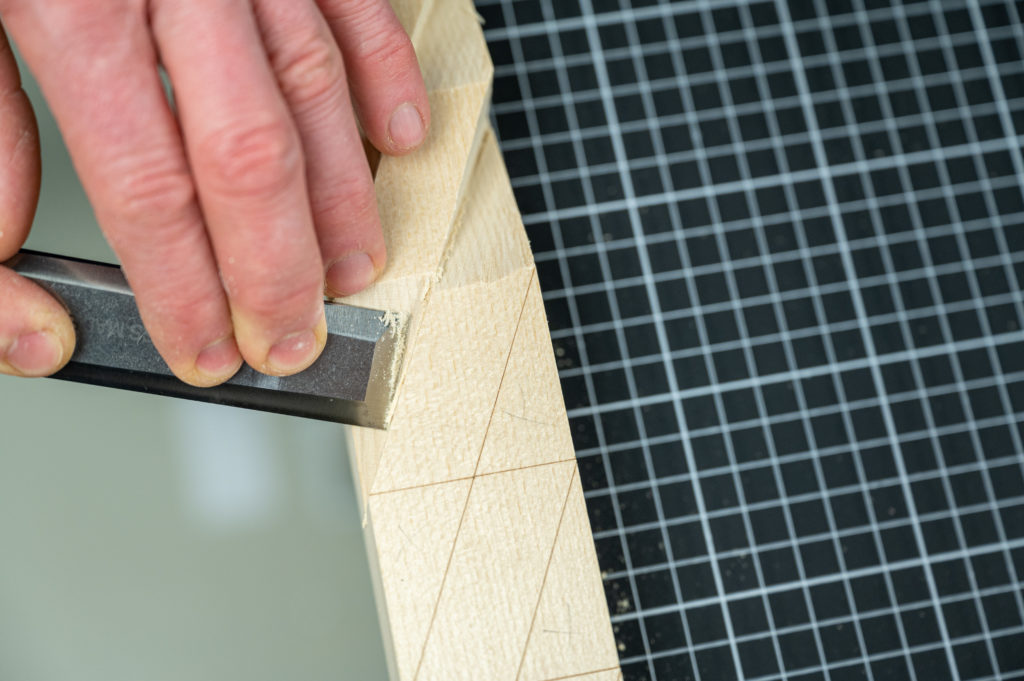
Use the lines as a guide while pairing with the chisel to your final surface.
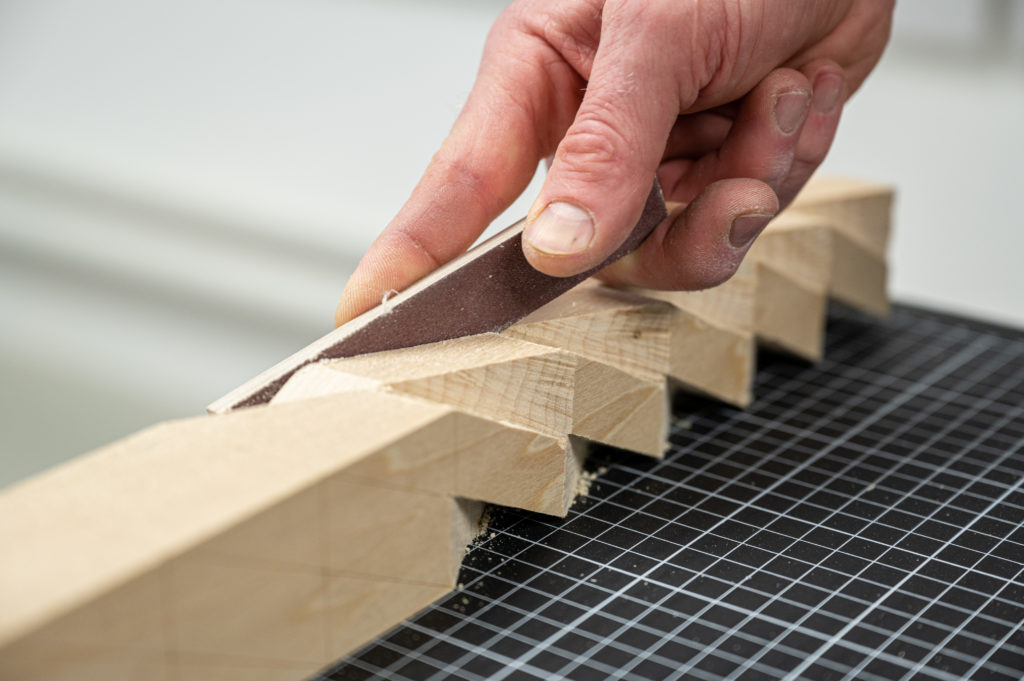
And where would we be without our sanding blocks? A self-made sanding block helps to keep trouble spots in check.