The ability to simply send a 2d vector-based computer file to the machine and very quickly cut complex geometries from sheet material makes digital cutters the most popular tools in architectural modelmaking workshops. (Hard edge modeling)
Most architectural elements can often very easily be broken down into 2 dimensional profiles which can be cut from a variety of material thicknesses. With very little effort ideas can manifest in the real work which makes these tools such a valuable resource.
The 2 machines that will be available in the Raplab on completion of the moodle course are Zünd Cutters and Trotec Laser Cutters.
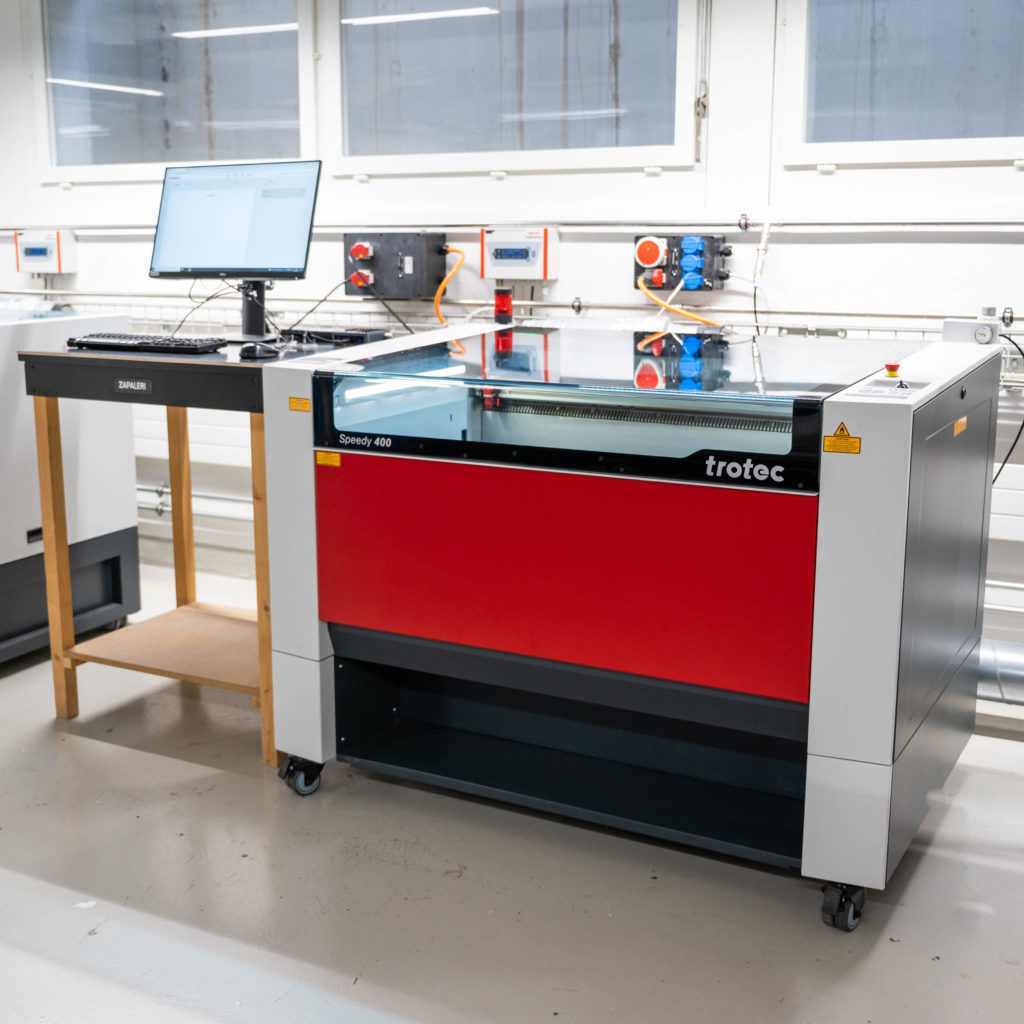
Trotec Laser Cutter
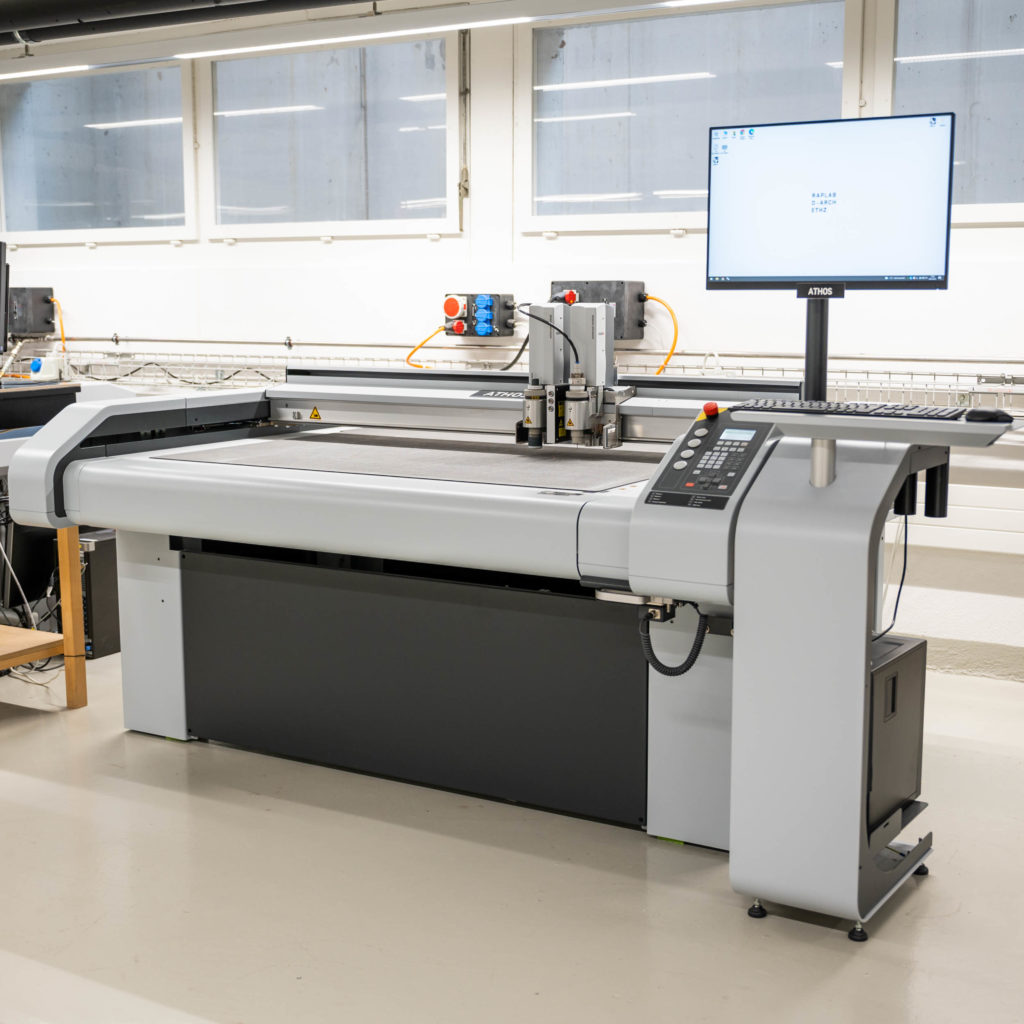
Zünd Cutter
File Preparation
The process of preparing a file for the laser cutter or the Zund plotter is the same until the point of where the parts are laid out.
For both cutters:
PDF and DXF Files are Acceptable. (2D Vector files)
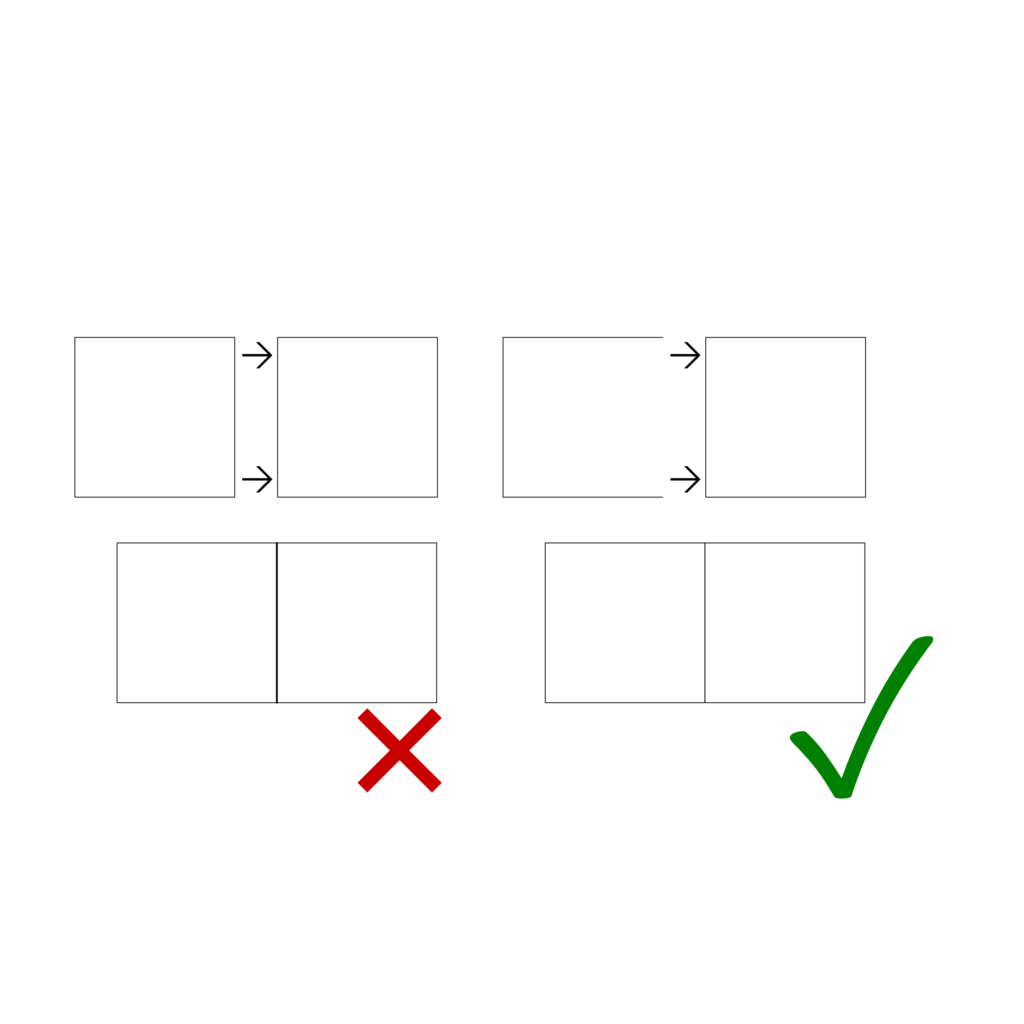
File should not contain any double lines. A double line is when there is more than one line in the same position.
Shapes that should be cut out of the material should be drawn as a closed polyline or closed curve. This ensures that the endpoints meet and there is no unnecessary over cutting of the shape.
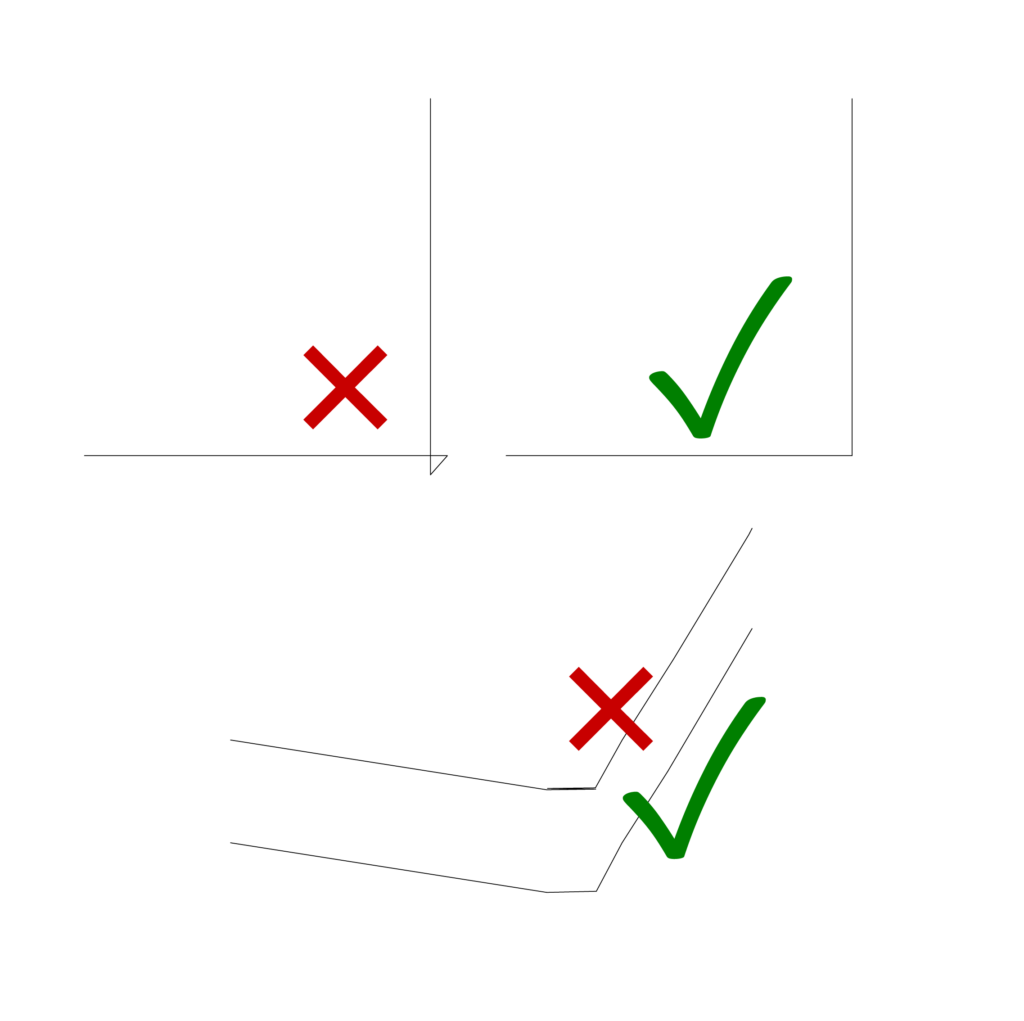
Polylines or curves should be going in one general direction. If we have a closed curve, it should go only clockwise or anticlockwise. Not both. The line should not go back on itself. This can cause machine errors.
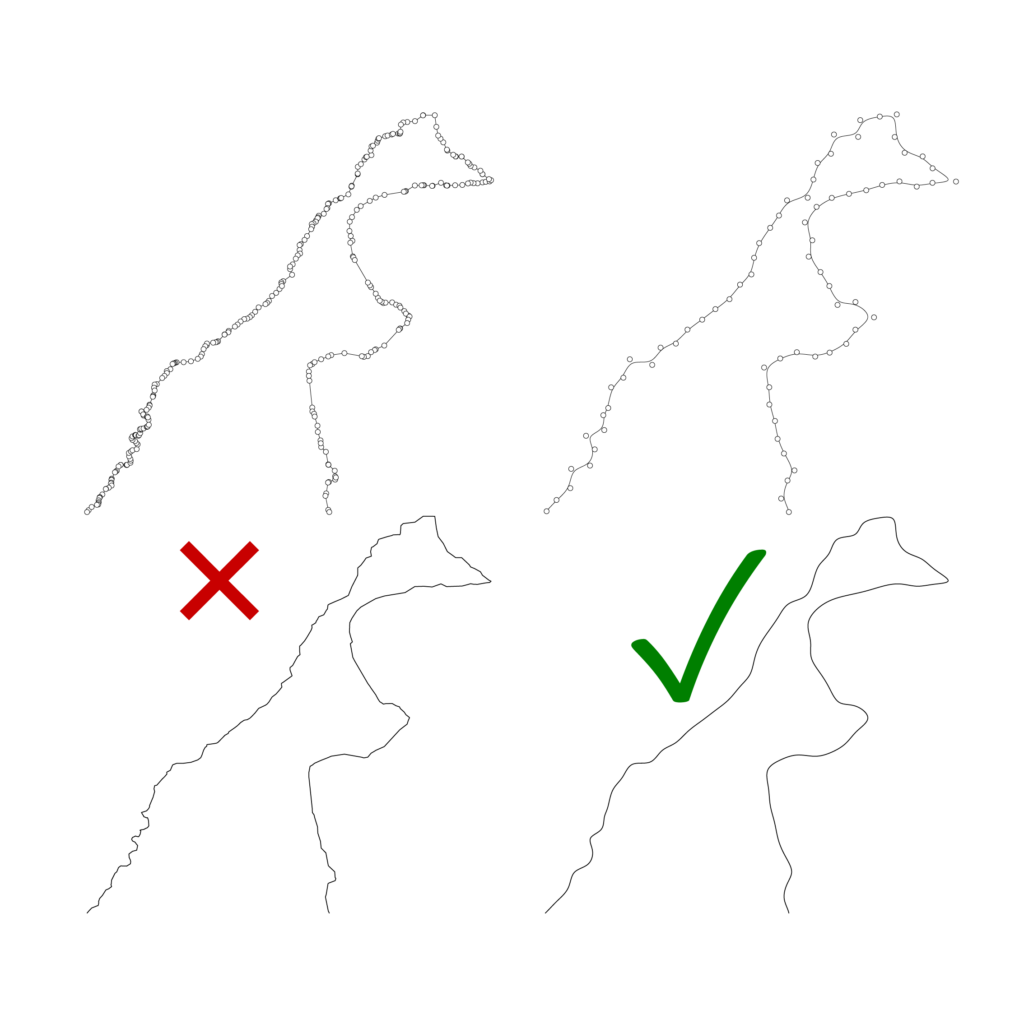
A curve or polyline should not be made up of any segments smaller than 0.2mm. This is too much information for the machine to process. This can also cause machine errors.
Parts to be cut should be red – 255, 0, 0
Engraved elements should be black – 0, 0, 0
To use the cutters special feature use blue 0, 0, 255. (Zund – Pen – works with vector lines only) (Laser – Raster Engrave – Works with vector lines, filled areas, hatches and even images)
Only Export the information that is to be cut or engraved. No hidden information such as empty text boxes or watermarks. These can cause errors.
Rhino tip – Use command “SelDup” to reveal the double lines
3D geometry such as surfaces or meshes need to be converted into lines, arcs, and curves as this is the only format that can be read by the machine when cutting.
Rhino tip – Curveboolean is a powerful tool to extract closed polylines and curves from an existing 2D plan.
Things to look out for when preparing files for digital cutters:
No double lines (duplicates)
Double lines are the result of 2 or more lines that are on top of one another.
Avoid curves that intersect with themselves and curves that go back and forth on the same path.
This can cause machine errors due to the quick change in direction
Try to keep the complexity of curves and polylines down. This can be done using the curve rebuild tool in rhino
Avoid curves that have extreme short segments (<.2mm).
You can make a check in rhino using the selshort command and then fix the issue using the curve rebuild tool.
Check out our grasshopper patch that will allow you to rebuild many lines in one go. You can download it here
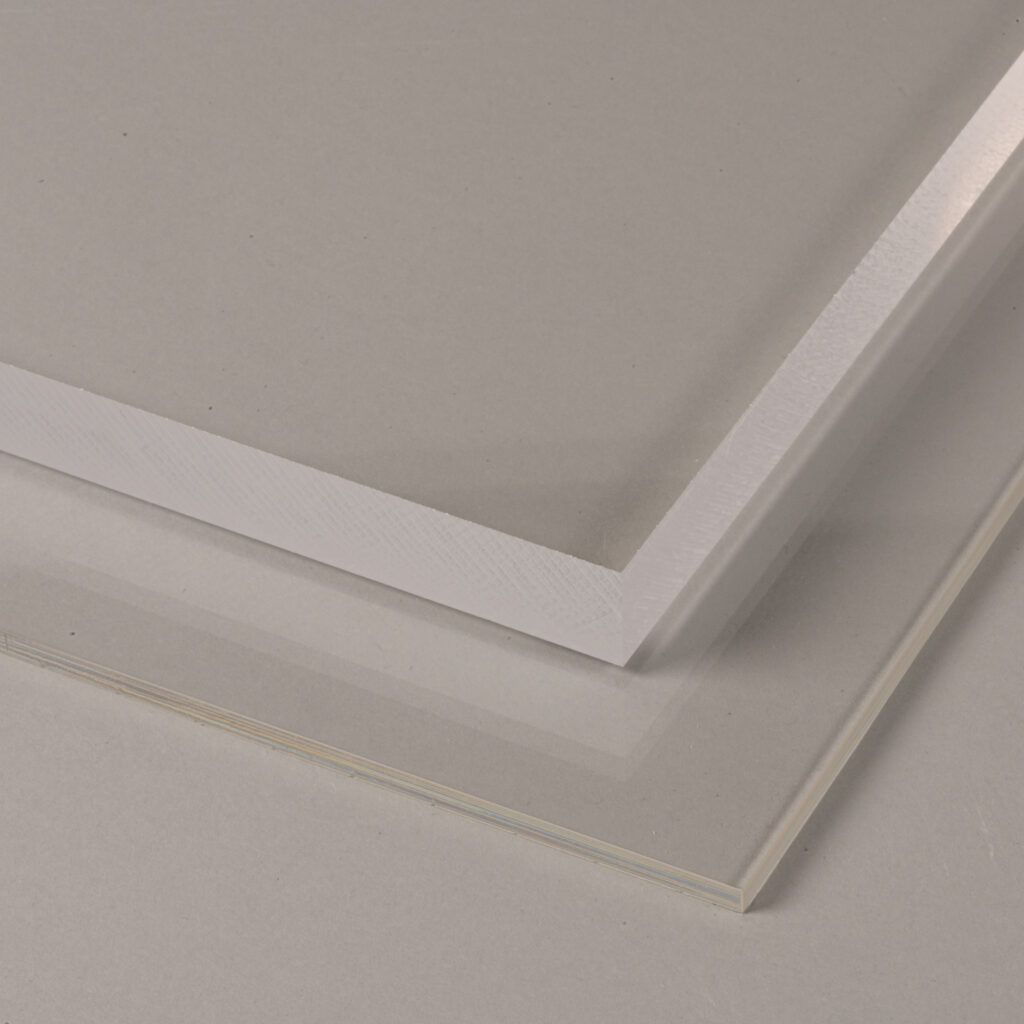
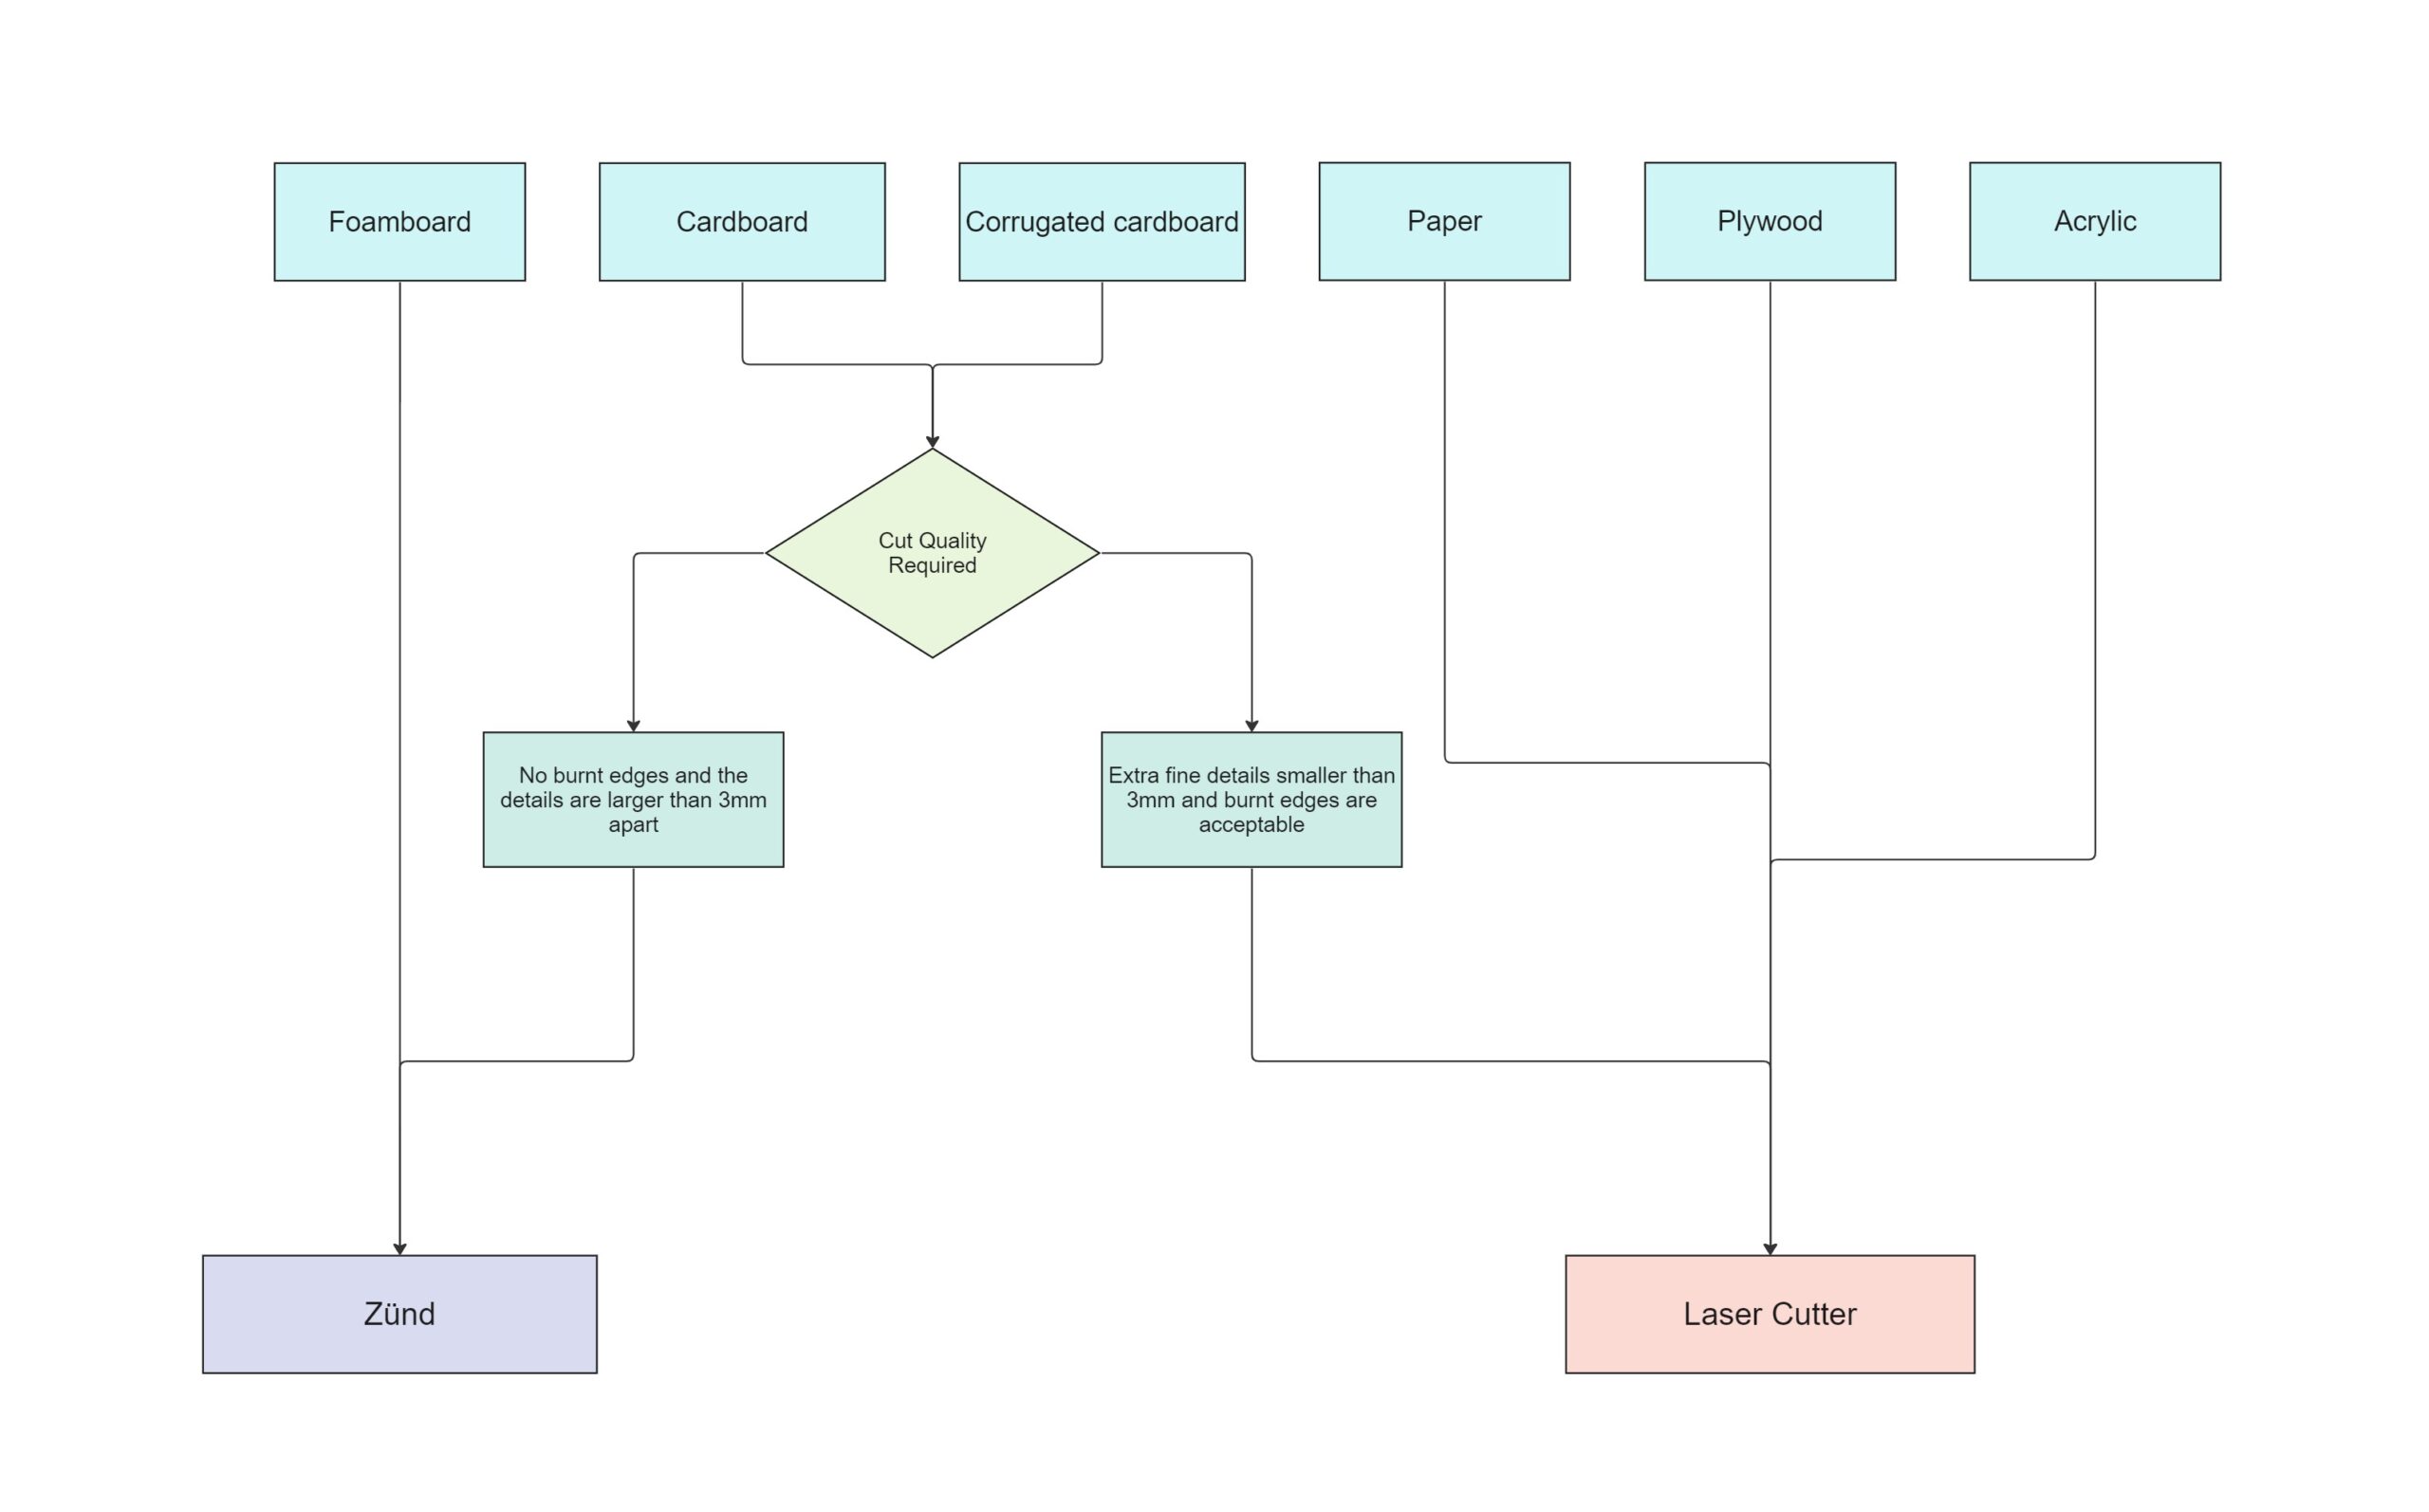
Acceptable Materials
The following materials are acceptable materials to be cut in the digital workshop:
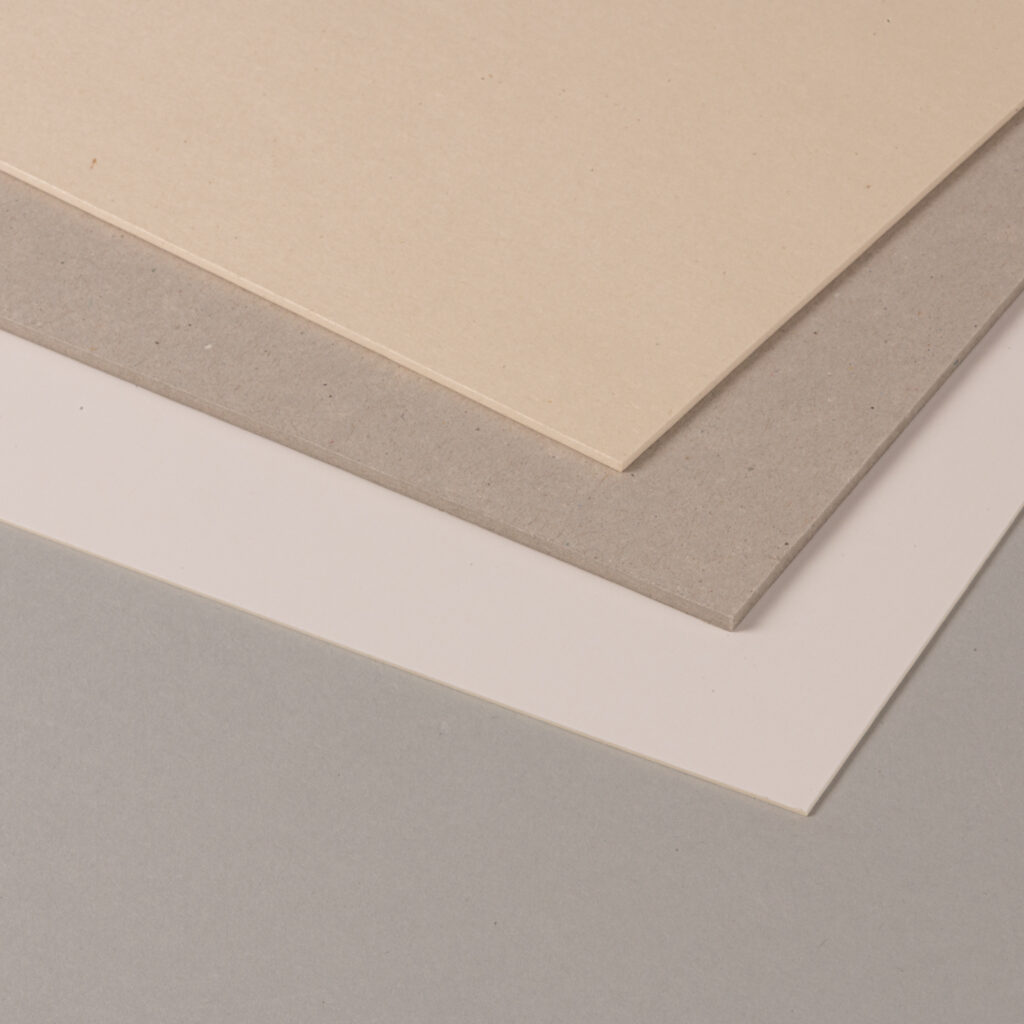
Foam board
Cardboard
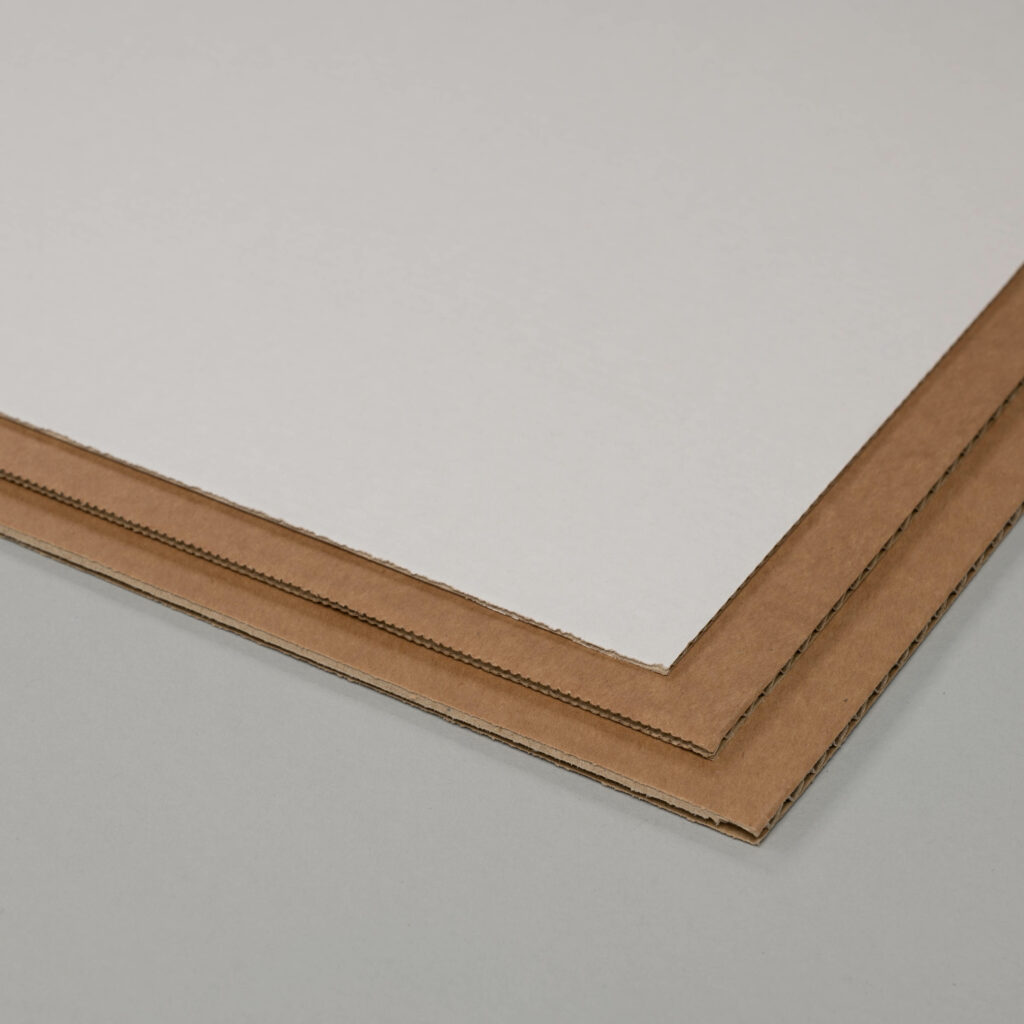
Corrugated Cardboard
Paper
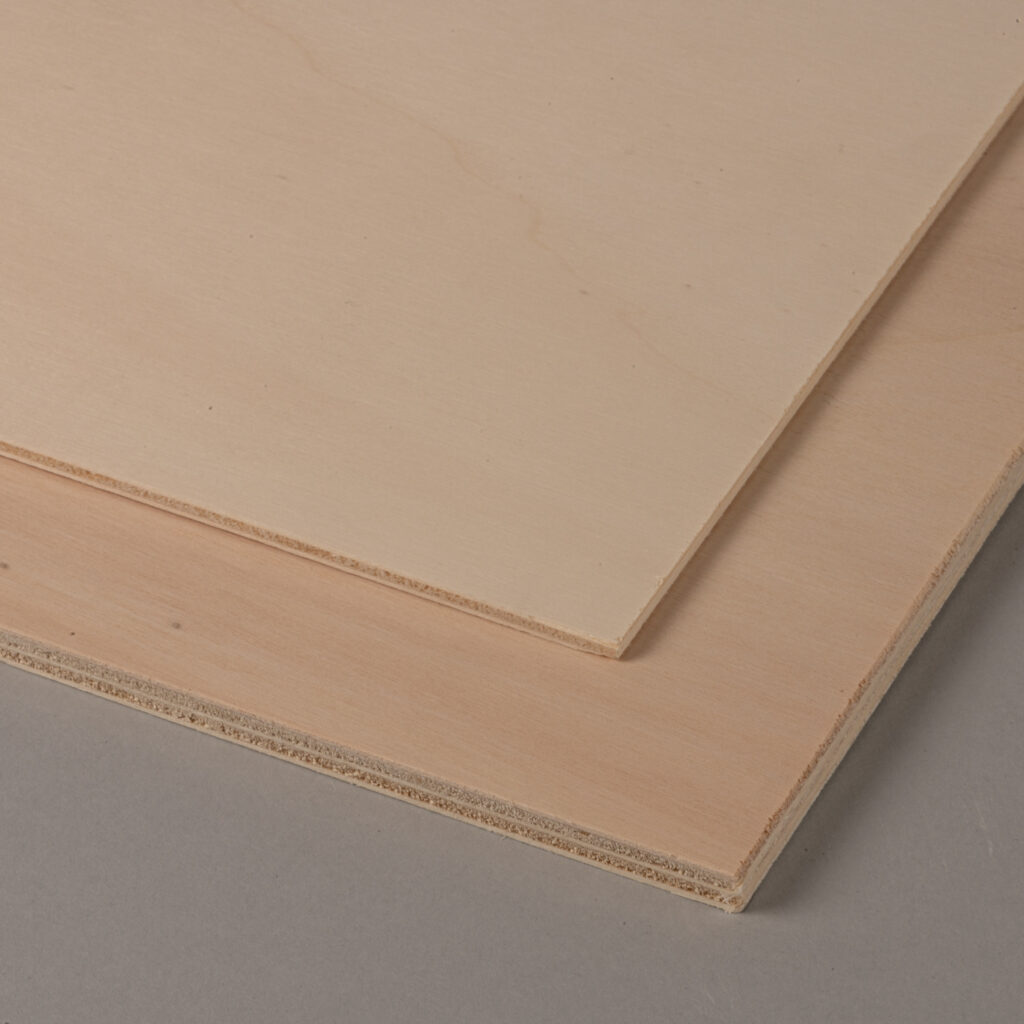
Plywood
Acrylic
Materials not listed are not permitted as they can cause toxic fumes and cause damage to the machine.
Always double check that the material is compatible with our machines before purchasing.
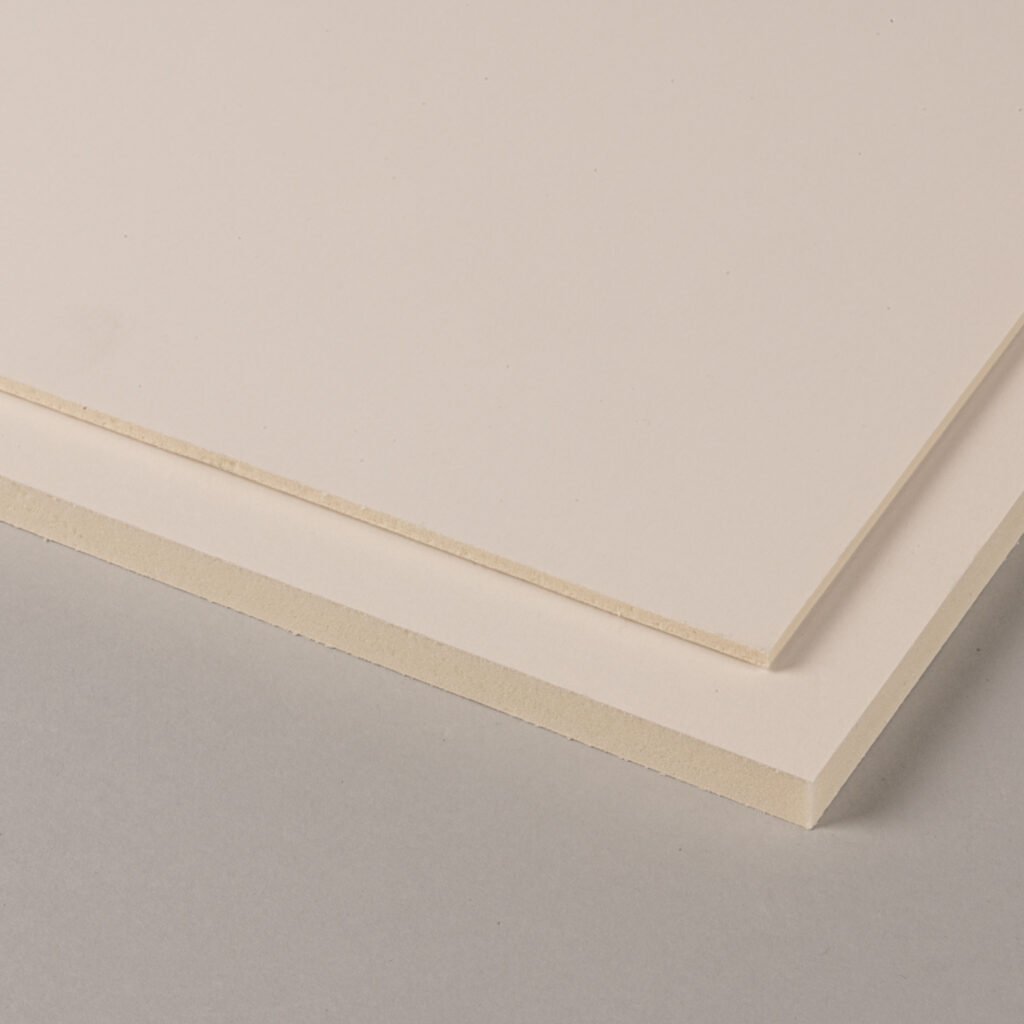
Foamboard - Zünd
For the Zünd only. Comes in black and white. Cuts very cleanly. A good option for thick elements that must be accurate.
Cardboard - Zünd and Laser Cutter
Can be cut on both the laser and the Zünd machine. The laser will leave a burnt edge whereas the Zünd will not.
Corrugated Cardboard - Zünd and Laser Cutter
Can be cut on both the laser and the Zünd machine. The laser will leave a burnt edge whereas the Zünd will not. However the burning with the laser is less evident than with normal cardboard.
Paper - Laser Cutter
Paper cuts rather well on the laser cutter with minimal burning. The burn is almost invisible on darker coloured paper.
Plywood - Laser Cutter
There are two types of plywood allowed to be cut in the digital workshop. Poplar plywood and Airplane Plywood (thin birch plywood). Please make sure you are using these types in the laser and not any other variants.
Acrylic - Laser Cutter
The only plastic that we allow is Acrylic. Double check the label before purchasing. The purchase of the wrong material is a very common mistake. There are many different types of plastic that exist that look very similar and are not machine compatible.
Hobby Glas > Polystyrene
Makrolon > Polycarbonate
Vivak > Polyethylne
Laser Vs Zünd - Considerations
The material choice will usually dictate which machine you that you must use. However, if you are using cardboard or corrugated cardboard, then both machines are acceptable. They will give a similar outcome to one another, but there are some differences that you should take into account before choosing between the Laser and the Zünd.
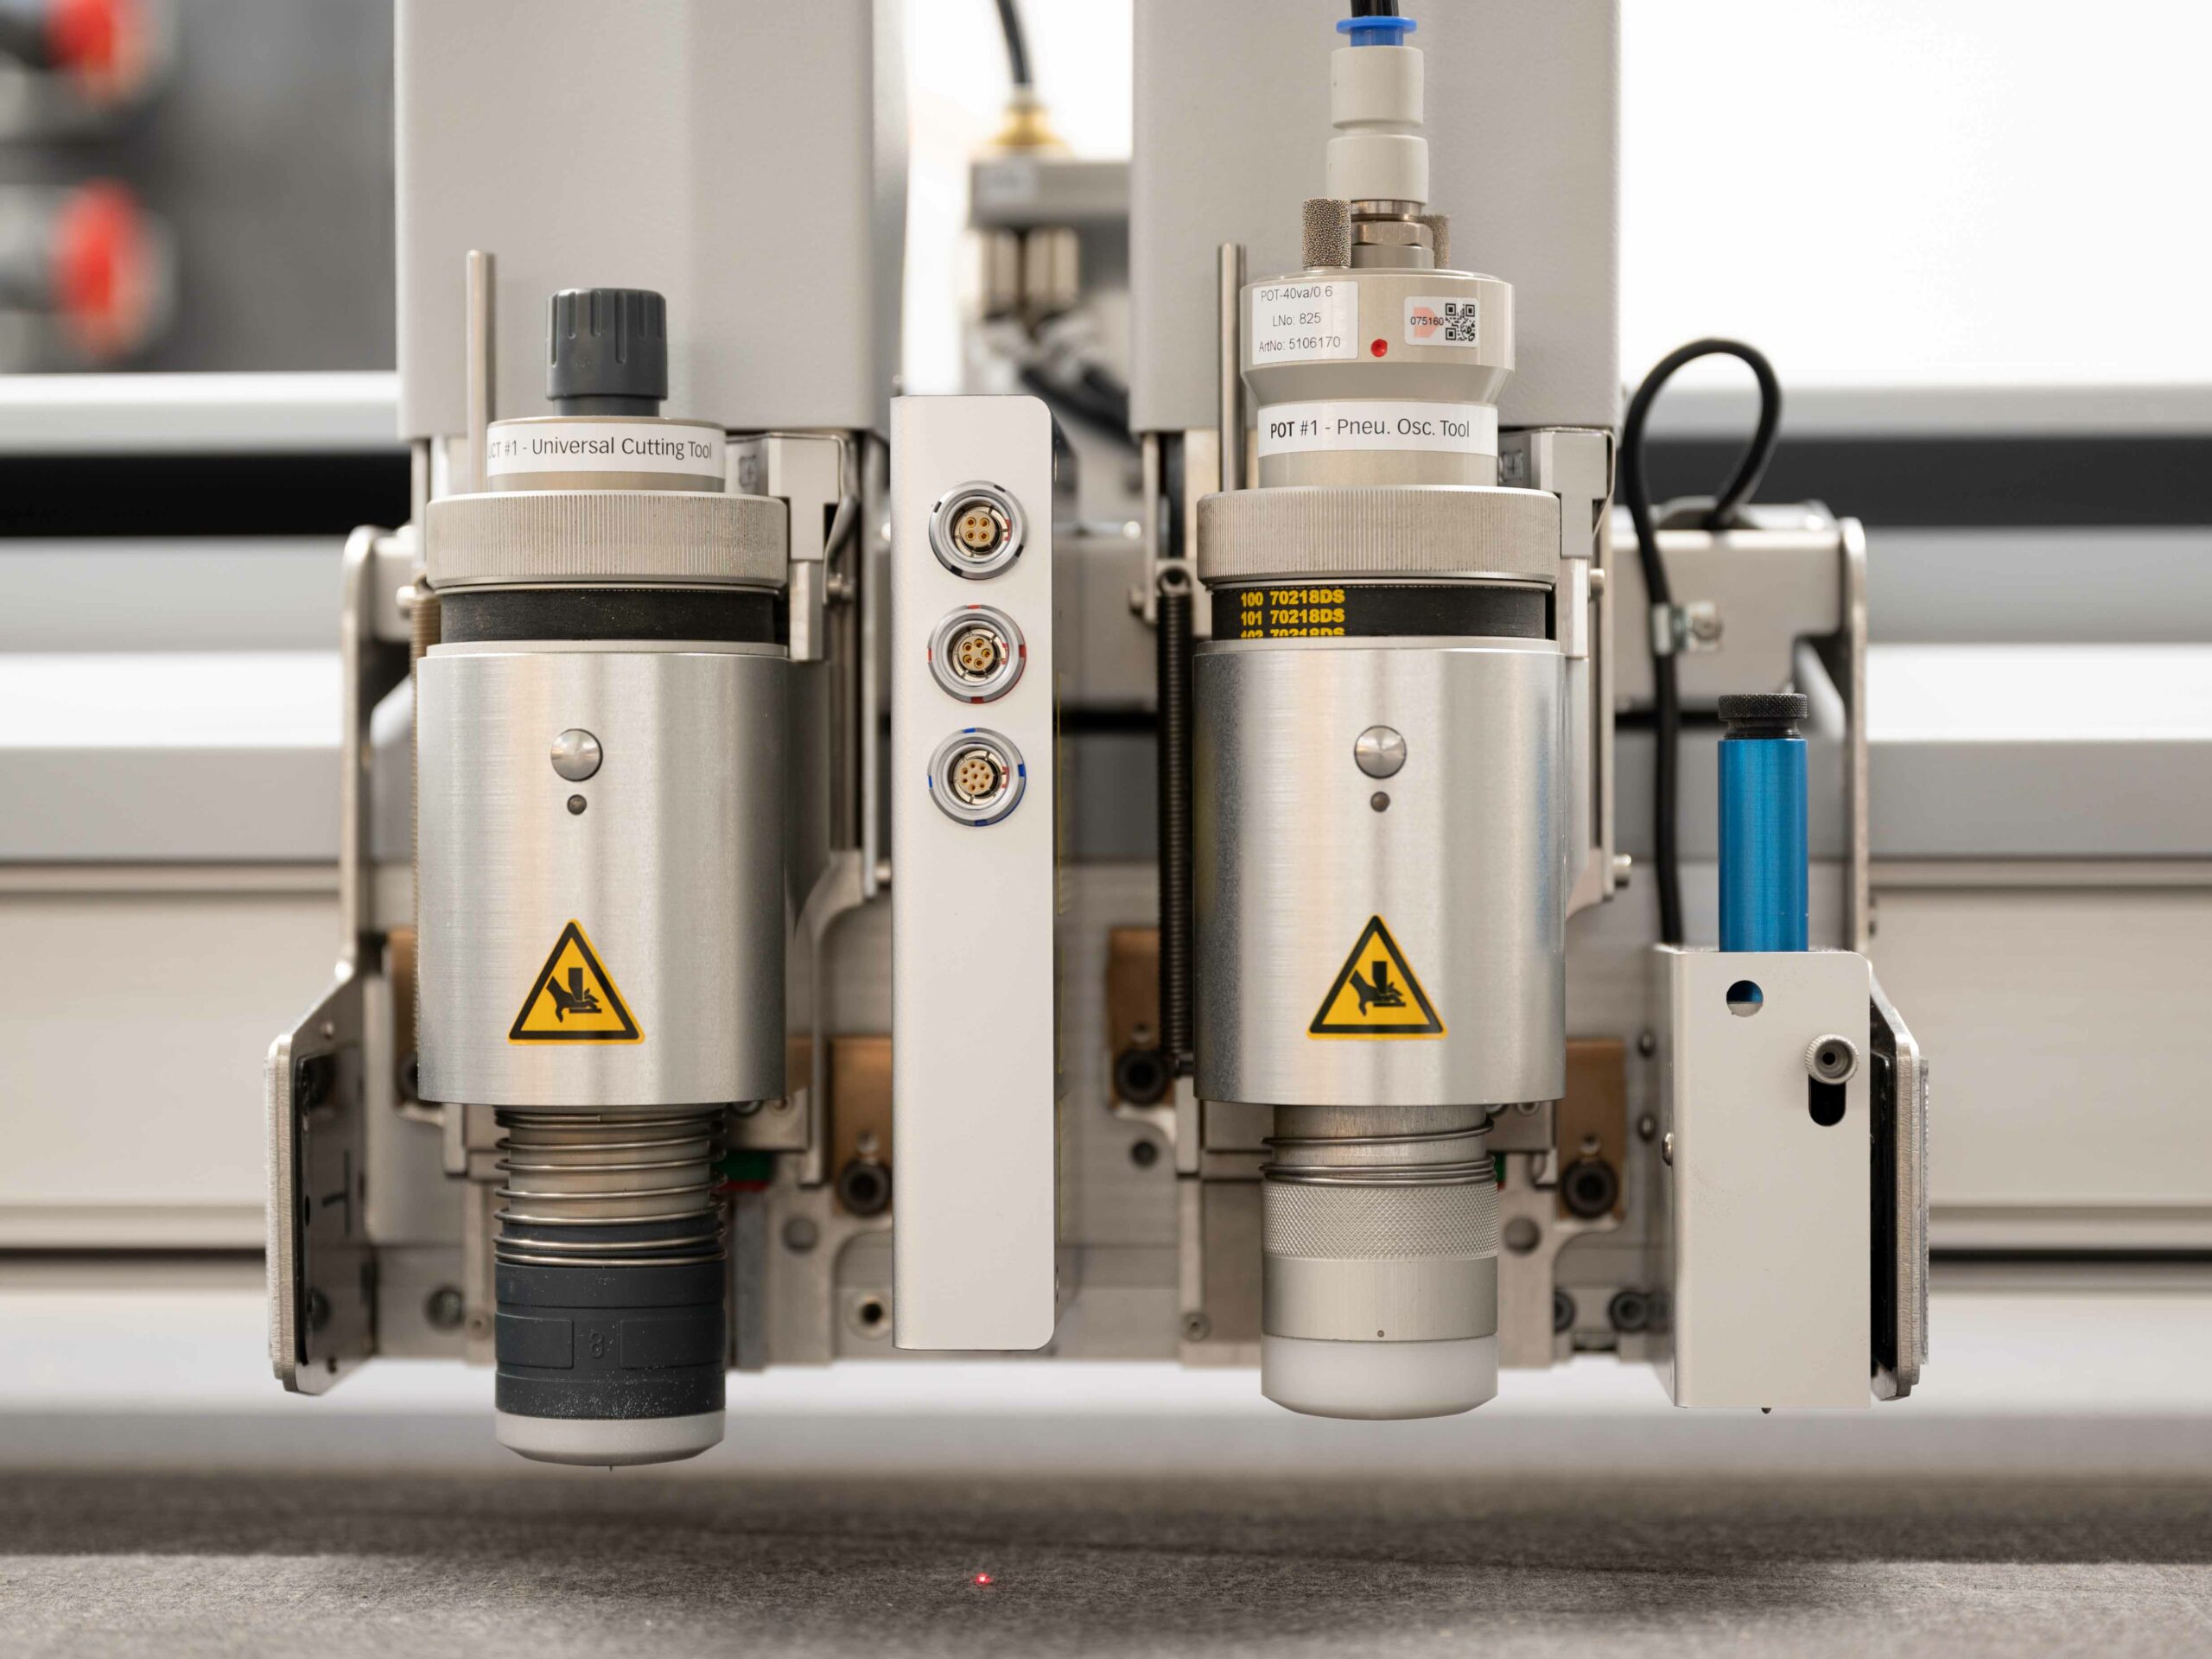
Zund Cutter
The Zund is a modular cutting system which can be adapted to use many cutting or mark making tools. In the digital workshop we have both of them set up with a pen and 2 types of knifes. One drag knife for cutting through cardboard and an oscillating knife for cutting though corrugated cardboard and foamboard. (the correct knife will be utilized when the material is selected in the rhino software)
Does not leave a burnt edge
Can not cut details smaller that 3mm
Can cut cardboard, corrugated cardboard and foam board
Can not cut radii smaller than 4mm
Has the option of using a pen
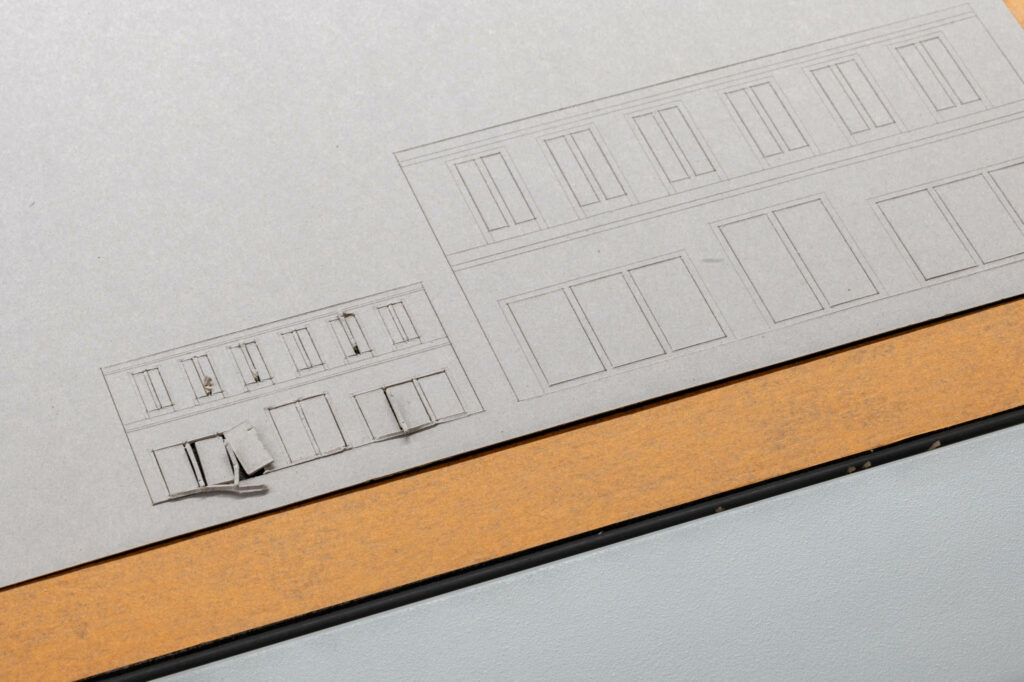
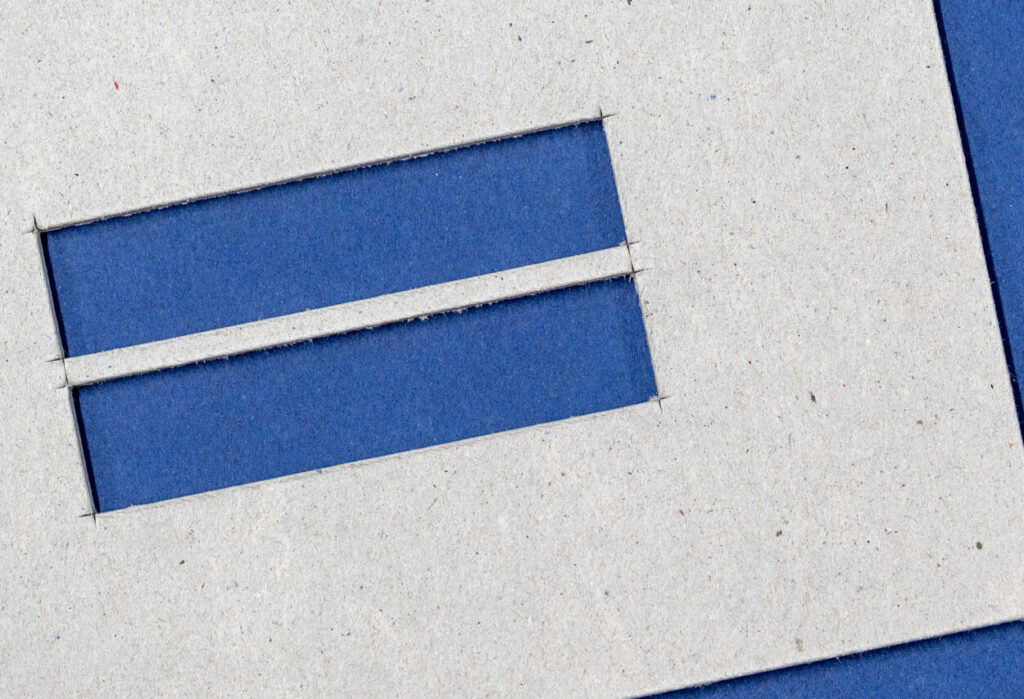
The inside corners are slightly overcut
If cut or engrave lines are too close to one another, the top layer of the card can become delaminated or result in the parts being lifted off the machine table by the cutter. Notice the façade detail at half the scale has failed as the details are smaller than 3mm apart. This also needs to be taken into account when laying out small parts. They need to have at least a 3mm space in between them.
Due the the geometry of the knife it slightly overcuts the inside corners. This is more prominent on thick material. It can sometimes be a good idea to mirror your parts and flip them afterwards if there is no engraving required.
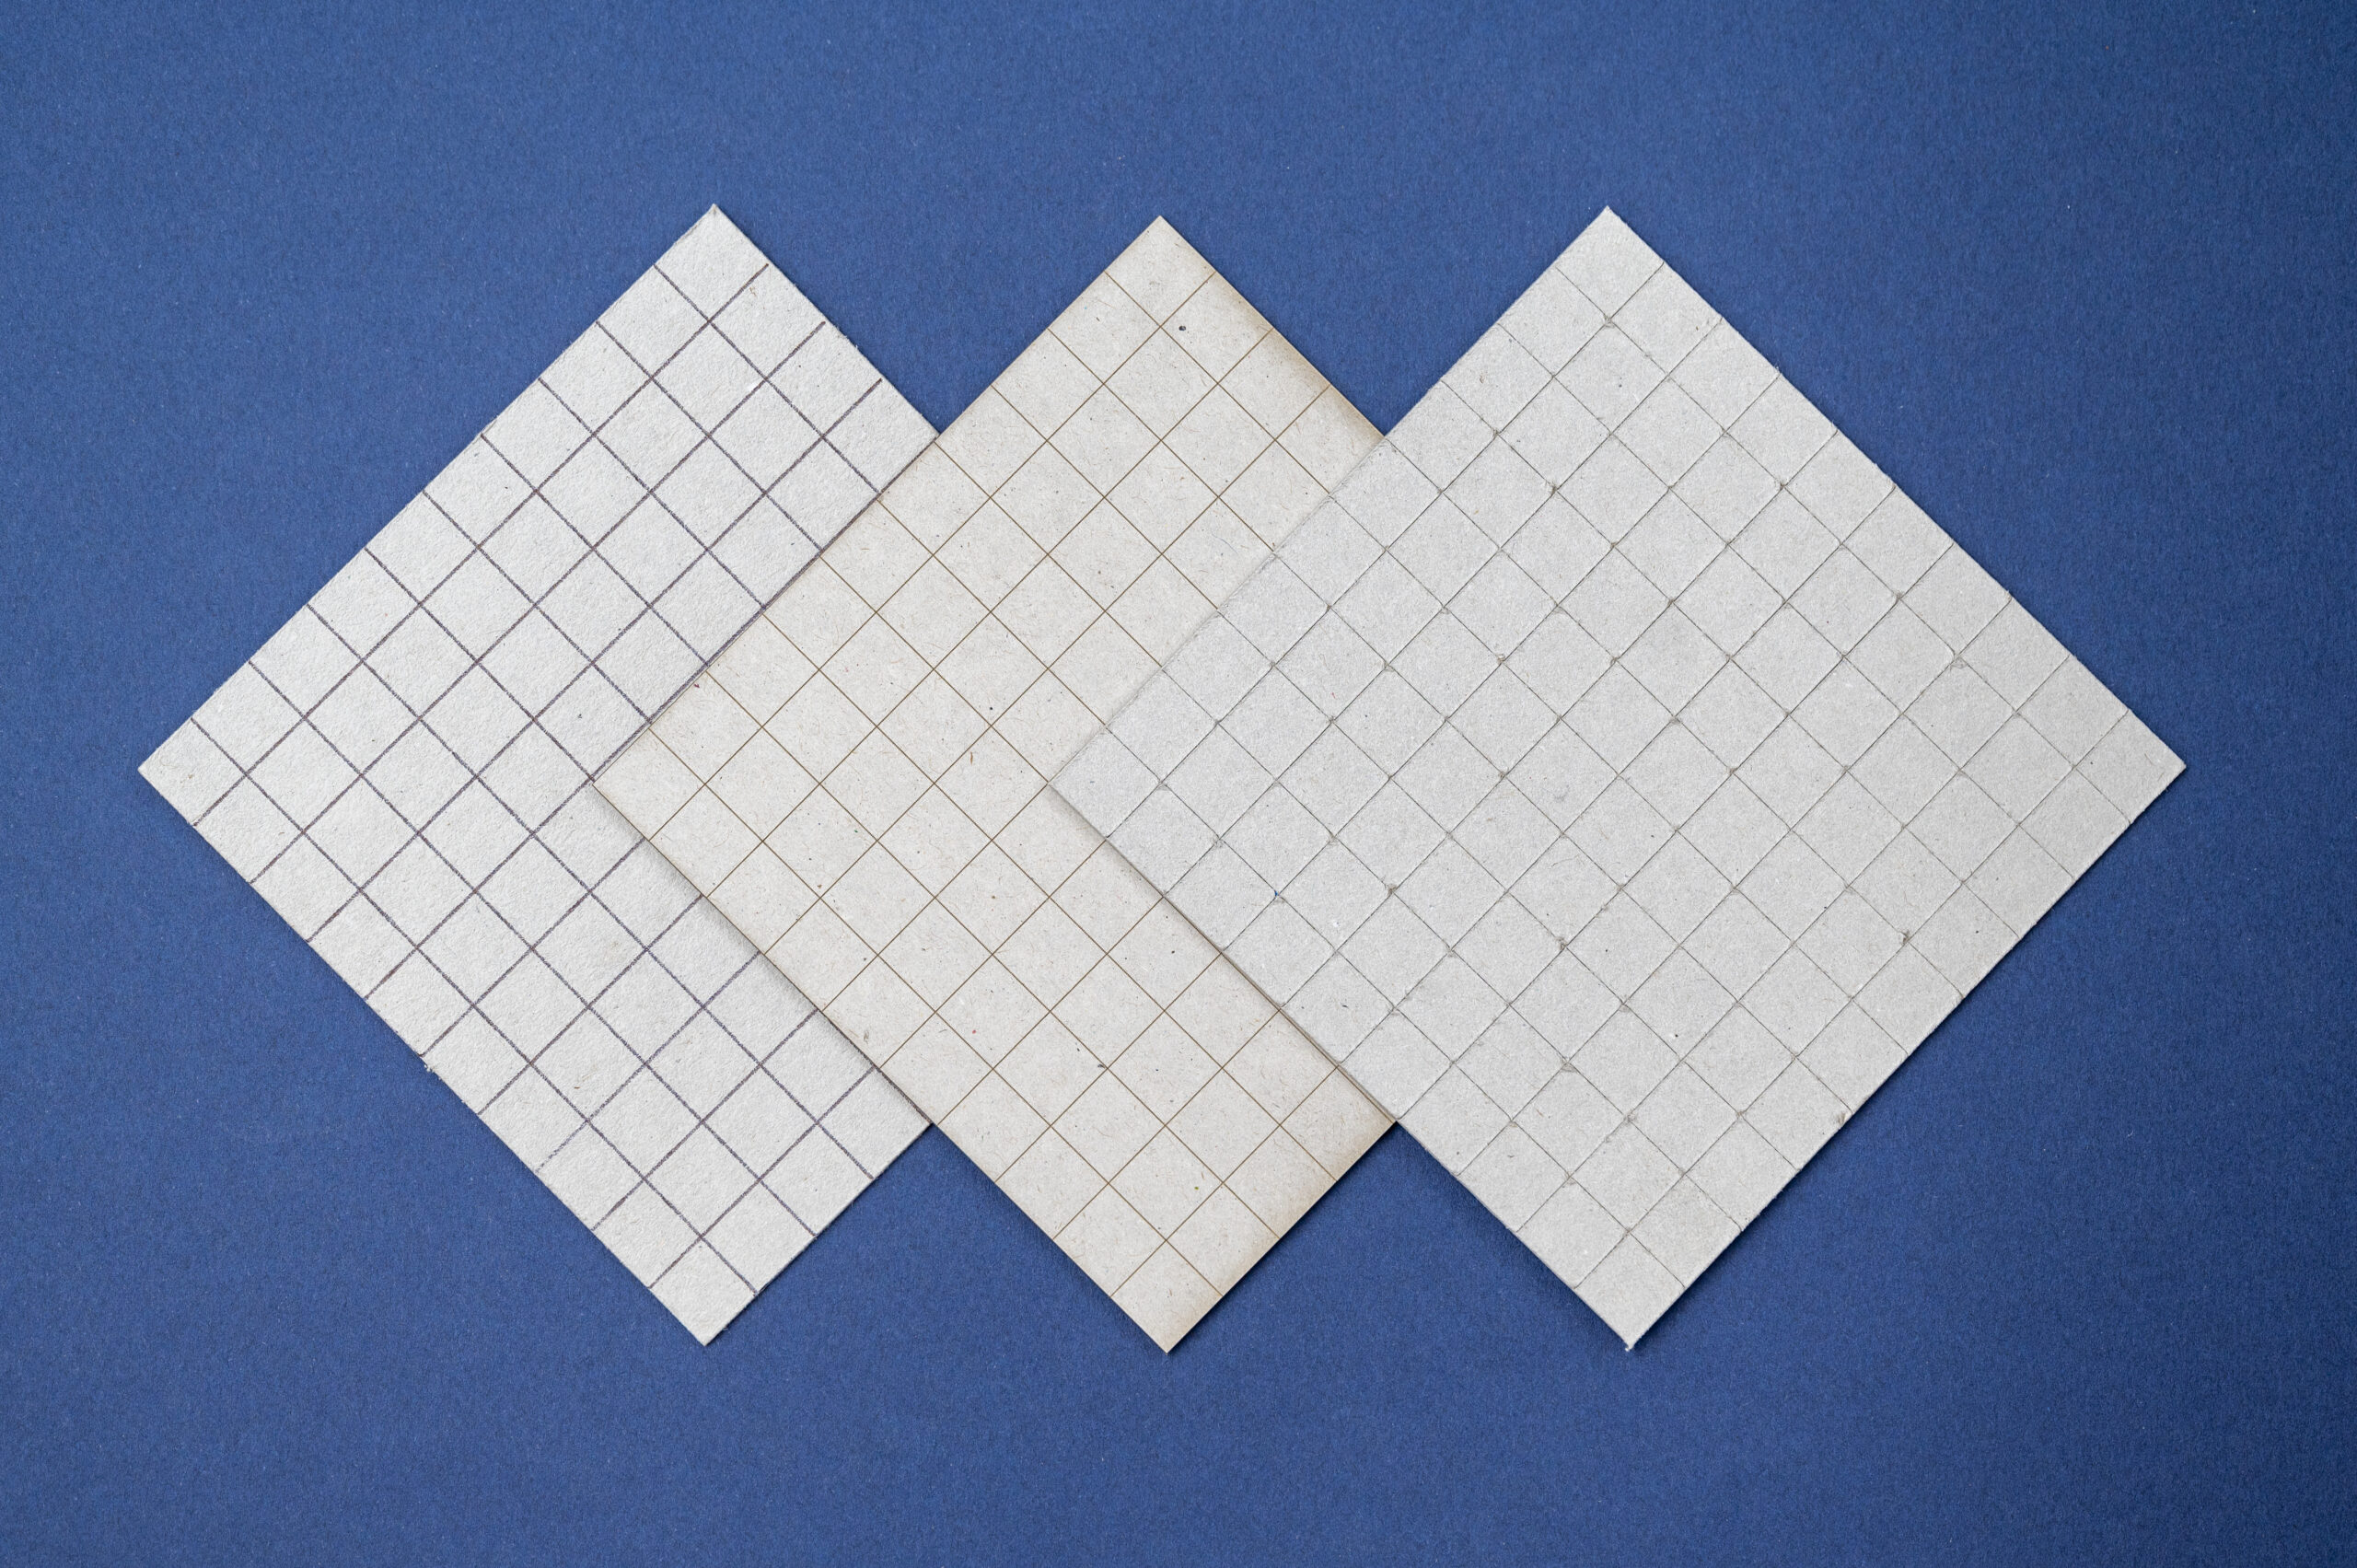
Another consideration is the engrave quality. (from left to right)
Zund pen
Laser Engrave
Zund Engrave
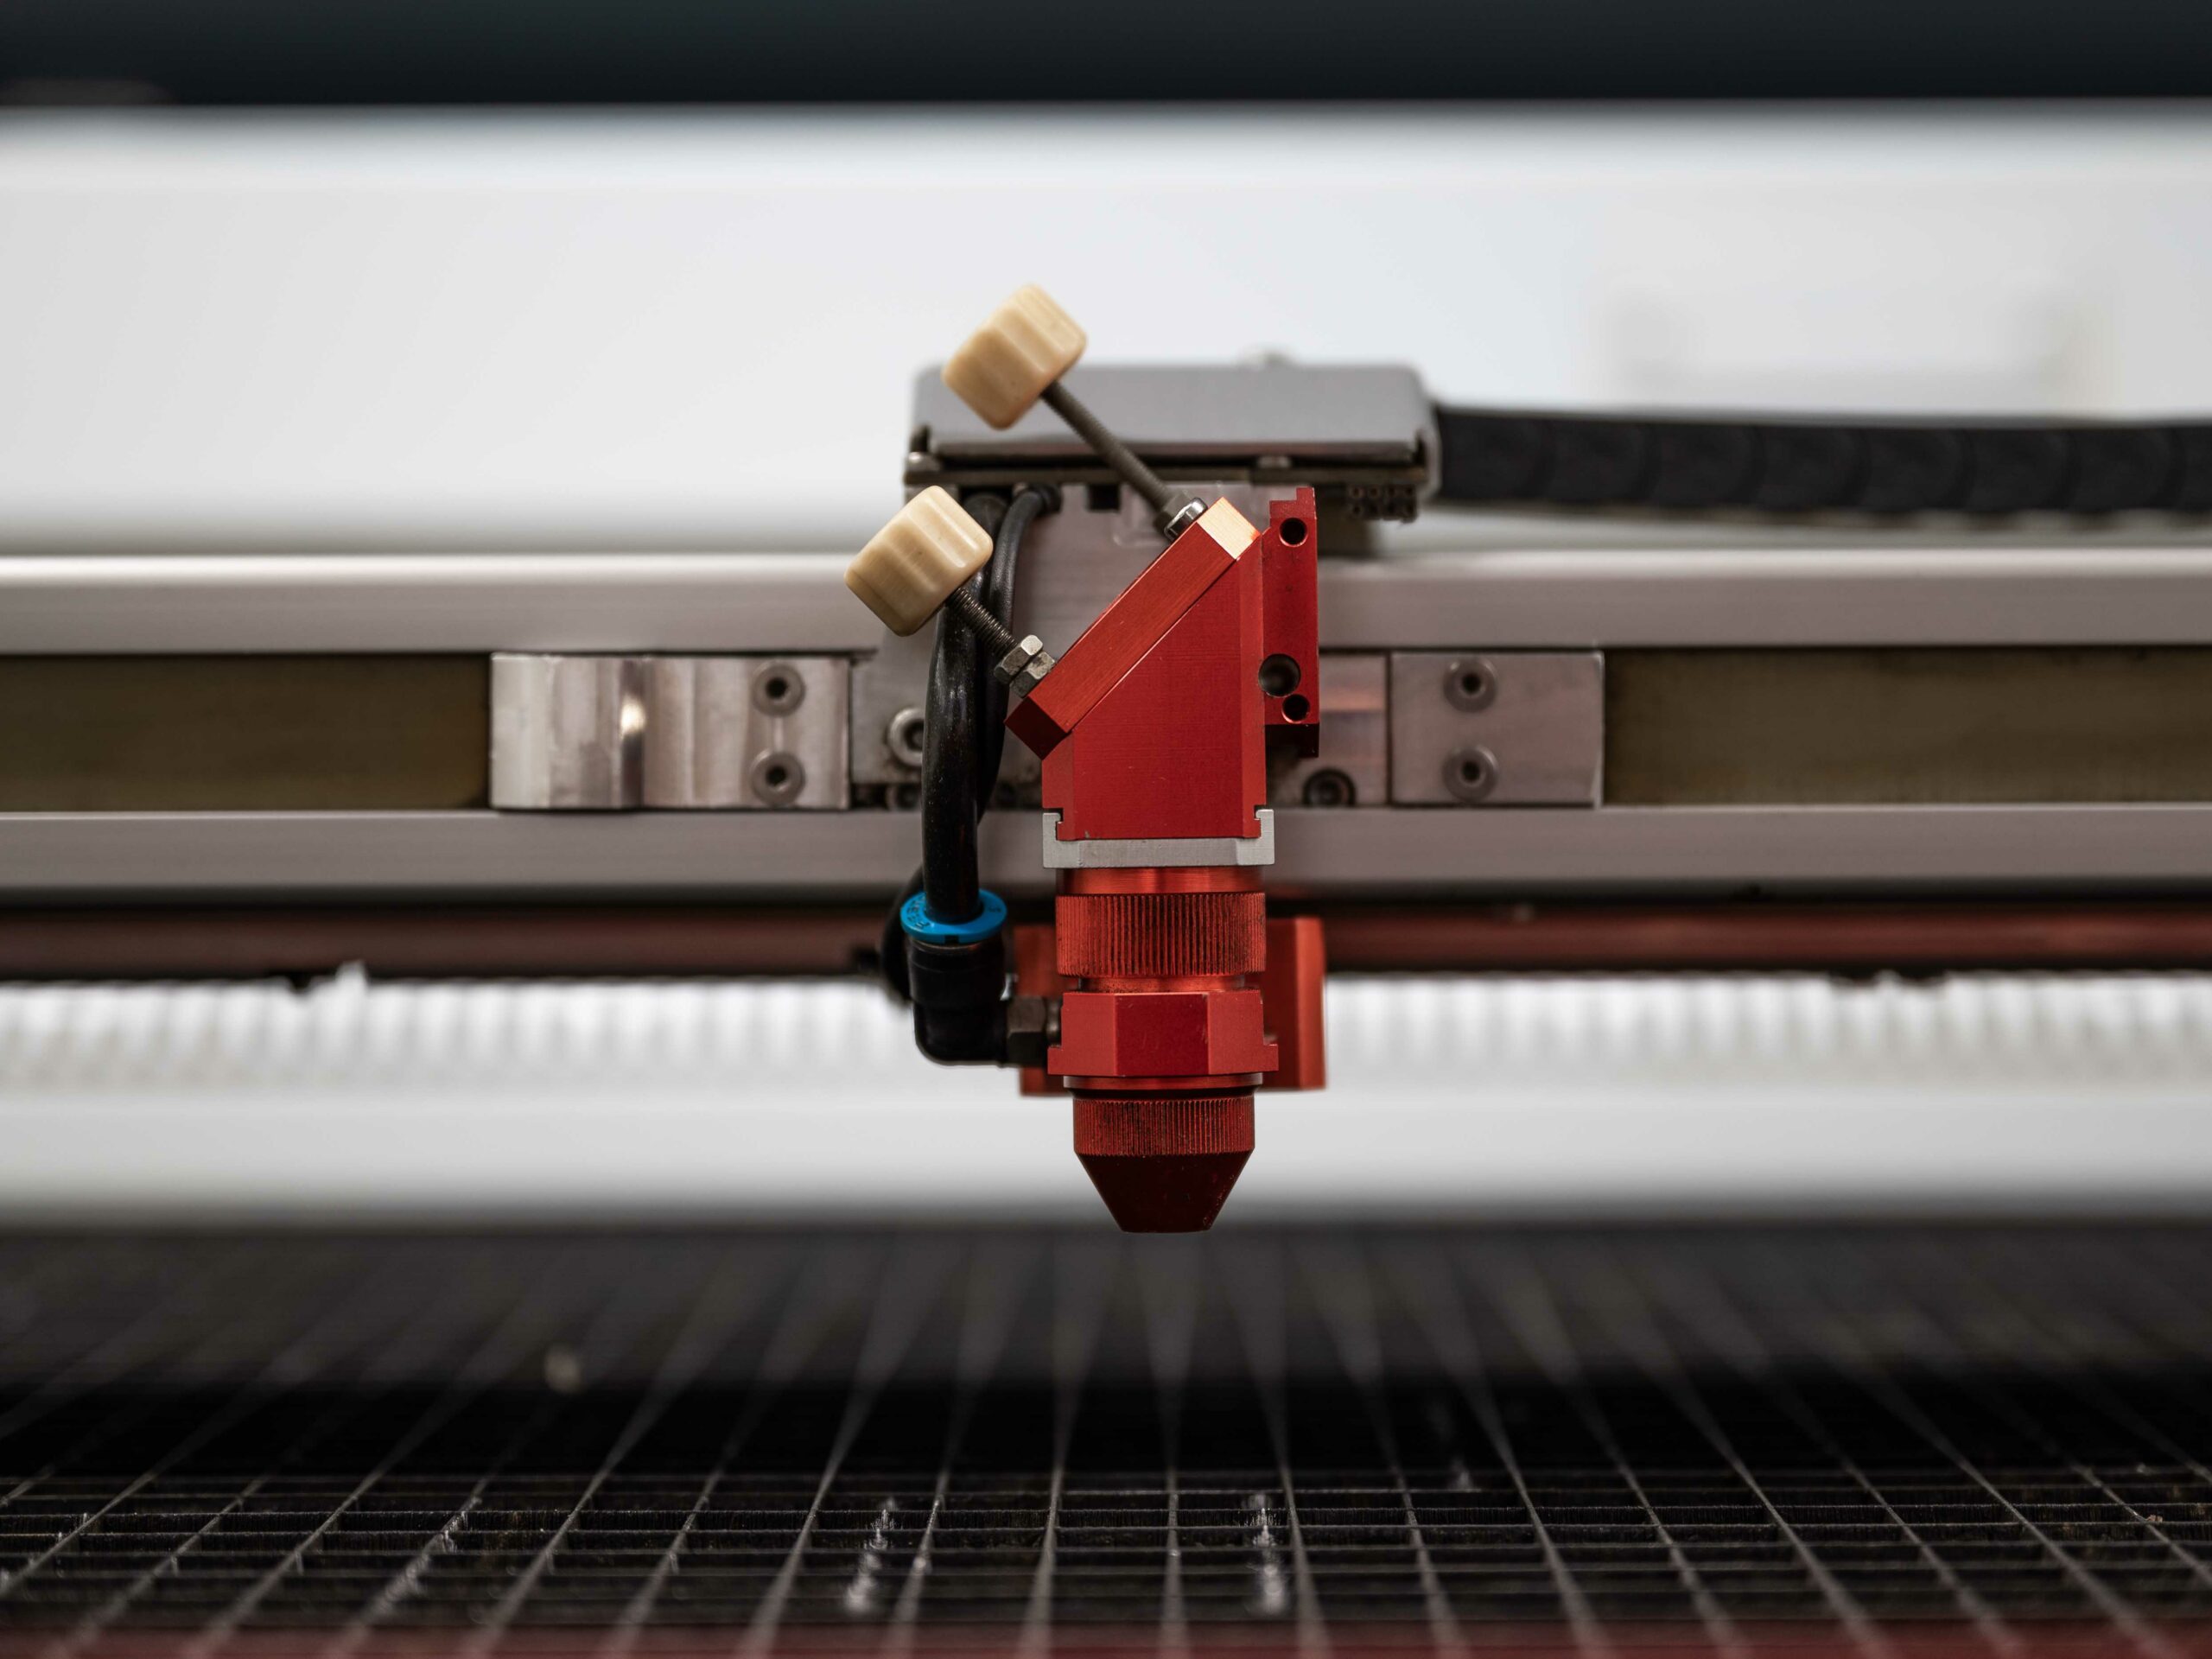
Laser Cutter
Laser cutting is a type of thermal separation process. The laser beam hits the surface of the material and heats it so strongly that it melts or completely vaporizes. Once the laser beam has completely penetrated the material at one point, the actual cutting process begins.
Leaves a burnt edge on all material except Acrylic
Can cut details smaller than 3mm
Can cut paper, cardboard, corrugated cardboard, Plywood and Acrylic
Has raster engraving as an option.
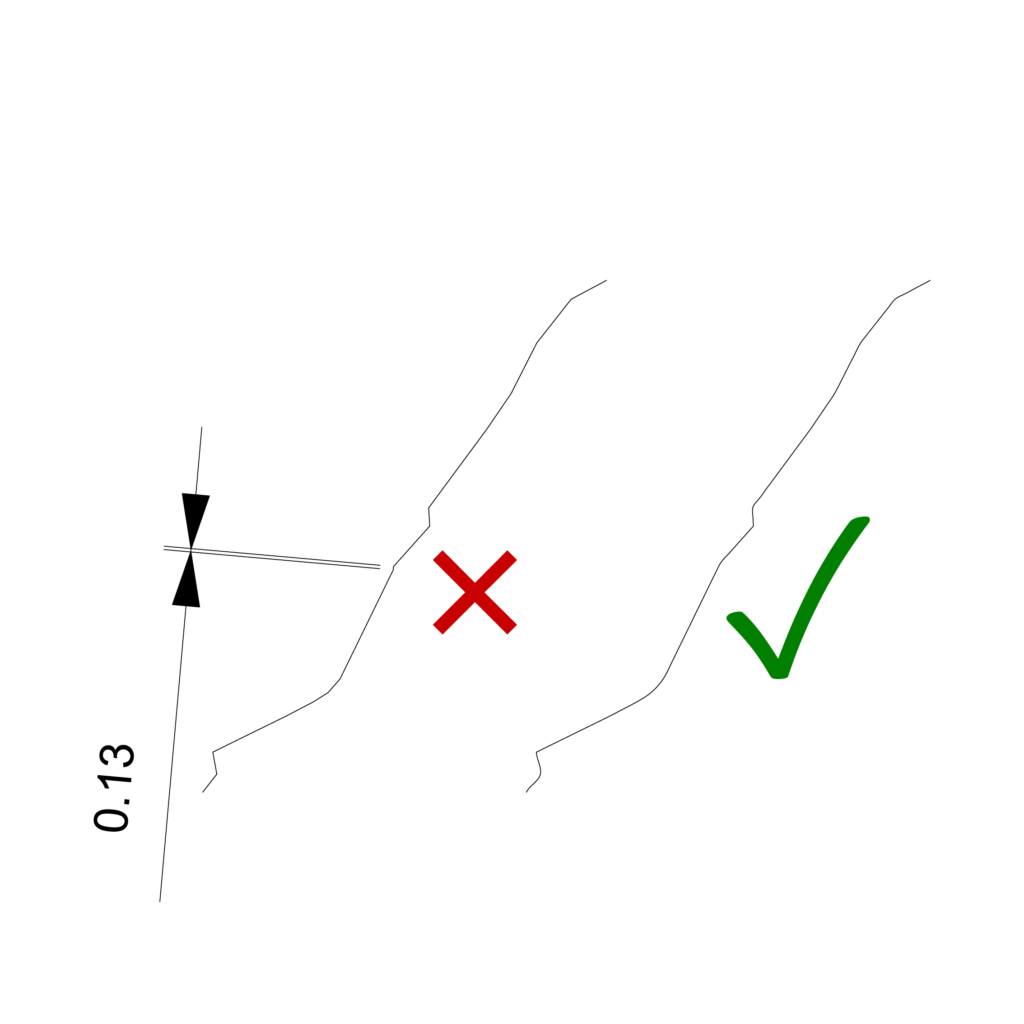
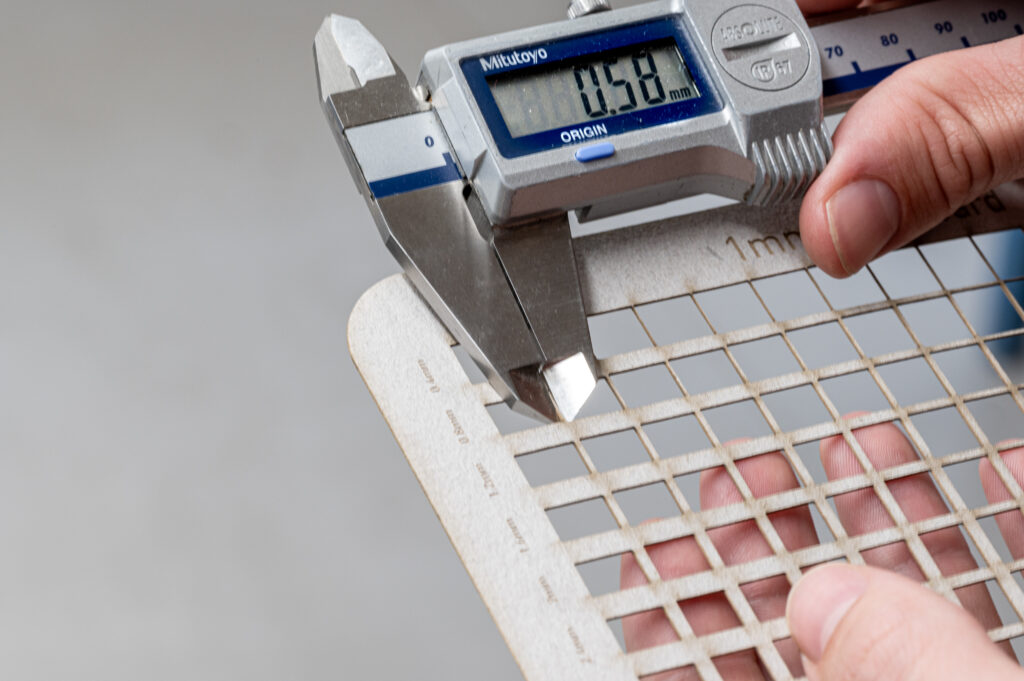
The laser removes between 0.1mm to 0.3mm from either side of the cut line. This is known as the laser kerf. In the above image we are checking the measurement of a sample which measured 0.8mm in the drawing and 0.58mm in reality.
When cutting very fine details (less than 1mm wide) it’s a good idea to offset the lines outwards to beef up the parts slightly.
The cut part without any offset
A printout of the original file
The part cut again with a 0.1mm offset in the drawing
Notice how the part with an offset looks closer to the original file.