If your job has small parts, it’s likely they will fall through the grid. This isn’t a problem as the grid can easily be removed to access the bottom tray.
Ensure the nozzle is towards the back of the machine
Lower the bed at least 5cm
Pull the red access panel towards you
Then simply lift up the front side of the grid without allowing it to twist
Remove your parts
Place the grid back making sure it is correctly seated with the locator pins
Put the red access panel back into position
Laser Engraving
There are 2 types of engrave options:
Raster engraving for engraved area (blue) and vector engraving for engraved lines (black). It is important to understand the difference to get the desired outcome and knowing which type to use when can also save a lot of time.
Vector Engrave
The laser follows the vector lines and draws them as a single line.
You can only use vector lines for the vector engrave setting.
The Line weight is ignored by the software.
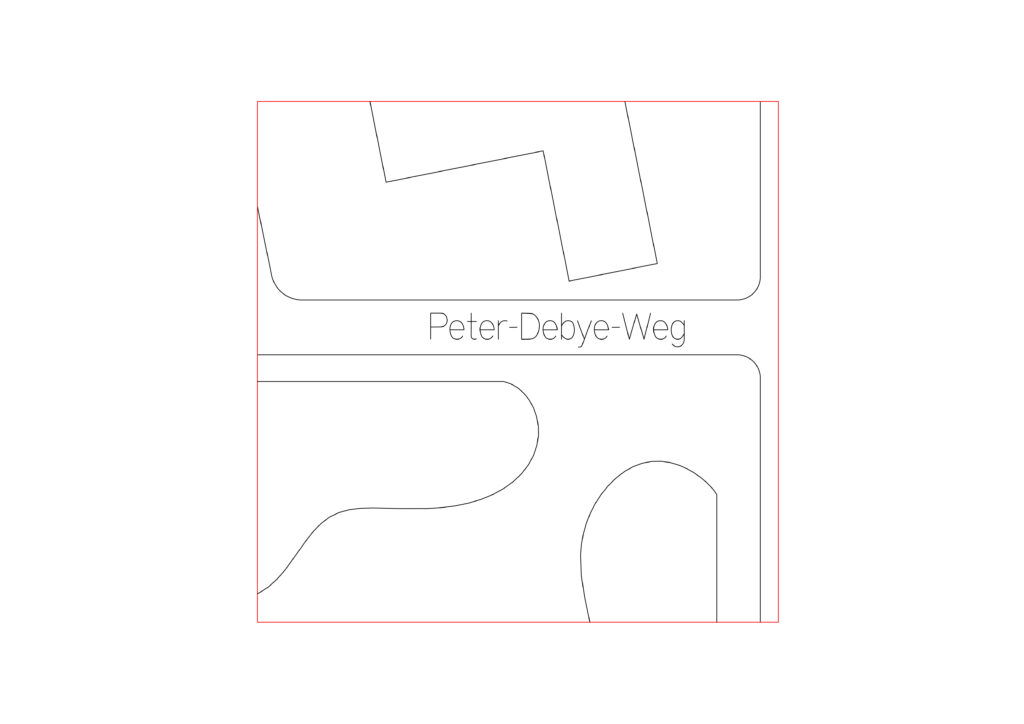
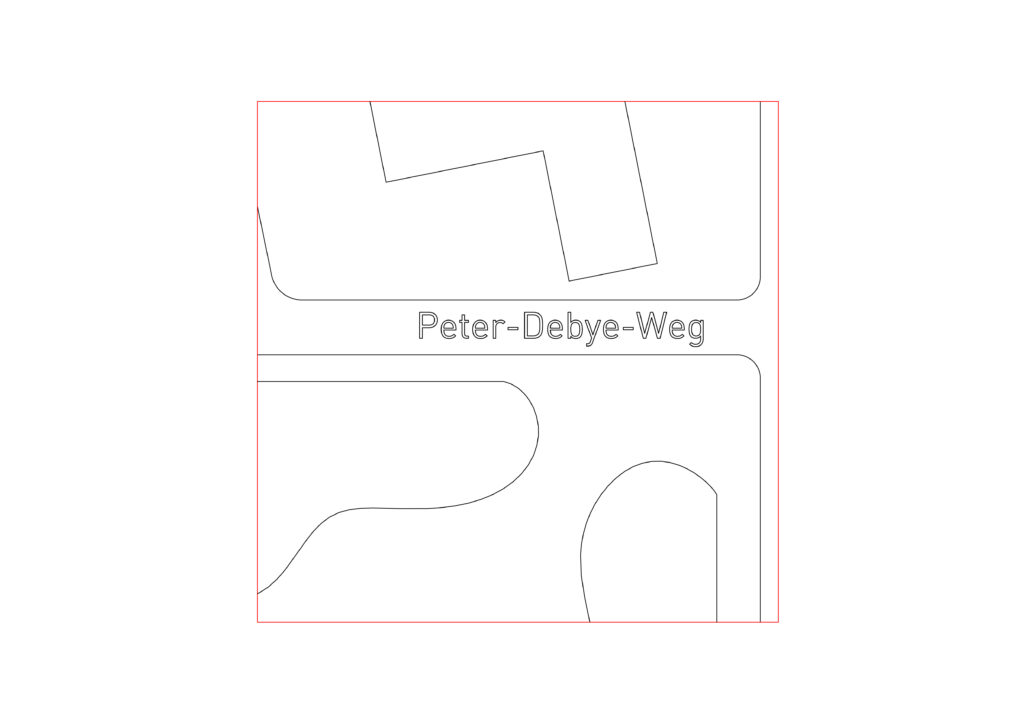
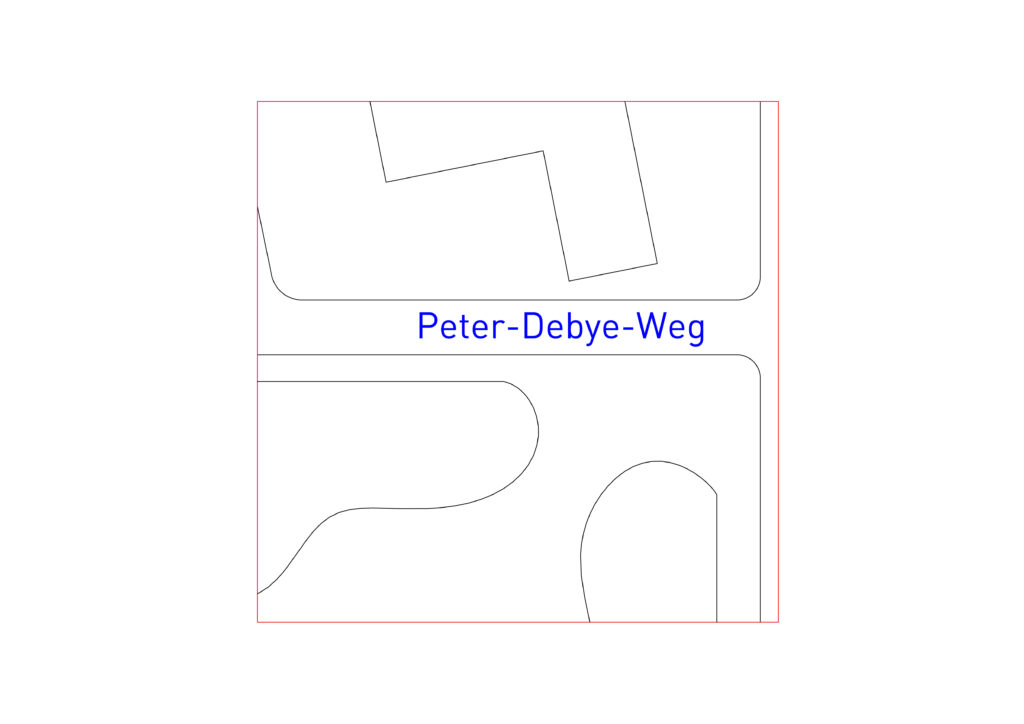
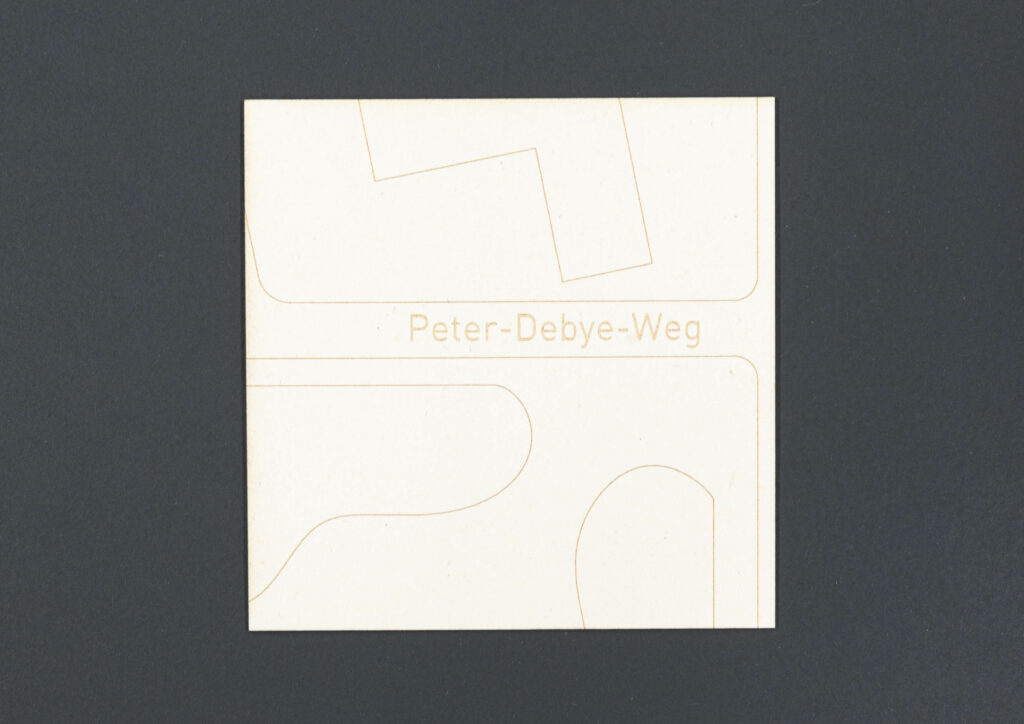
Single line text (SLF-RHN Architect)
Text laser time 10s
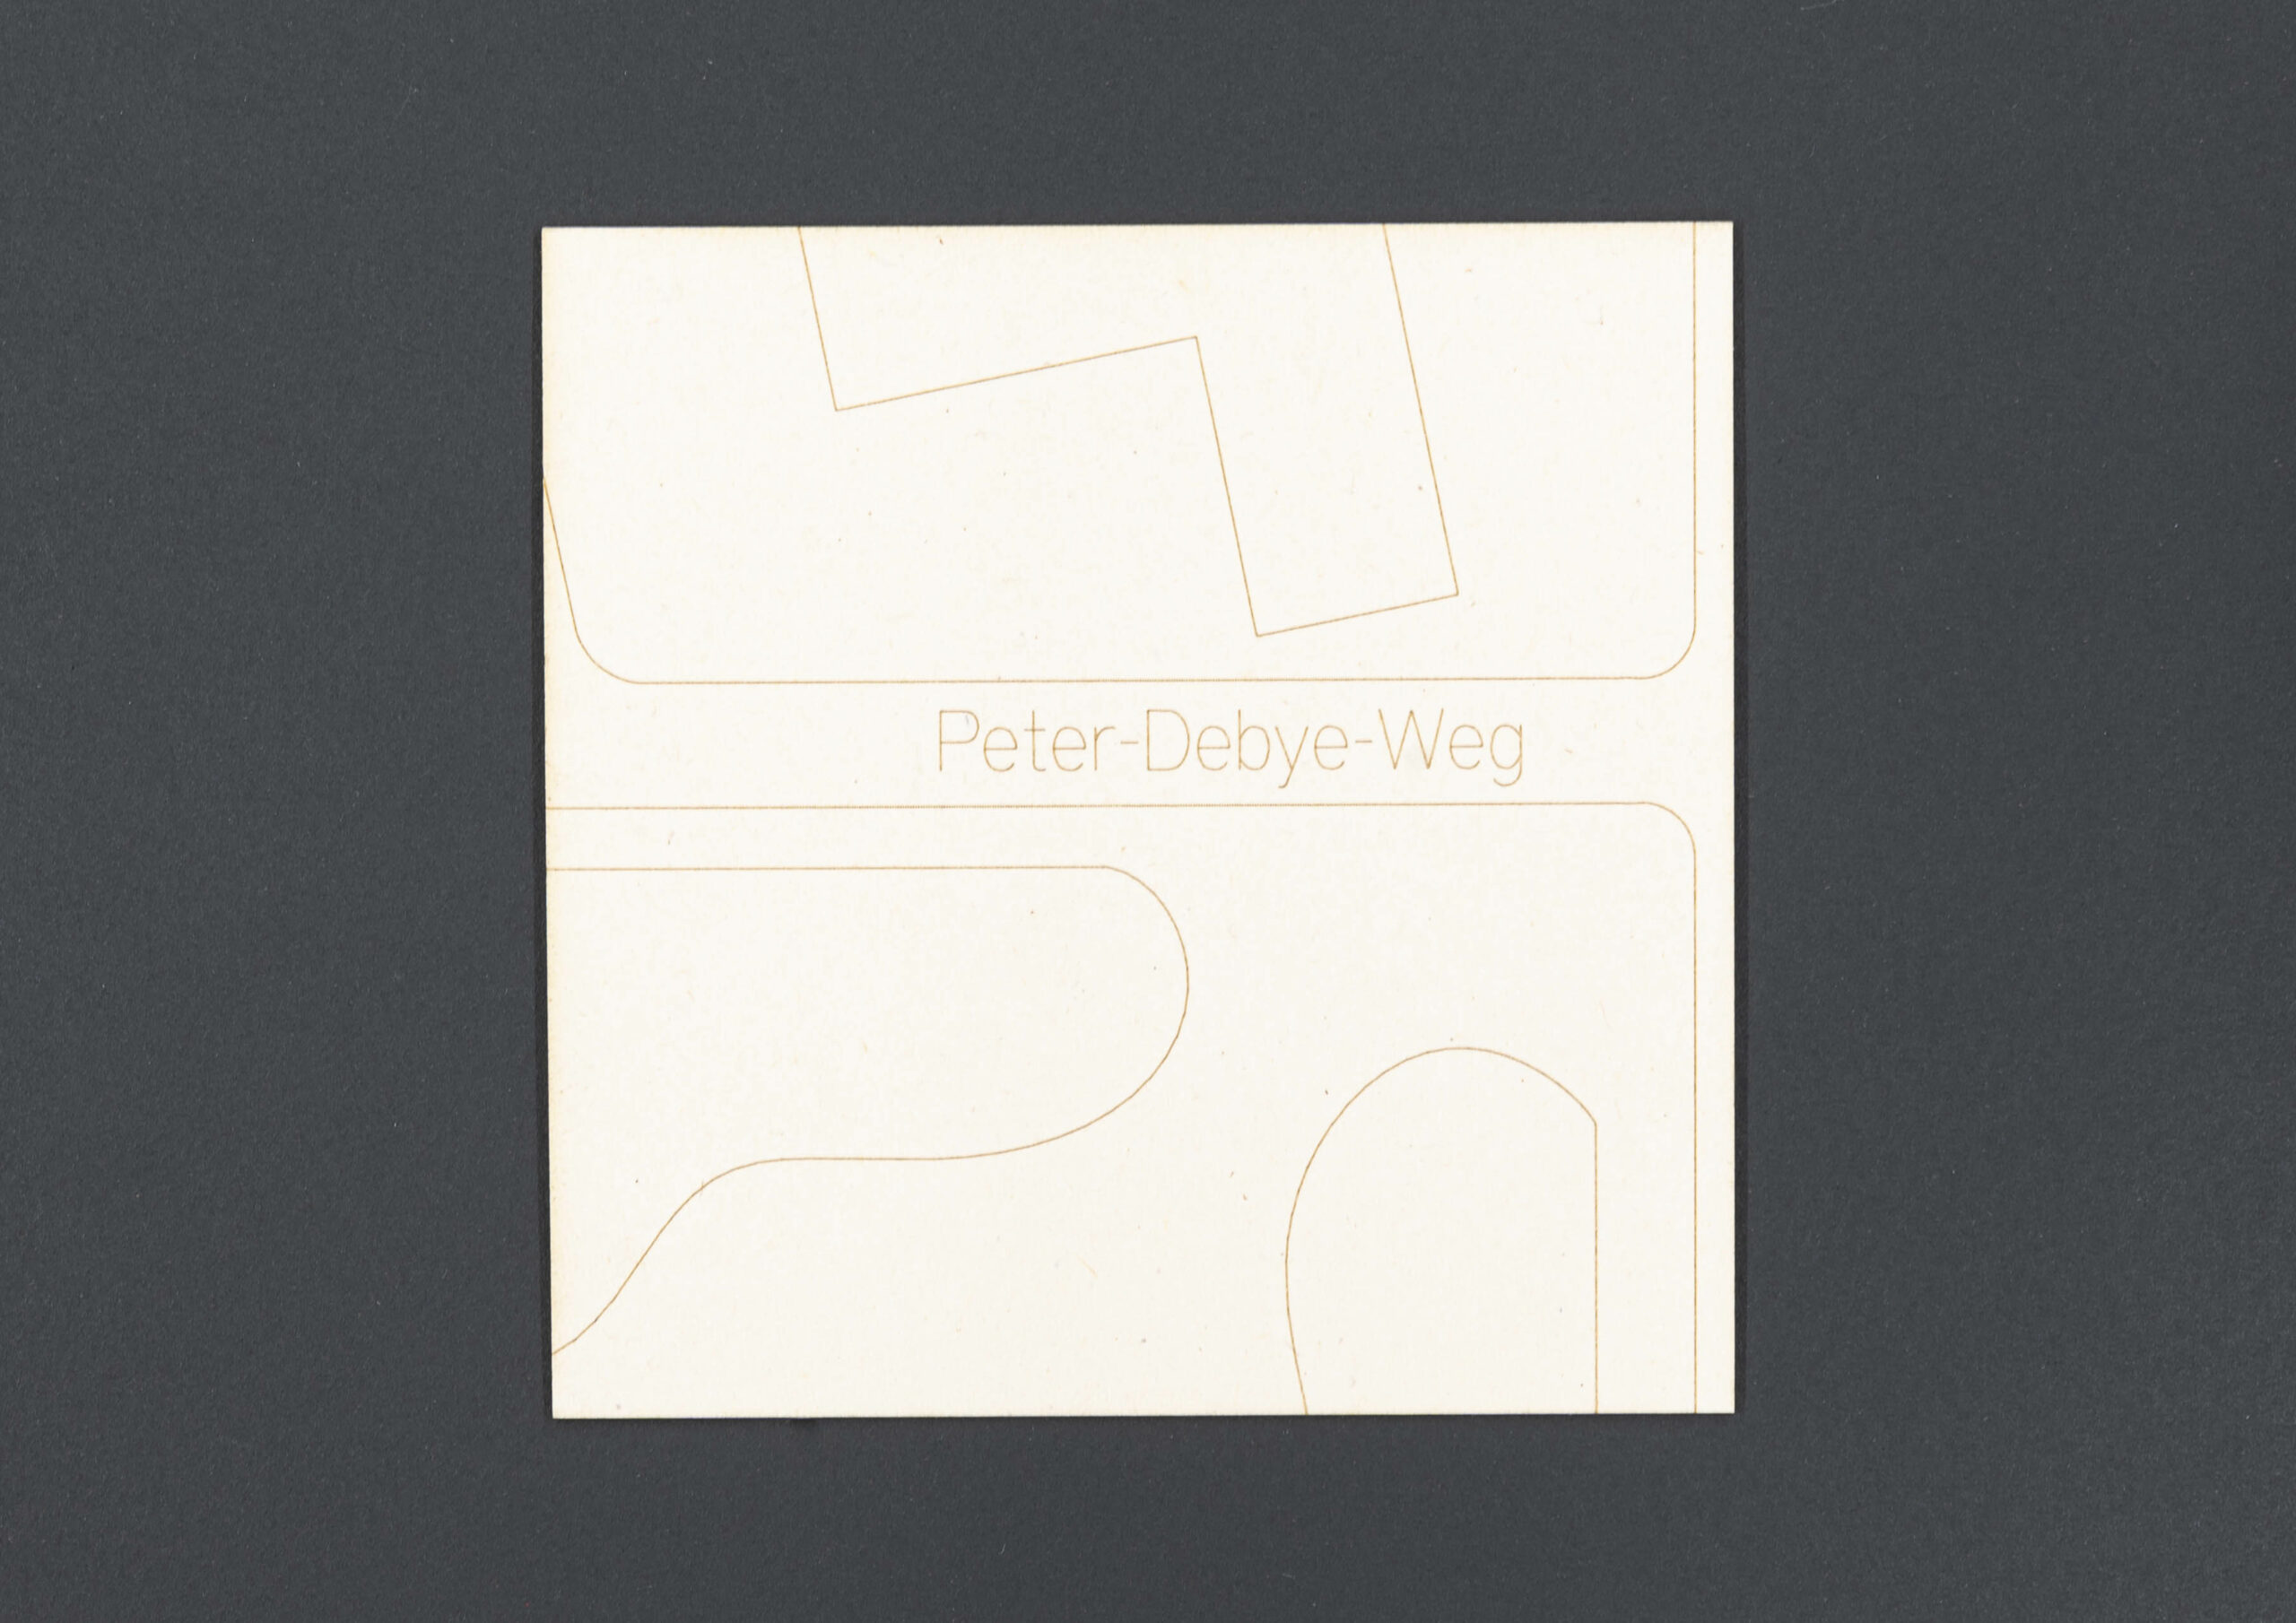
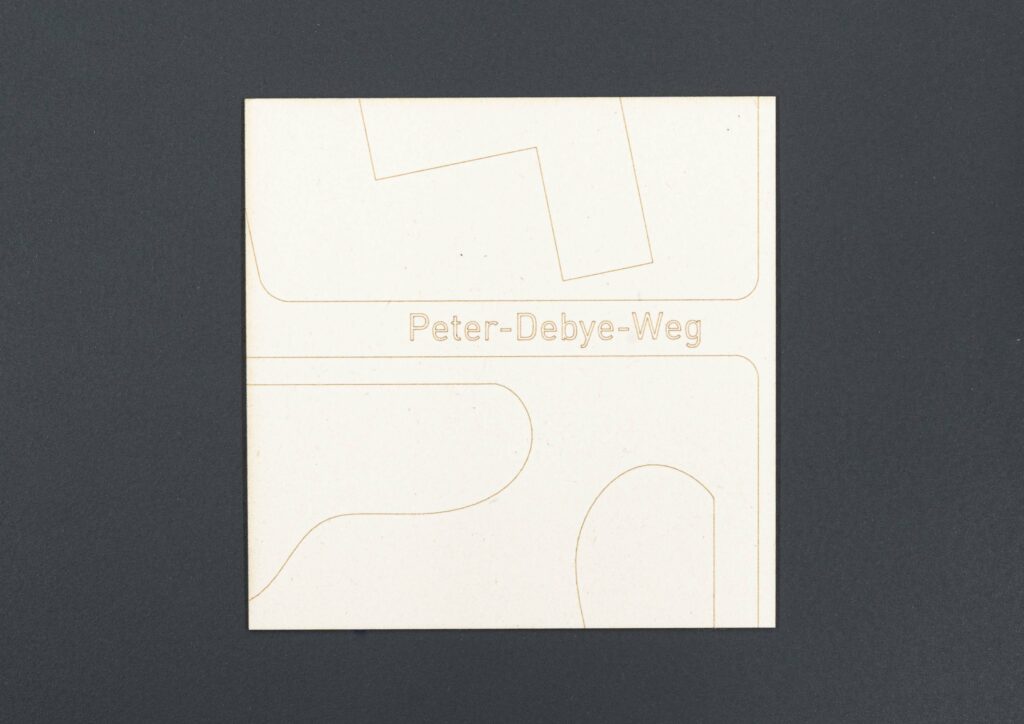
Physical Example
Outline text
Text laser time 19s
Physical Example
Raster Engrave
Raster engraving is created by the laser scanning the engraved areas very much as a printer does, filling the area to be engraved line by line.
Used when to engrave an area, for example a QR code, a surface, or an image.
The line weight of vector lines can be adjusted to engrave a thicker line.
Raster engrave is very time consuming and should be avoided during the end of the semester unless it helps to increase fabrication speed. In some instances, especially when there are many small individual lines that make up a texture or pattern it can be better to use the raster engrave.
Raster Text
Text laser time 14s
Physical Example
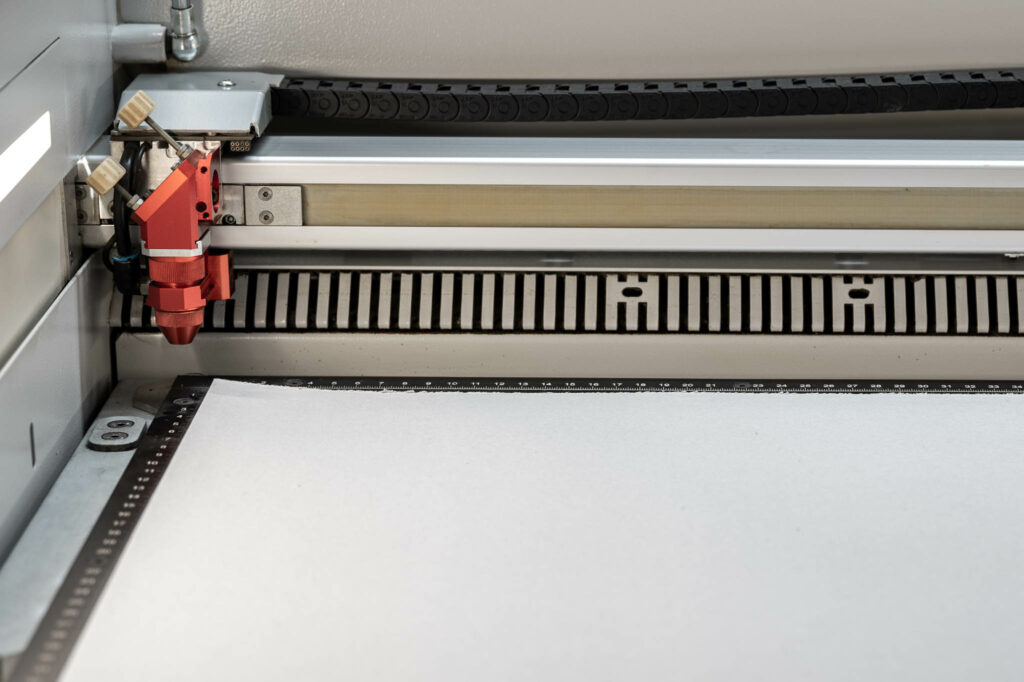
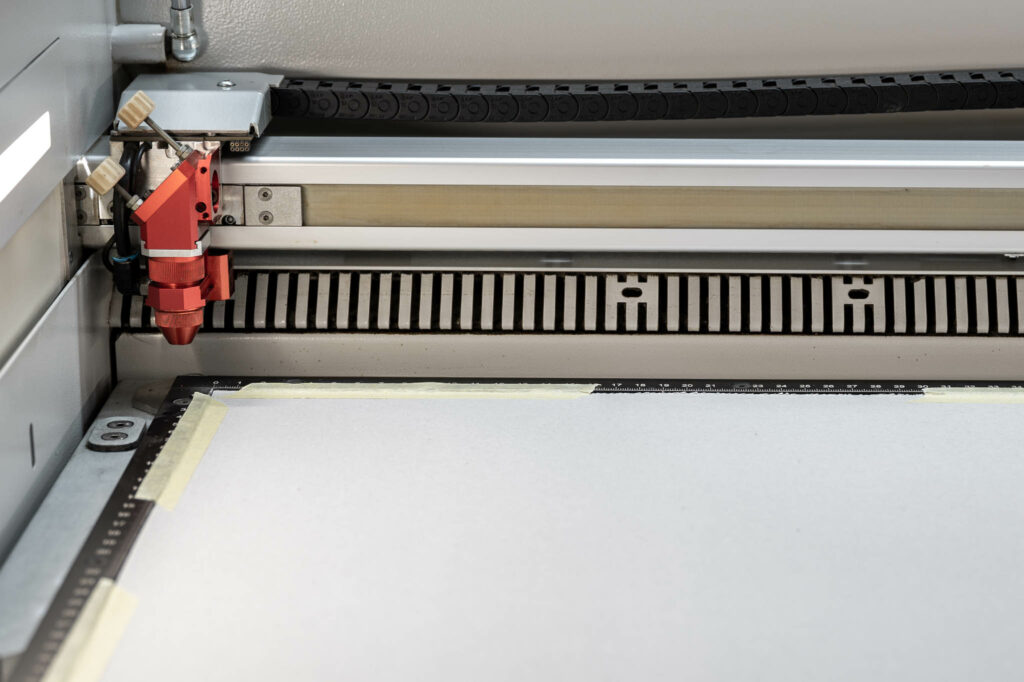
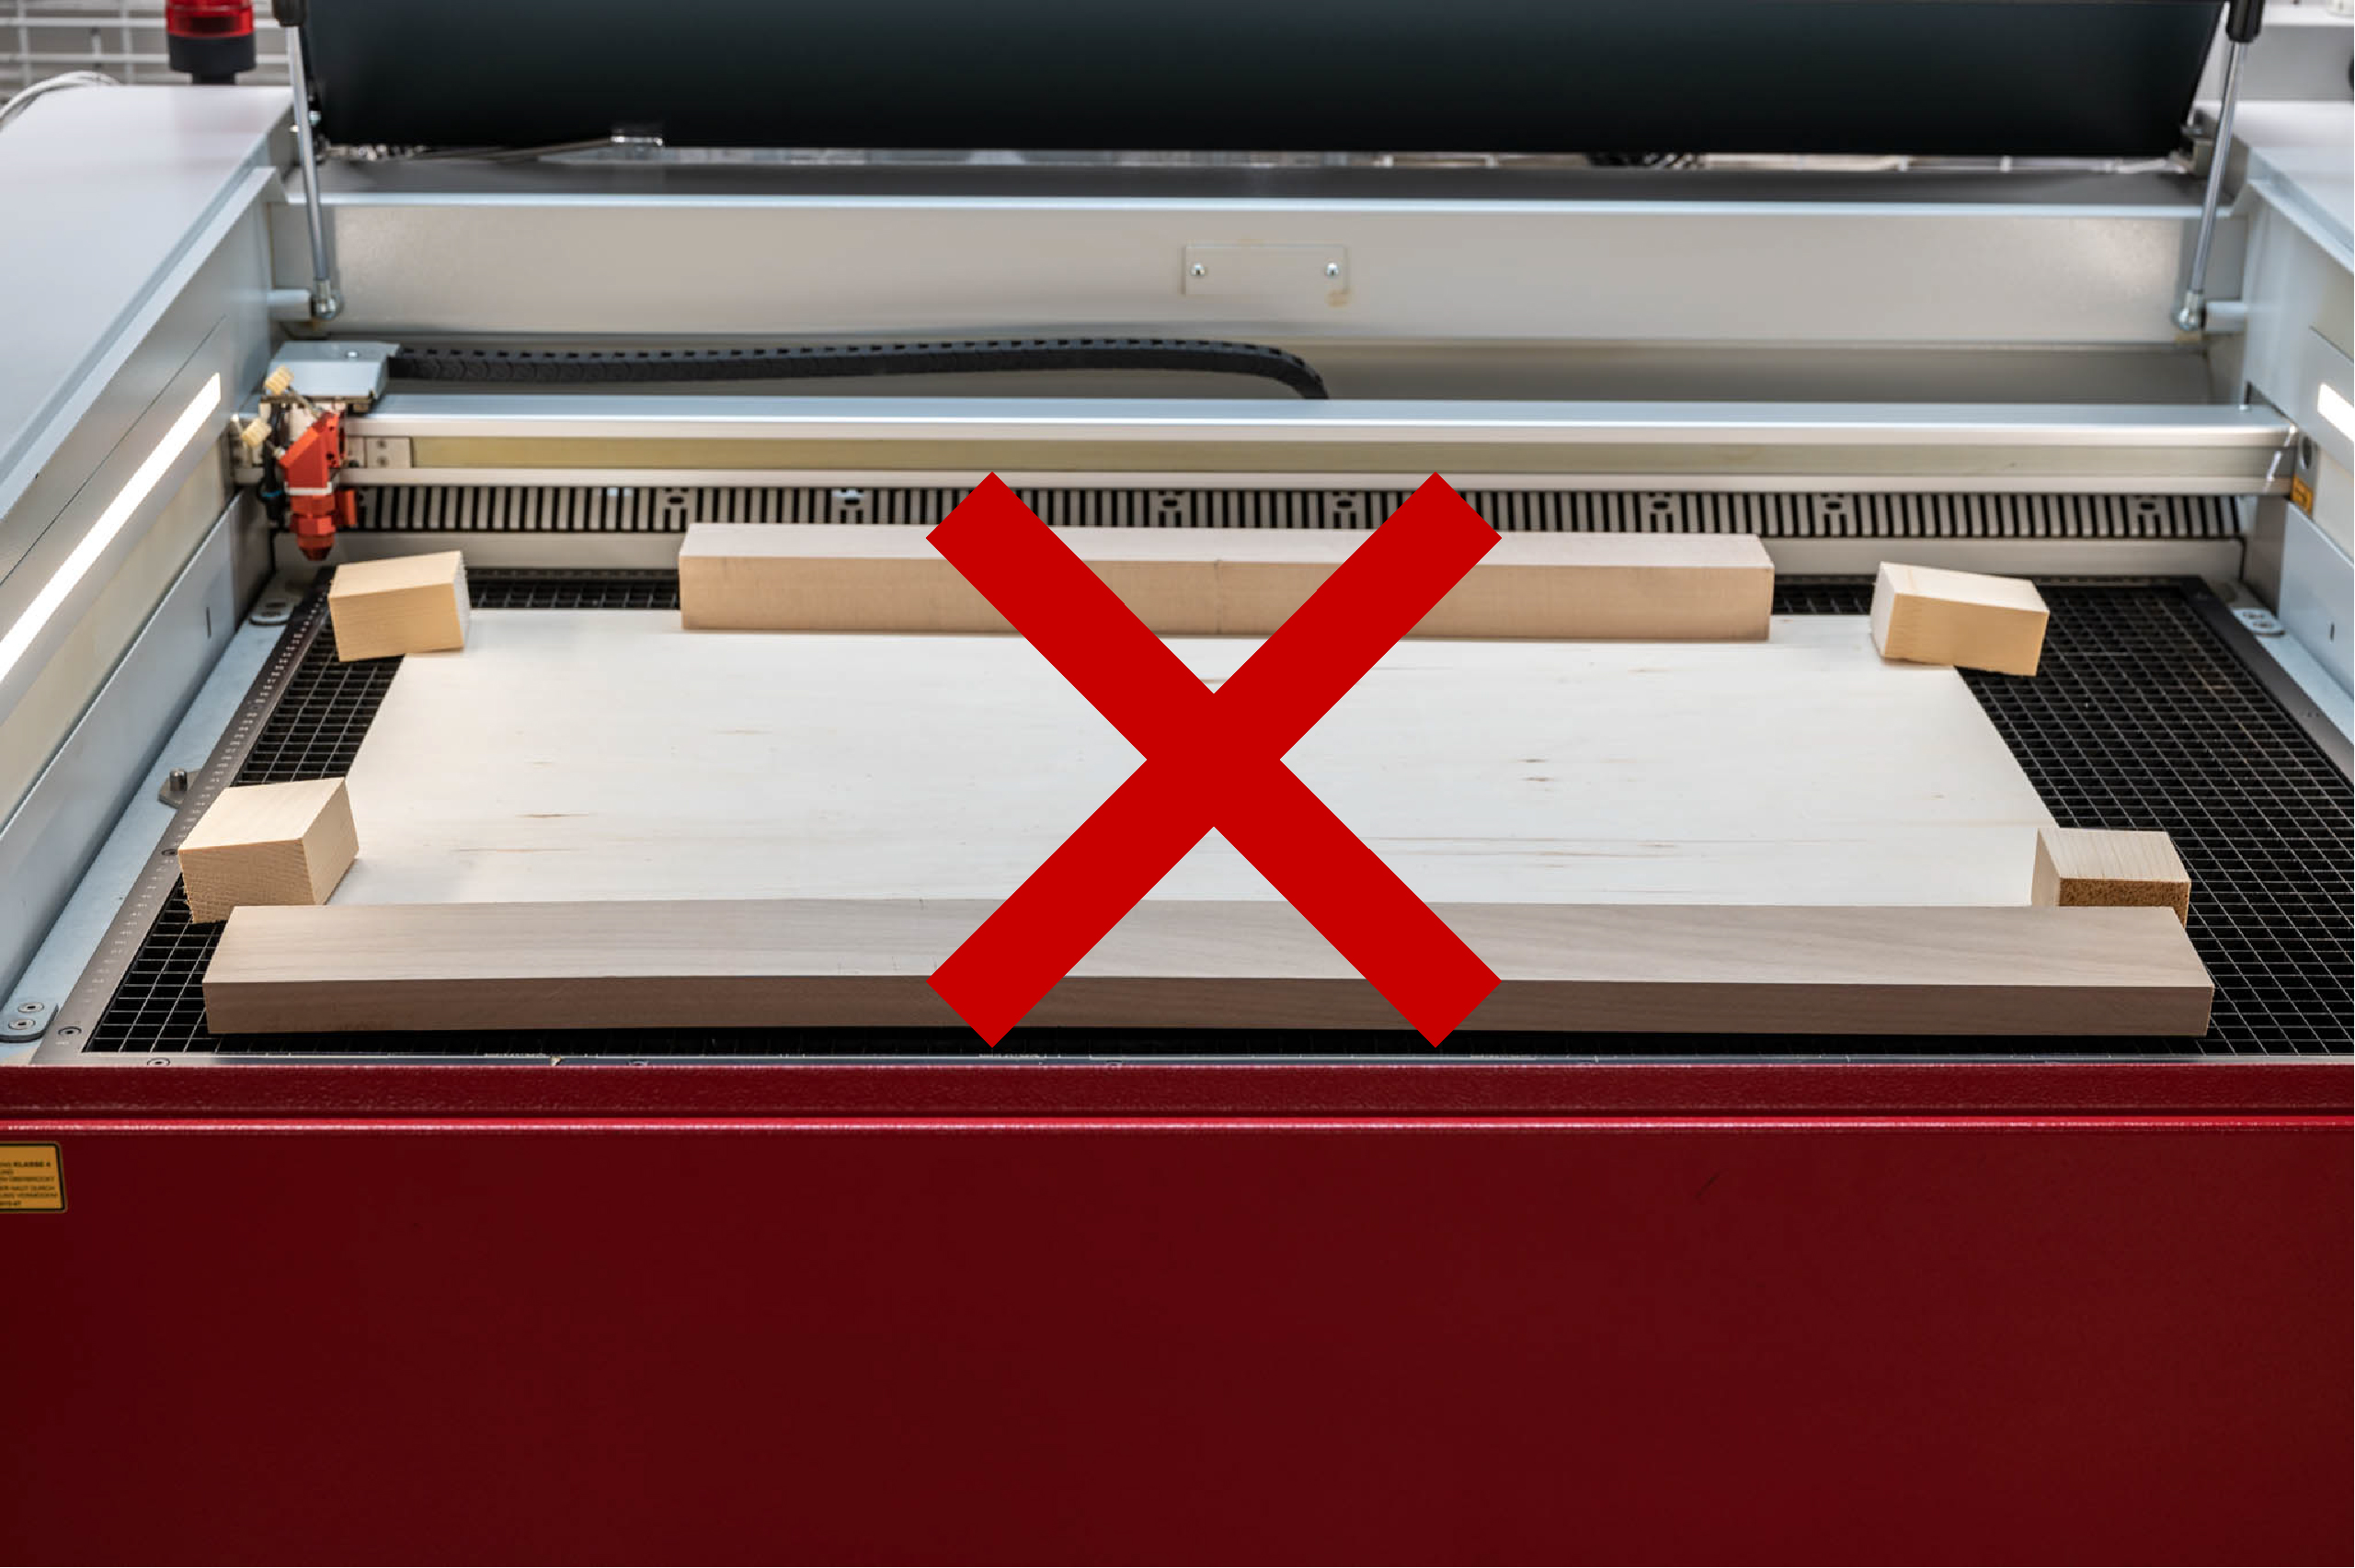
Keeping the material Flat
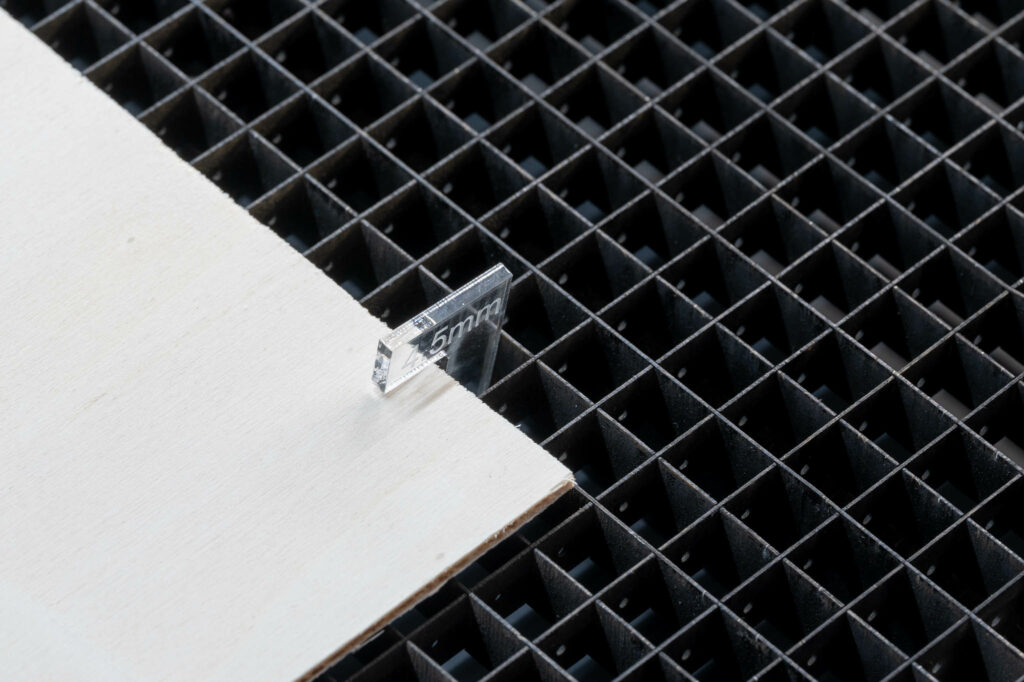
If the machine bed of the laser cutter is out of focus by 1mm it can affect the quality of the cut to the point where it is no longer cutting through the material.
Therefore, it is important that the material we are using sits completely flat on the machine bed. When using cardboard, this can usually be solved by using strips of masking tape around the edges against the laser bed border. If, however, the card is thick or you’re using plywood, this solution may not work.
We use a set of laser hold down clamps that can be slotted into the laser grid to remedy this problem. Please be aware that that the material has to be 50mm smaller than the full bed in one direction to accommodate the clamps.
Never use blocks or other objects to weigh down the corners of your material. Starting the laser while something exceeds the nozzle height will result in the nozzle crashing into it and very likely cause damage to the machine!