Adhesives For Model Building
More information on adhesives can be found on www.materialarchive.ch
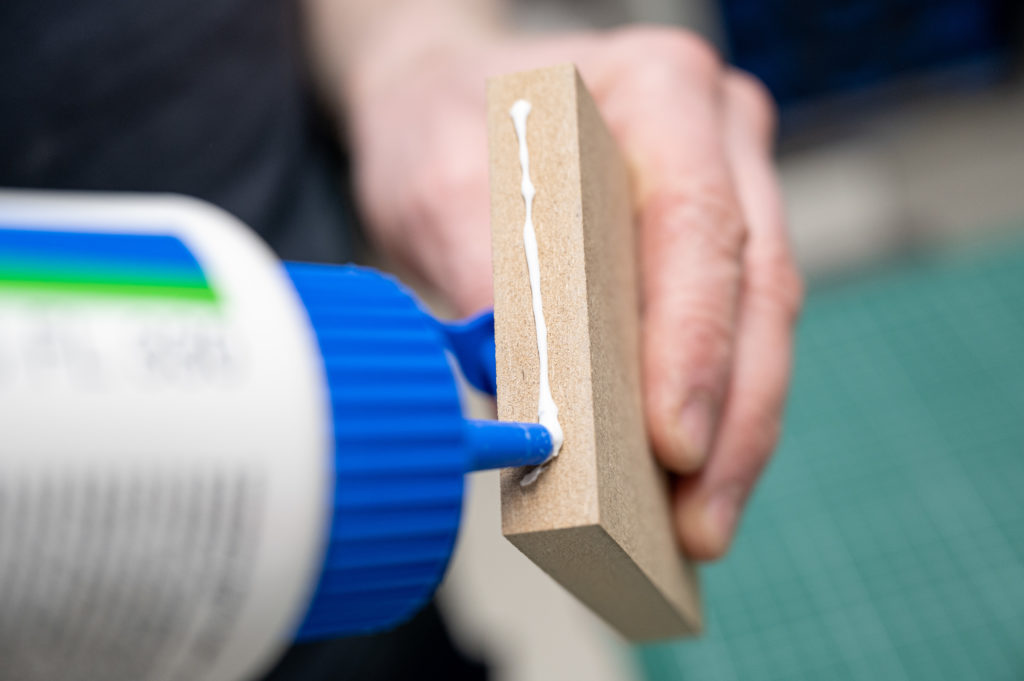
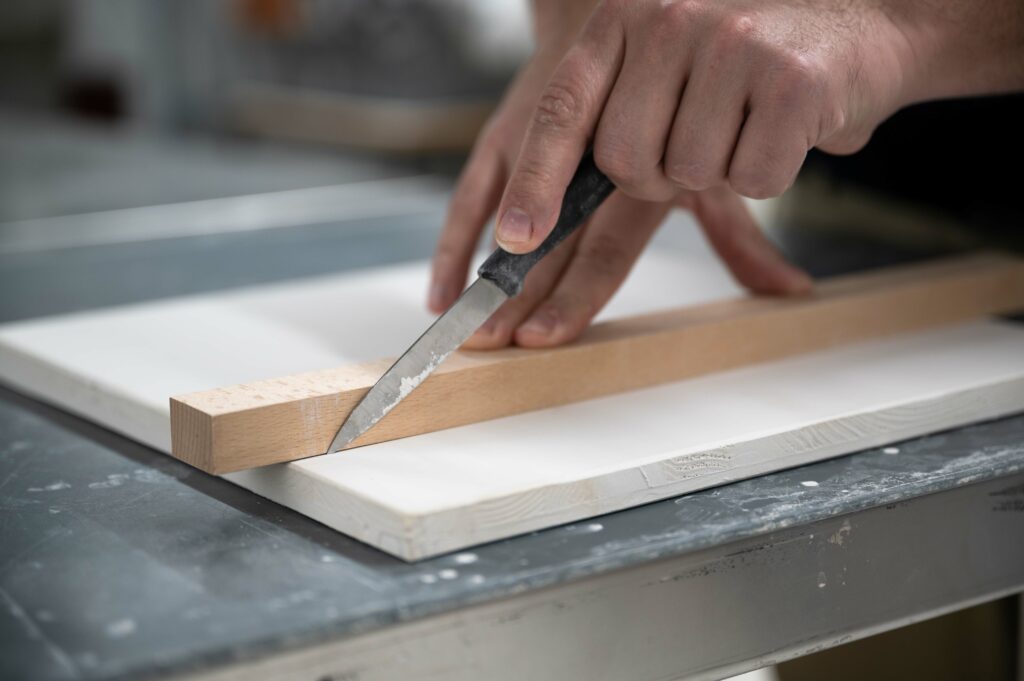
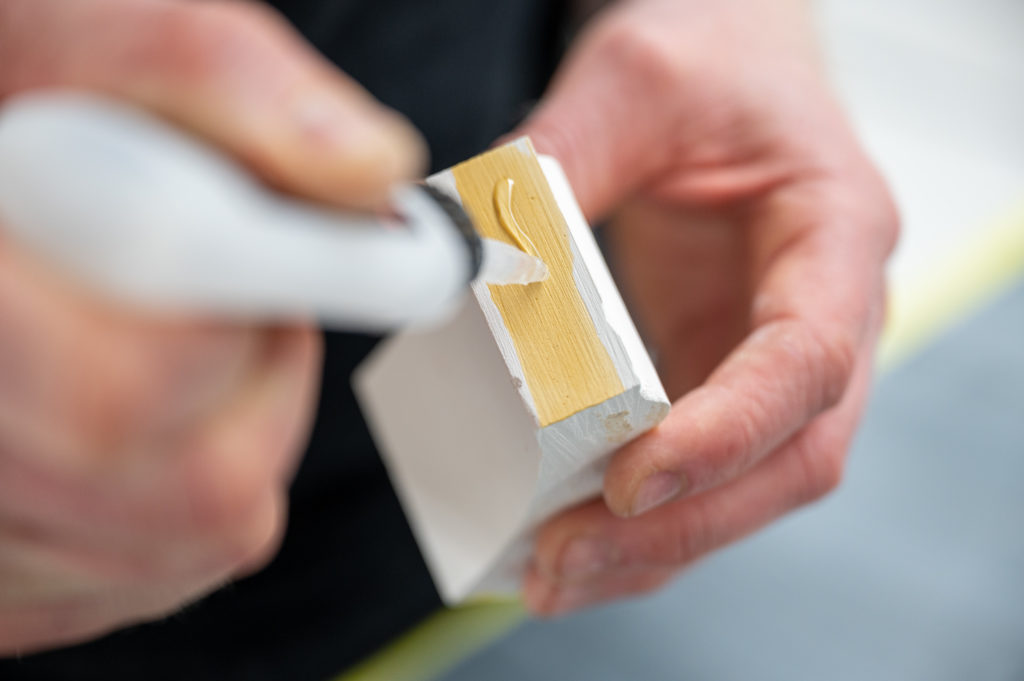
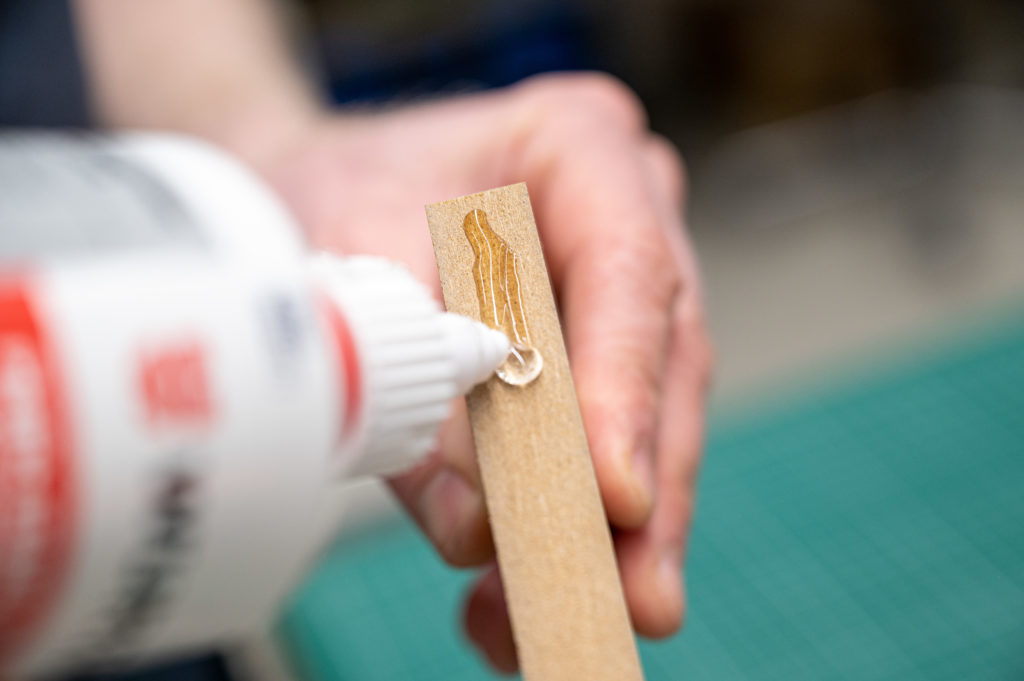
PVA Glue
Polyvinyl Acetate Glue is typically sold as white glue and used on various materials – mostly paper and wood. Objects that must be joined permanently need clamping pressure to form an acceptable bond. PVA glue is stronger than wood, meaning that the material will fail before the glue does. The glue is excellent for gluing edges of the cardboard and is fast curing if applied in small amounts. Model builders typically apply PVA glue with a toothpick to the delicate edges of the card to avoid excess moisture and slow curing.
Materials: Wood, MDF, Paper, Cardboard, Leader, Foam Board
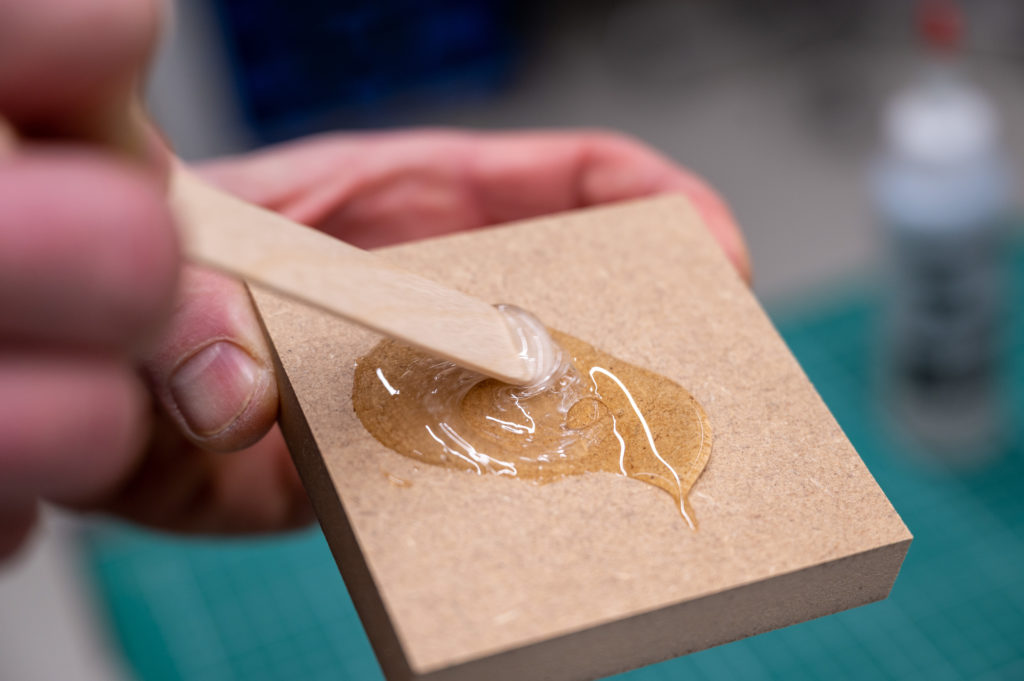
CA Glue
Cyanoacrylate Glue is the go-to glue for professional model builders. It typically comes in three types of viscosities. Low viscosity for fixing cracks and applications that rely on capillary action. Medium viscosity for general purposes and low viscosity for applications where the glue needs to fill small gaps. CA glue can be used with a dedicated accelerator to speed up the curing process. For special purposes, the glue can be mixed with talcum powder to form a soft putty for filling and sanding or baking powder to instantly cure the glue and form a hard, durable joint.
Materials: MDF, Wood, PU Block, PS
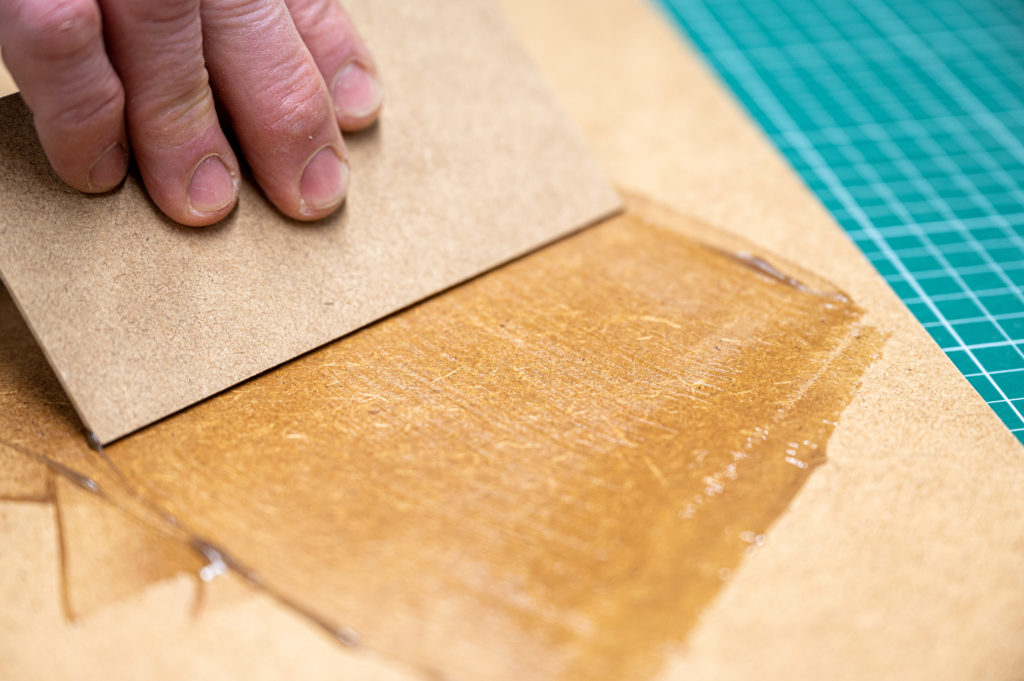
Contact Adhesive
Contact Adhesives can join a wide variety of different materials. The process typically involves applying the glue to both sides of the joint, waiting for a couple of minutes for the glue to dry, and then pressing the two parts together. The glue is activated by pressure. This technique lends itself to applications where large surfaces must be laminated together and are not used in wood joinery or constructions where edges are joined. Typical applications are laminating some top layer to a substrate like in veneering or for joining foam.
Materials: Laminates, Foam
PU Glue
Polyurethane Glue is activated by moisture and tends, depending on the type of glue, to expand (foam). The foaming action helps with filling any voids in unregular surfaces and parts. Typical applications range from installing door frames to manufacturing plywood prototypes. PU Glue is a niche product in model building and is primarily used for laminated plywood or difficult glue-up situations.
Materials: Wood, Plywood, Veneer

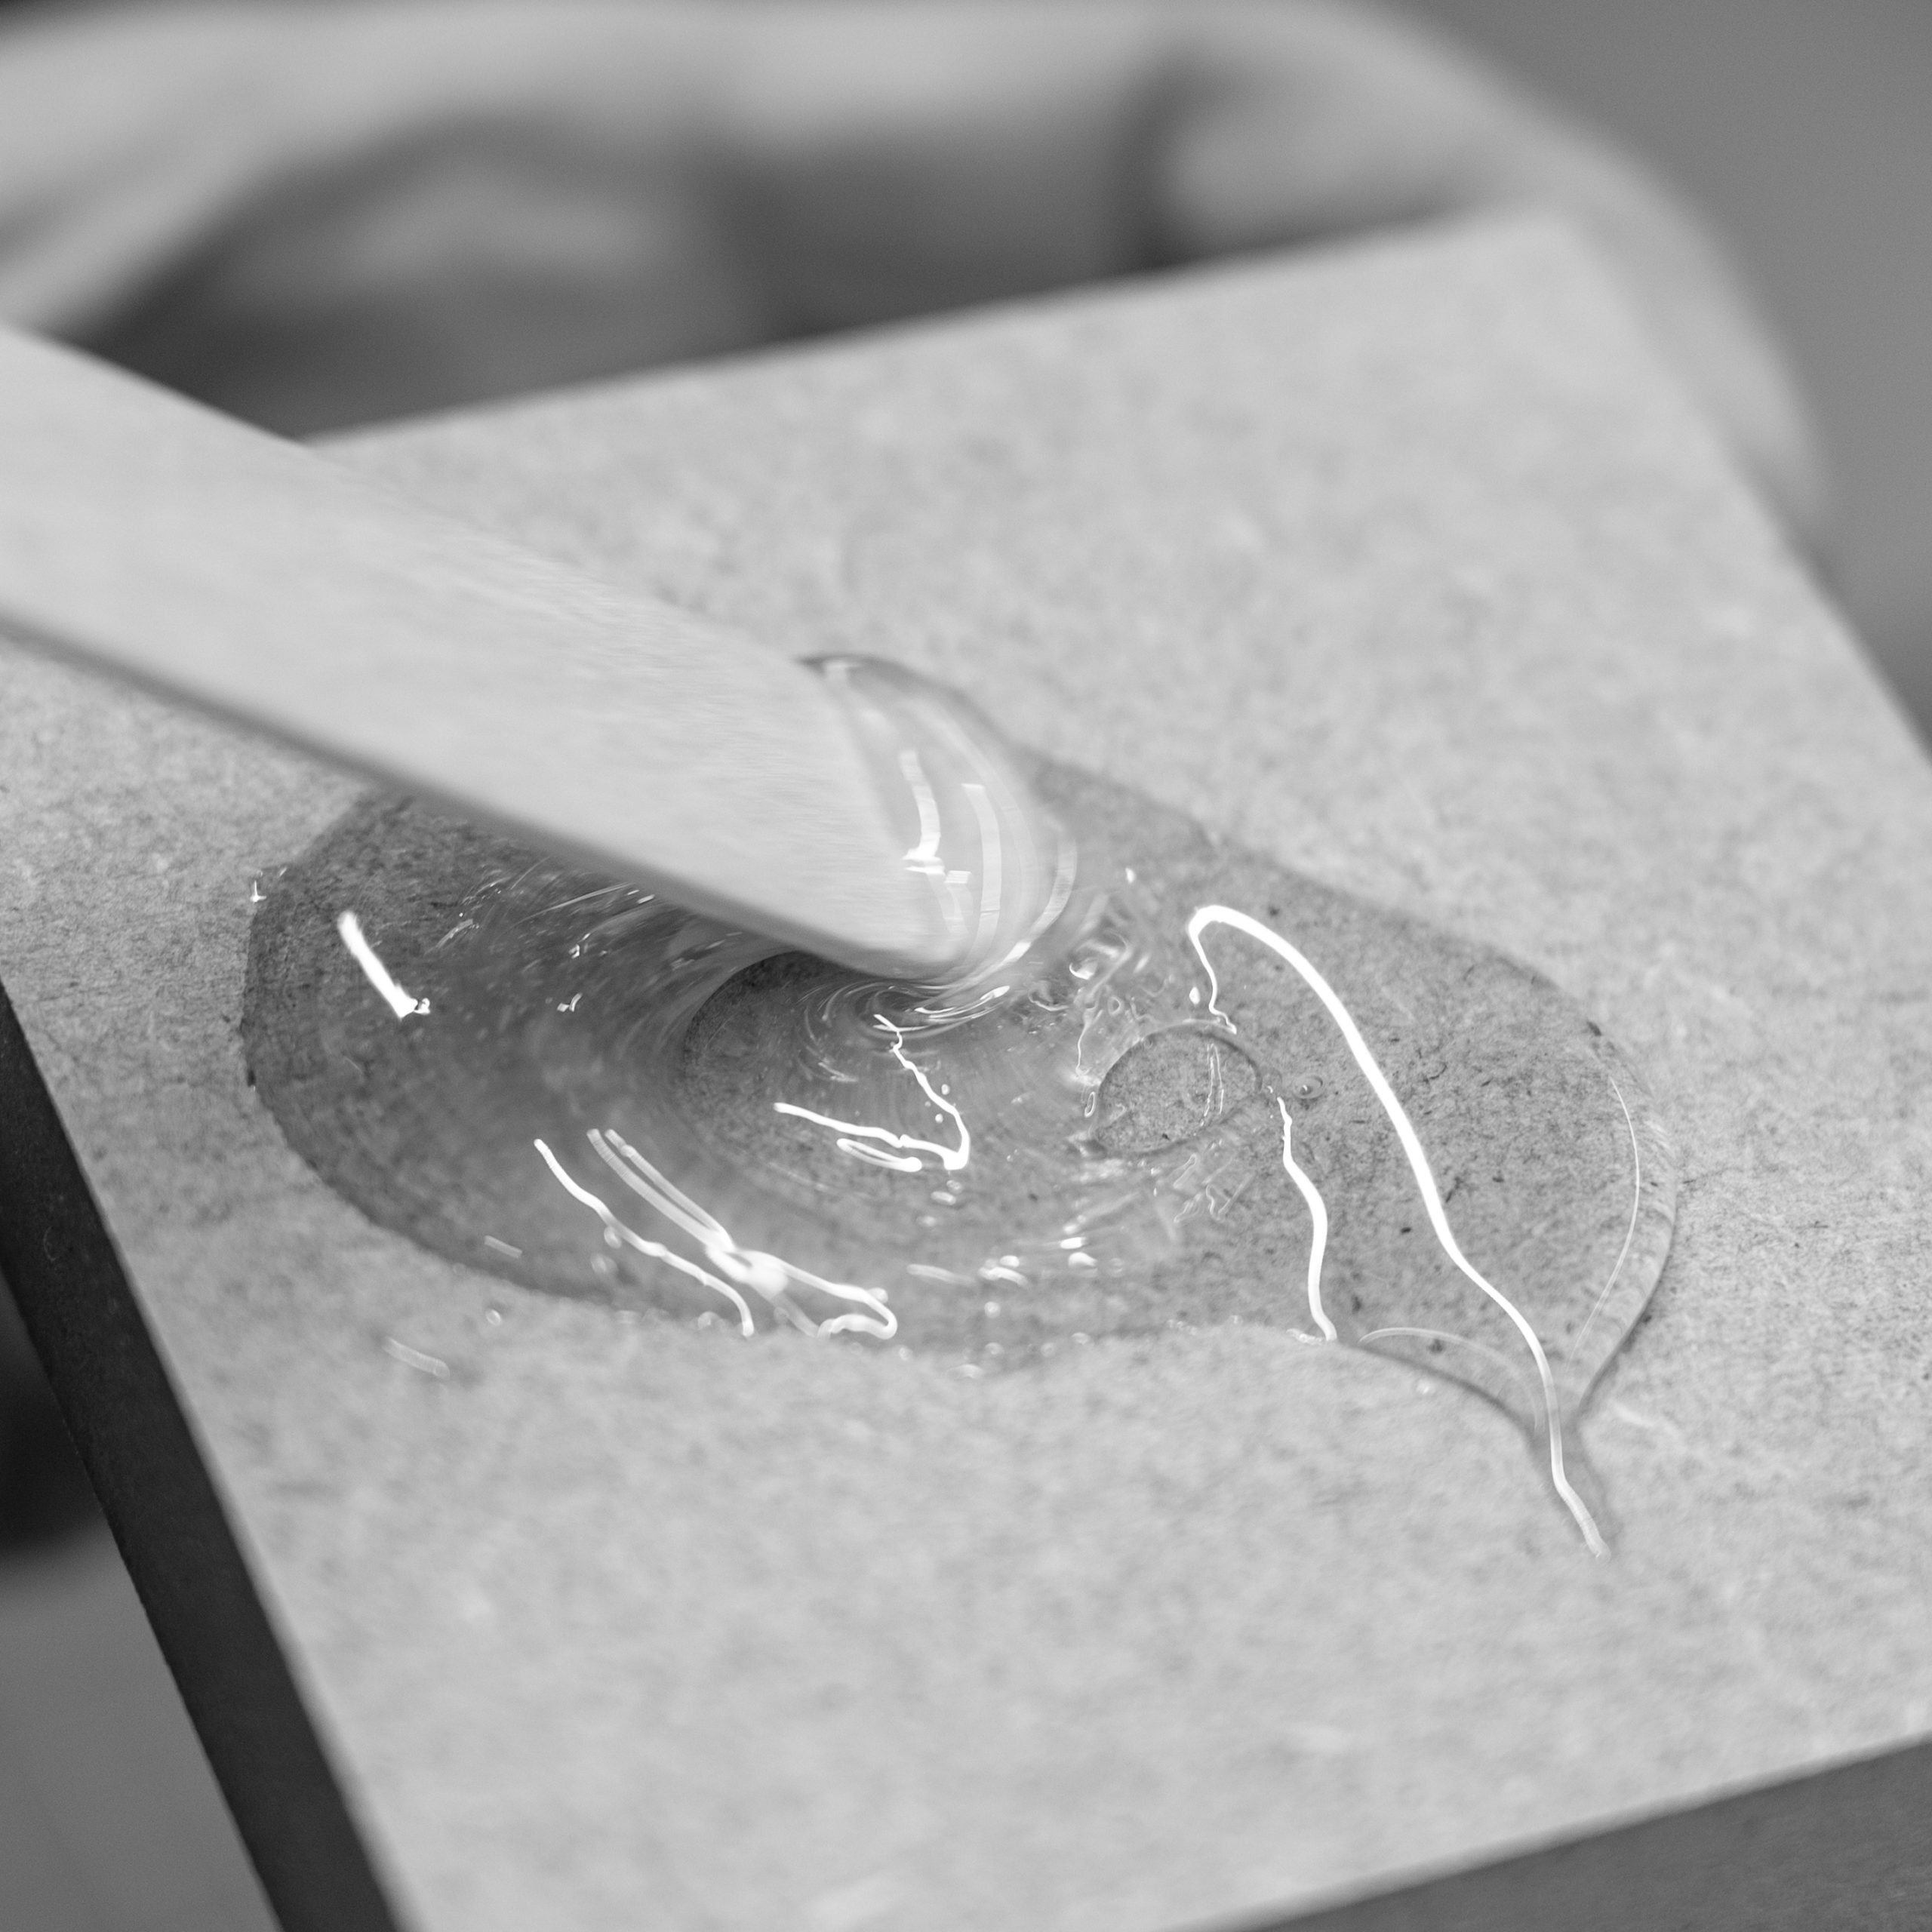
Dichloromethane
Dichloromethane is a clear, water-like, odorless solvent that can be used to join acrylic glass and polystyrene. It creates an almost clear joint by opening the chemical bond of the plastics to fuse them back together once the solvent is gone. Dichloromethane is extremely toxic and volatile. It should be used sparingly and with caution only in well-ventilated areas. Alternatives to Dichloromethane have specially formulated CA Glues for PMMA that have reduced off-gassing characteristics.
Materials: PMMA, PS
Epoxy
Two-component epoxy glues are in model building most commonly used in the form of 5min epoxies when dissimilar materials like wood and metal need to be joined somehow. Epoxy glues, in general, have a wide variety of applications ranging from boat building and the aviation industry back to the hobby market. Remember that epoxy produces an exothermal reaction during the curing process that can lead to extreme temperatures and even fire. Always mix small batches of epoxy (<100g) and spread excess glue on a flat surface for curing.
Materials: Wood, Aluminium, Composites
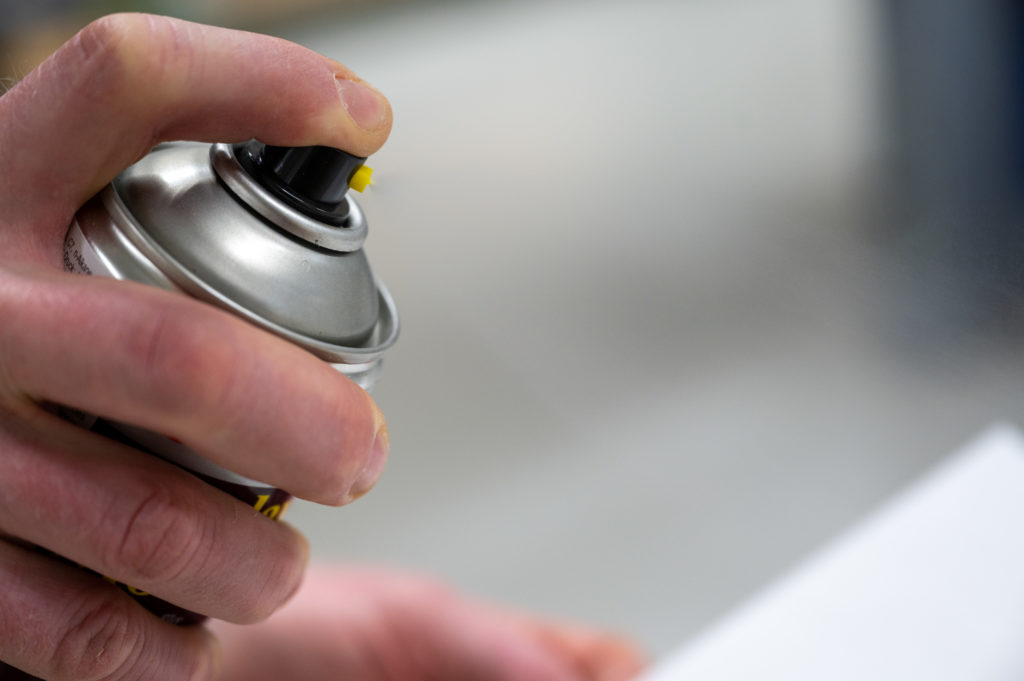
Spray Adhesive
Spray Adhesives come in high strength and positional variants. In modelbuilding, the prepositional one is mainly used for gluing paper layouts to parts for cutting and sanding. The high strength or permanent type can be used to clad volumetric models with paper, veneer, or fabric. Besides these two main ones, you can find an assortment of more specialized spray adhesives on the market, for example, for gluing polystyrene or foam.
Materials: Paper, Veneer, Fabric
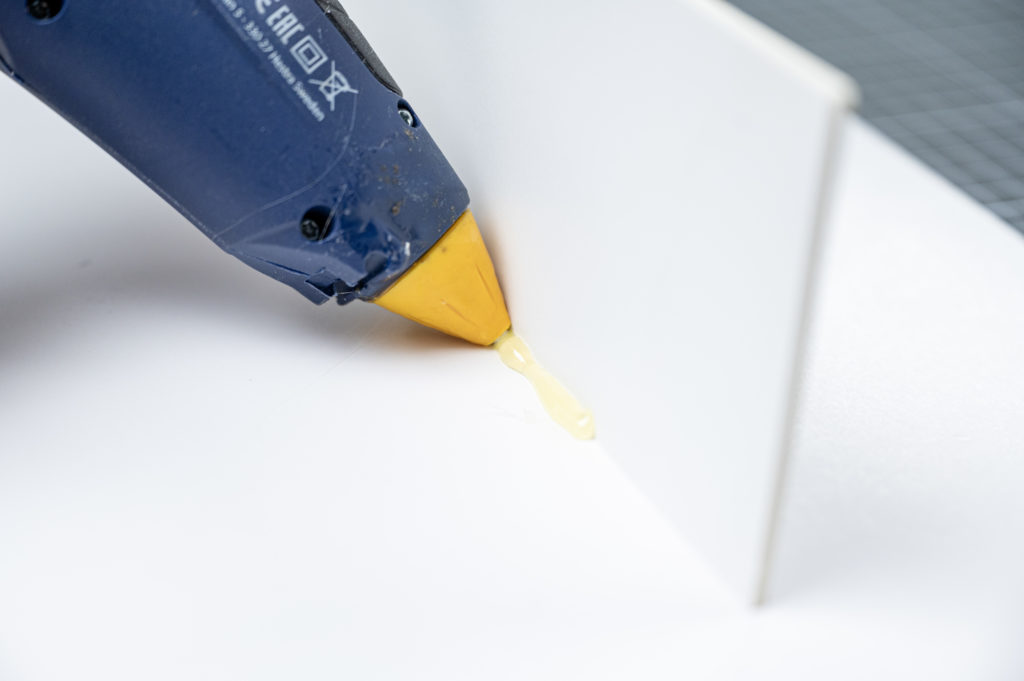
Hot Glue
Generally speaking, hot glue has a bad reputation among model builders because of its strong association with bricolage. Nothing could be further from the truth – hot glue, applied properly, is fast and clean. Model builders use hot glue for all sorts of applications where water-tight joints must be created, like in mold building and in situations where you have to speed up an assembly process. For example, when you join wood, a drop of hot glue holds the parts together while the PVA glue dries. Not a method employed by fine furniture makers, but a valid way to get things done in the model shop.
Materials: Foamboard, Corrugated cardboard, PMMA, Leather
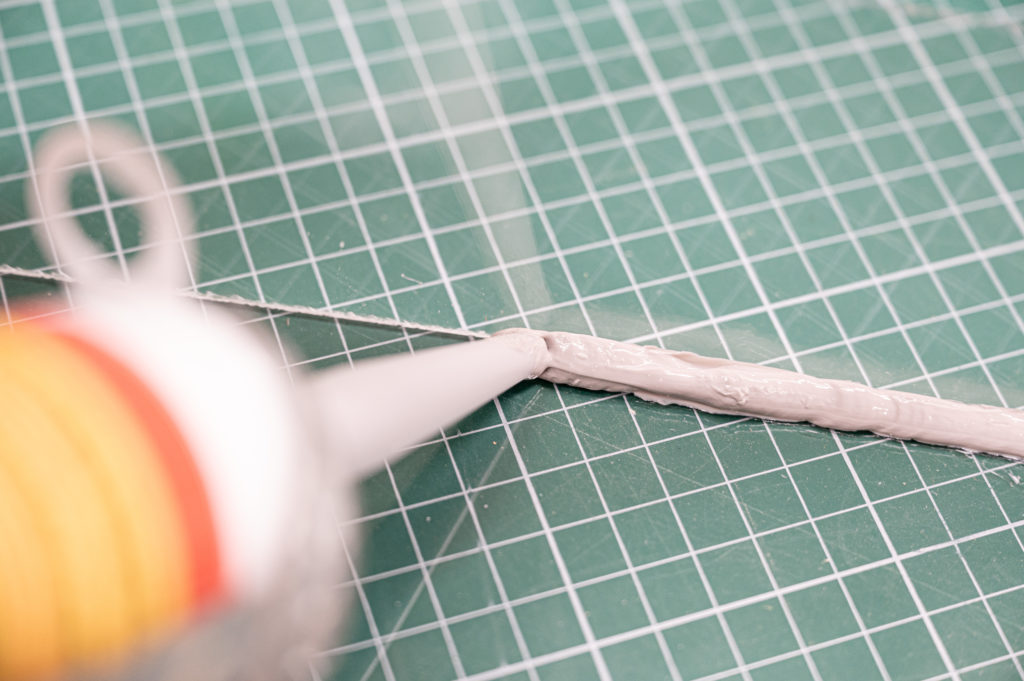
Silicone
Silicones are available in various formulations that highly depend on the use case. Silicone which is important as glue, comes in the form of caulking and is used in the building industry as an elastic sealant for different materials. In the model building shop, silicone adhesive is used for mold making and joining glass and mirrors. Ensure that the parts that need to be joined are grease-free before applying any silicone and allow for drying overnight for best results.
Materials: Glass, Mirrors
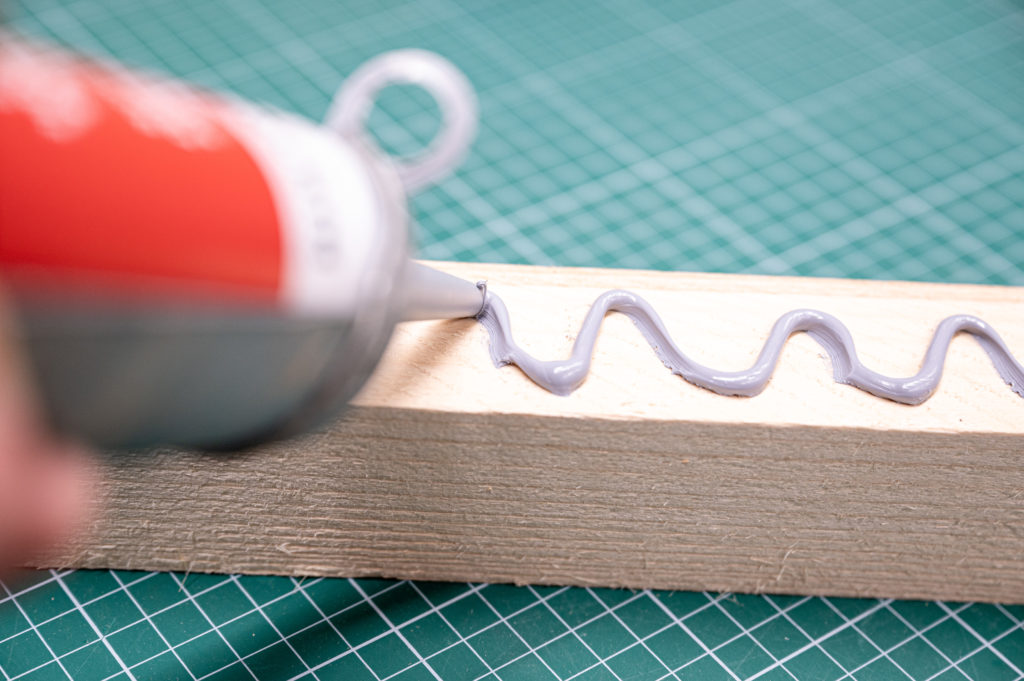
Construction Adhesive
Construction adhesive as a very high initial tack that eliminates the need for clamping, making it ideal to fix something to a wall or a ceiling without any extra work. In the model shop construction adhesive is mostly used to join concrete parts or to mount an exhibition piece to a wall.
Materials: Concrete, Plaster Board, Wood
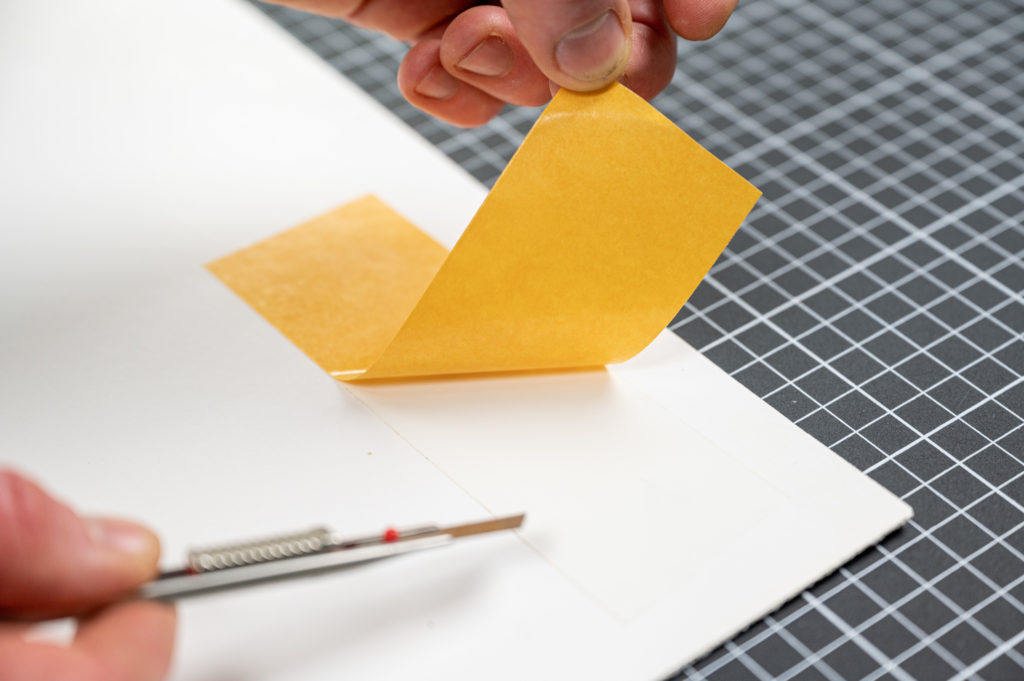
Double-Sided Tape
Double-sided tapes have become more and more capable in the last couple of years. They are useful for provisionally attaching facades or other parts to a model and permanently joining parts. Being on the lookout for new applications and types of double-sided tapes is always a good idea. The vastness of different types of tape for different applications demands a good technical understanding to find the right tape for any application. In the model shop, the simple double-sided tape used for carpets is the most versatile one and is frequently used to hold parts on jigs for sanding and gluing down sheet stock to different substrates.
Materials: various