Plaster Extrusions

Scale: Free
Material: Plaster, PMMA, Wood, Shellac

The Basic Design

For this tutorial, a simple profile was chosen as the basis for creating a plaster extrusion that gets assembled into a ring of eight segments. 

Having methods and techniques at hand that allow the creation of complex objects is of great importance in model building. It allows the designer to think in different materials and lets him or her express form in a more precise way.

Keep in mind that you will benefit the most from working with this material if you apply your twists and variations to it and do not just follow the examples.

Material

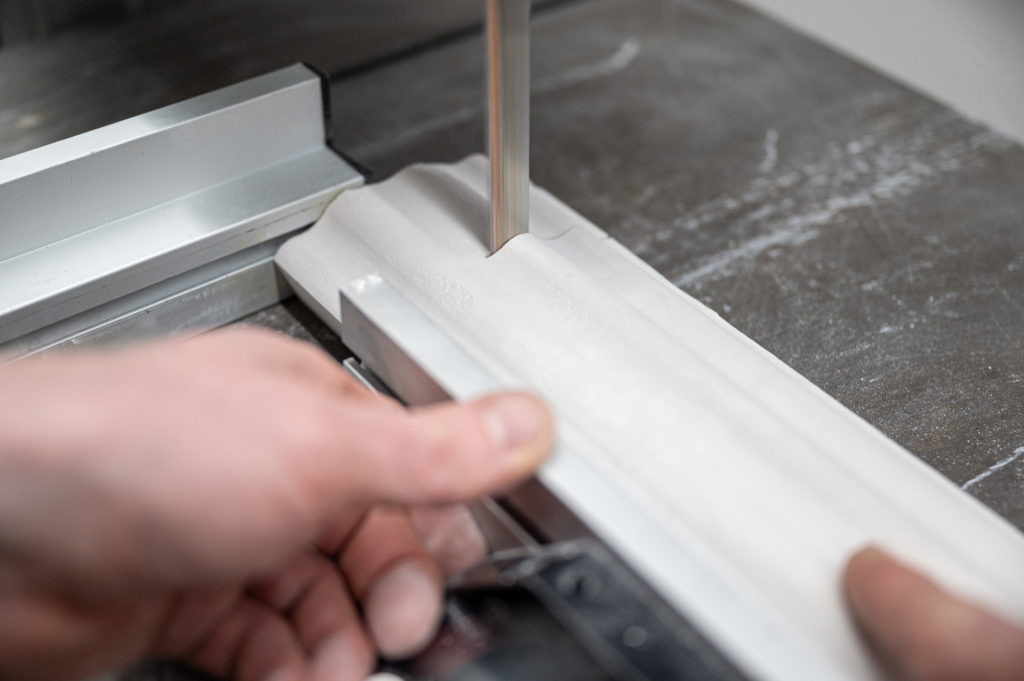
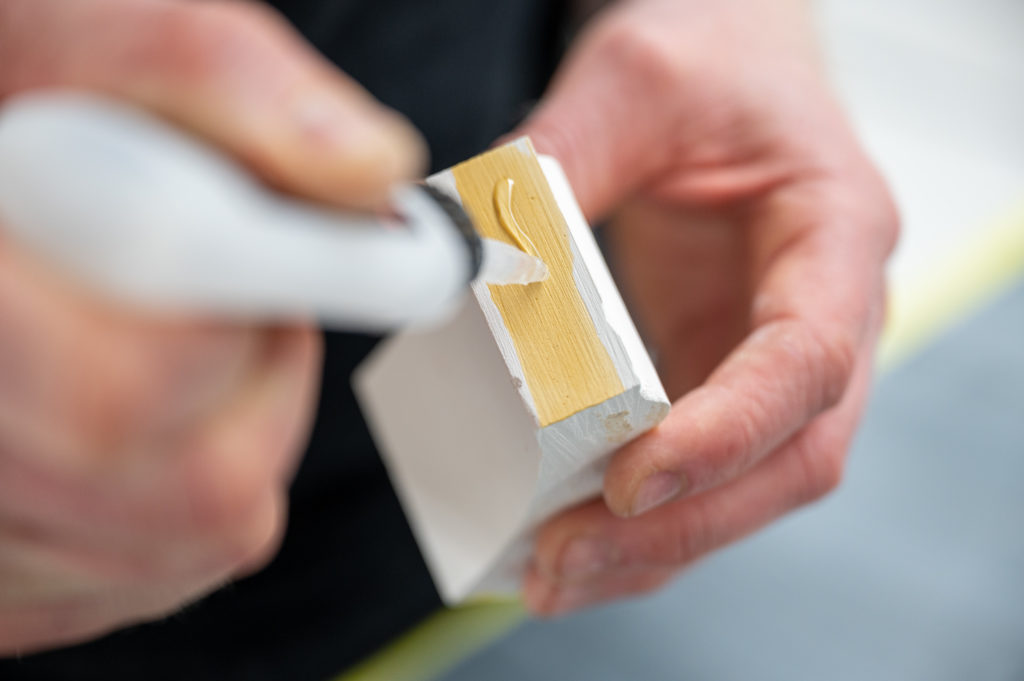
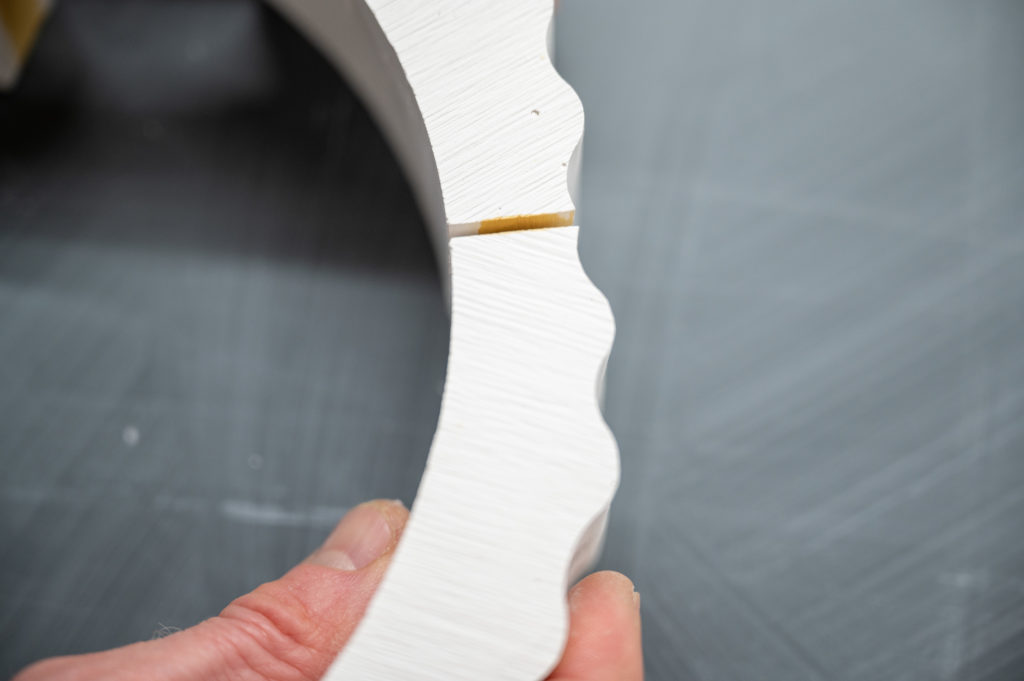
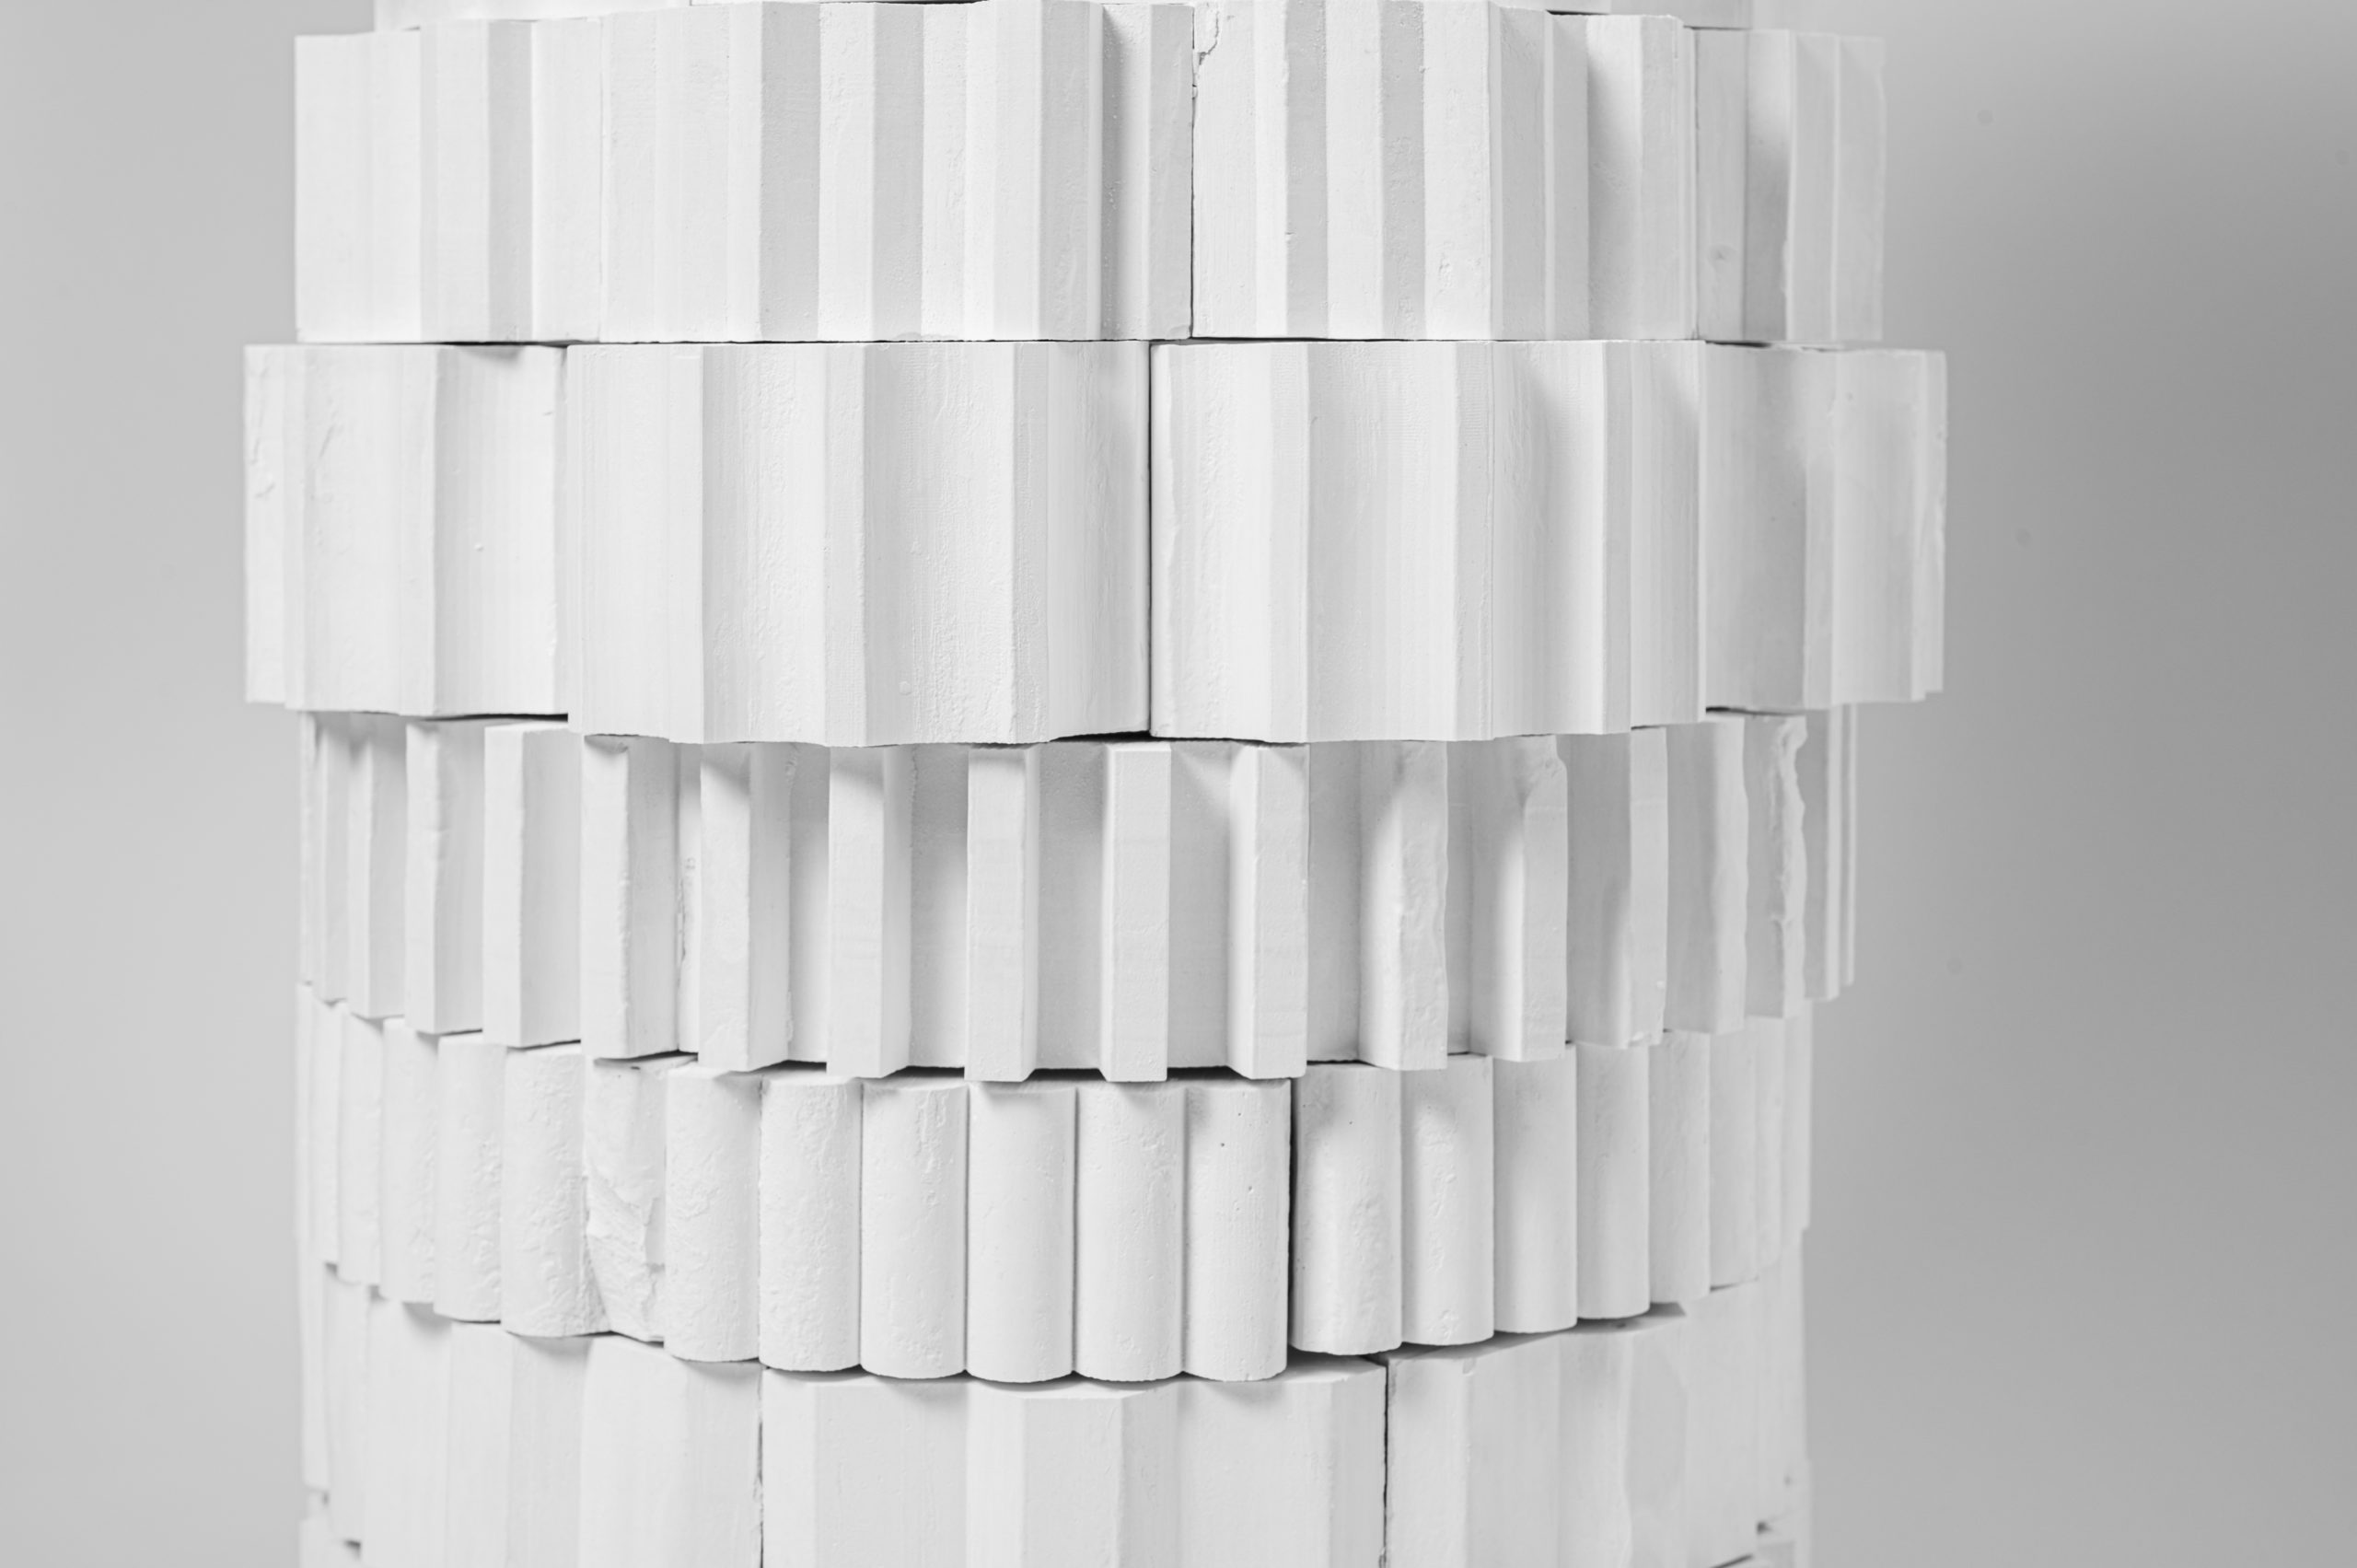
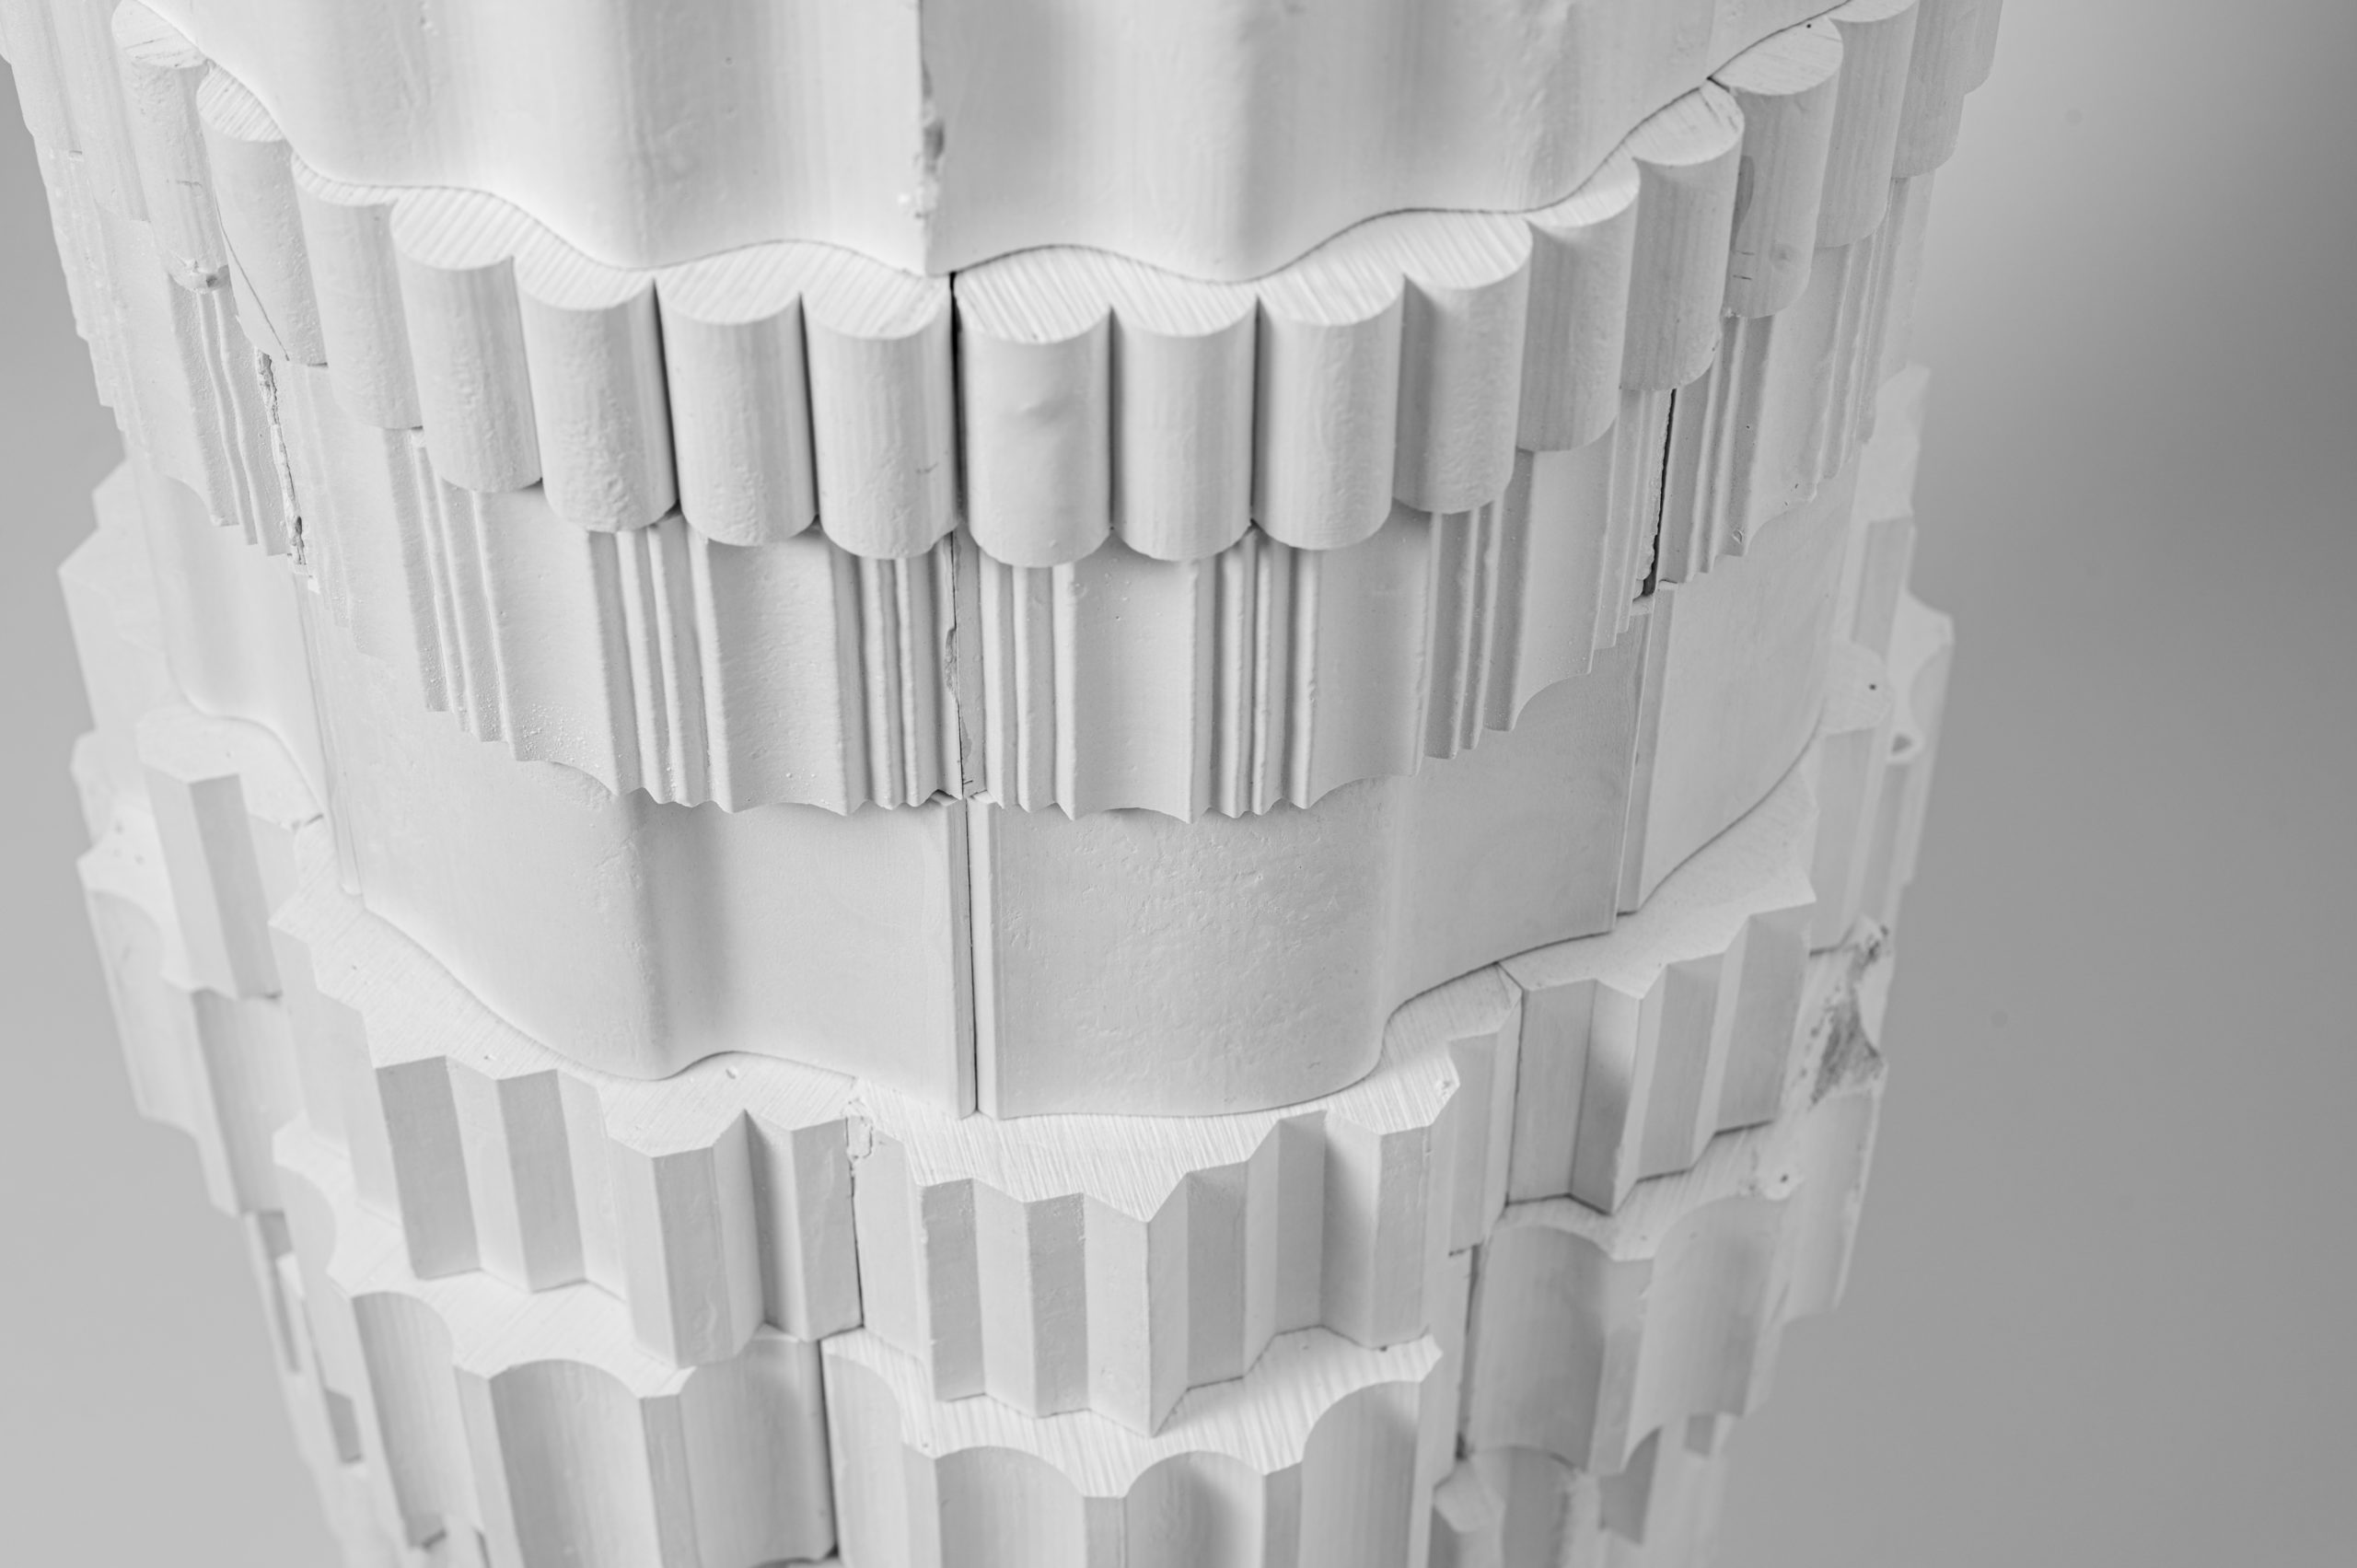
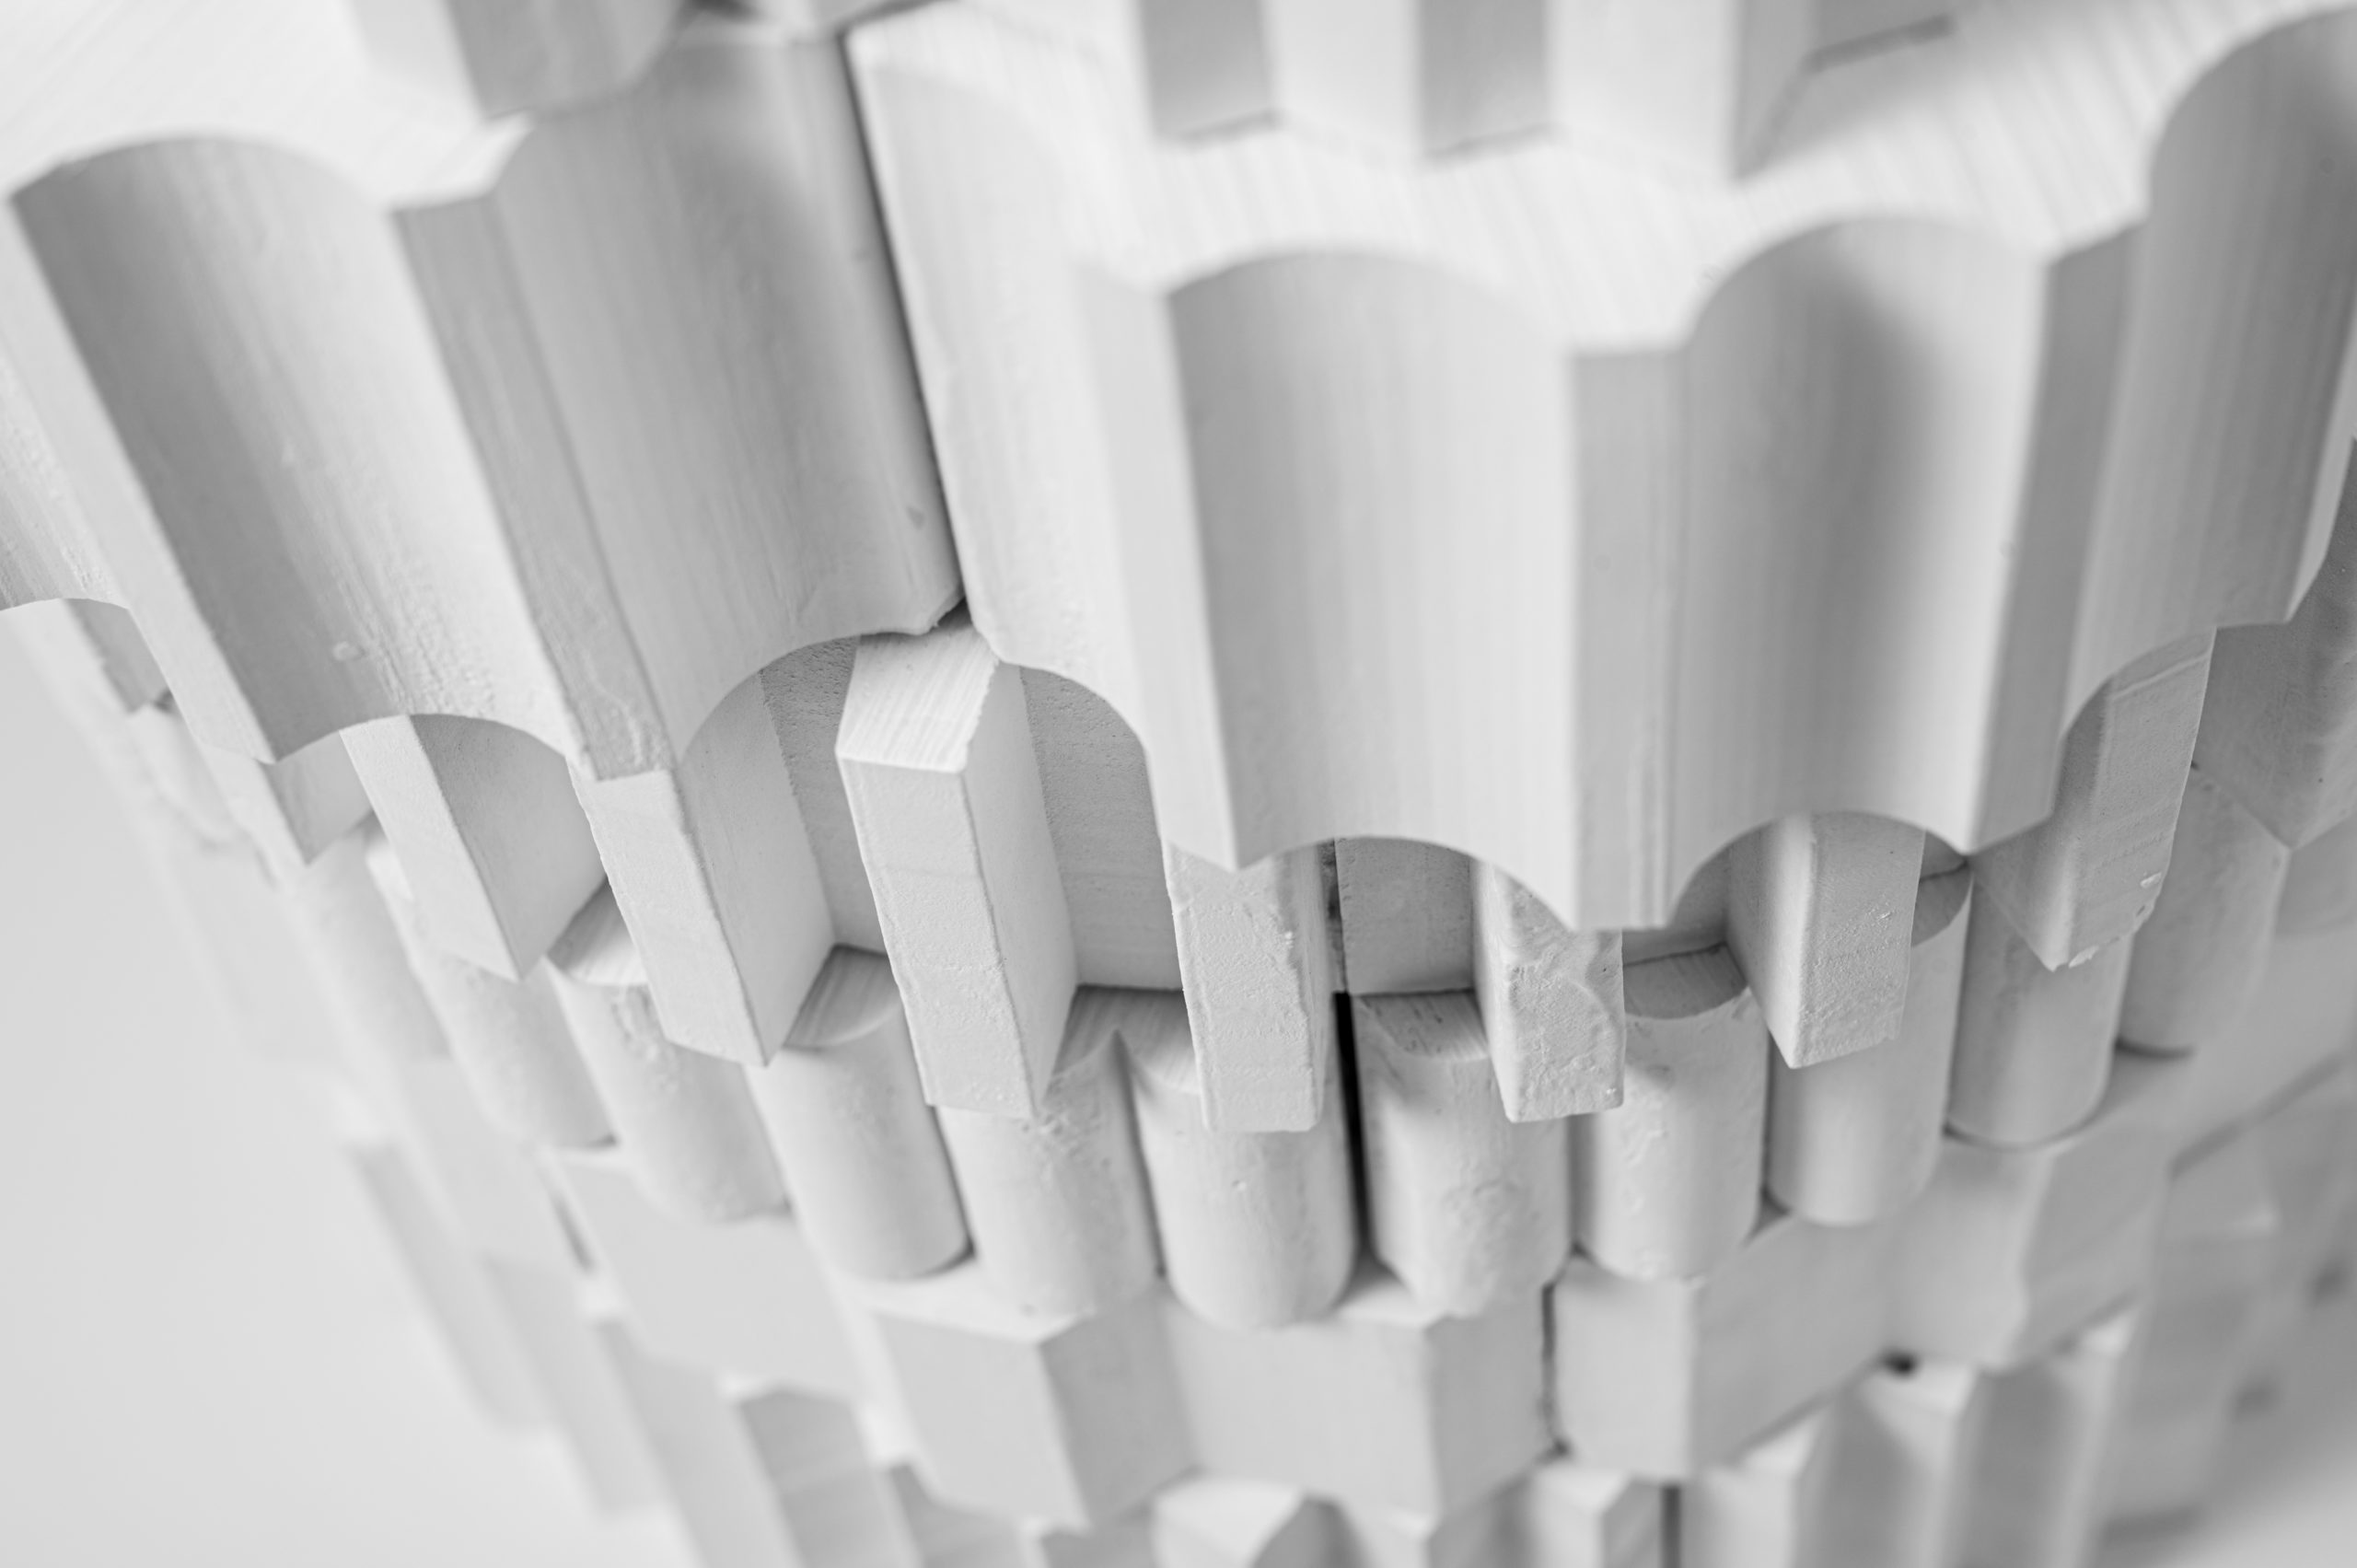
Plaster, properly understood, can be used in different stages of its hardening process. The most common way of working with plaster is, of course, pouring, but carving, sculpting, extruding, and even turning is possible. 
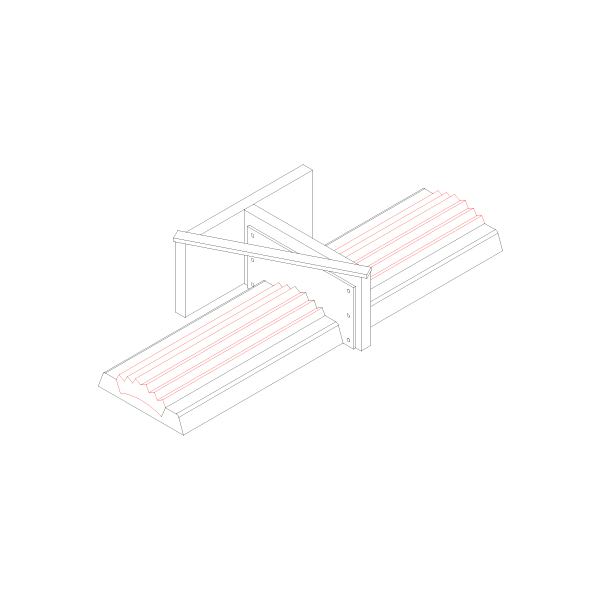
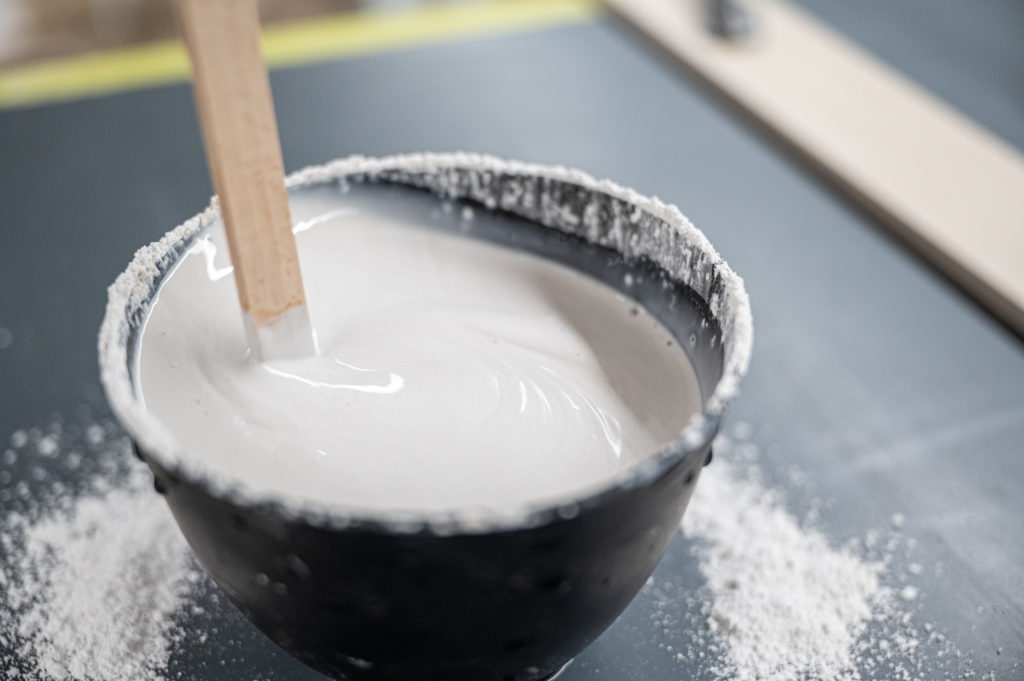
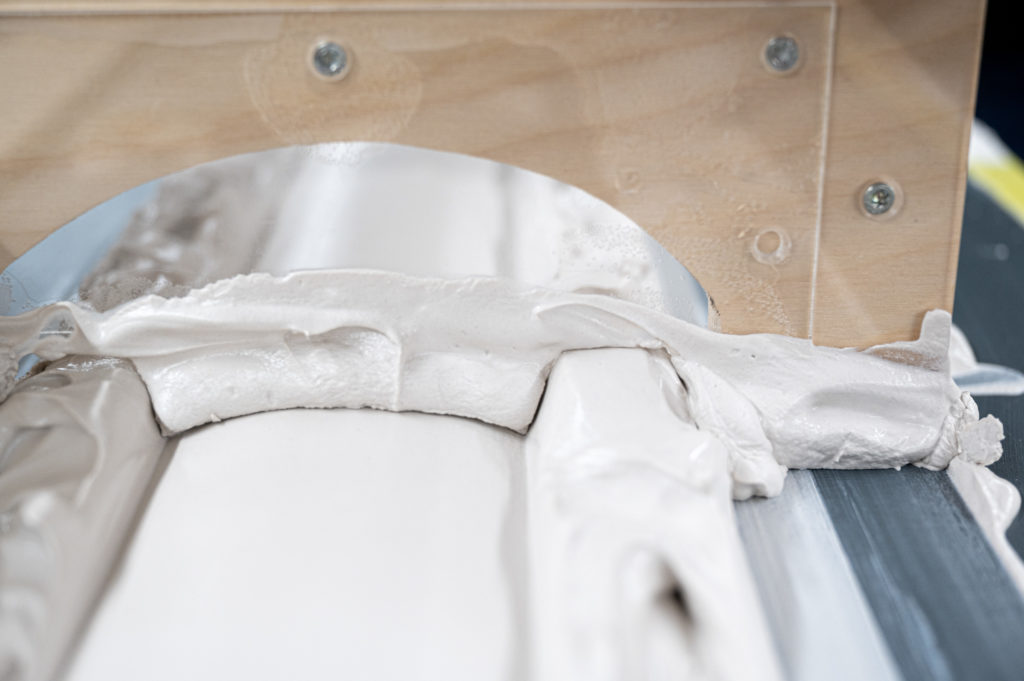
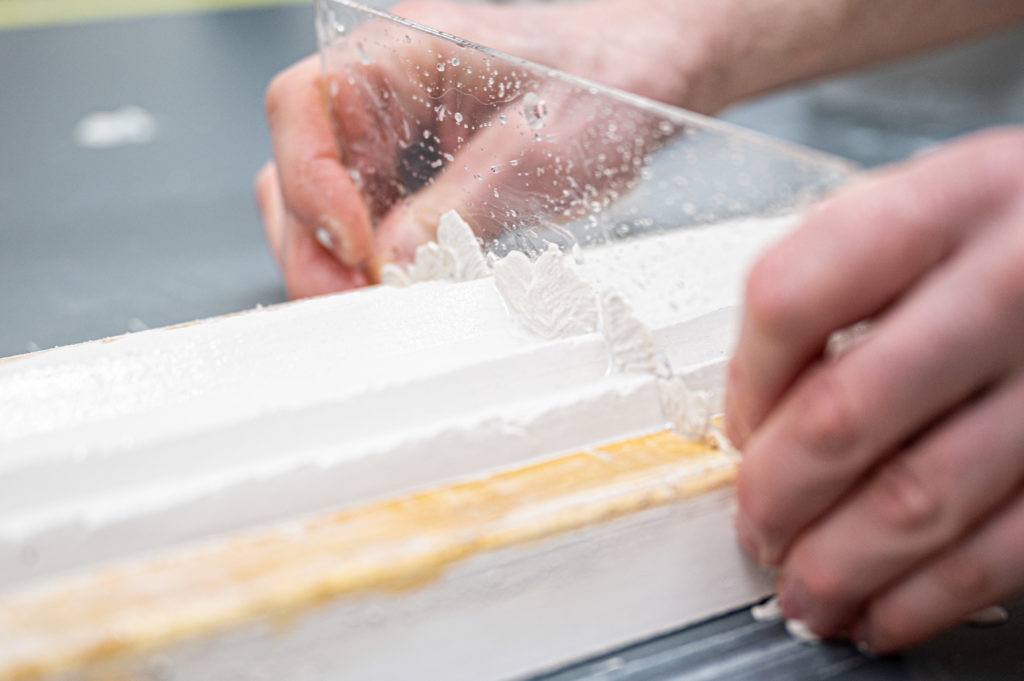
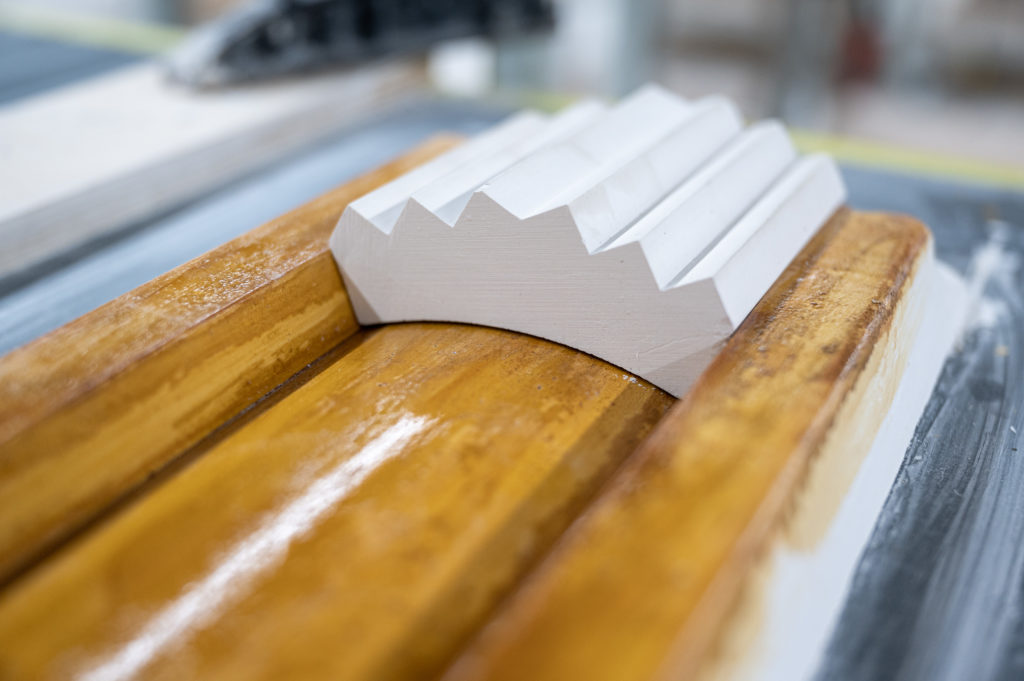
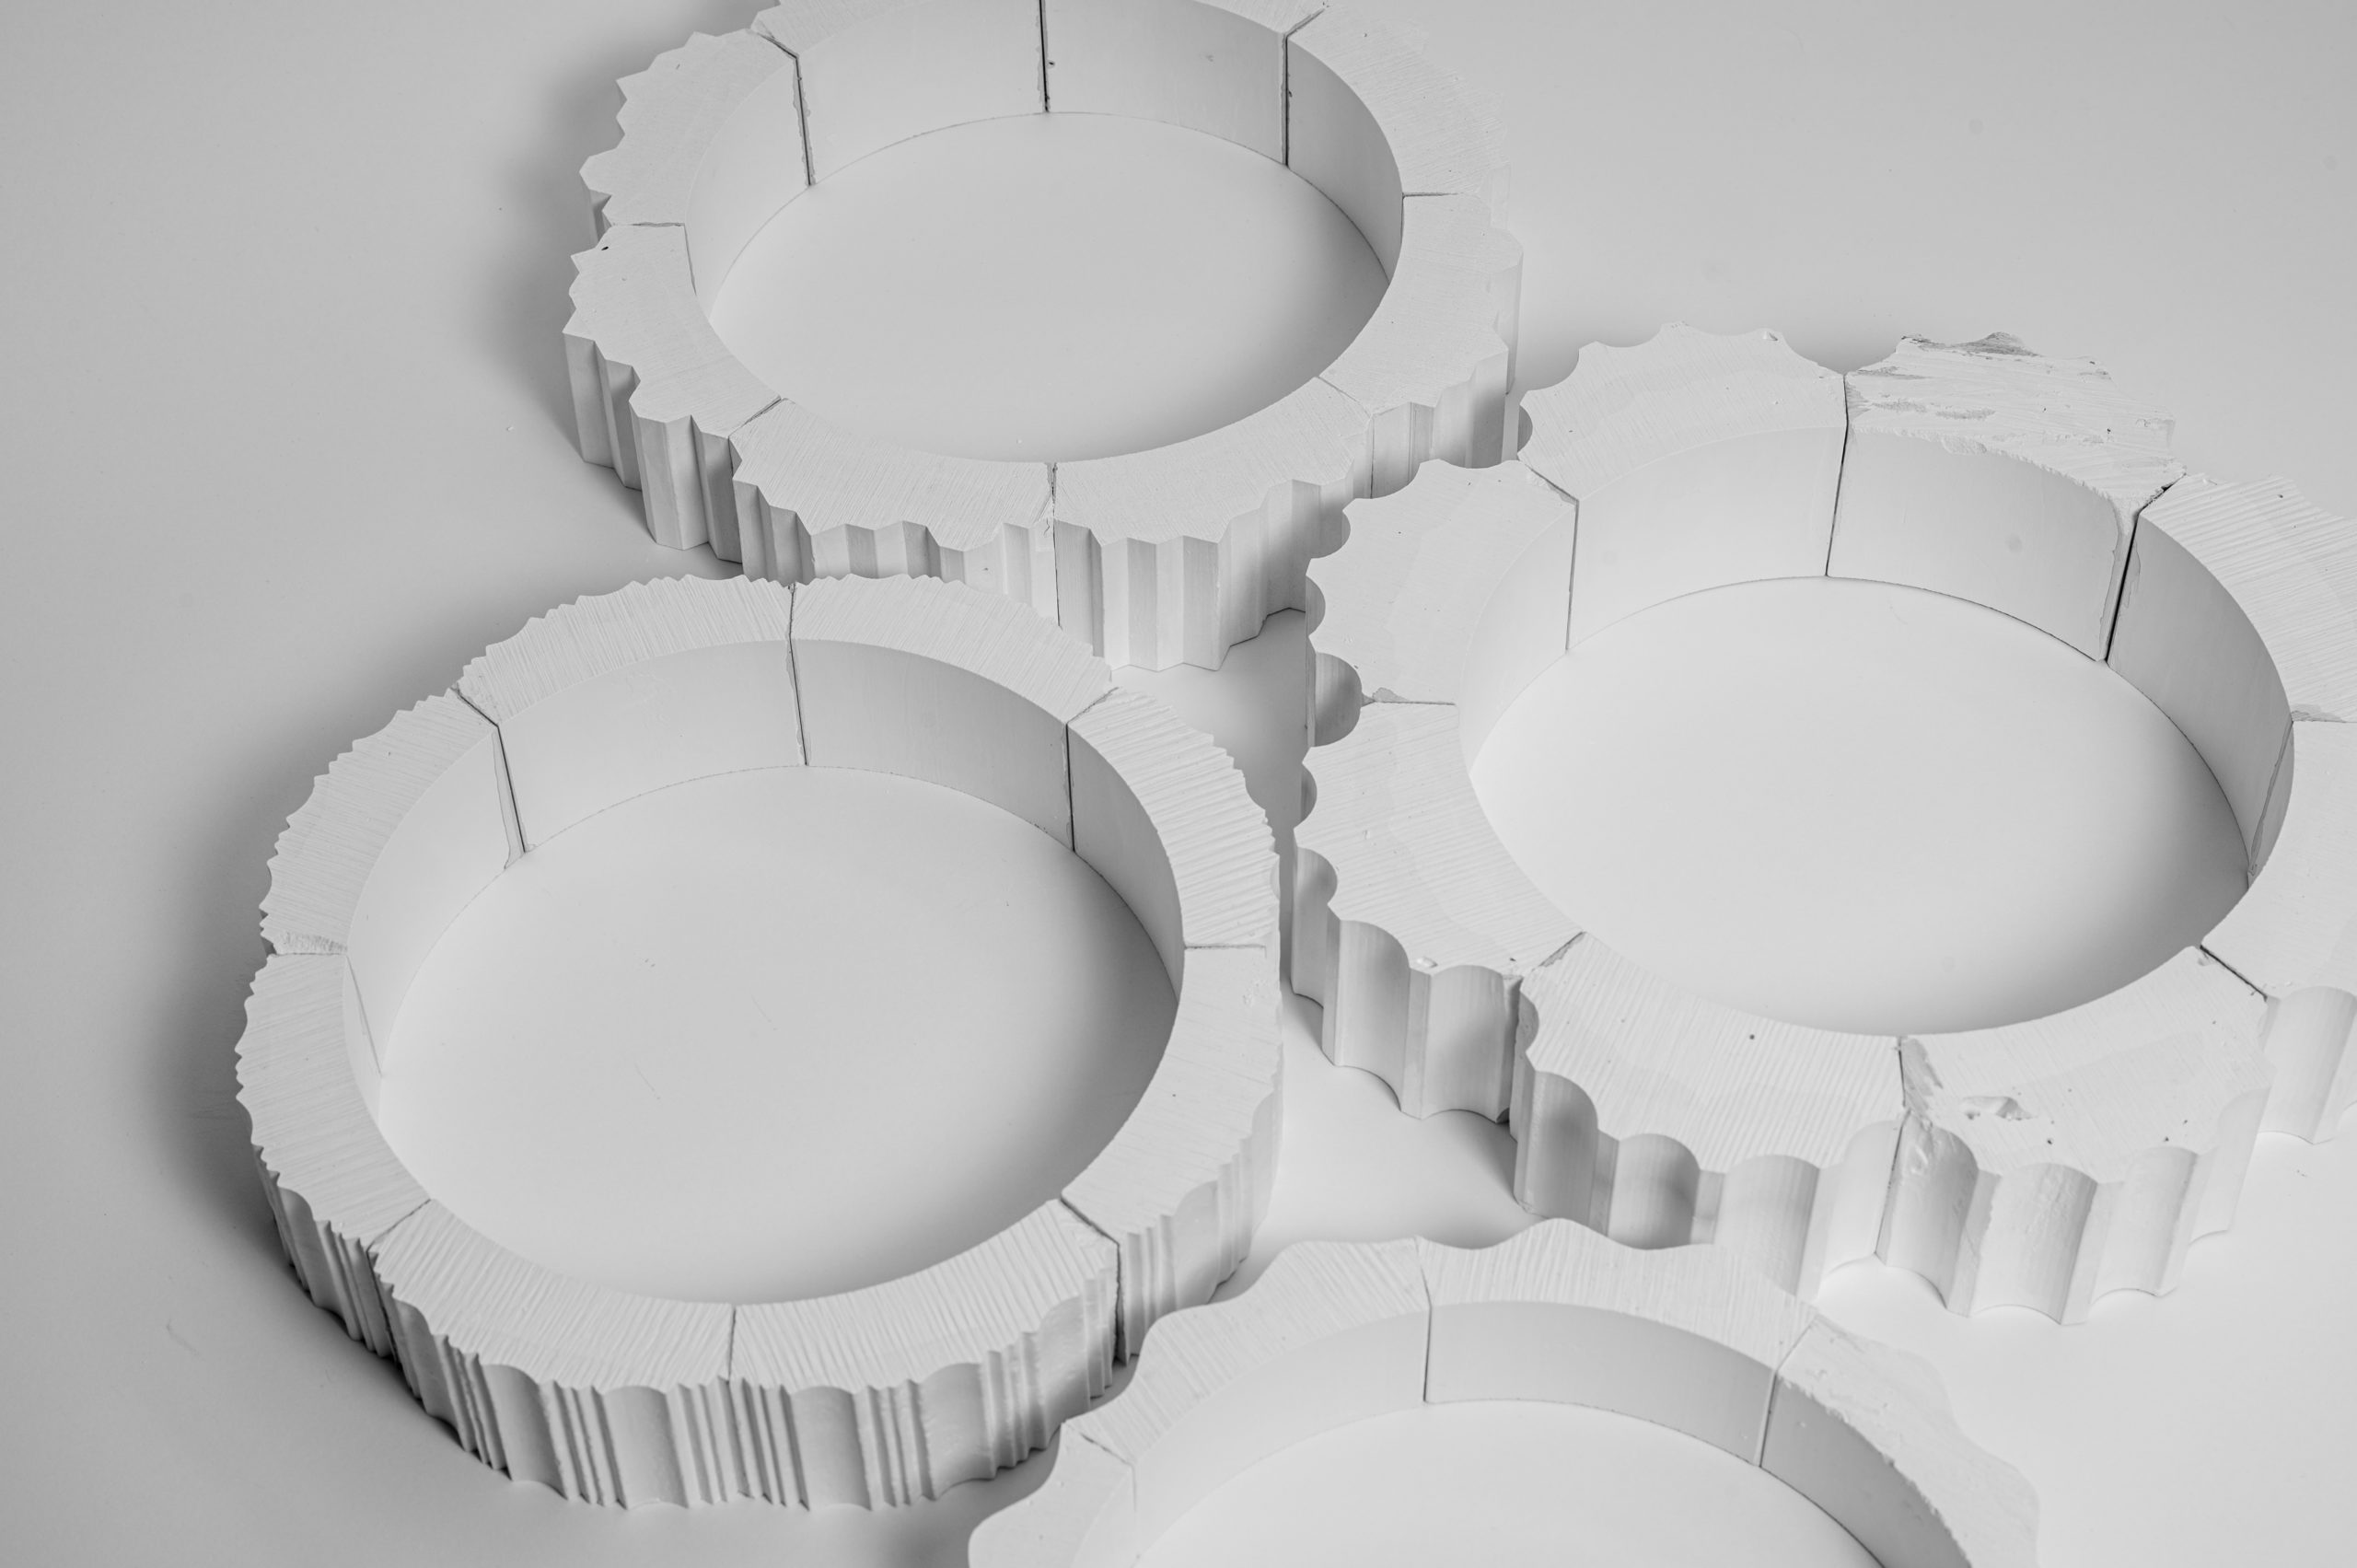
The extrusion process takes advantage of the fact that plaster has a gentle curing curve. Freshly mixed, it is too liquid to be of use for extruding the material, and a bit of patience is needed to get to the right consistency where the plaster is almost like cream cheese. In this phase, plaster builds up quickly and can be extruded into nearly any shape.   
 
Further reading: Plaster basics

Technique – Extruding Plaster

A simple plaster jack can be built with wood and laser-cut acrylic.

Prepare the plaster for your profile in multiple buckets to always have the right consistency at hand.

Building up the first part that will become the mold for the profile.

Applying shellac as separating agent before the changing the template.

Building up the profile with the profile template. This can be done without the jack for short sections 

Clean the plaster jack / template frequently for best results.

The final pass uses a relatively liquid plaster that fills in the last little voids.

After 20-30min the profile can be carefully separated from the base.

Plaster can be cut with a dedicated bandsaw.

The parts can be glued with super glue after applying shellac to the surfaces that need to be joint together.

Lightly press the assembly with the help of some painters tape for 10-15min to allow for the hardening of the glue.

Examples