CWS Casting Workshop

HIL B35

Workshop Contact: Lila Siewczyk
280220_werkstätten_002

In the casting workshop, students can work with plaster, concrete, soapstone, ceramics, and other inert materials. After a two-part workshop introduction, various machines and tools are available to the students.

Plaster and ingredients to mix concrete can be bought directly in the workshop. Students must bring their own materials for formwork, tape, clay, and others.
Please ask the workshop responsible person for advice on materials, how to handle them, and where to get them before you start your project.

Workshop Overview

  1. Personal protective equipment and first aid
  2. Material shop
  3. General work area
  4. Ceramics area
  5. Cleaning space

Workshop Specific Rules

  • Students are allowed to leave their models to cure in the CWS. Other than that, there is no storage possible inside the workshop
  • The mobile tables stay inside the CWS
  • The buckets stay inside the CWS
  • Contact the staff before using concrete or epoxy 
  • Students must always bring safety data sheets for products and chemicals which they have brought themselves and have them checked by a member of staff before use

Equipment

Sink

Bandsaw

Sandblaster

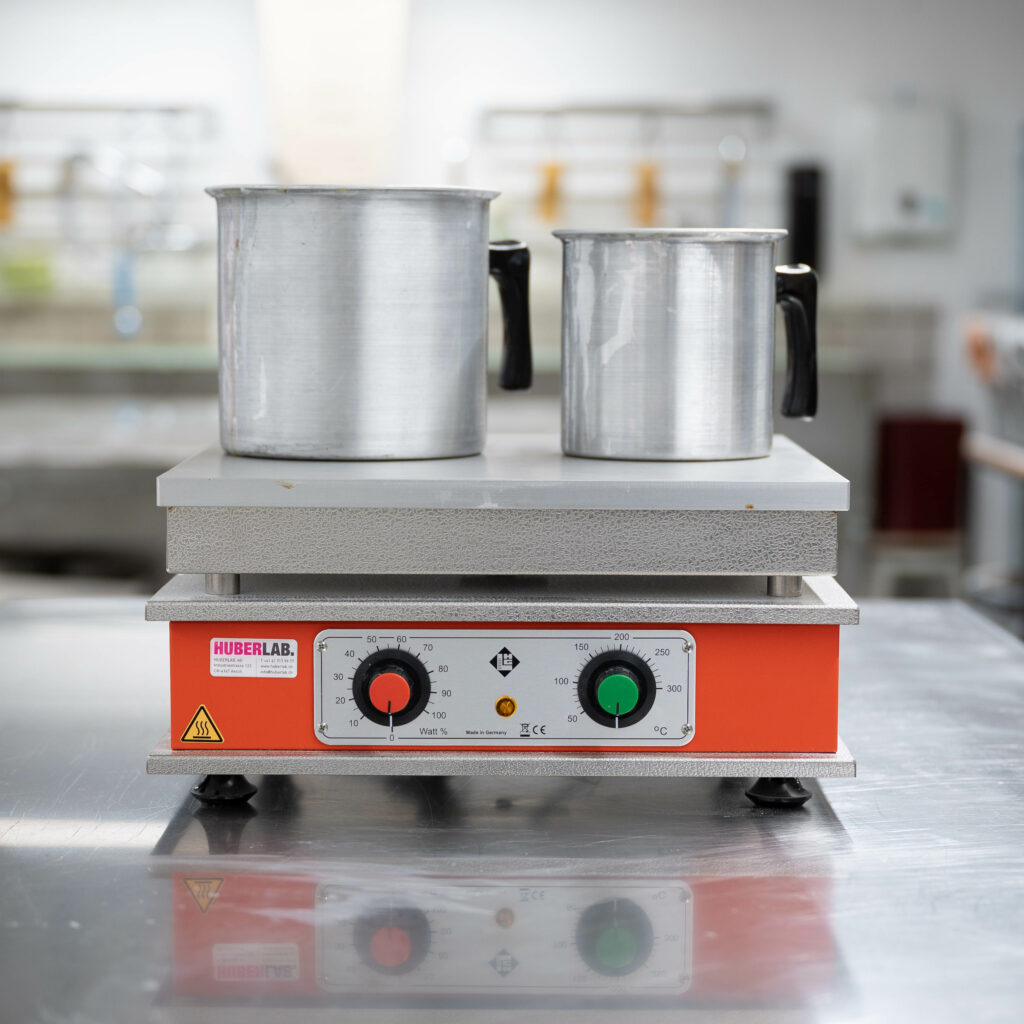
Heat Plate

Heat Gun

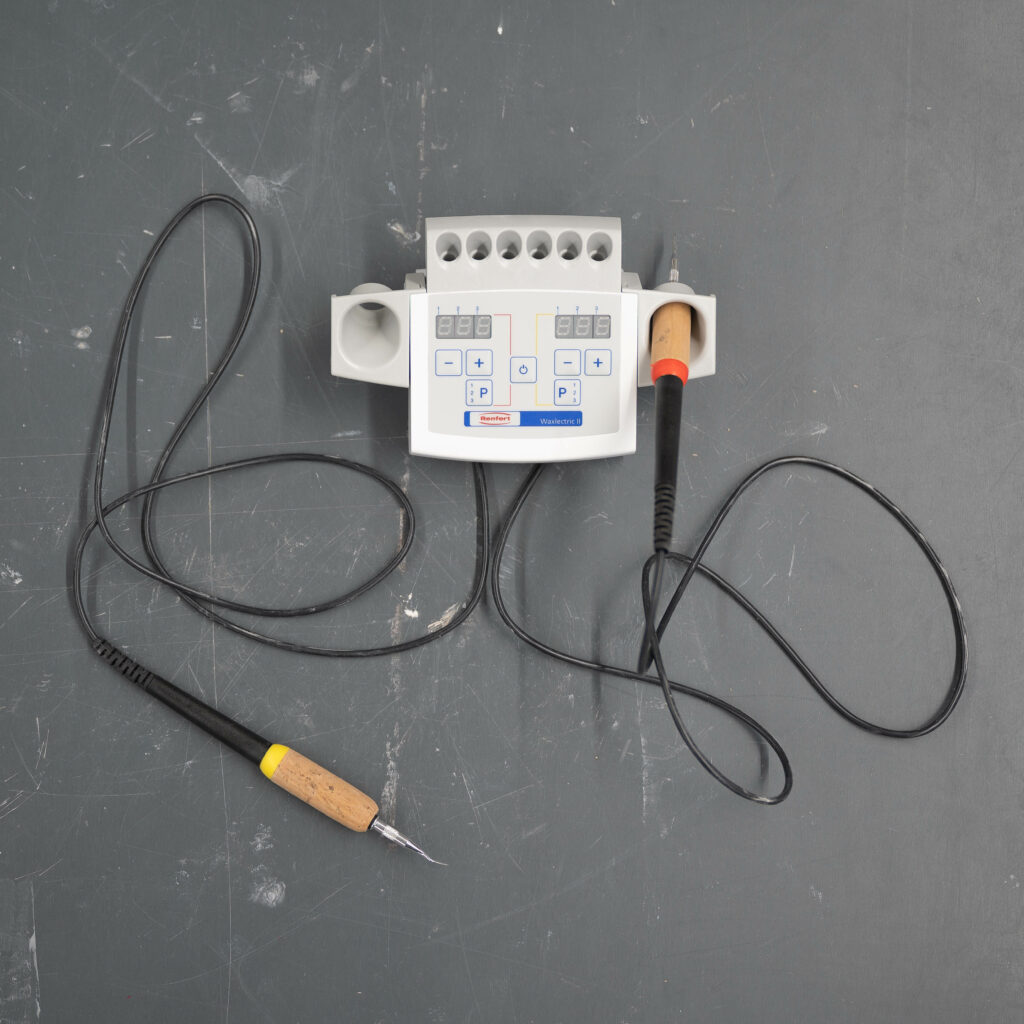
Waxer

Small mixer (up to 12 liter)

Medium mixer (12-40 liter)

Concrete mixer (40 liter plus)

Small Scales

Large Scale (max. 60kg)

Slab roller for ceramics

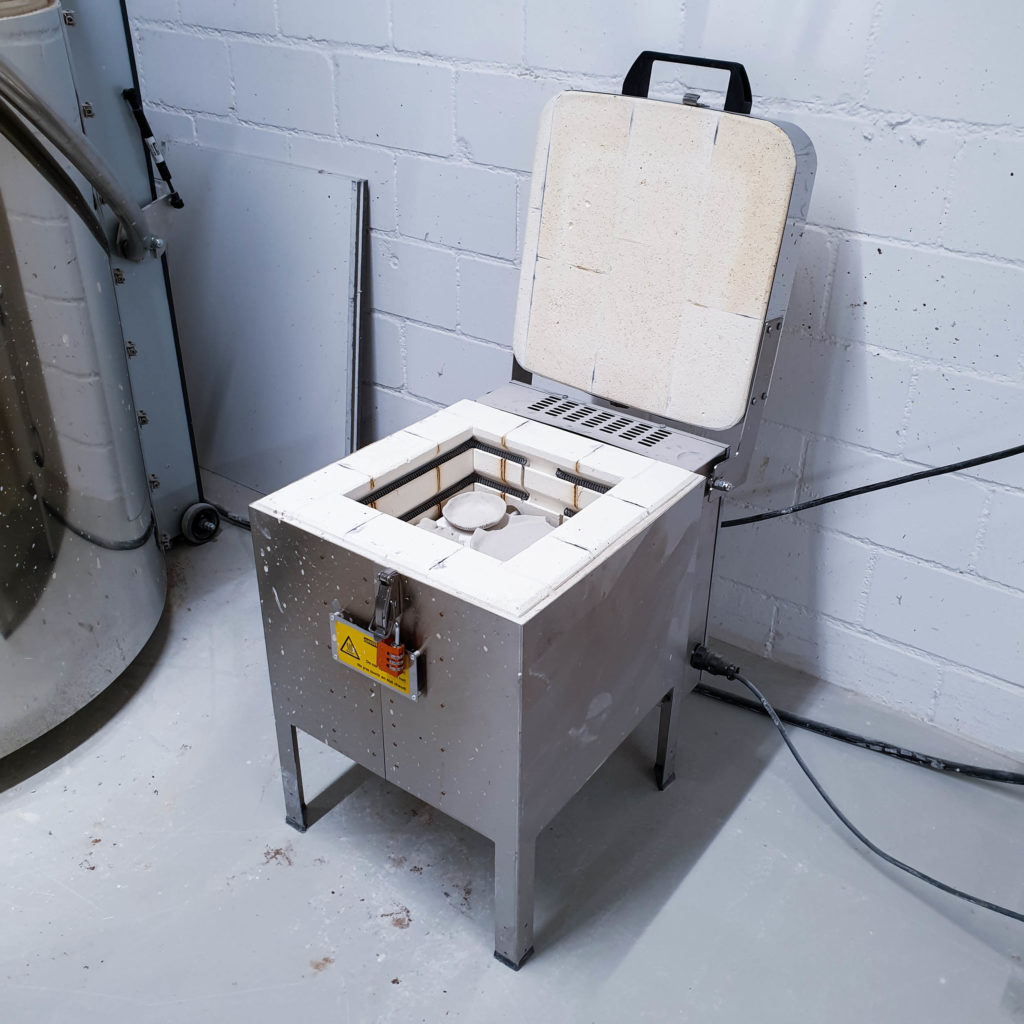
Ceramic kiln

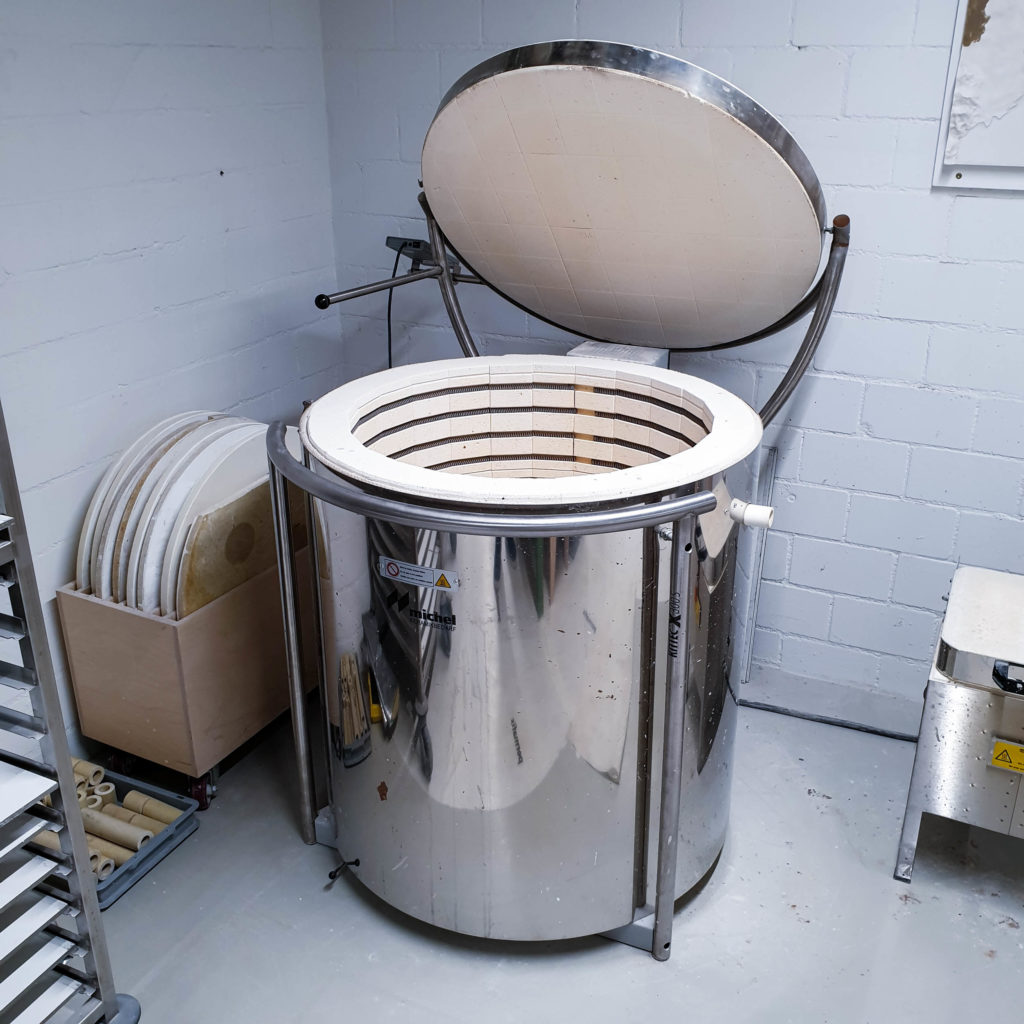
Ceramic kiln

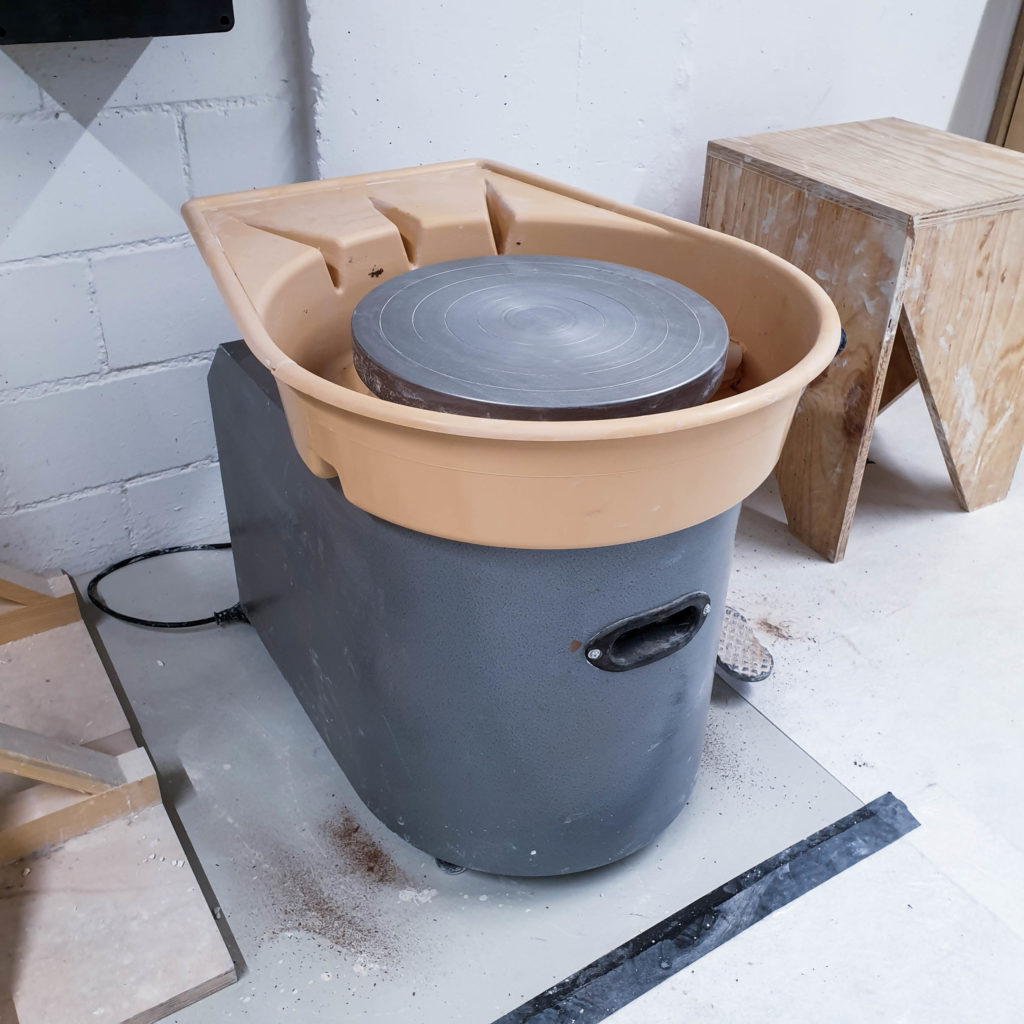
Pottery wheel

Exhaust table (Epoxy, cutting EPS)

Hot Glue Gun

Cleaning tools and workspace

Users are expected to clean both tools and workspace after and during their work. This is a straightforward and fast task as long as the materials are still in their uncured state. Taking care of the tools and shared spaces ensures everyone has equal access to a great and sustainable work environment.

How to clean

  1. Liquid plaster and concrete are disposed in the correct bin (liquid box or skip)
  2. All tools and buckets are then washed in the large sink
  3. Store wet tools and buckets in the designated drying rack
  4. Use the mobile washing cart to clean your work area
  5. Rinse the surface with the sponge
  6. Remove any remaining plaster with the soft wooden spatula (no metal spatula!)
  7. Remove any remaining water with the wiper and return the cart to its proper place