Plaster - General Overview

Material

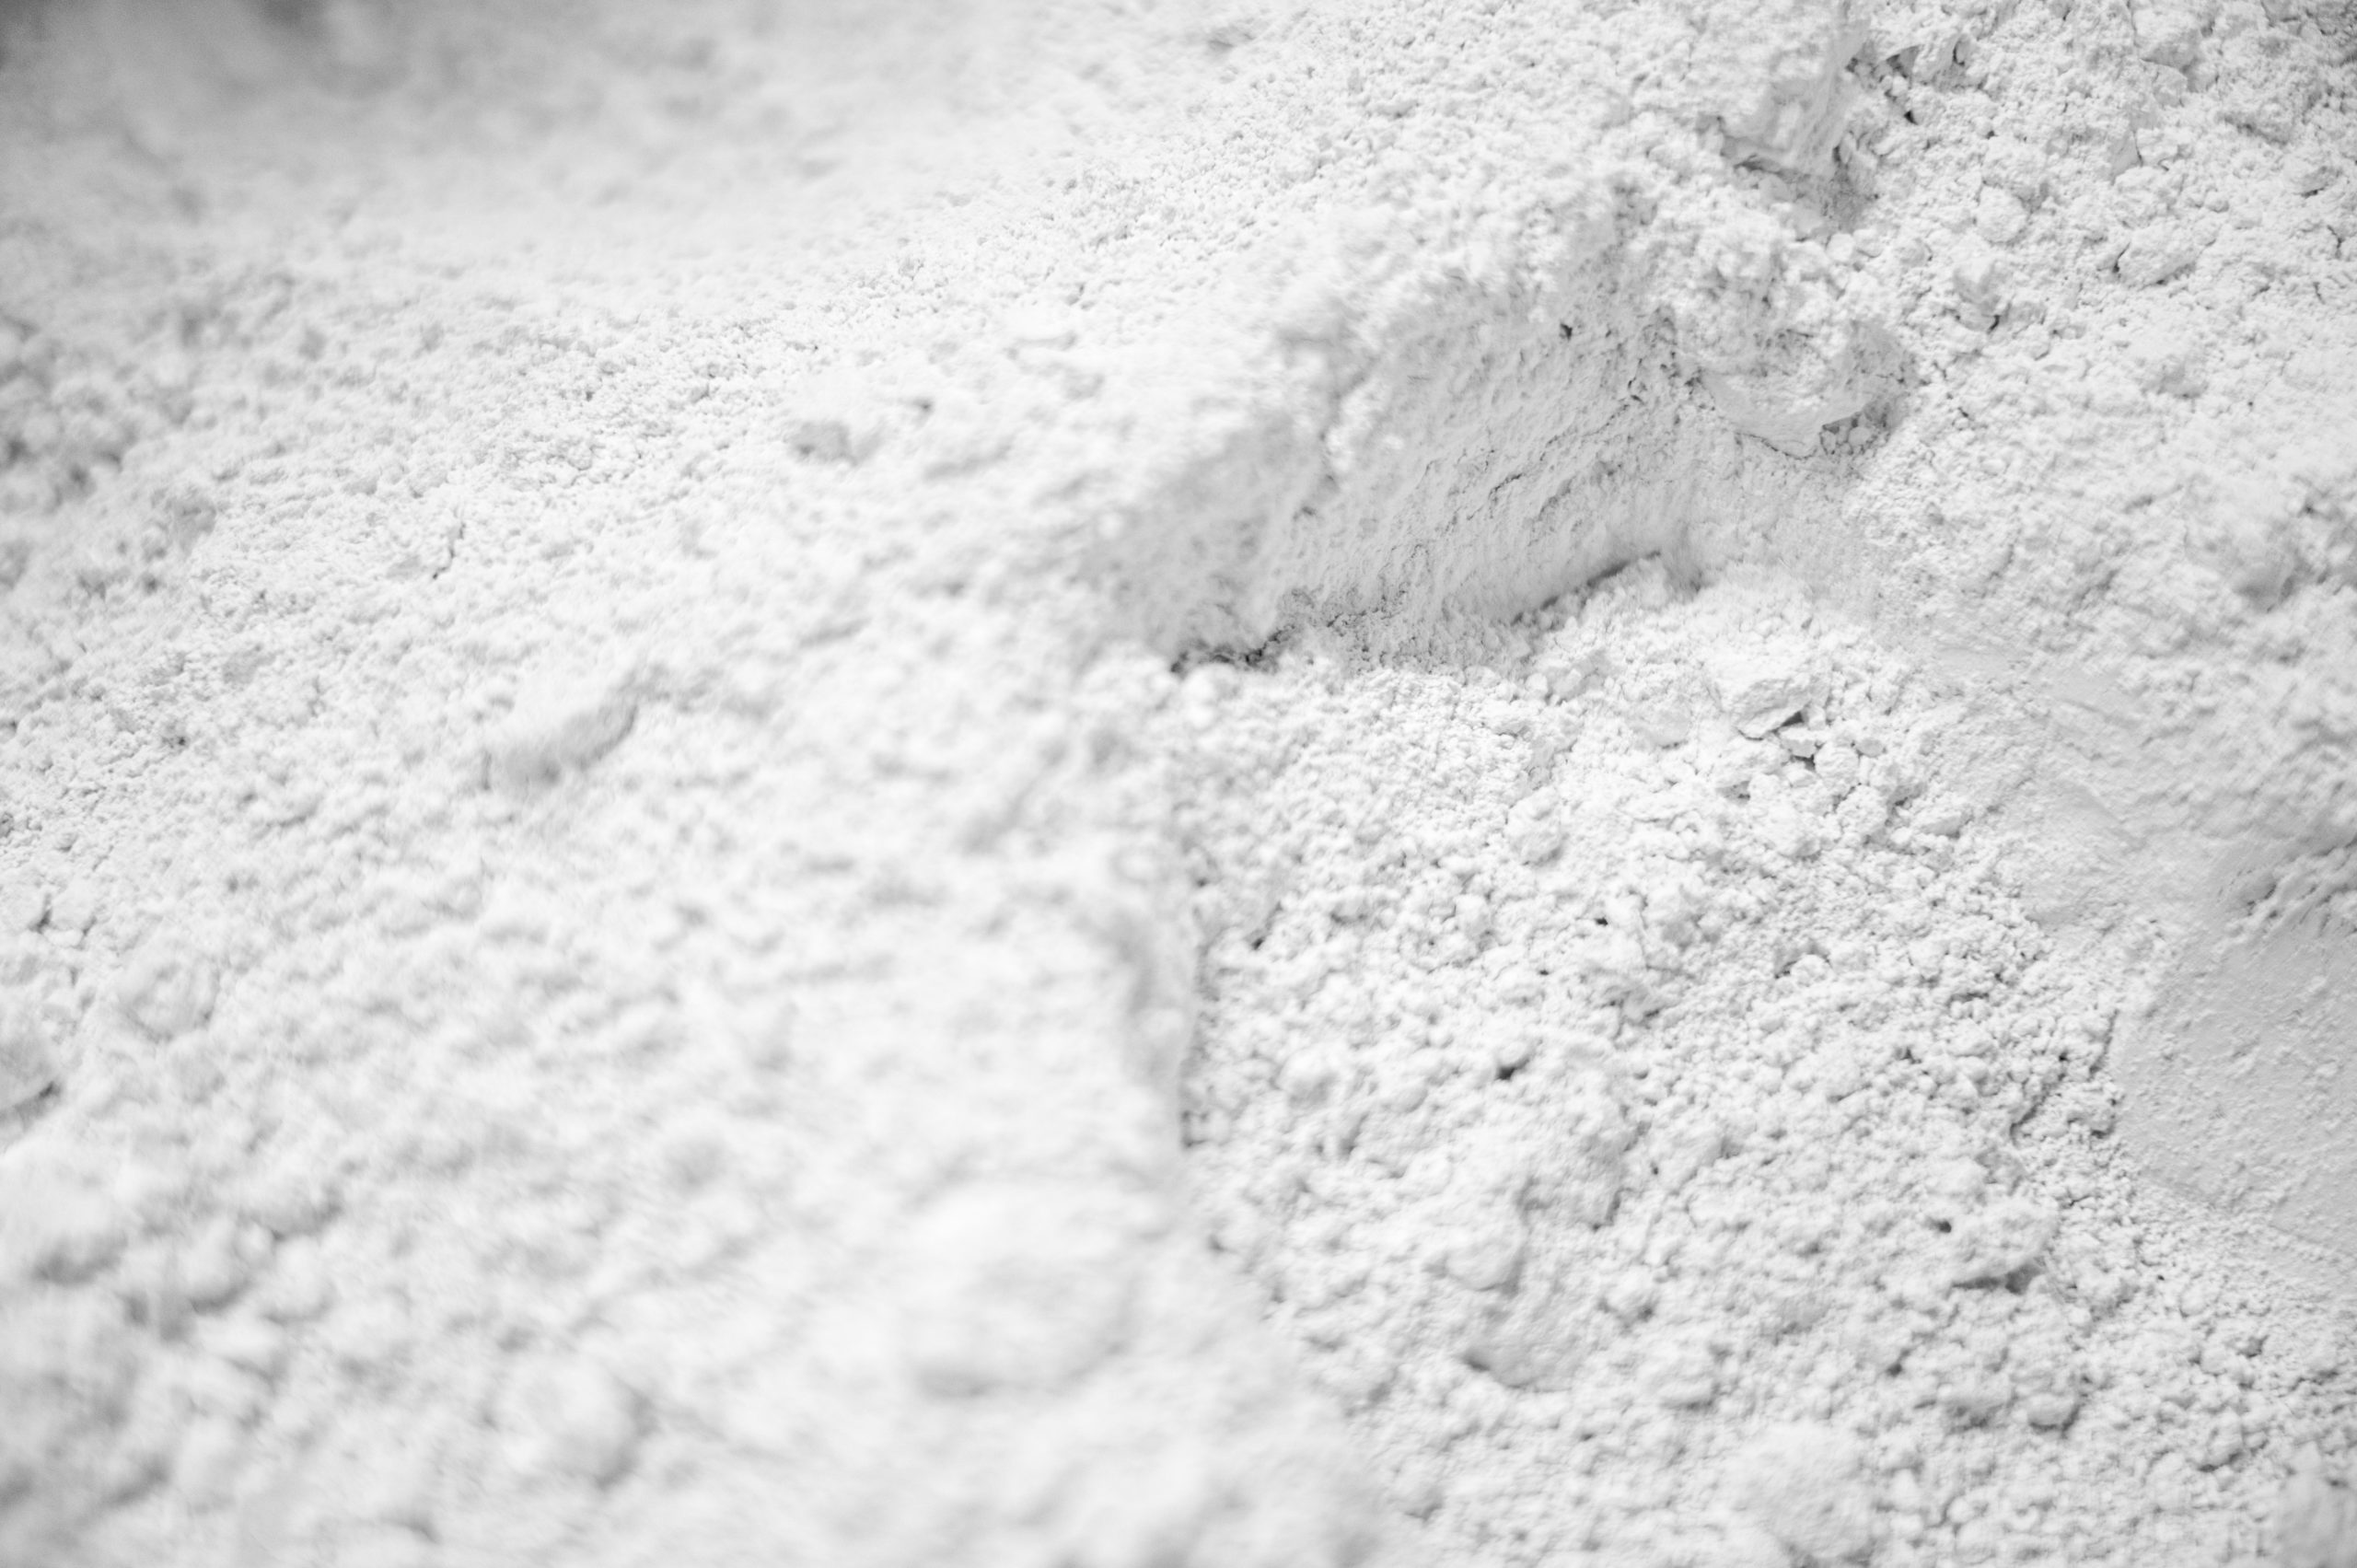
Plaster (calcium sulfate dihydrate) is commercially available in many different qualities. The type most commonly used for architectural model building is called Plaster of Paris, Alabaster Gips, or Modellbaugips 0, and combines good workability with a reasonable amount of strength.

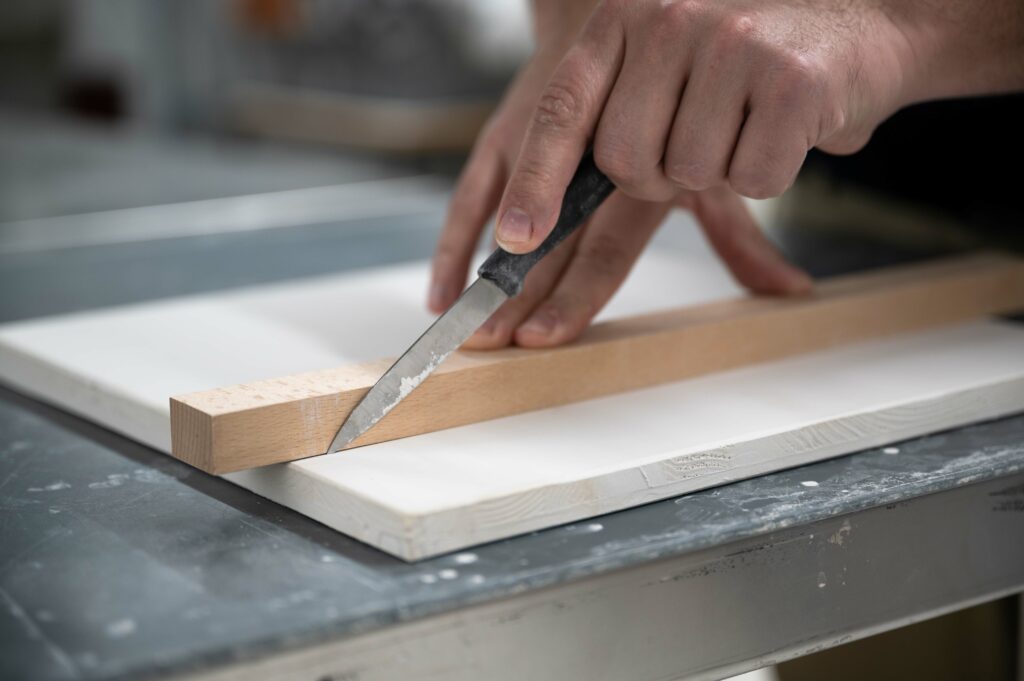
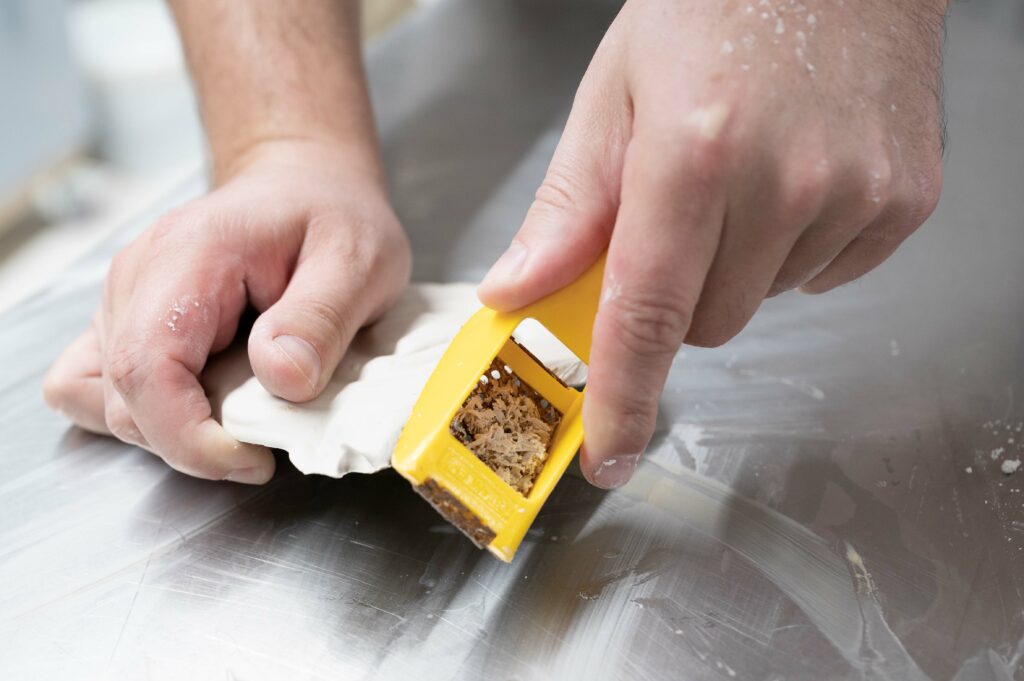
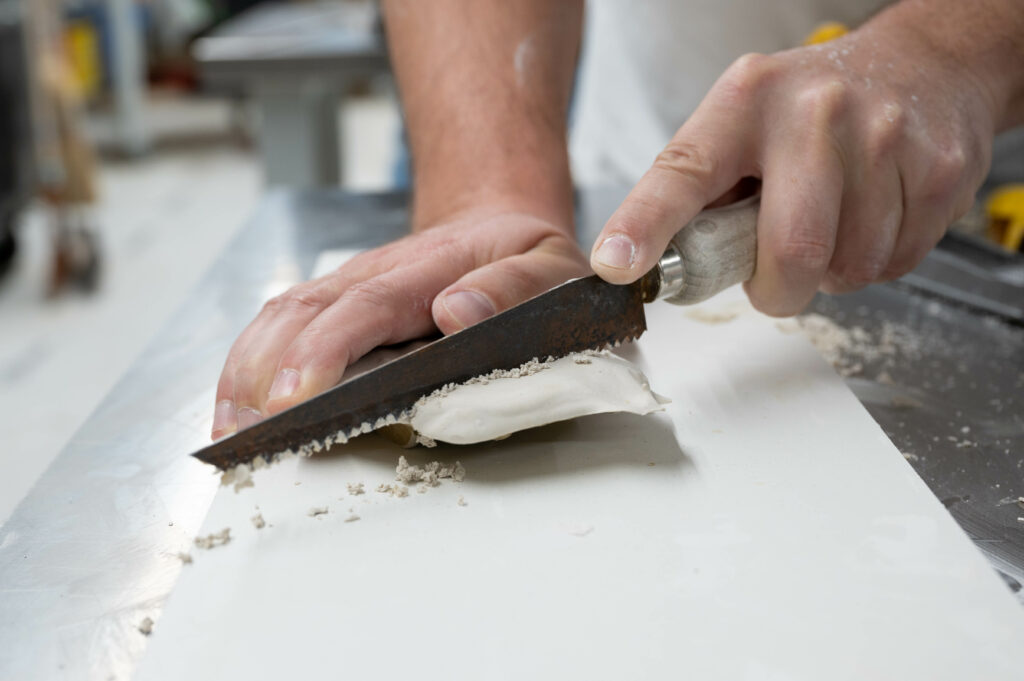
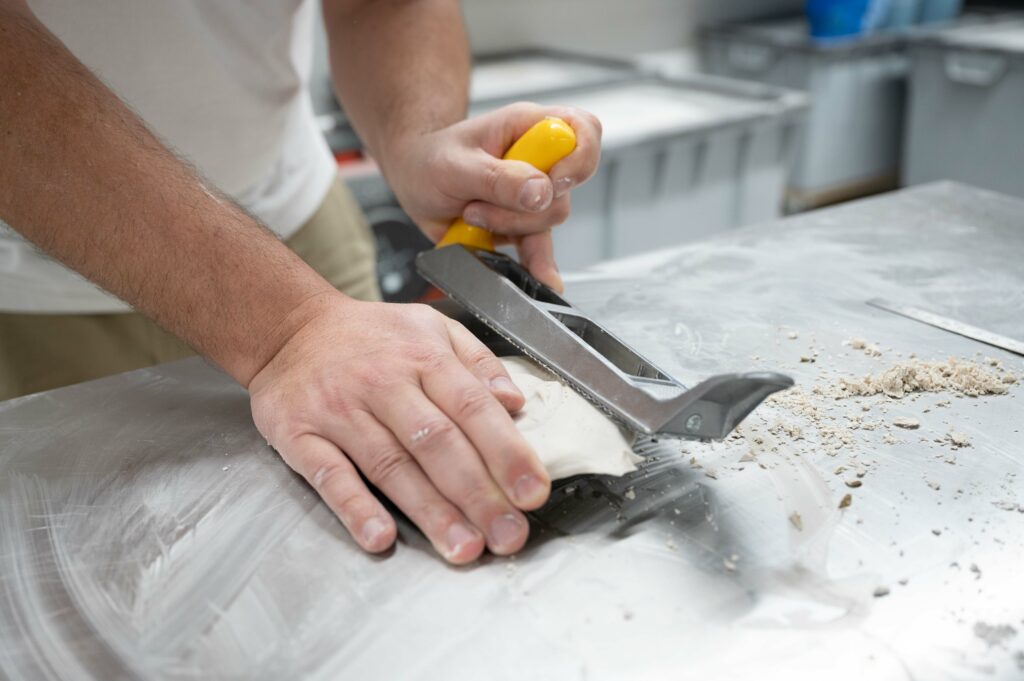
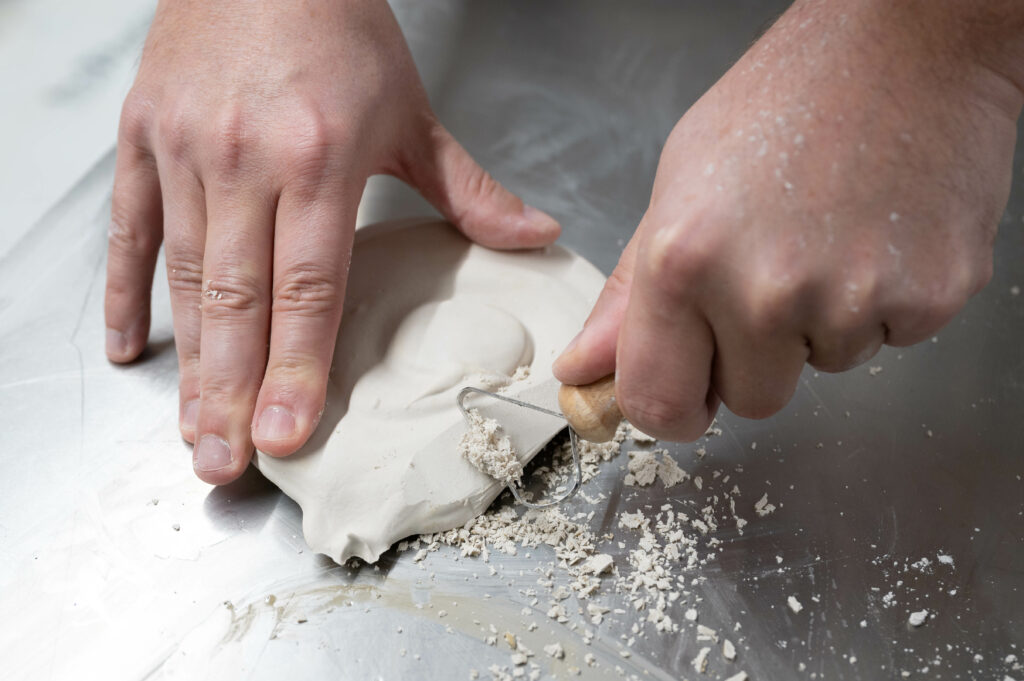
Plaster, due to its white color and homogeneity, is an ideal material to study the proportions of a building and to study light and shadow. Furthermore, it is dimensionally stable, and only a few cheap tools are required to work with it.

Model by: Annsophie Vogt

Preparing Plaster

Stages

Plaster transitions from a pourable liquid to a pliable solid to a dried mass throughout a couple of days. The most exciting stages happen during the first 45–60 min after mixing plaster and water.

Liquid Stage
The most practical time for pouring plaster happens right after mixing within the first few minutes. Not much can be done in this state except for pouring.

Putty Stage 
The plaster starts to get creamy 10-15 minutes after mixing and eventually reaches a toothpaste-like consistency, ideal for extruding profiles or working additively. This phase lasts for about 5 min.

Rigid Stage
After around 15-20 minutes, the plaster becomes rigid and very fragile. Avoid moving or vibrating the mold during this period. 

Set Stage
The plaster gradually heats up and hardens at this stage. The exact rate depends on the mixture and the size of the casting. It is time to remove the casting from the mold when the plaster cools down. The set stage starts mostly between 45-60 min after mixing.

Cure Stage
This stage starts when the plaster cools down and lasts until completely dry. It is at this stage when most of the post-processing is done, even if the tools get clogged and need frequent cleaning.

Dry Stage
After several days, the plaster enters the dry stage and no longer contains water. At this stage, plaster can be sanded or painted.

Techniques

A few basic techniques are used when working with plaster during the different stages of the material. Each method can be combined to generate various expressive material gestures.

Pouring

Liquid plaster is poured right after mixing. Pour the plaster as a steady stream into the mold. Lightly tap the mold after pouring to release any air bubbles.

Modeling

During the putty stage, plaster can be used as a sculpting material. Materials like steel mesh, wire, hemp, linen, polystyrene, or even paper can be utilized as an armature to build large organic shapes quickly.

Extruding

The putty stage allows you to extrude plaster into complex profiles that can be assembled into almost any shape. The following post outlines the process of making your own extrusions in more detail: Extrusions

Carving

The isotropic properties of plaster make it ideal for subtractive post-processing. The implications for mold-making are substantial, and many features can become a mixture of additive and subtractive techniques, leading to more efficient model-making.

Tools for post-processing

Knife

Any knife can become a simple carving tool to shape edges or to carve features that are difficult to achieve with mold-making.

Surform

The surform removes unwanted parts of a model efficiently without clogging. It can create beveled or chamfered edges or dress up an uneven surface. 

Hand saw

Using a hand saw is efficient for cutting plaster into smaller parts. The cut can also be a split line for more massive castings. 

Surform plane

The surform plane dresses up surface imperfections and leaves a flat but rough surface behind that needs a final pass with a scraper for smooth results.

Scraper

Instead of sandpaper, a scraper is used to flatten and smooth surfaces. 

Sculpting tools

Metal tools with numerous shapes can be used to carve or scrape specific forms or details like coves, ogees or organic shapes.