Check if the first layer sticks to the surface – if not abort the print and report it to a Raplab employee.
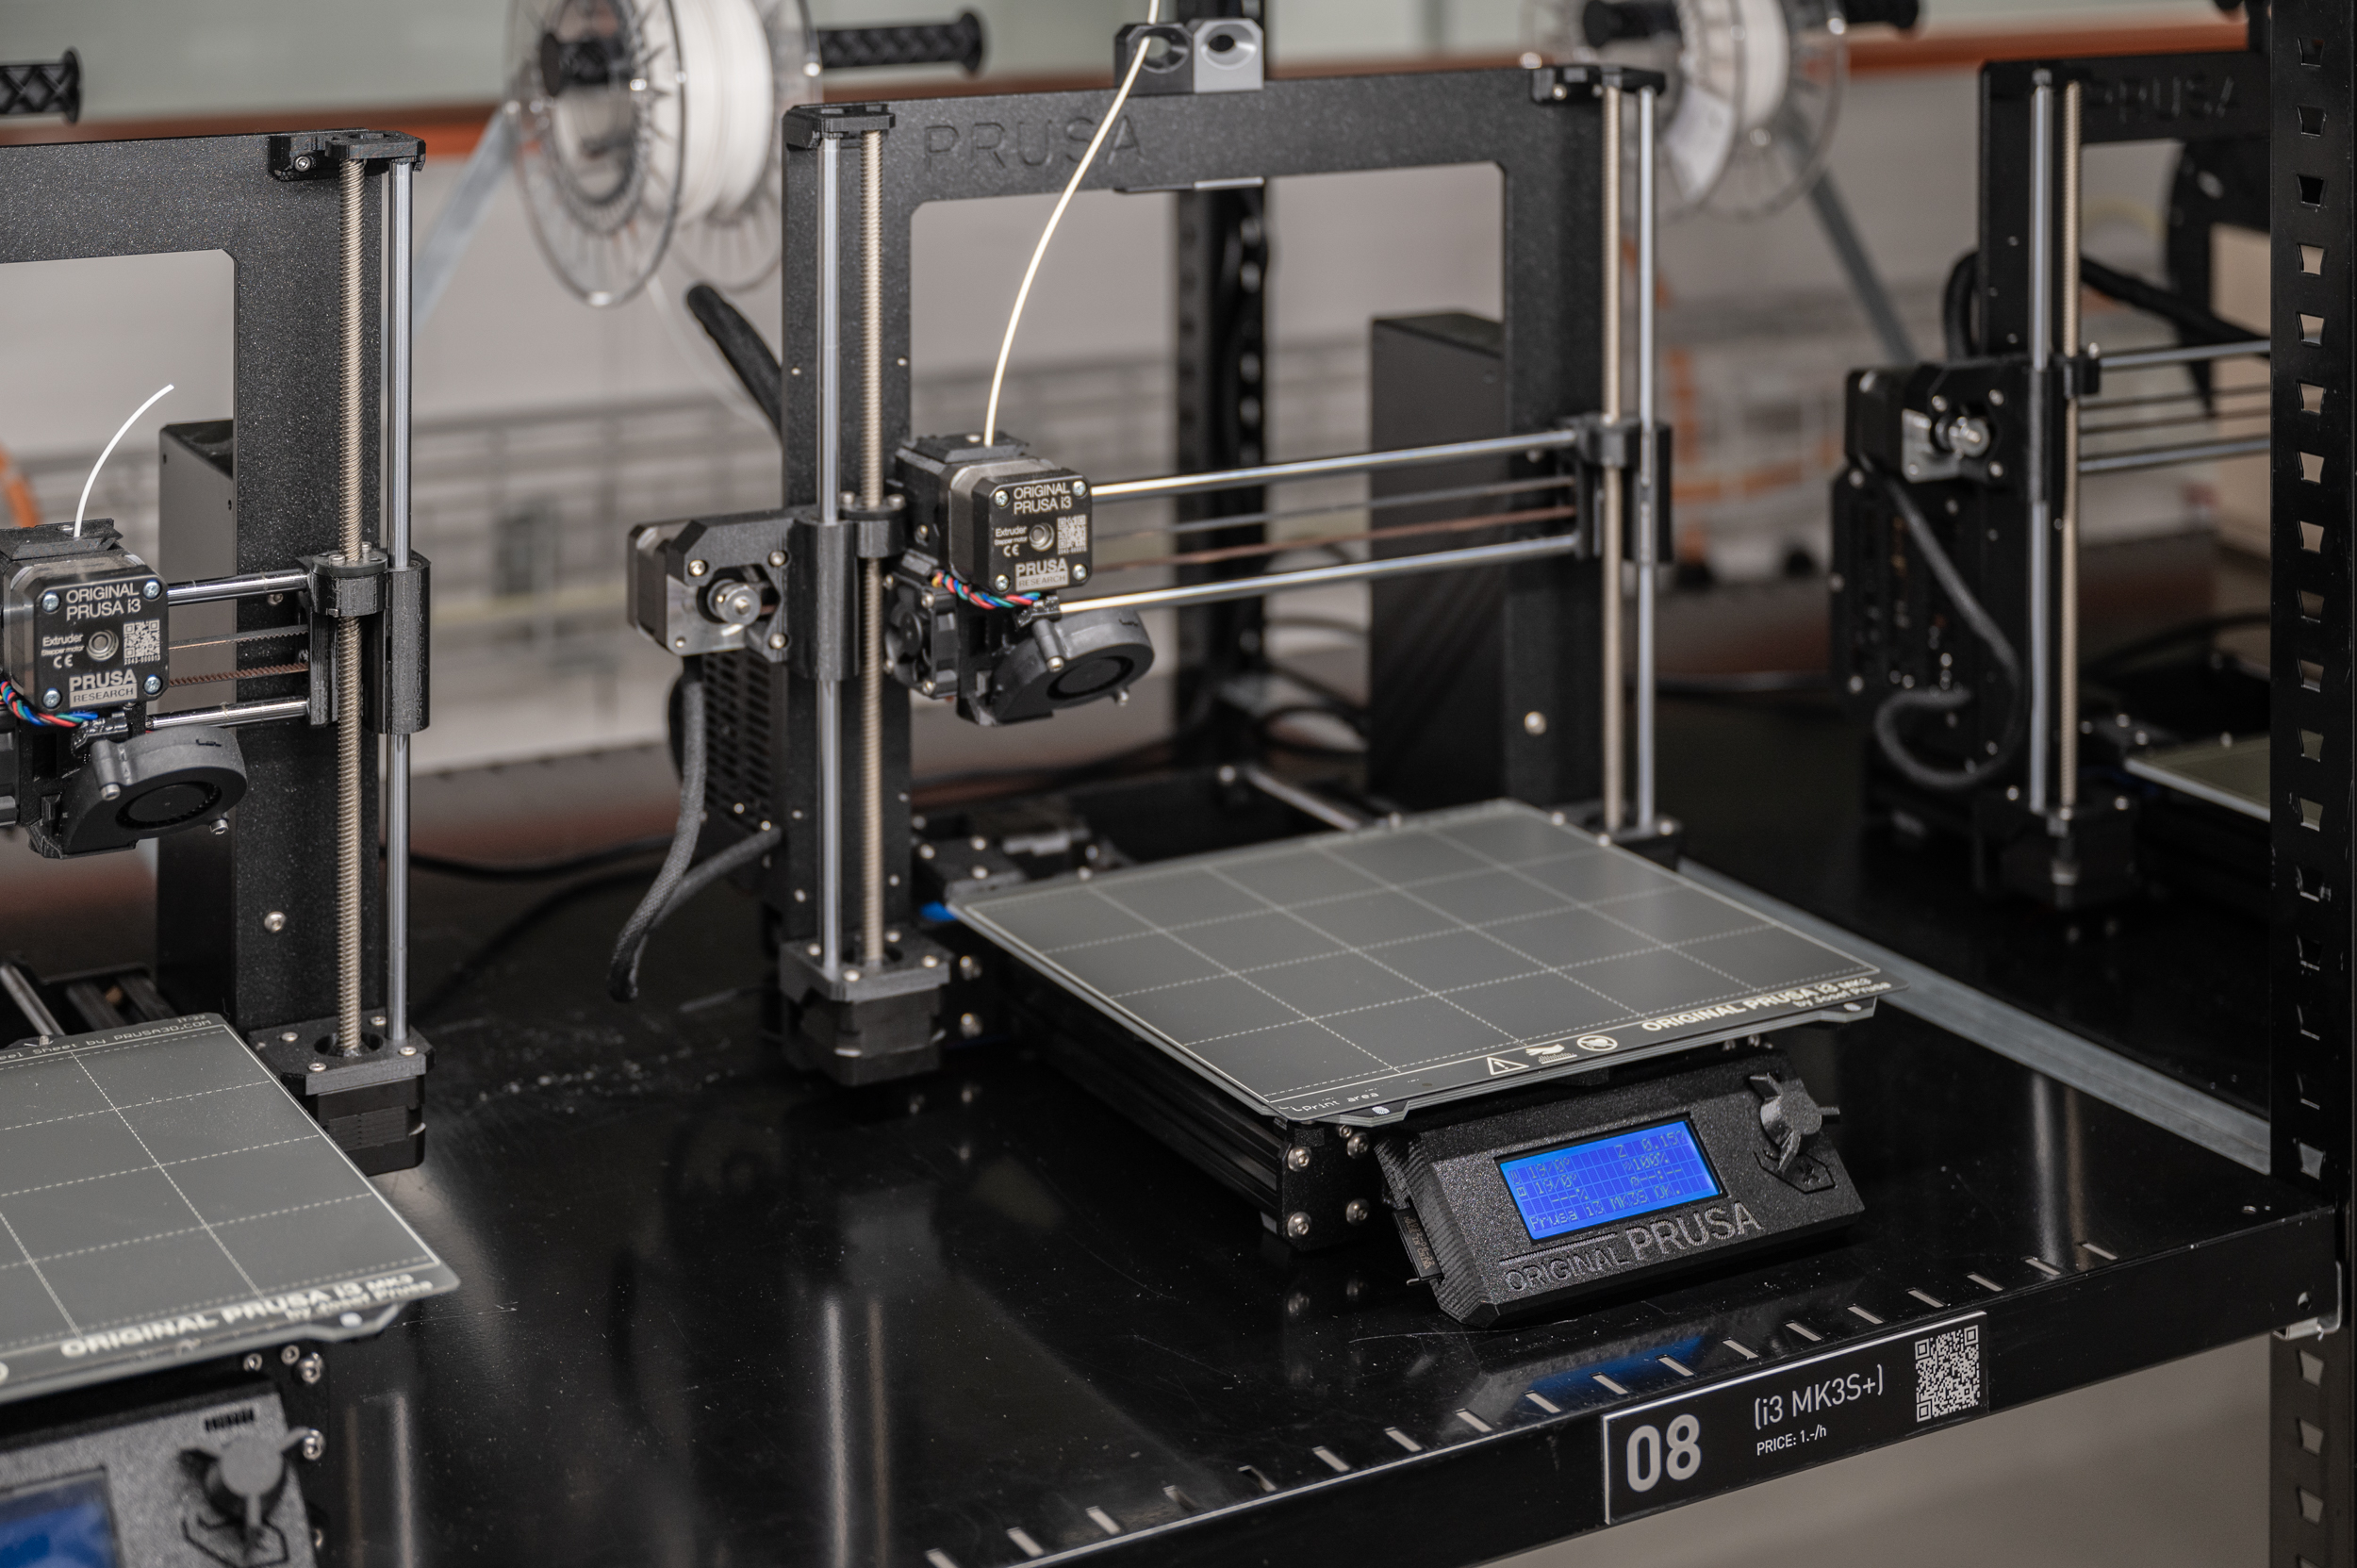
Cost: 1.- / h
Area: 250mm x 210mm
Height: 210mm
White PLA filament, 1.75mm, provided by the Raplab.
You can download PrusaSlicer to your personal computer for free here.
Once installed open the configuration wizard and select “0.4mm nozzle Original Prusa i3 & MK3S+” on the Prusa FFF tab and “Extrudr PLA NX2” on the filament tab. This will Install the necessary printer settings.
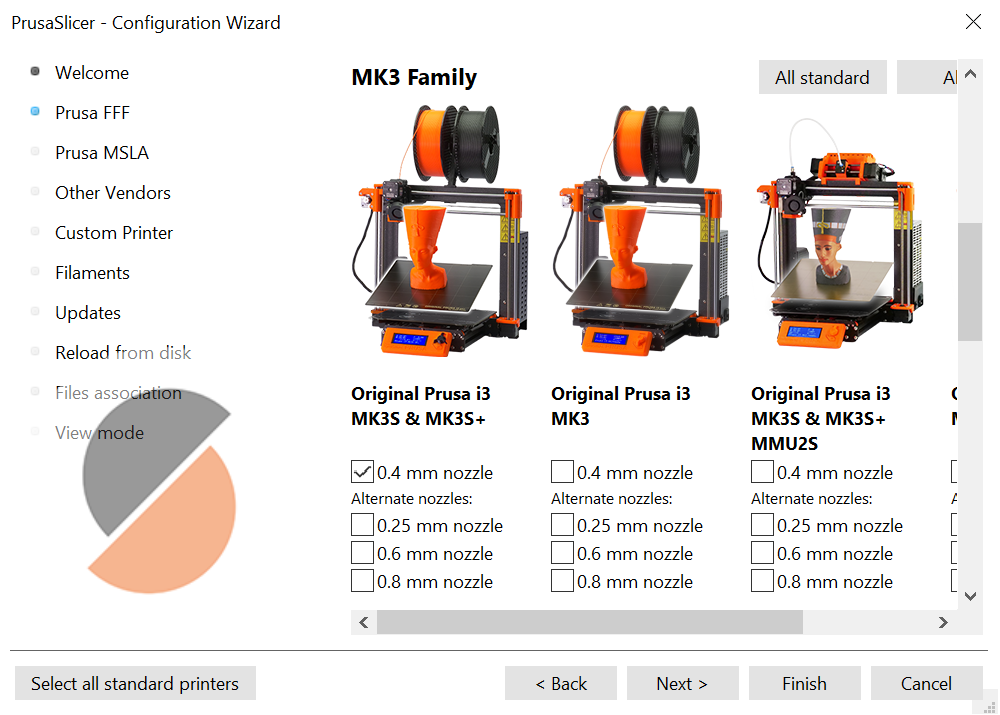
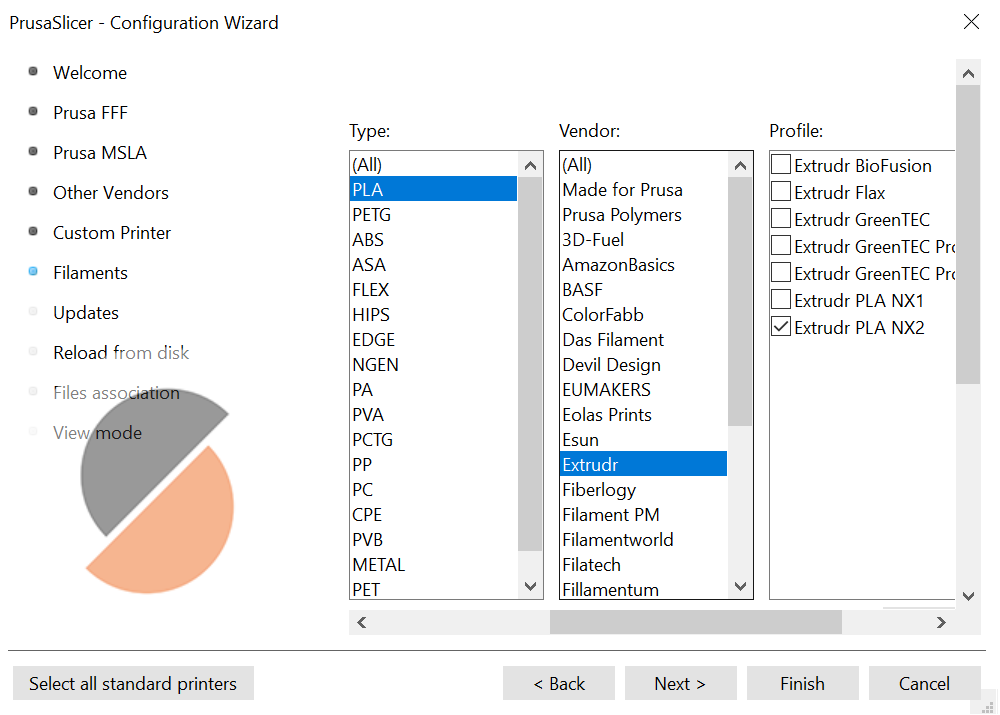
Open PrusaSlicer on your personal computer. (Install here)
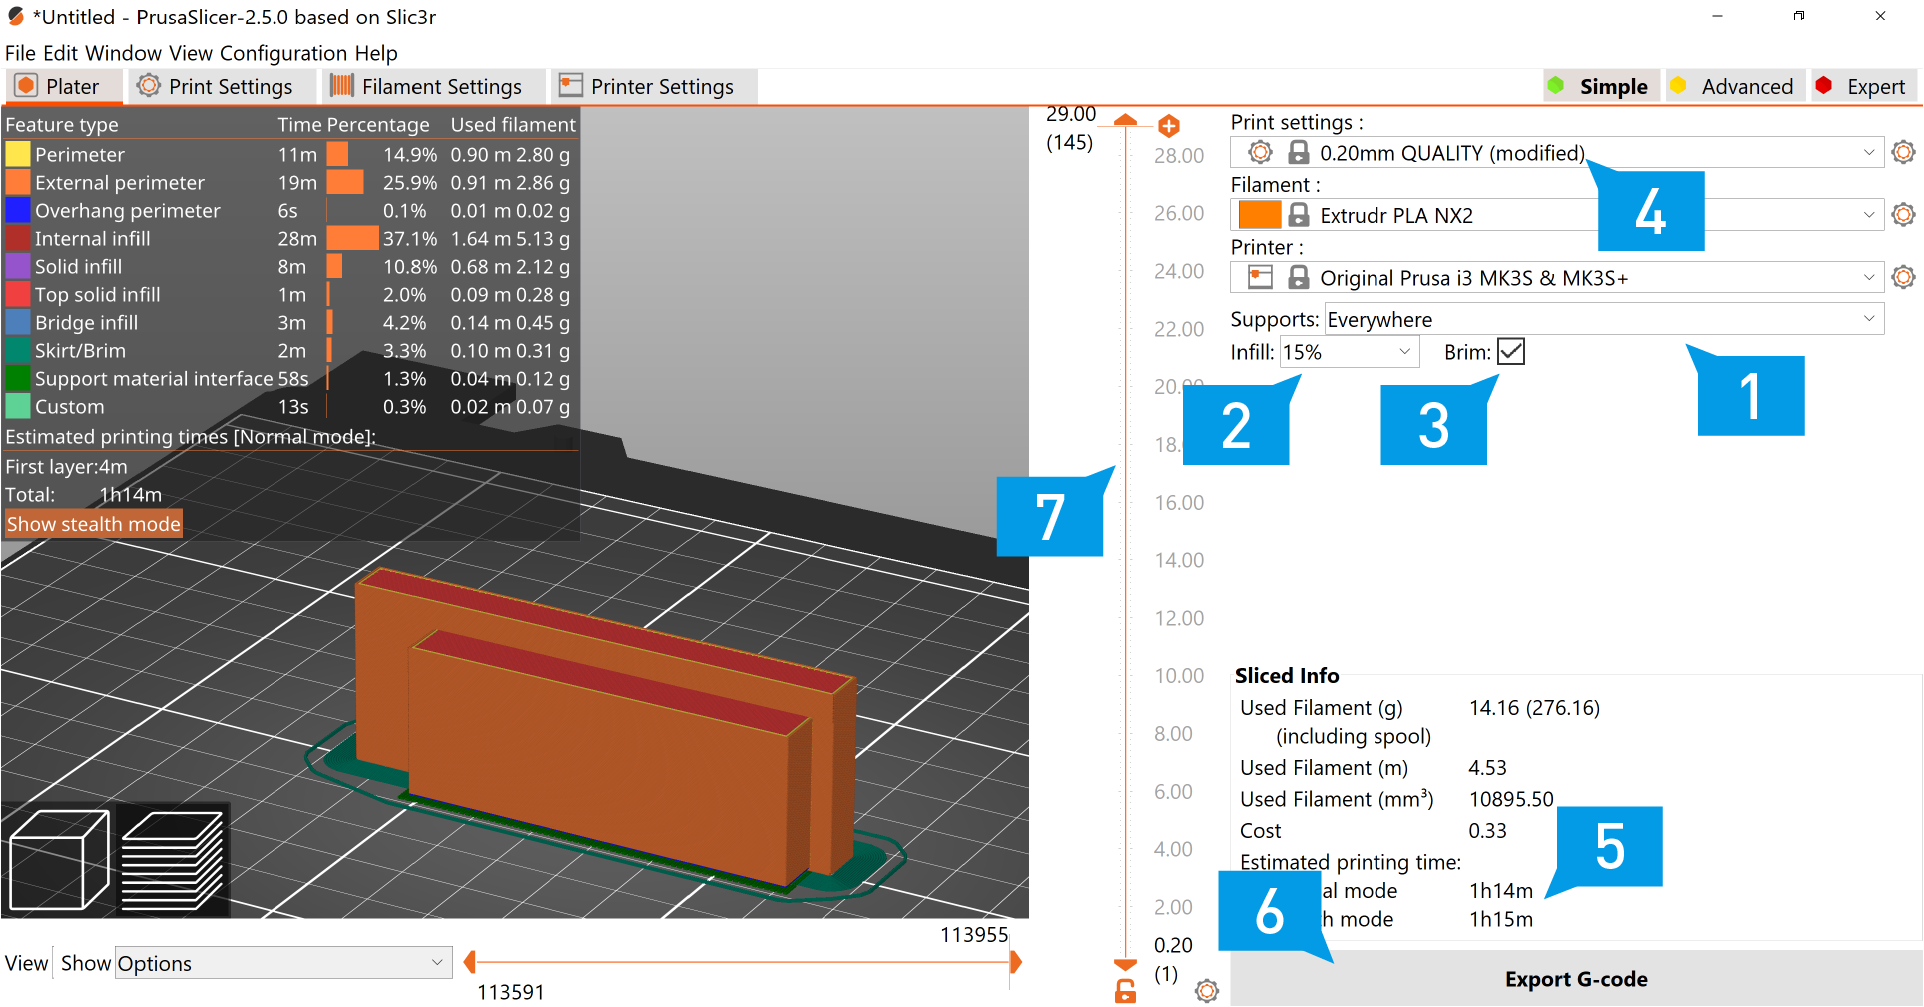
Begin by clicking on “simple” (1). This will hide the features of the software which are unnecessary for a first time users.
Select “Original Prusa i3 MK3S & MK3S+” on the printer tab (2) and “Extrudr PLA NX2” on the filament tab (3). If these options are not available, please refer to the “Installing PrusaSlicer” tab located above in this machine tutorial. Do not skip this step. The print will fail if the correct Printer and filament is installed.
Select the Layer height “0.2mm QUALITY” on the Print settings tab(4). Setting the layer height to 0.2 will give you the best results. As a rule of thumb, the layer height should be around half the nozzle diameter.
Upload your STL file to the plate by clicking the “add” button (5).
We can now move, (7) scale, (8) and rotate (9) the model to the desired position and size.
Before slicing the model, try to understand the best orientation of the object to minimize the amount of support material required. It is also important to have a flat surface that is large enough to adhere to the print bed. We can very easily flip the object simply by selecting it, clicking the “Place on face” button (10) and clicking the surface that should be stuck to the build plate.
If we do not have any flat surfaces on our object, it may be a good idea to split our object in 2 with the “cut” button (11).
Once your happy with the position of your object, click “Slice now”(6), which will bring you onto the preview page.
You can toggle between the preview and 3d editor page (12) with the buttons located in the bottom left corner.
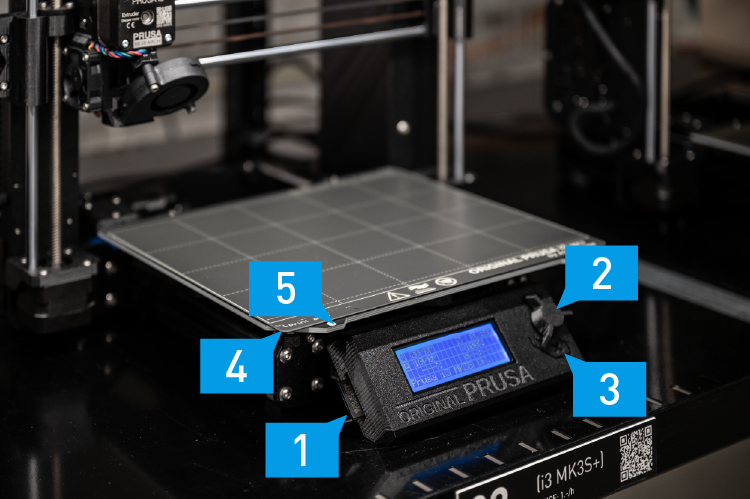
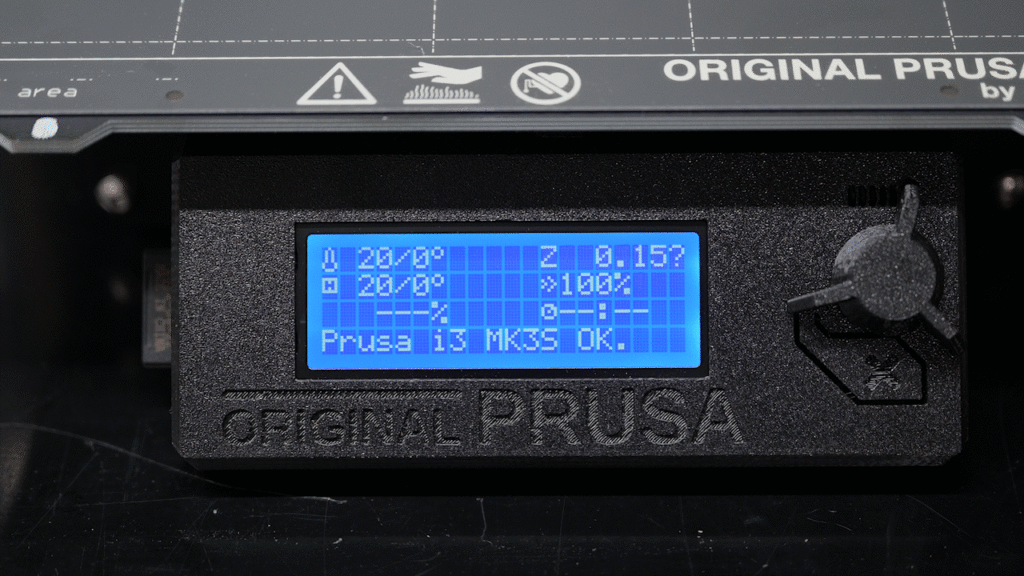
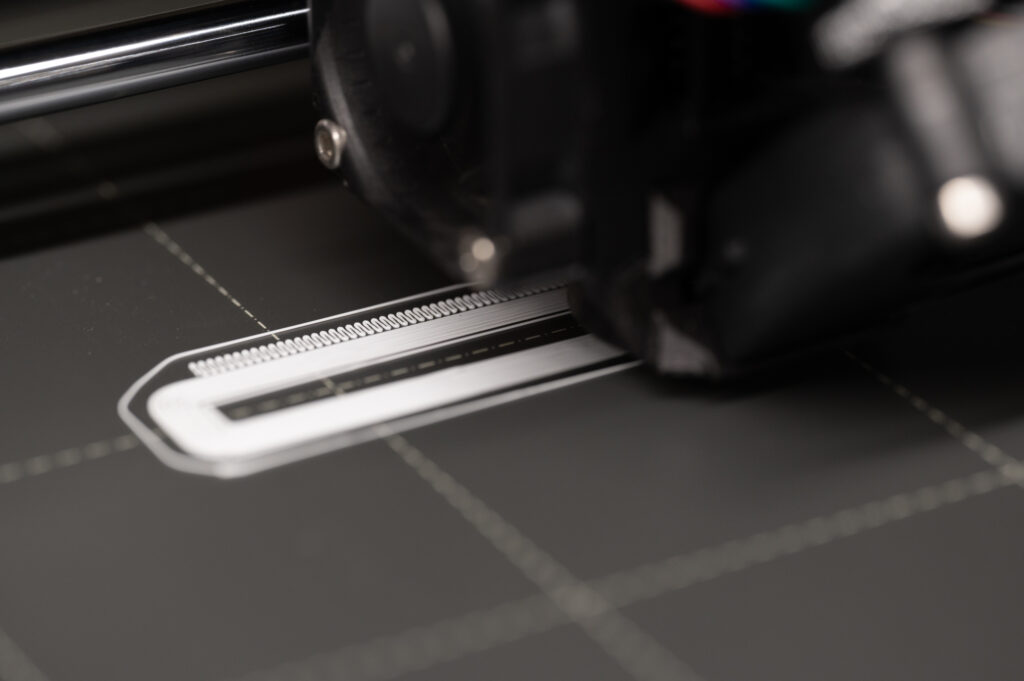
Check the progress of the print from time to time. Once the print is complete, you can log out of the raplab login screen. You can then remove the build plate and bend it slightly. The print should pop right off. Pick of any remaining bits of print material with your fingers. Do not use any metal tools, this will permanently damage the build plate. Double check both sides of the build plate and the heated print bed for debris before putting back in place, ready for the next user.
Check if the power and usb cable is connected to the printer properly.
Report the malfunction to a staff-member and switch to an other printer.
The print surface needs to be cleaned and a calibration needs to be made. Please contact the Raplab Staff.