Isohypsen Plug For Rhino3d
Table of Contents
The Plugin
What the plugin does
What the plugin doesn’t do
The Rhino Commands
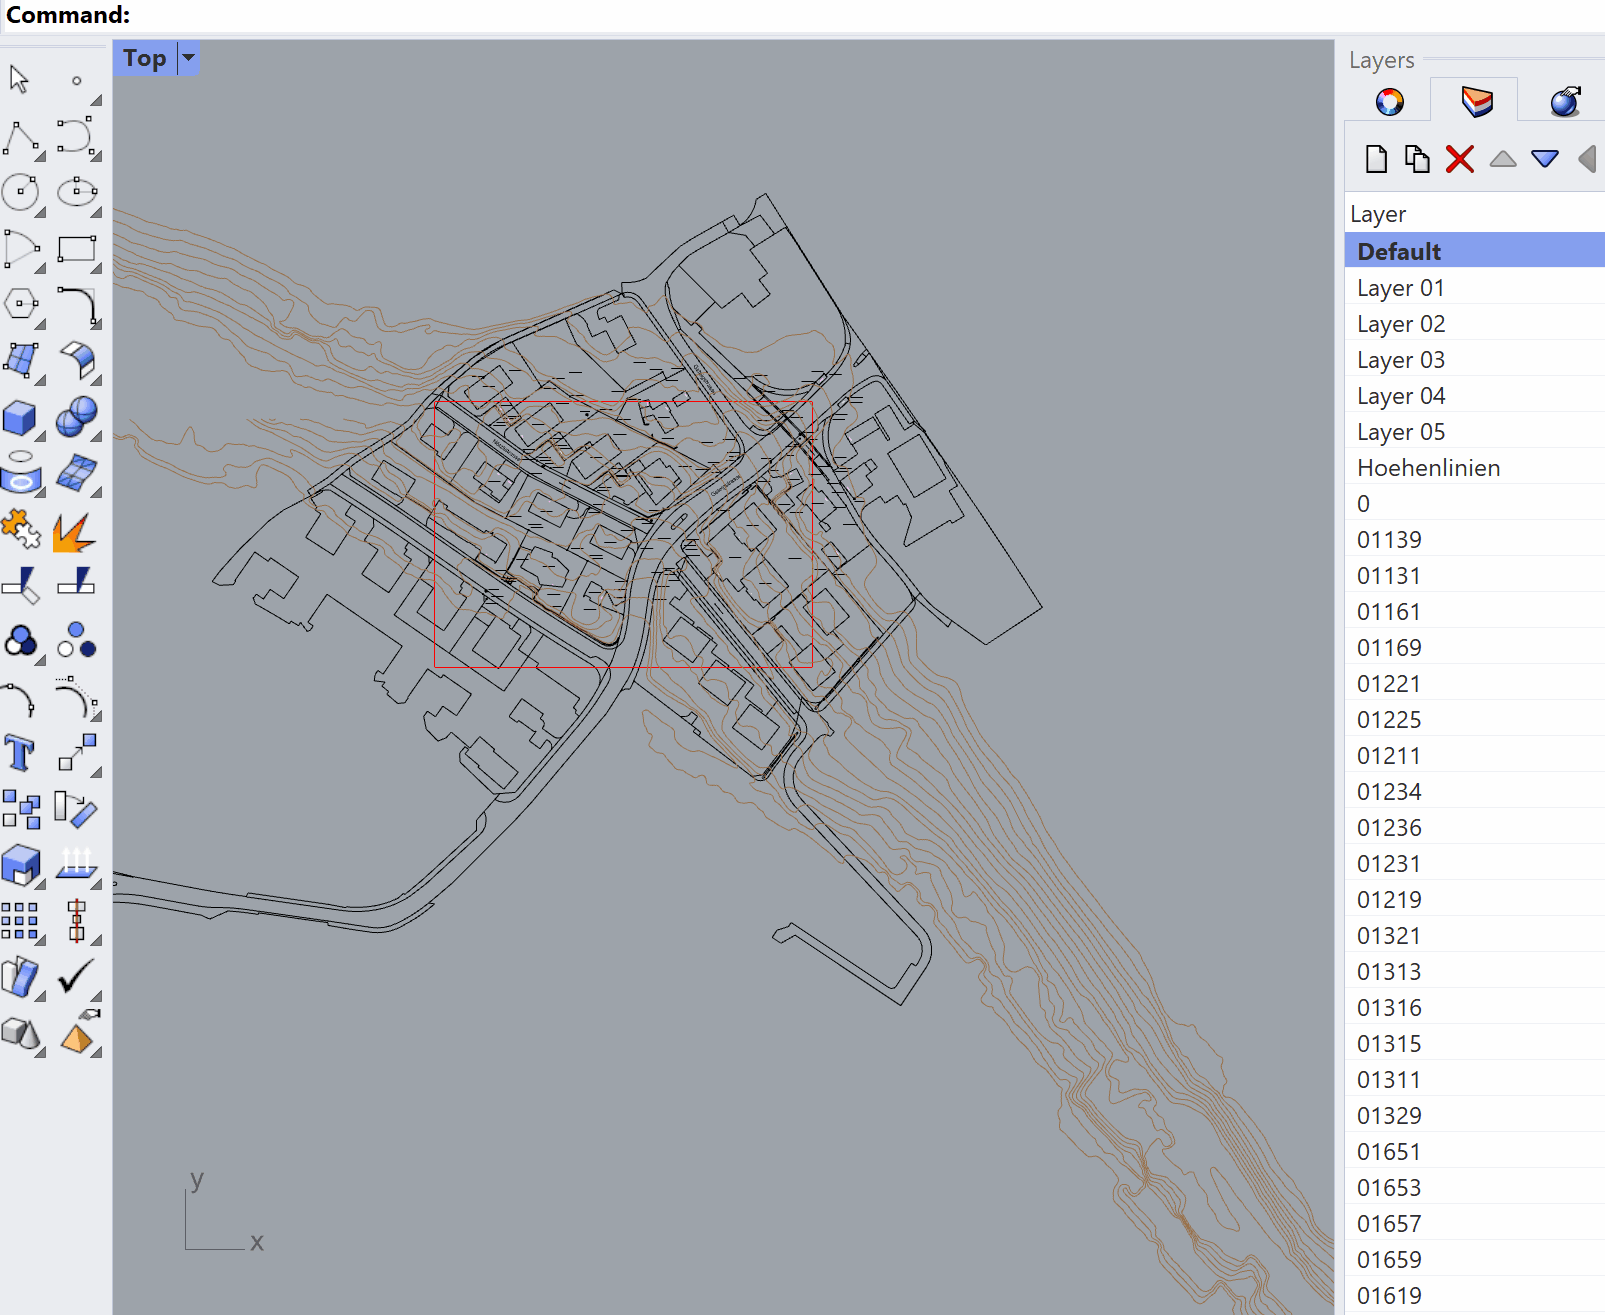
isohypsen_layers
isohypsen_boundary
isohypsen_init

isohypsen_layout
Workflow
Step by Step
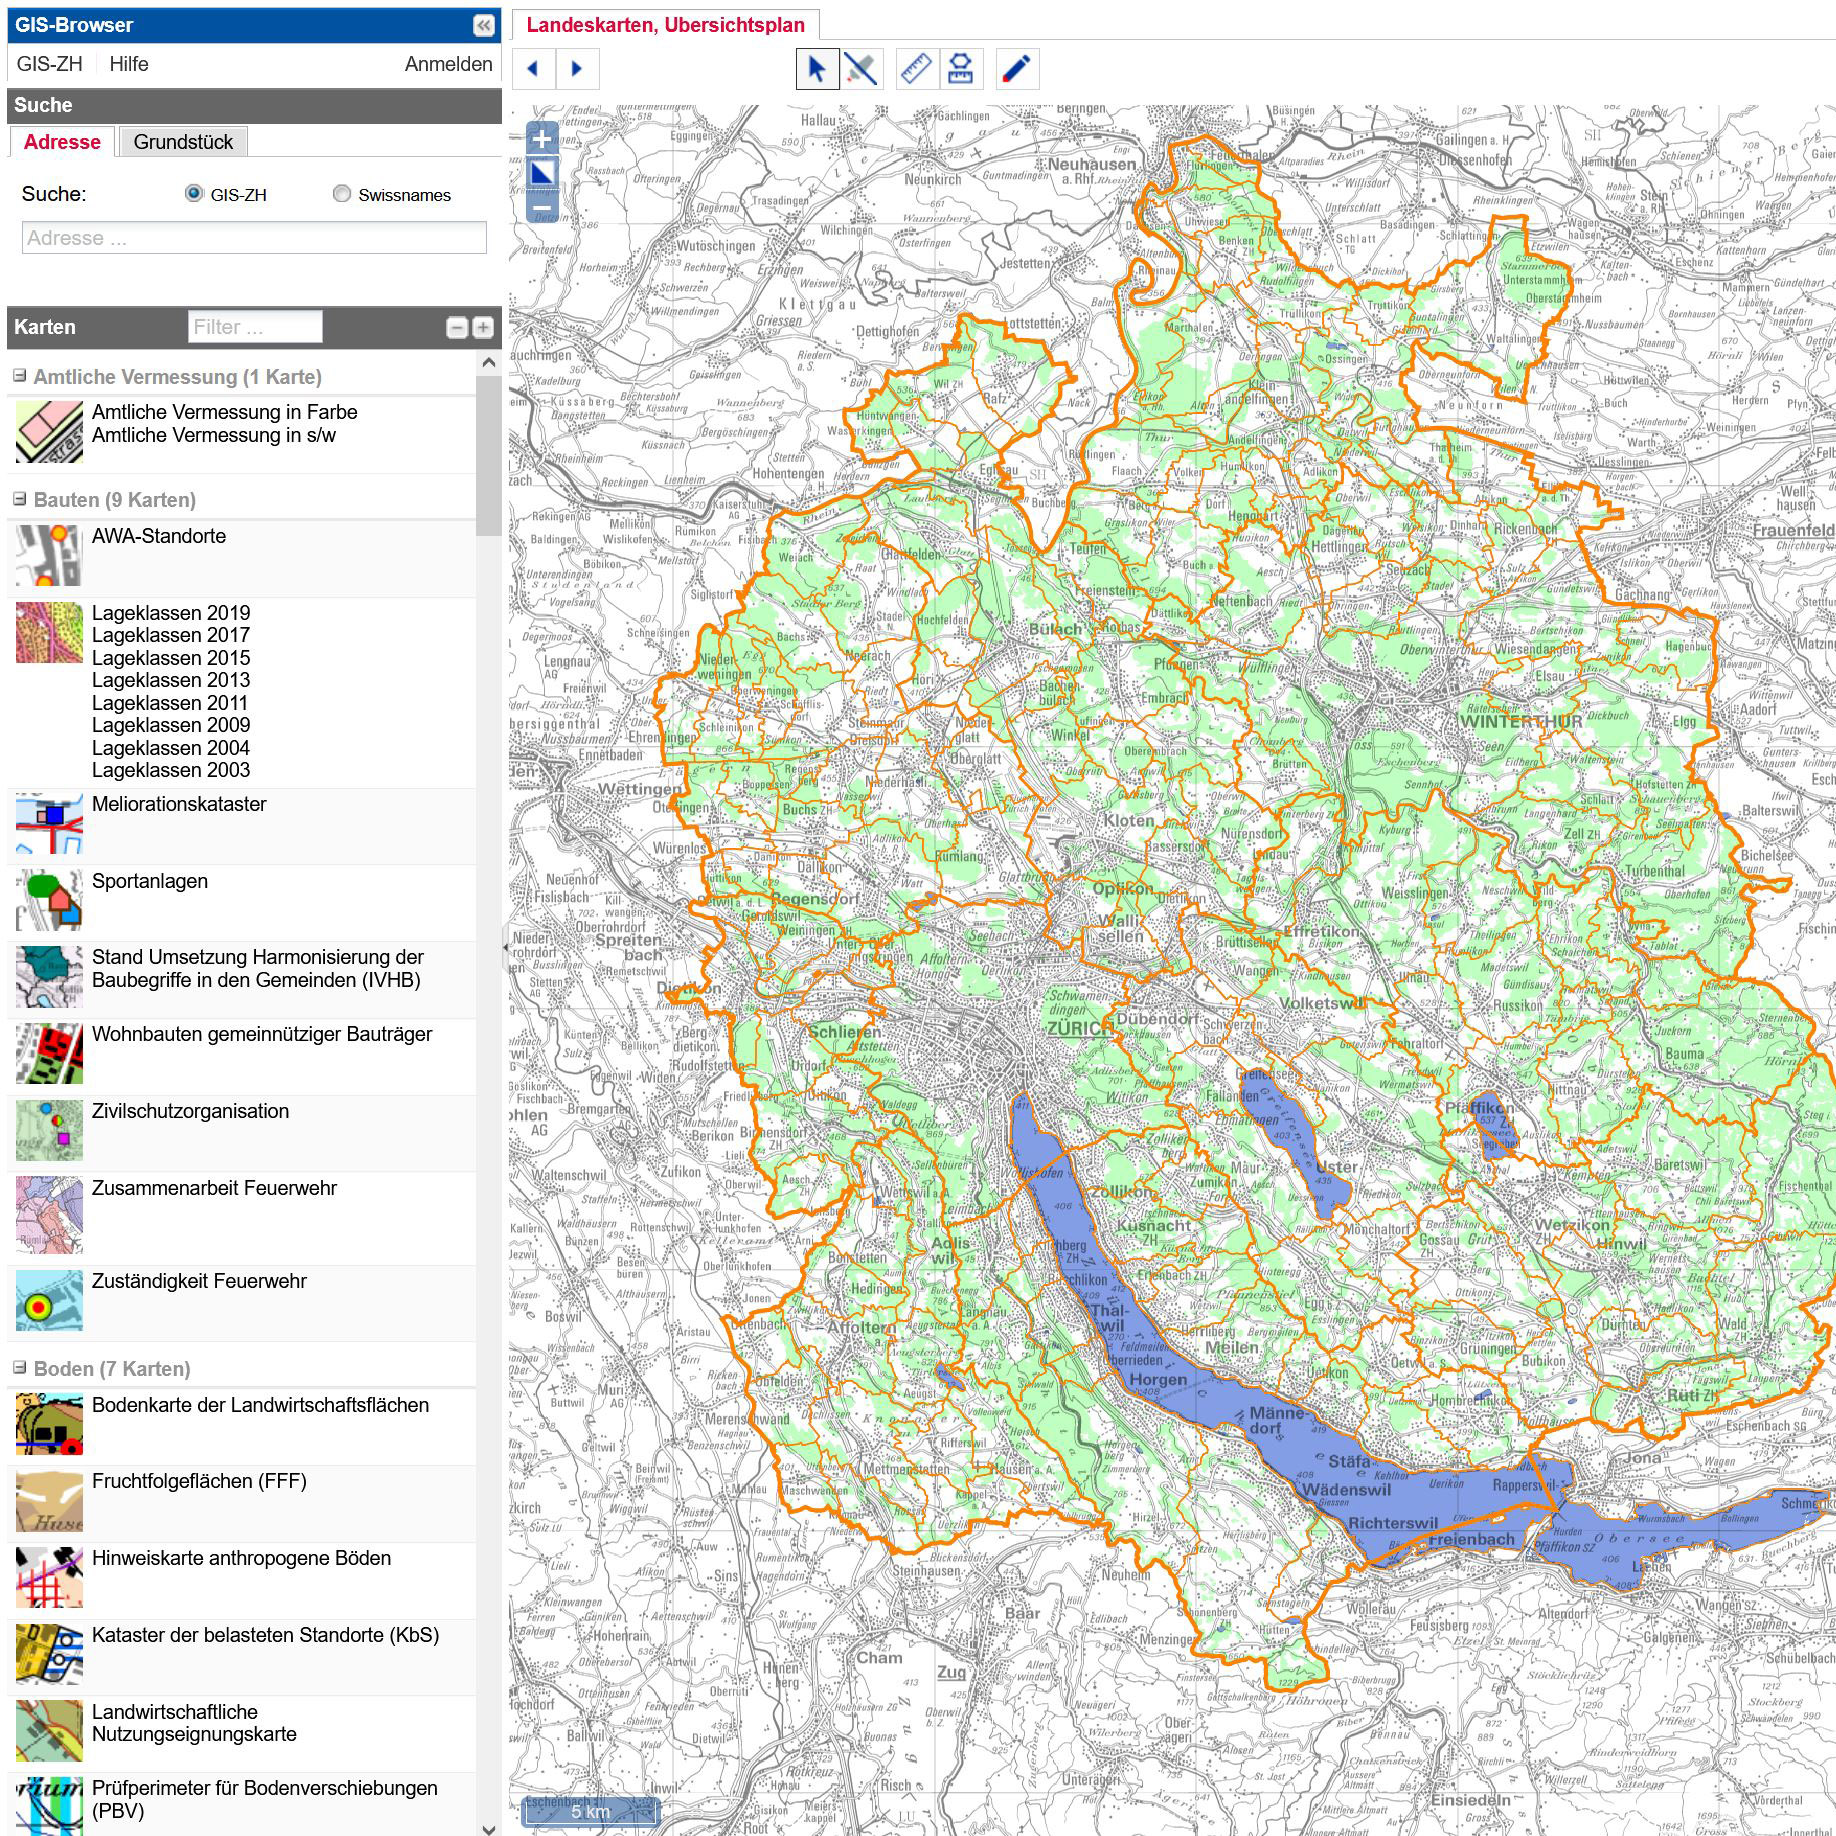
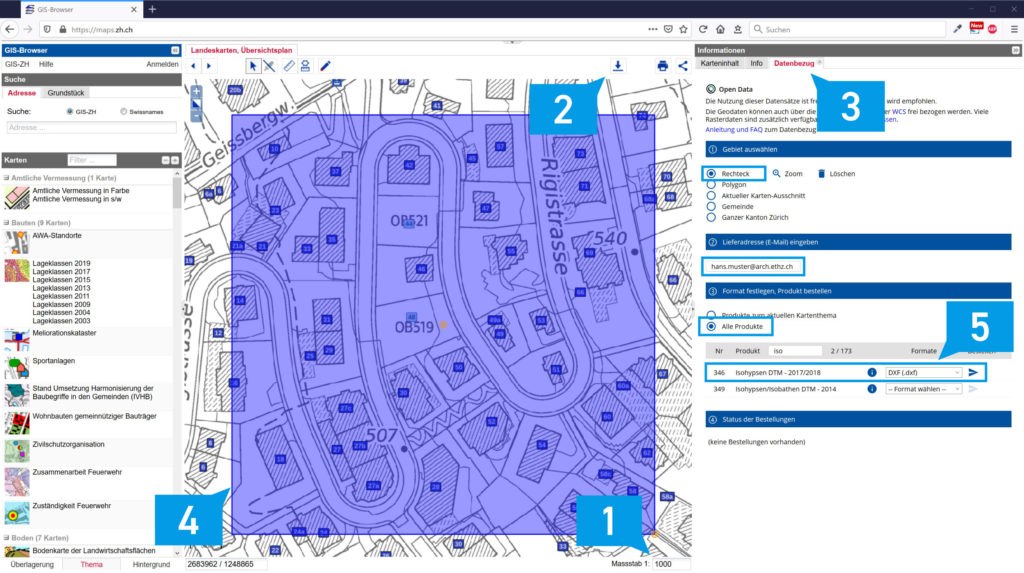
- Make sure to download both .dxf files of your map section. Click here to find out more.
- Open a new rhino file > “Small objects in meters”
- Import both .dxf files. Set model units and layout units to Meters.
- Type “SelAll” in the command bar and zoom to your selection by klicking Zoom > “Zoom Selected” in top view to see your drawings.
- Type “Isohypsen_layers” in the command bar and confirm with ENTER to clean layers.
- Type the following in the command bar to remove all blocks. Confirm Every Step with ENTER:
- SelBlockInstance
- Explode
- Join
- Type “SelDup” in the command bar and delete the duplicates.
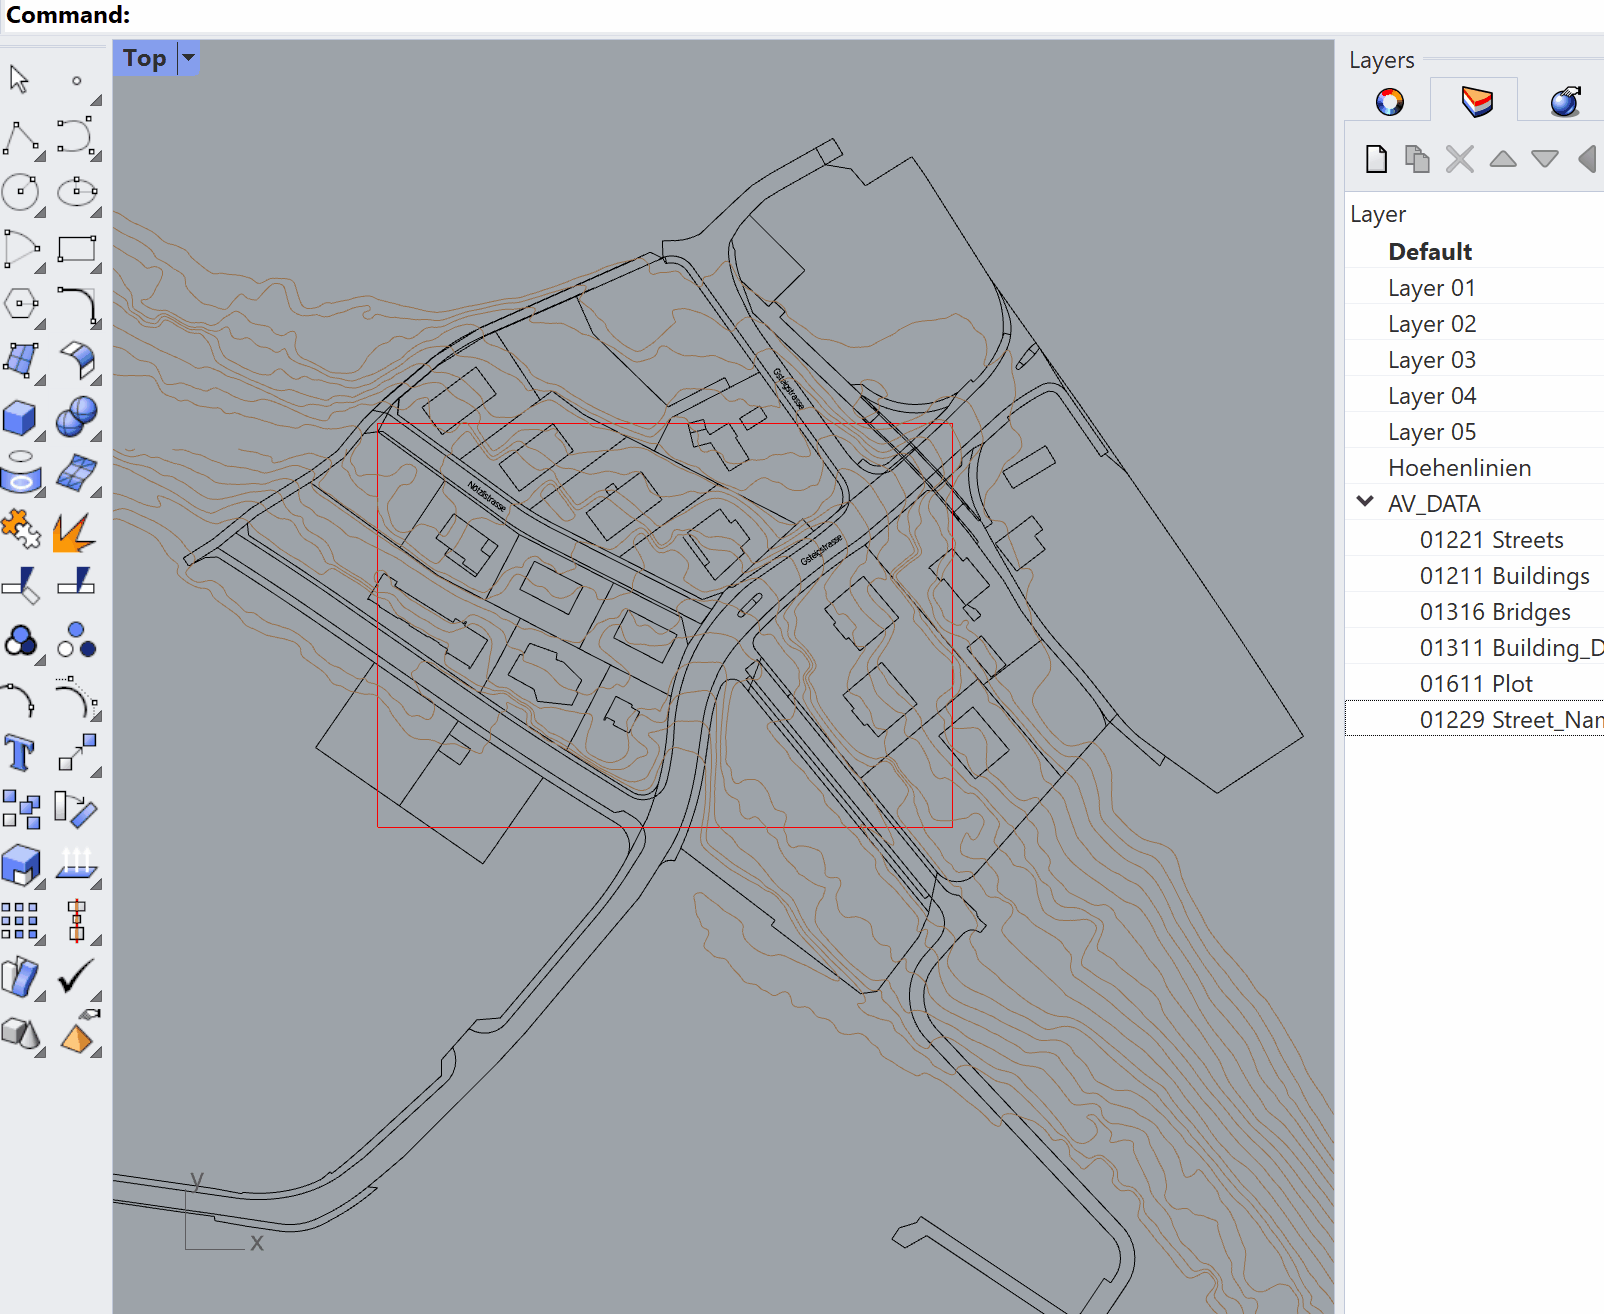
- Use the rectangle tool to draw the boundary.
- Type “Isohypsen_boundary” in the command bar and follow the instructions to trim the selected boundary area. There are two steps to complete the task:
- select curves to split: Type “All” in the command bar and confirm with ENTER.
- select boundary: select your previously drawn boundary.
- Select all Drawings, type “Move” in the command bar and follow the instructions to move your drawings to the 0, 0, 0 coordinates.
- The imported cadastre_data must be redrawn now to optimize laser cutting. Use Polylines and NURBS curves for better results.
- Use Units to reset the units from meter to millimeter and check that your scaling is right. If you need to adjust your scaling use Distance to check the actual length and Scale to set the new scale
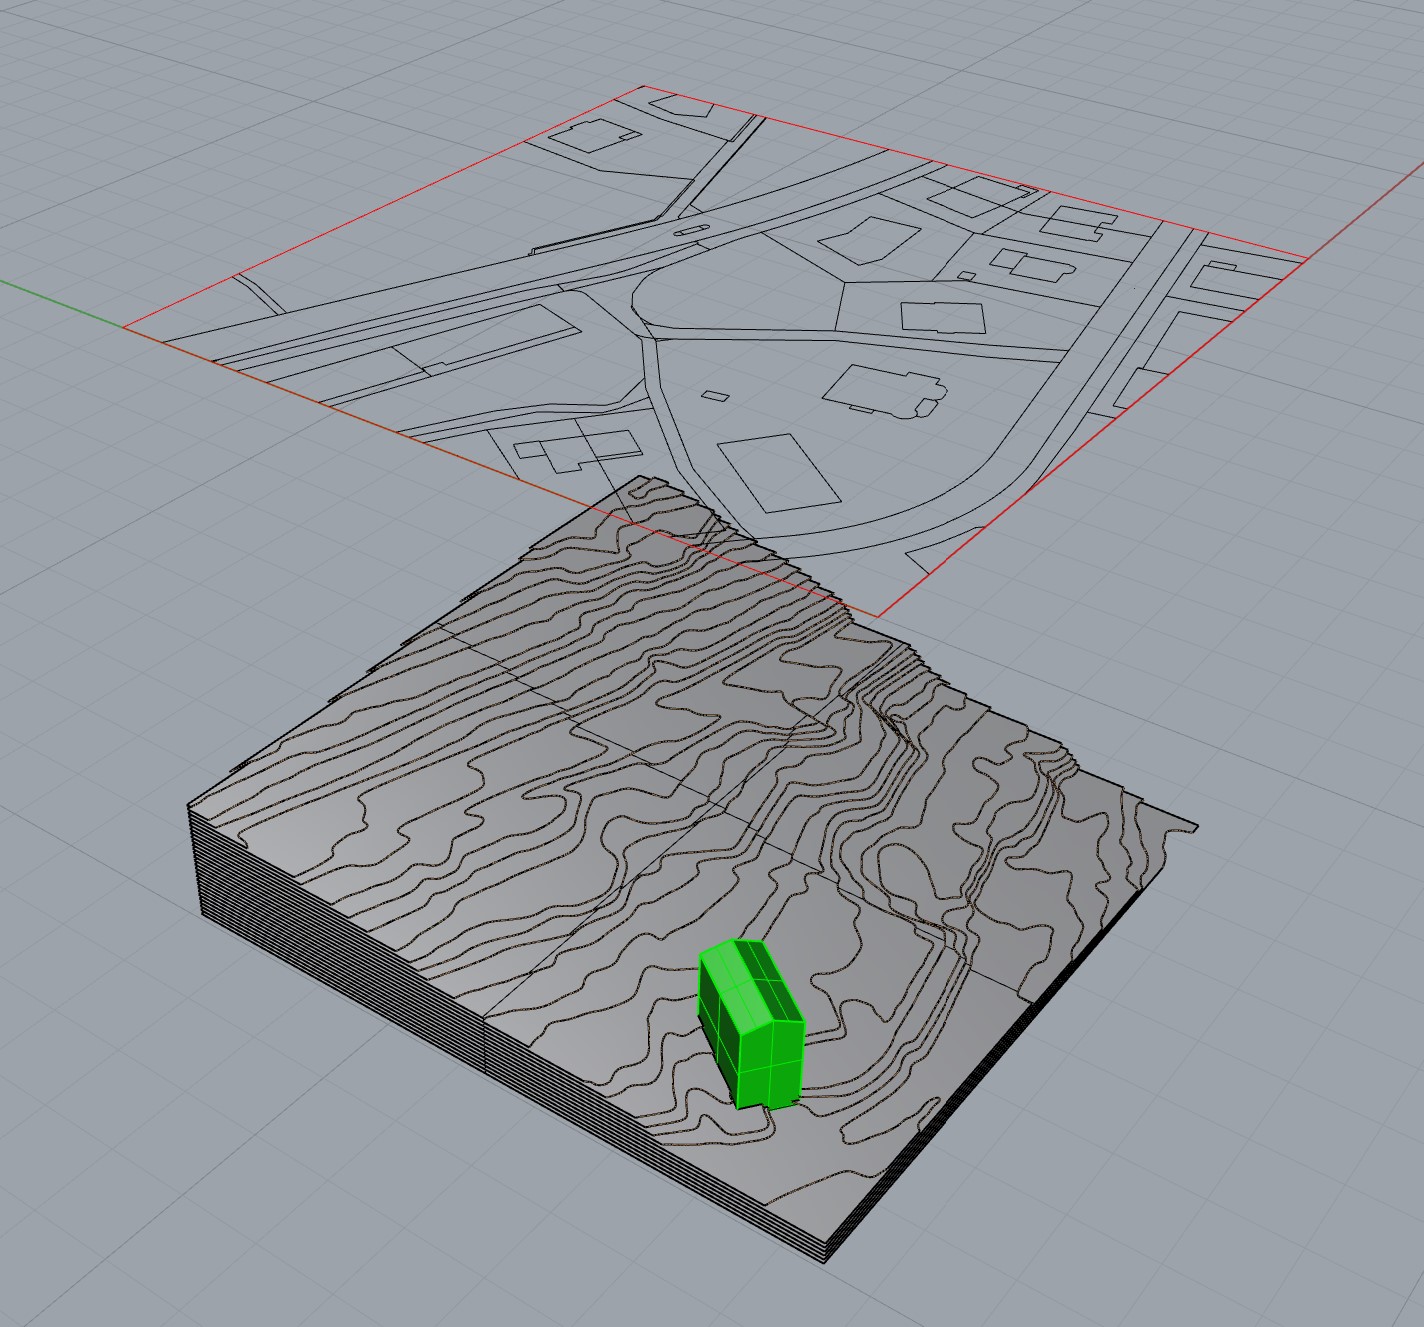
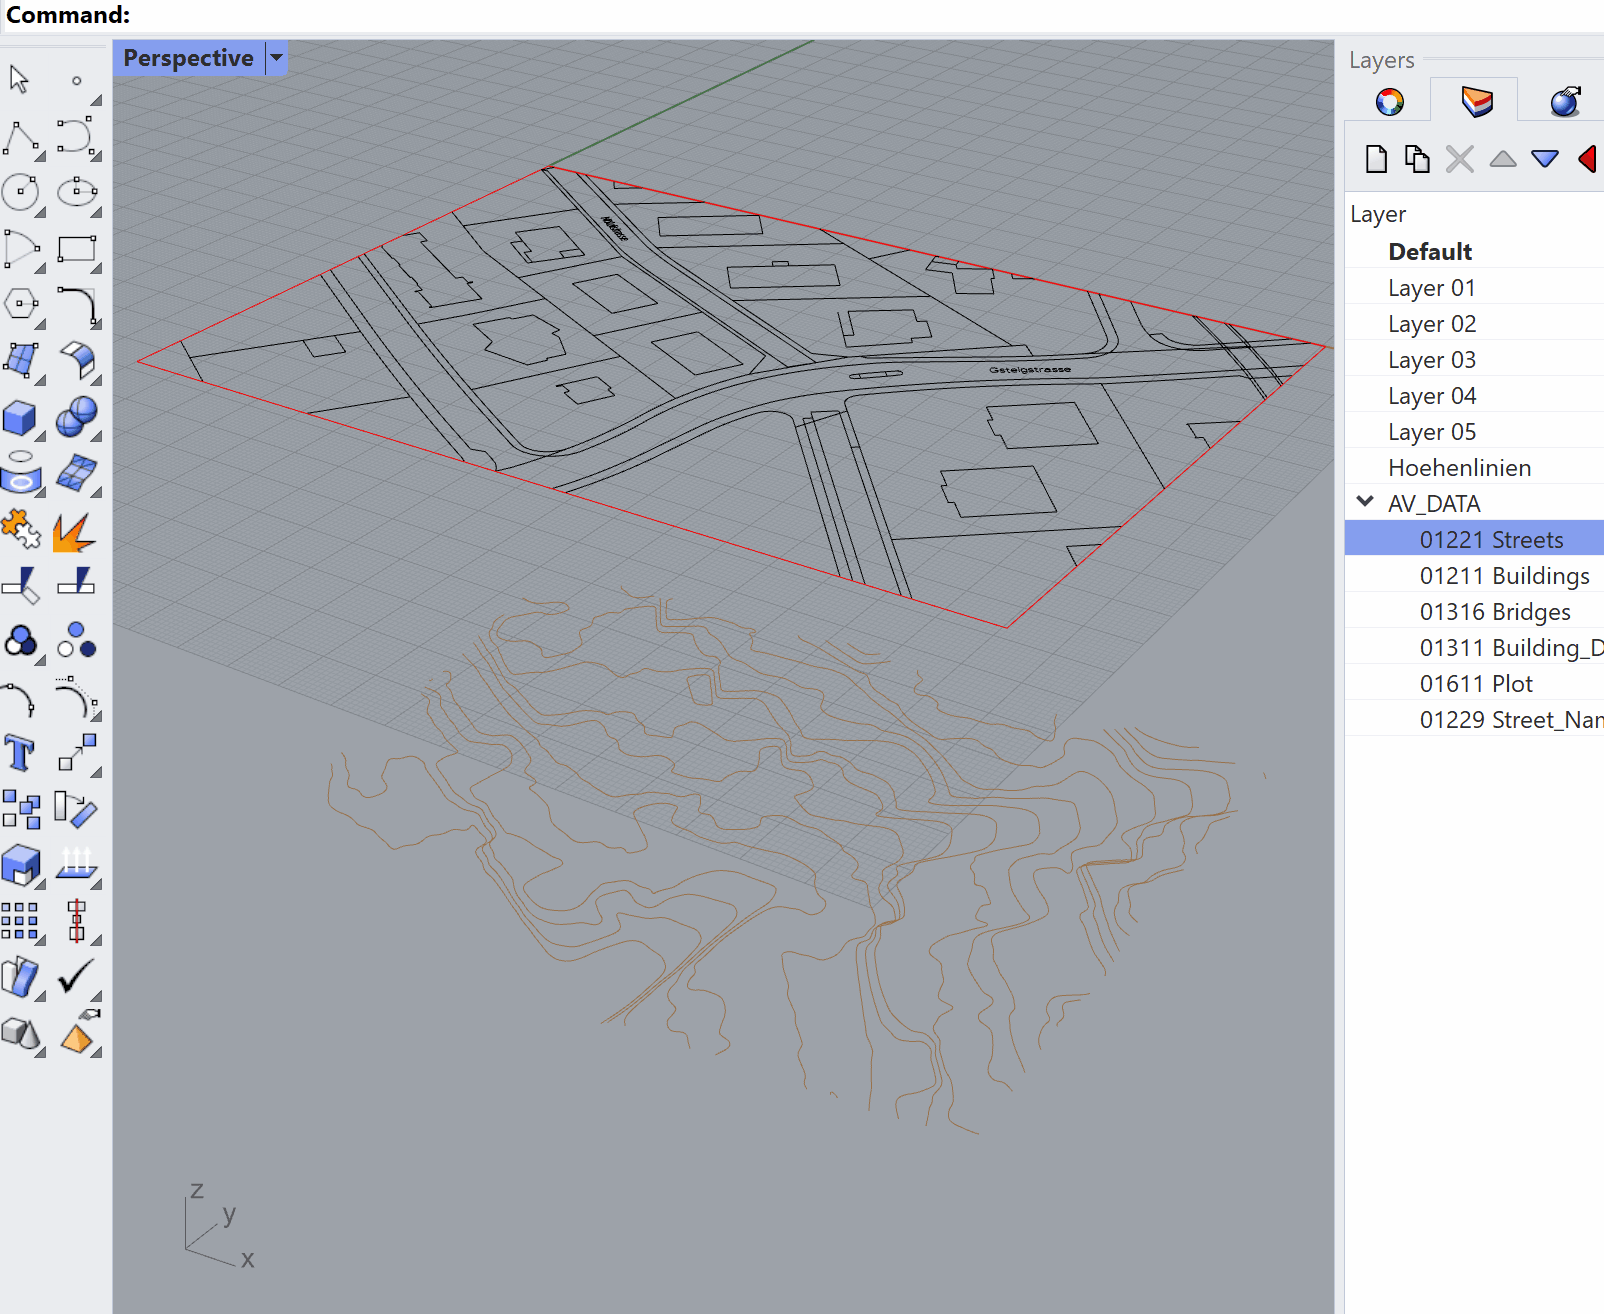
- Once done, move the terrain curves below the cadastre drawing sets.
- Generate the contour surfaces and simplify the contour lines by typing “Isohypsen_init” in the command bar and following the instructions. There are four steps to complete the task:
- select contour lines. Press enter when done: “Höhelinien” > “Select Objects”, press ENTER
- select boundary: klick the previously drawn boundary
- reduce point count to 0.5: press ENTER
- select objects to trim, select pressing Shift to extend: follow the video below from 04.47 if unclear.
- You can now cut out the outline of your buildings out of the iso surface. Therefore type „Trim“ in to the comman bar. There are two steps to complete the task:
- select cutting objects: select the outline of the building you want cut out of the iso surfaces. Press ENTER to confirm your selection.
- select object to trim, select pressing shift to extend: select the outlines of the surfaces you want to cut. Press ENTER to confirm.
- Type „isohypsen_layout“ in the command bar and follow the given instructions to generate the cutting data.
- Create a new layer and draw a rectangle with the size of your stock to arrange/nest the cutting data
- Use Print to export a vector PDF for the laser cutter or save the rhino-file to import it into the zünd template
Installation And Download
Note: Sometimes, using this system, Rhino requires that Python be loaded before it can see the new command for the first time in a session – running EditPythonScript, or any other python script should allow the command to work.
Github
If you want to contribute to our plugin with your own ideas or you know how to improve the code, feel free to help us maintain and improve the plugin.
Acknowledgement
This is a shout out to all the kind help that we received while investigating this topic.
The basic idea for the workflow comes from an explanation of a similar plugin that is being used in the education of architectural model builders in Switzerland and was kindly explained to us by Noa Hirschi from https://modellag.ch/
Further explanations on the aesthetics and design considerations as well as much needed insight into the different data sets were provided to us by Pascal Gnädinger from https://diemodellbauer.ch/
Federico Bertagna from the Chair of Structural Design at ETH Zurich was kind enough to develop the first a fist draft of the plugin with Grasshopper