The significance of mold-making can not be overstated. Typically, a substantial amount of time and work is spent to prepare the molds for casting plaster. Making the mold is the stage that, besides properly mixing the plaster itself, determines how successful your outcome will be.
Ensure your molds are constructed to be watertight, sealed, and easy to disassemble. There are various methods and tricks to good mold making; some of them are outlined in the following post:
Simple molds for plaster and concrete
Carefully calculate the volume of your mold before you prepare everything. Most CAD software does this step for you if you have a 3d model of your part — check the internet on how to do so for your drawing program.
If you have to calculate the volume by yourself, use the simple length x width x height formula to do so and convert the result to liters. For safety, add 10% to the volume.
Mixing ratio by weight: water/plaster = 2 : 3
Use the following guidelines to calculate how much water and plaster you need:
1L is approximately: 600g water + 900g plaster
It makes sense to set up your workplace with all the tools you need to avoid surprises during casting and take the time to go through the process step-by-step.
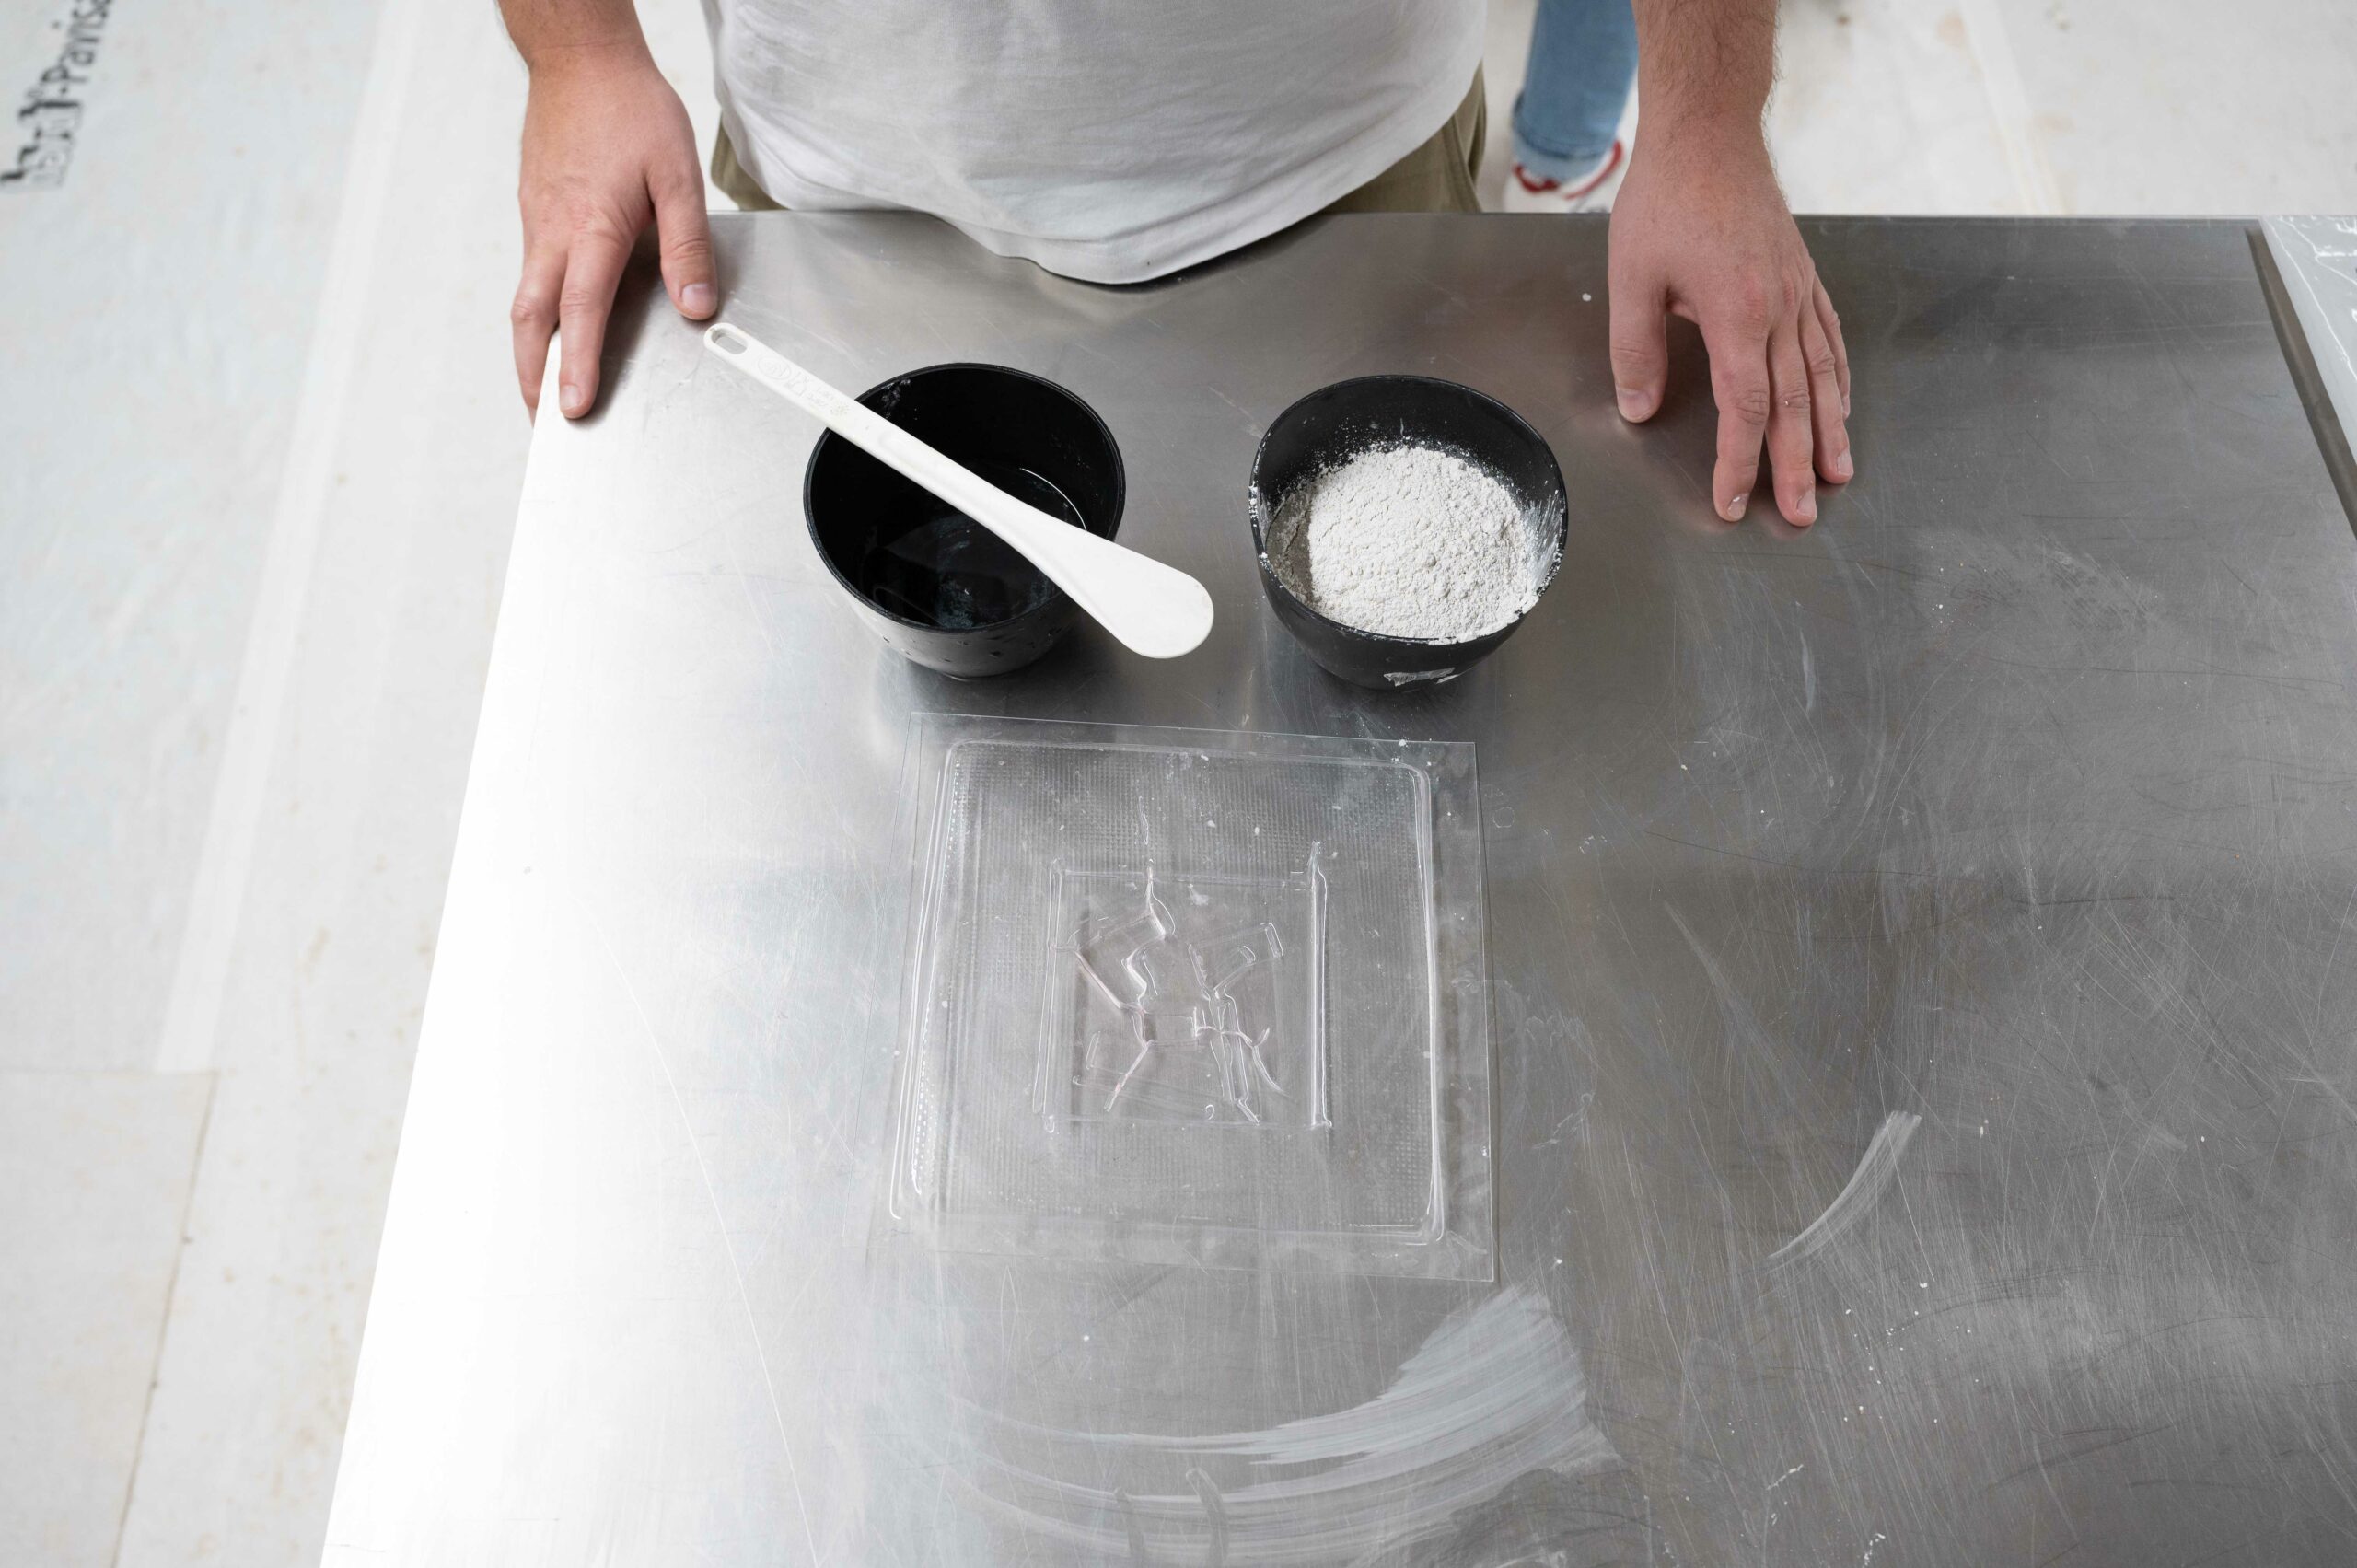
The process outlined below is known as the island method and is an intuitive and proven way to prepare plaster on the fly.
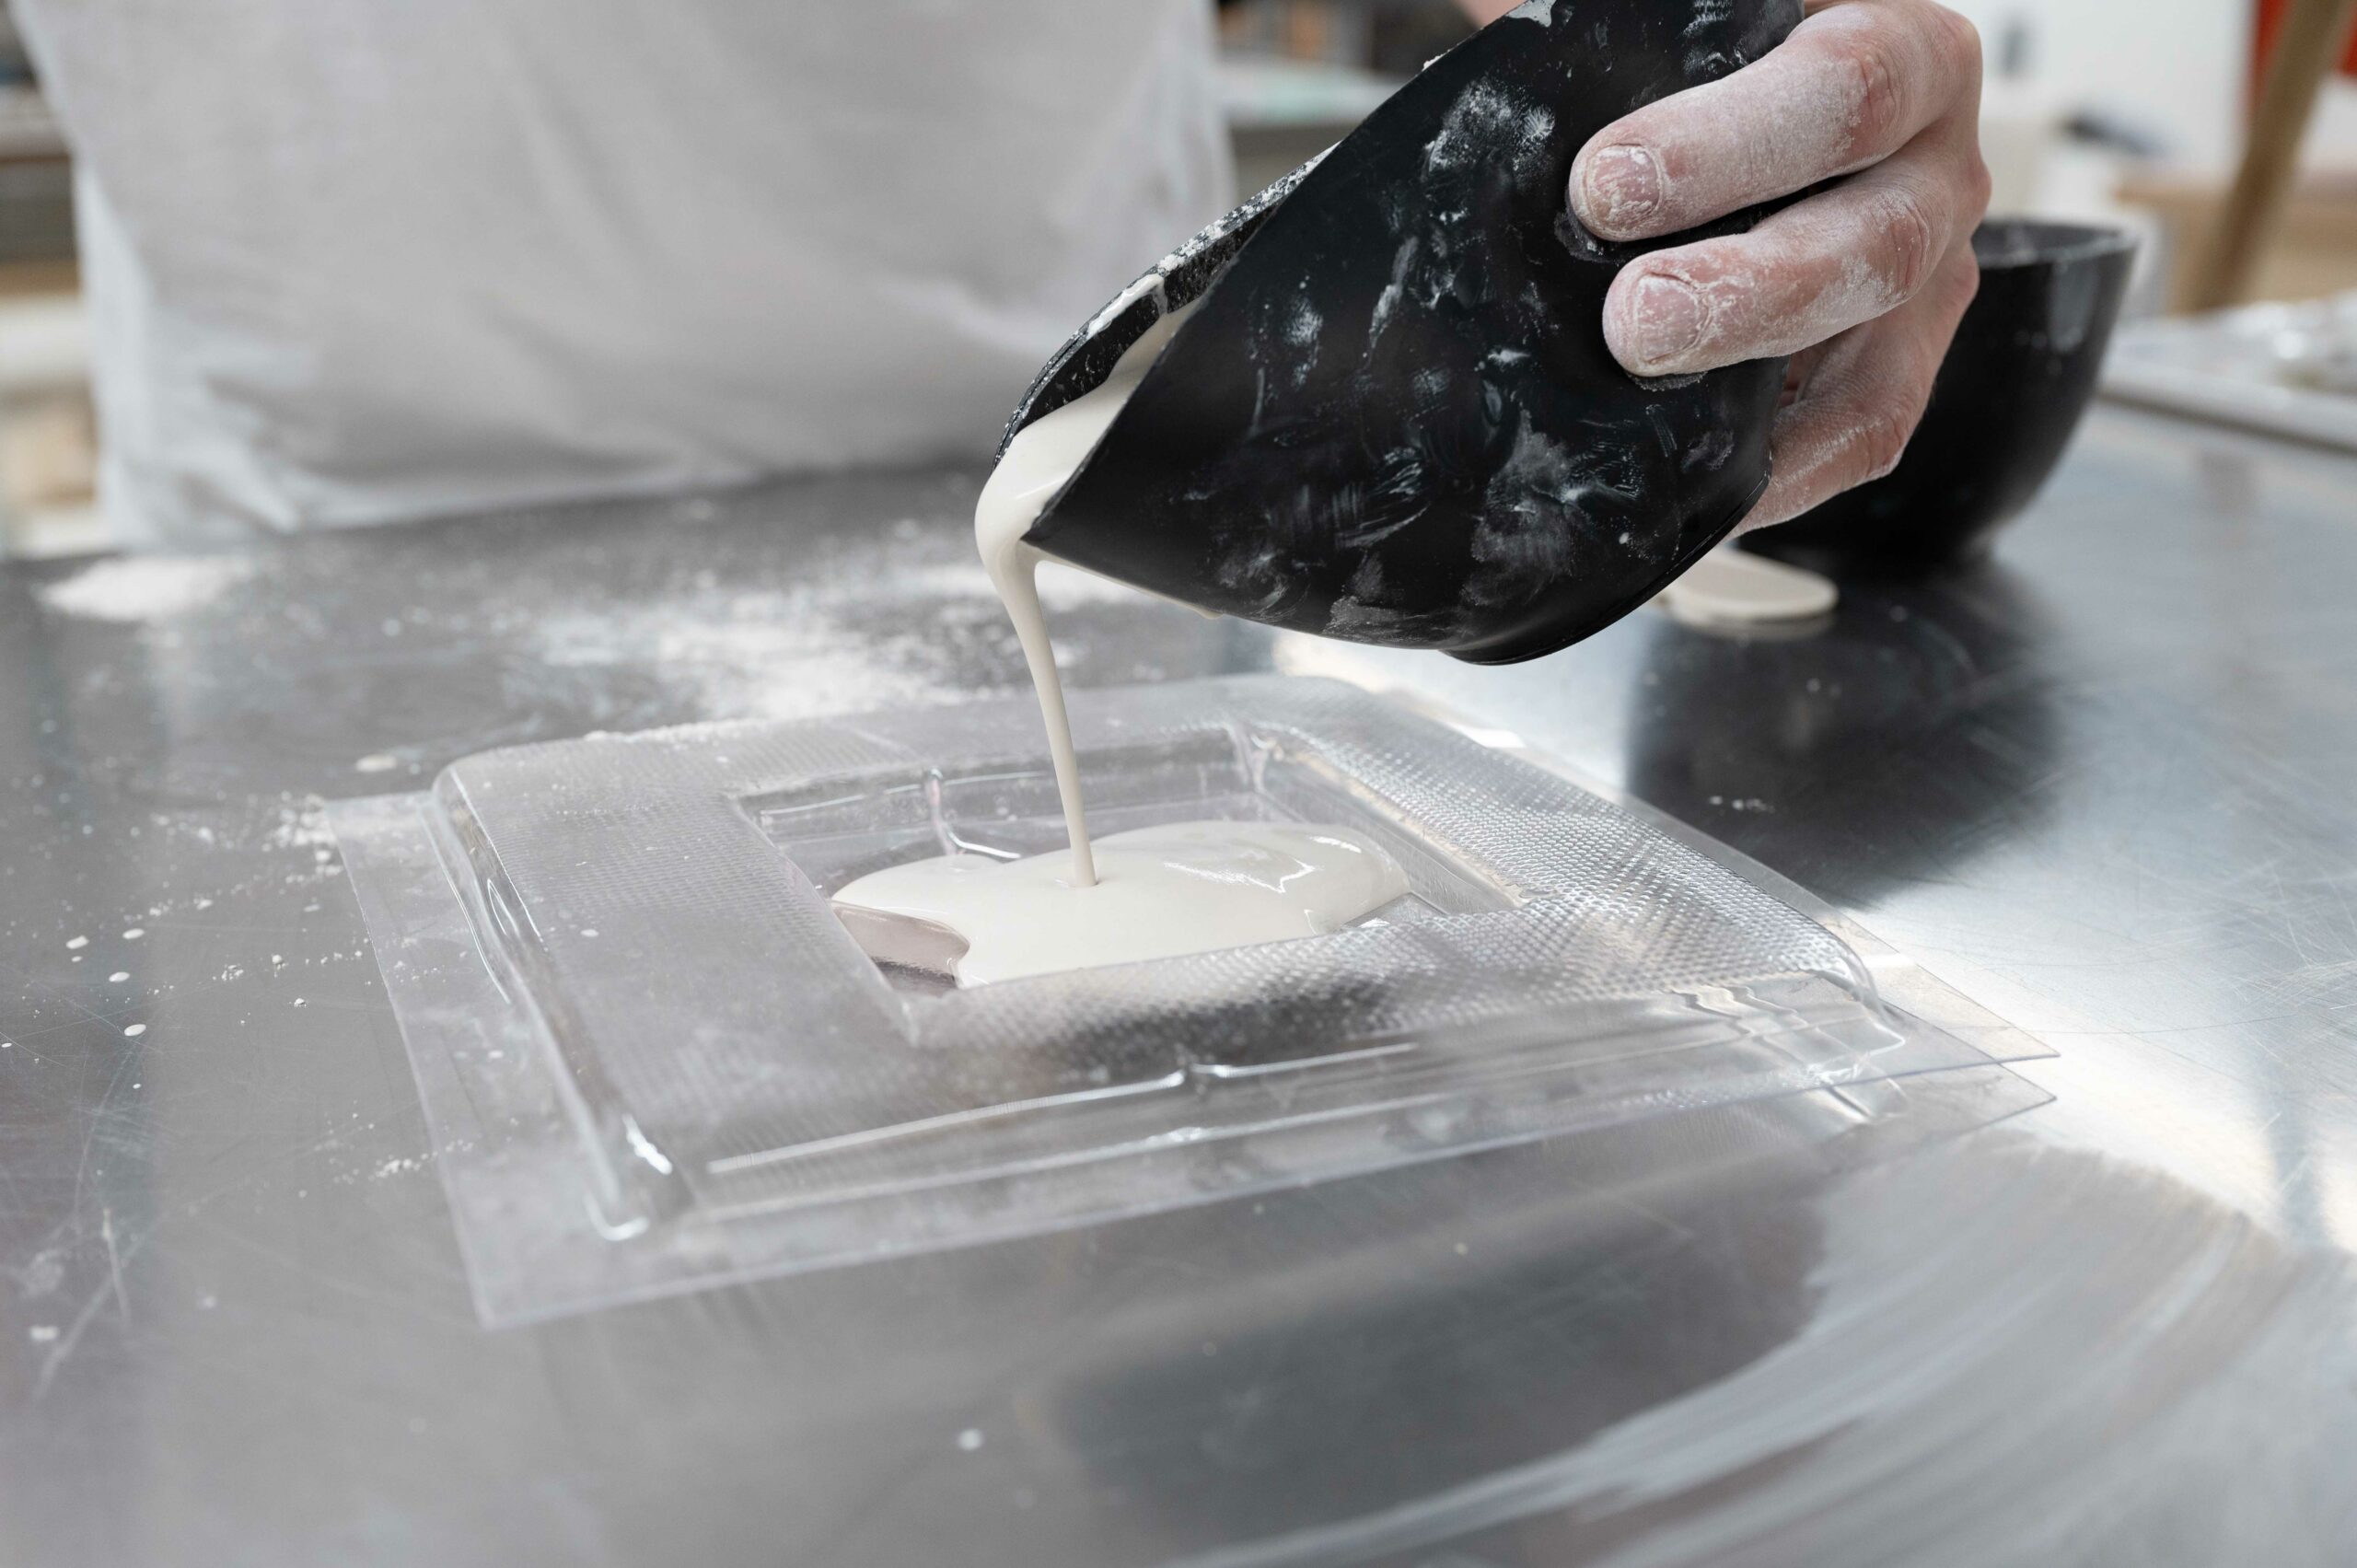
Fill your mold from the lowest point to the top for the best results. Try to stay at this point and pour evenly. This technique helps to push away any air from the formwork naturally.
If, at some point, plaster starts to leak out, either seal it with clay or sprinkle it with plaster powder.
After casting, residual plaster must be cleaned right away. Plaster is known for rusting, ruining tools, and clogging drains and pipes, leading to costly repairs.
How to clean:
Check out our cleaning tools and workspace post for details.

An exothermic reaction takes place during the plaster setting process. The heat development, up to 60C, indicates that the plaster is setting correctly. The generated heat of the setting process indicates when the time to demold is reached.
As a rule of thumb, plaster can be demolded ~40-60 min after the pour or when it cools down again.
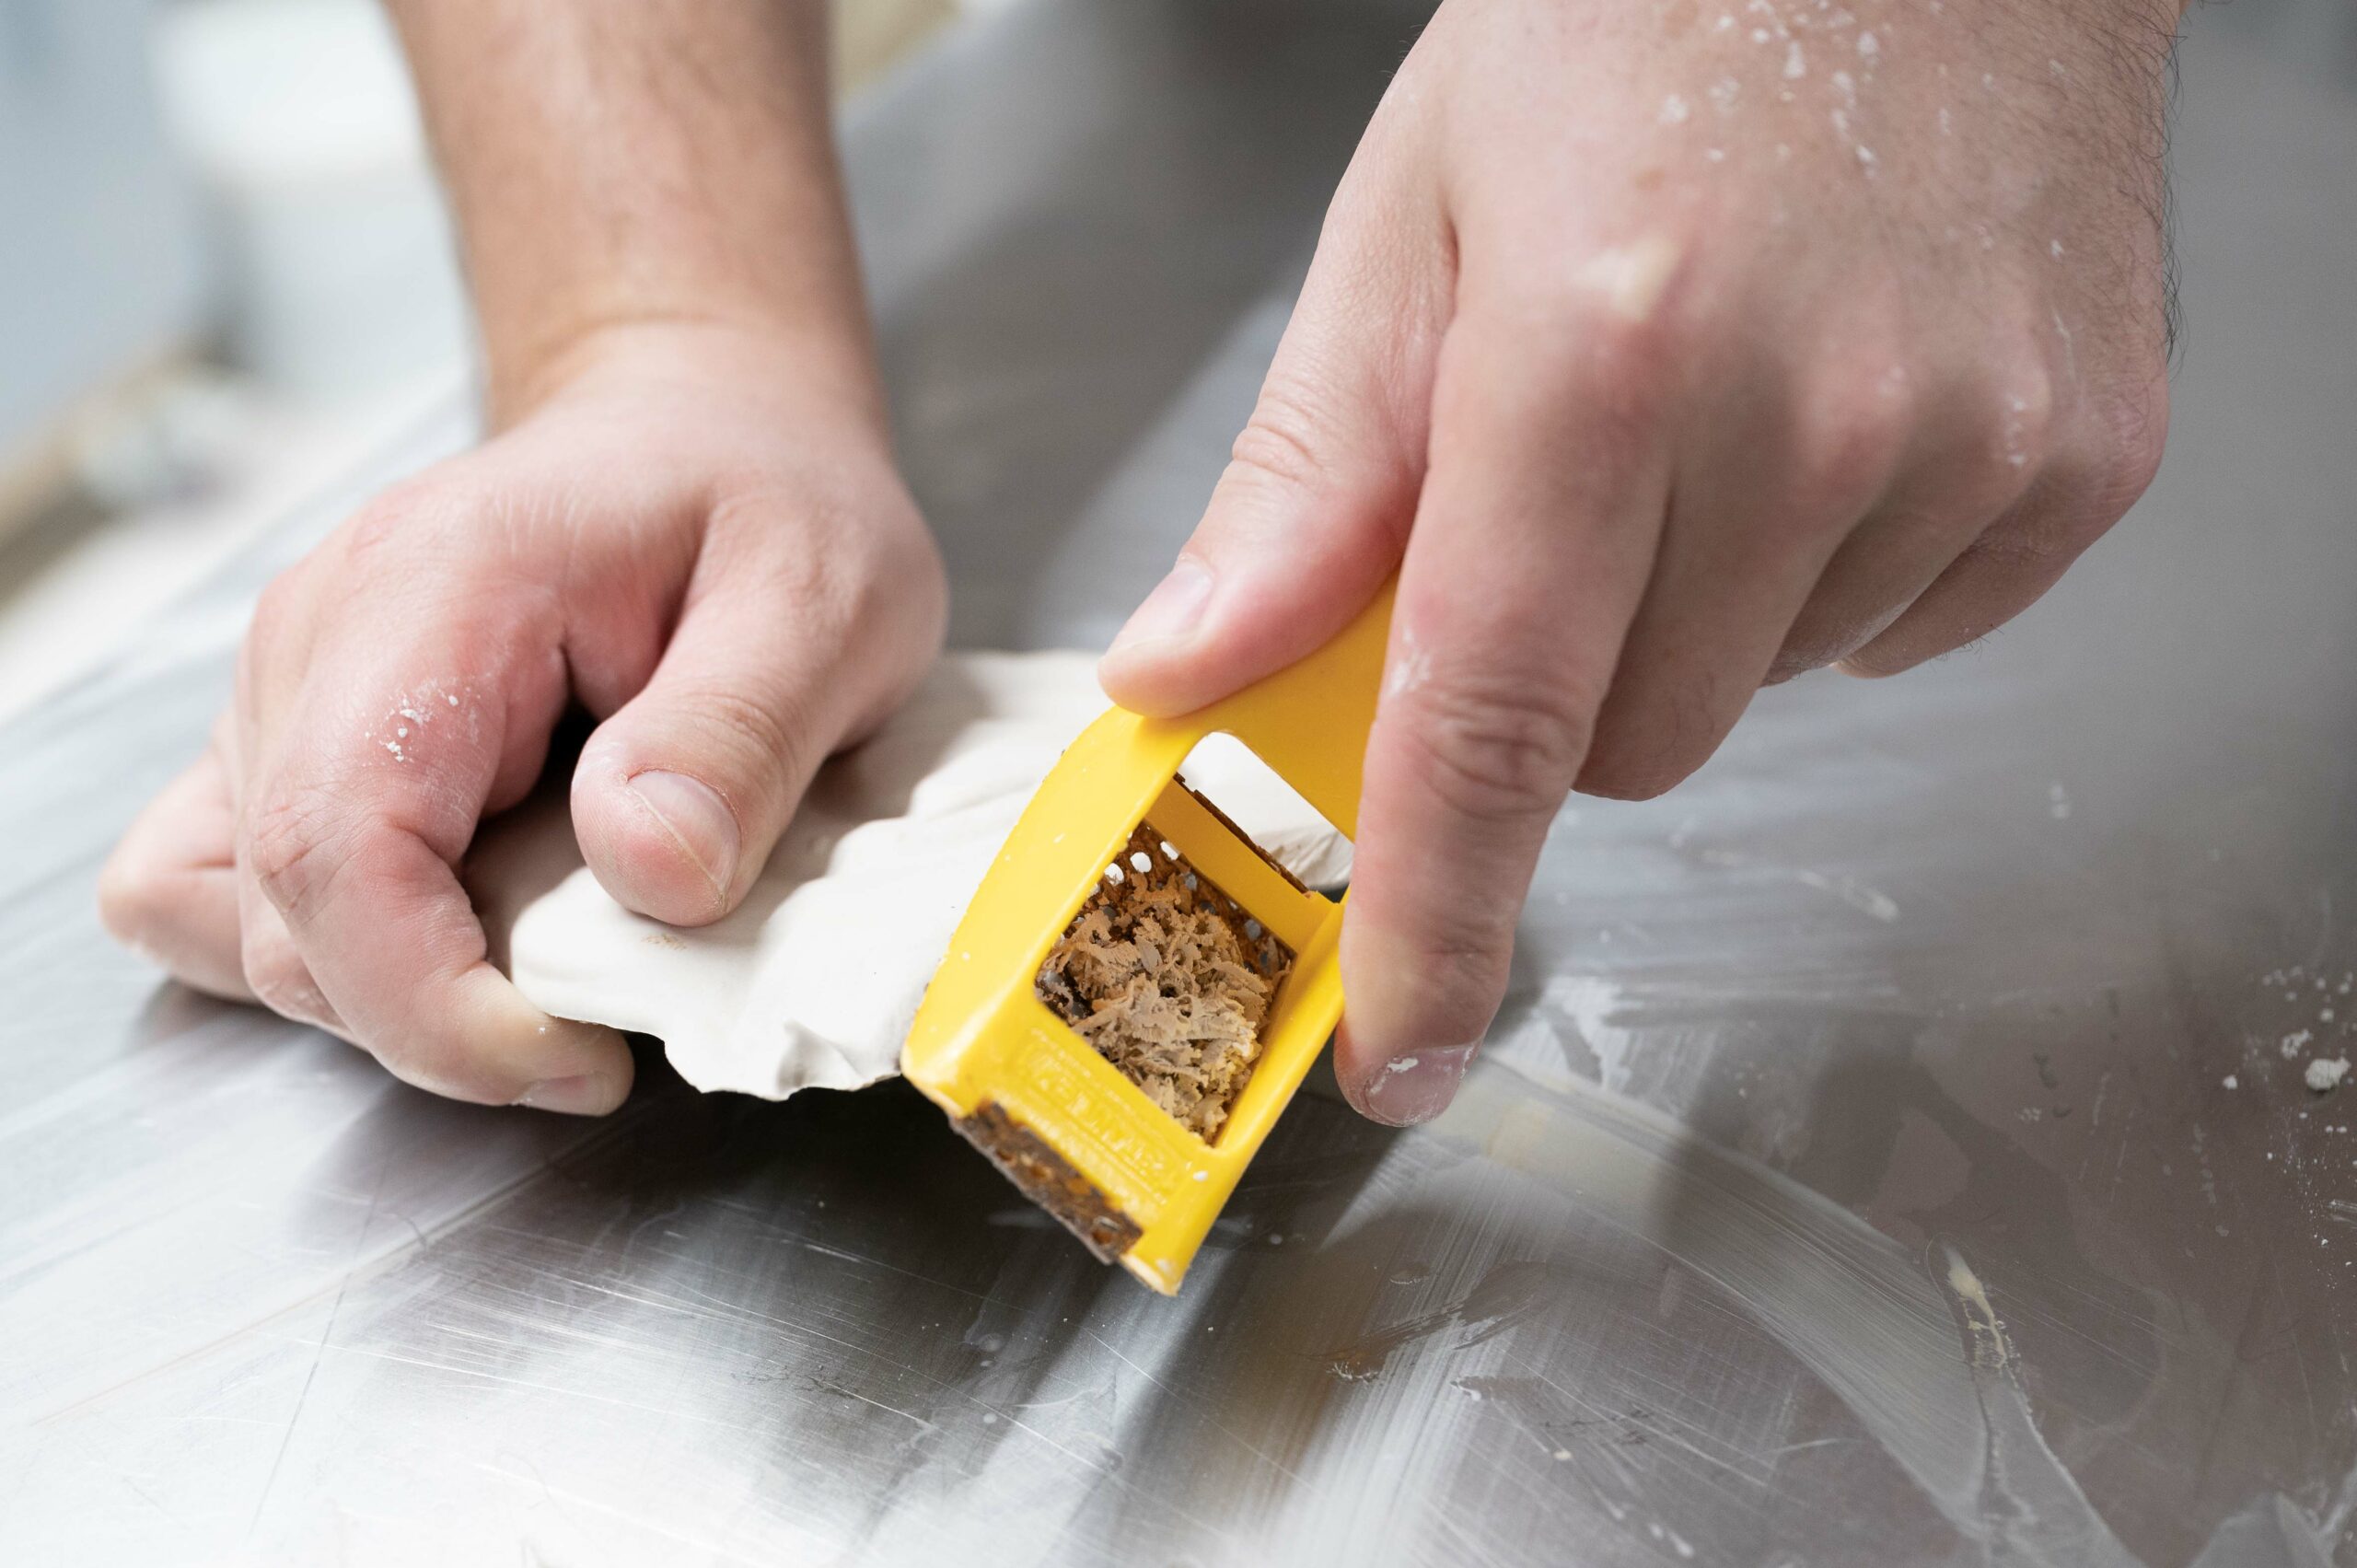
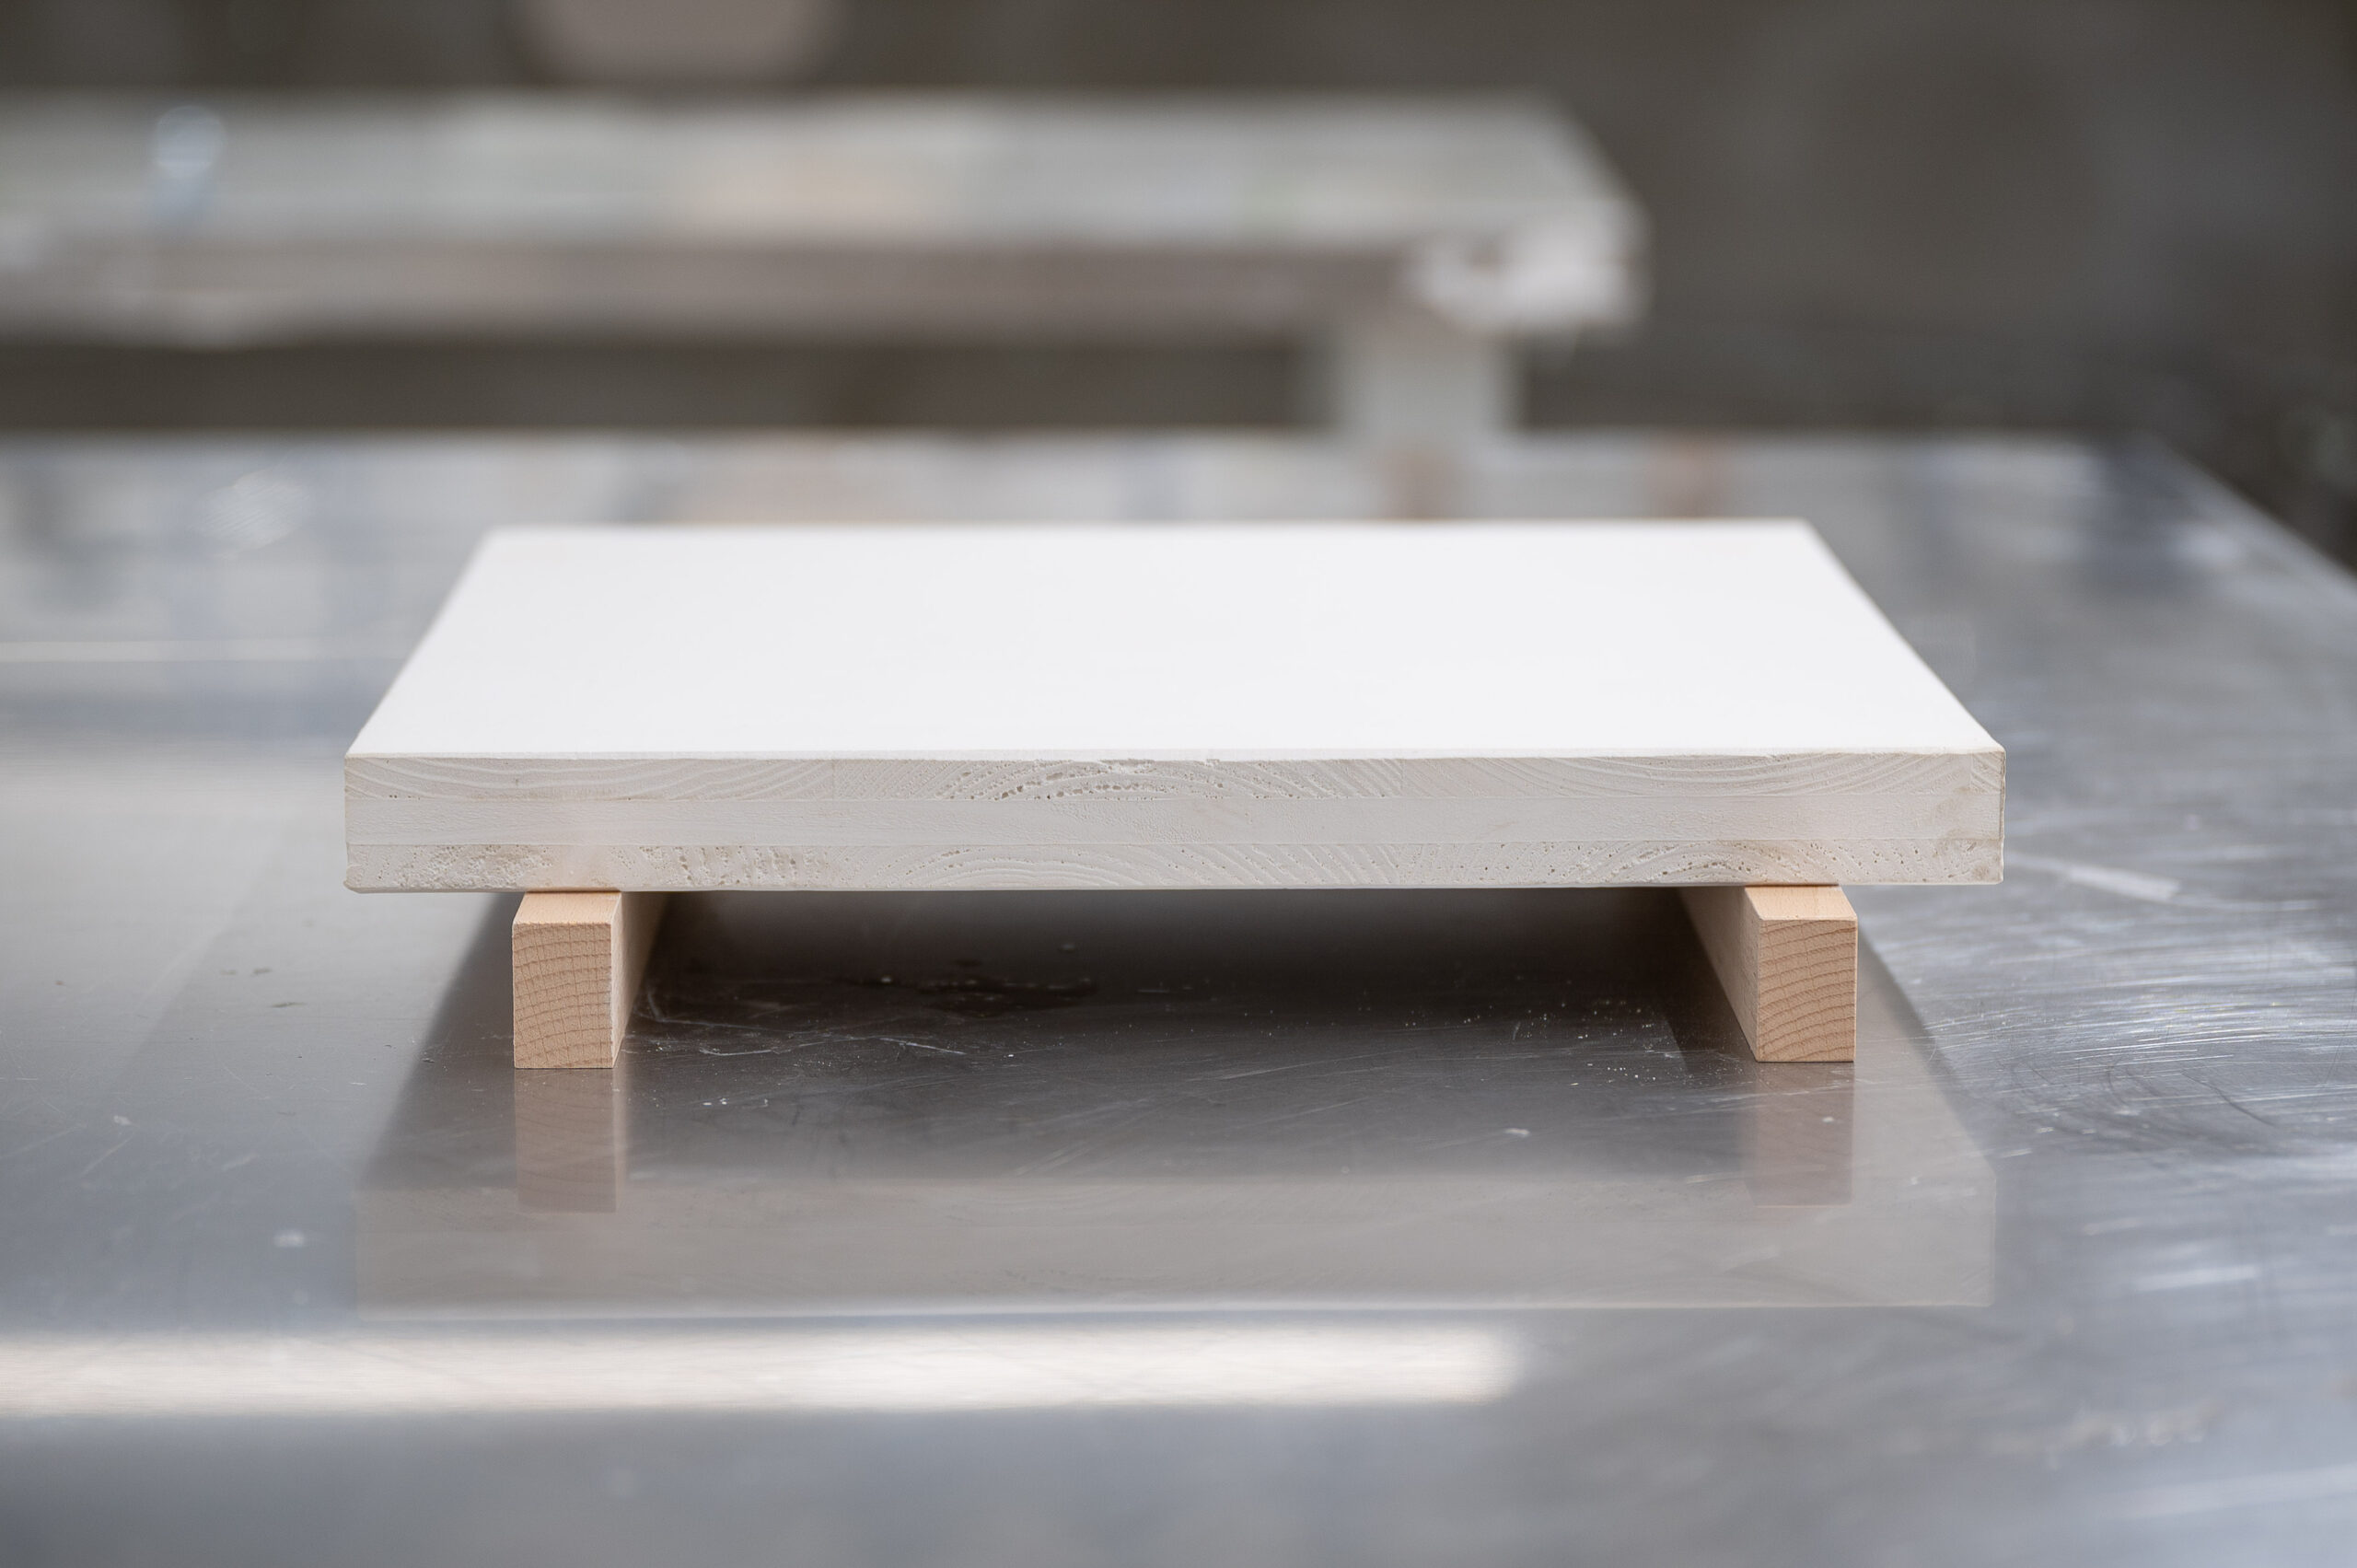
Initially, the plaster will look gray and feel wet when touched; this is the ideal moment to do any post-processing that might be necessary. The casting will gradually dry over the period of a couple of days and develop its characteristic white color.
The final casting can be processed efficiently with simple hand tools before the part is dry. This way of working has two functions. Firstly, it avoids unnecessary dust exposure; secondly, the plaster is still soft and has better workability than a dried piece. Hand tools like saws, chisels, rasps, scrapers, scalpels, and a surform can finalize any shape or form.