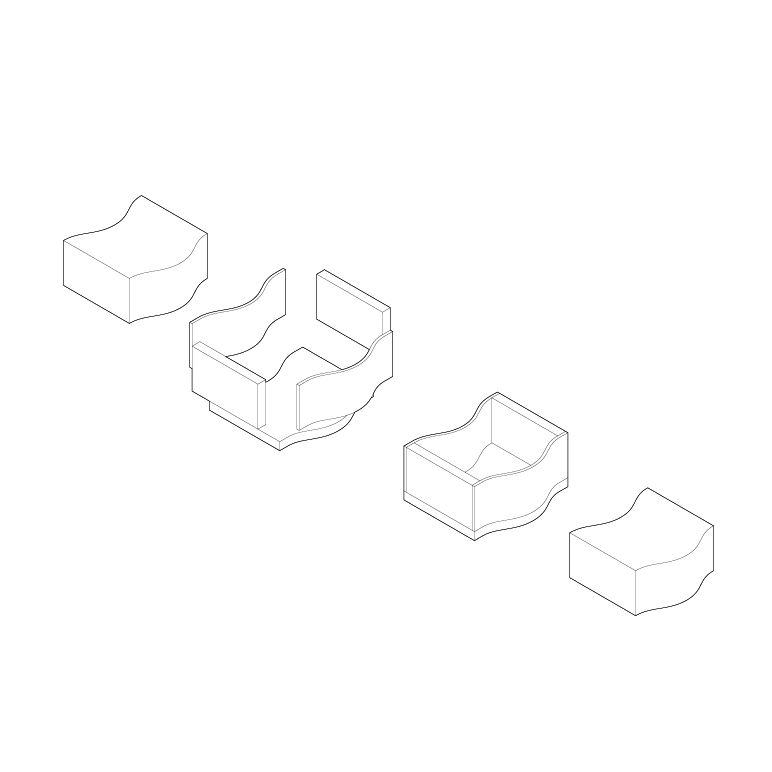
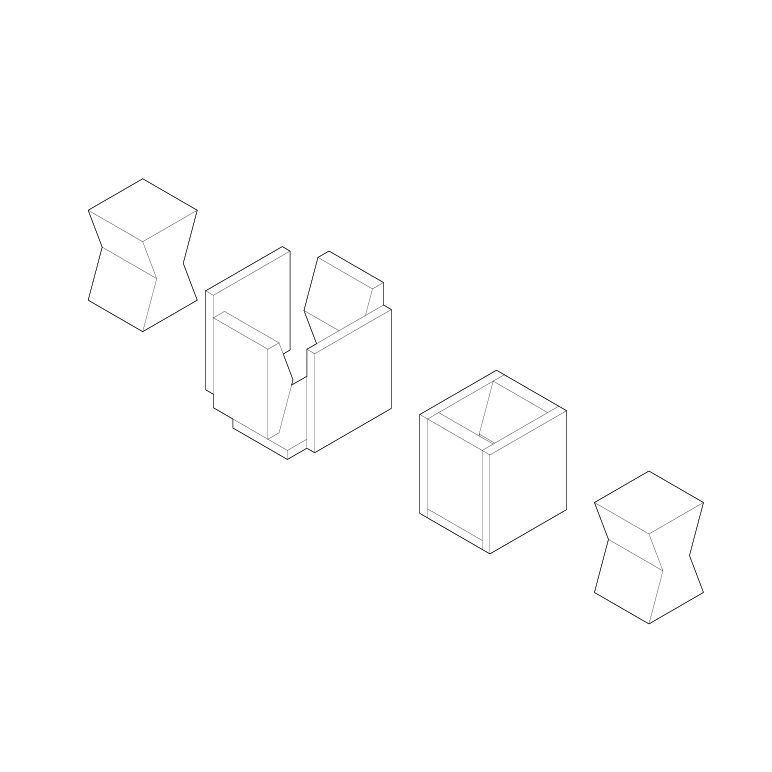
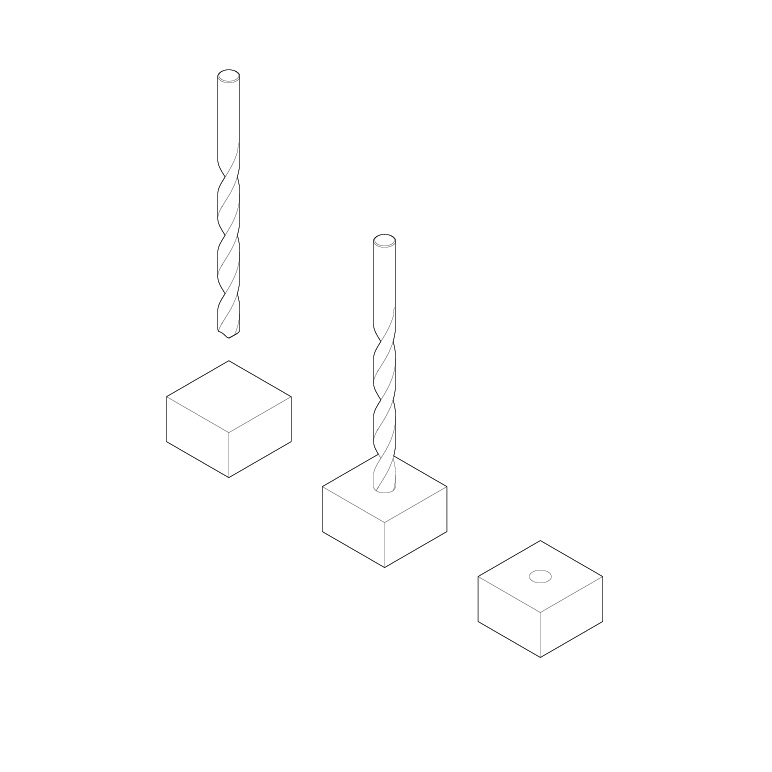
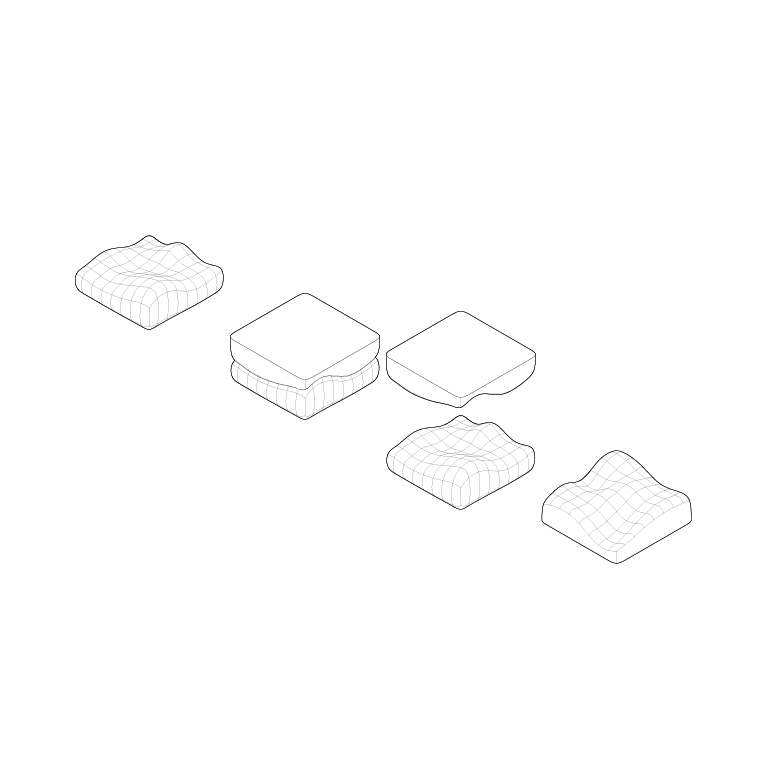
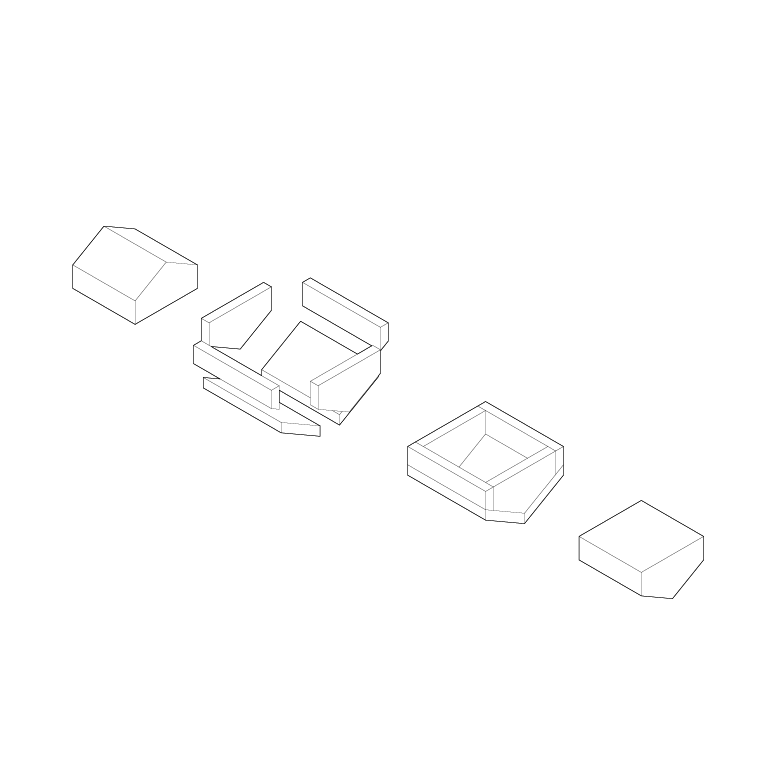
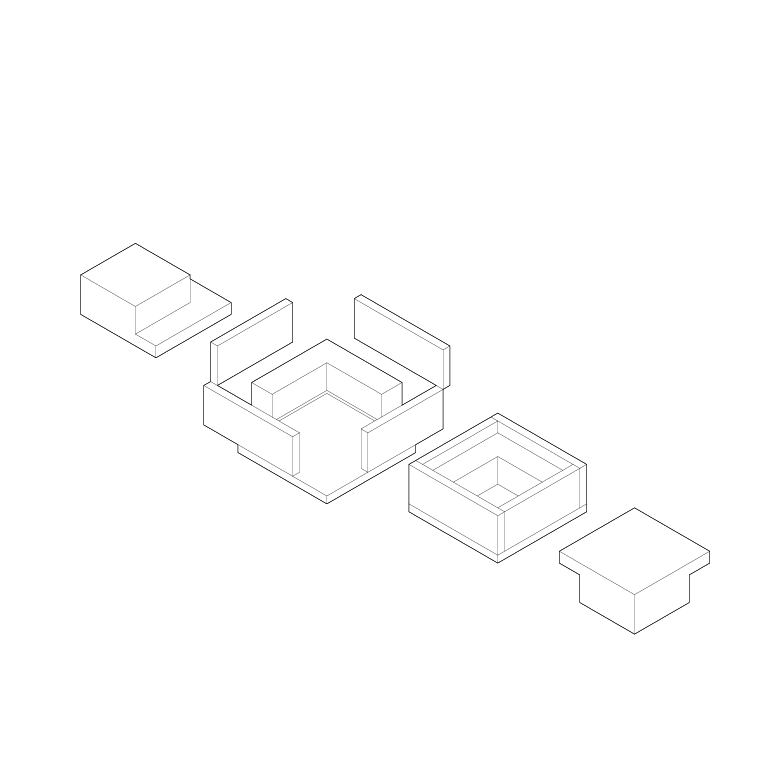
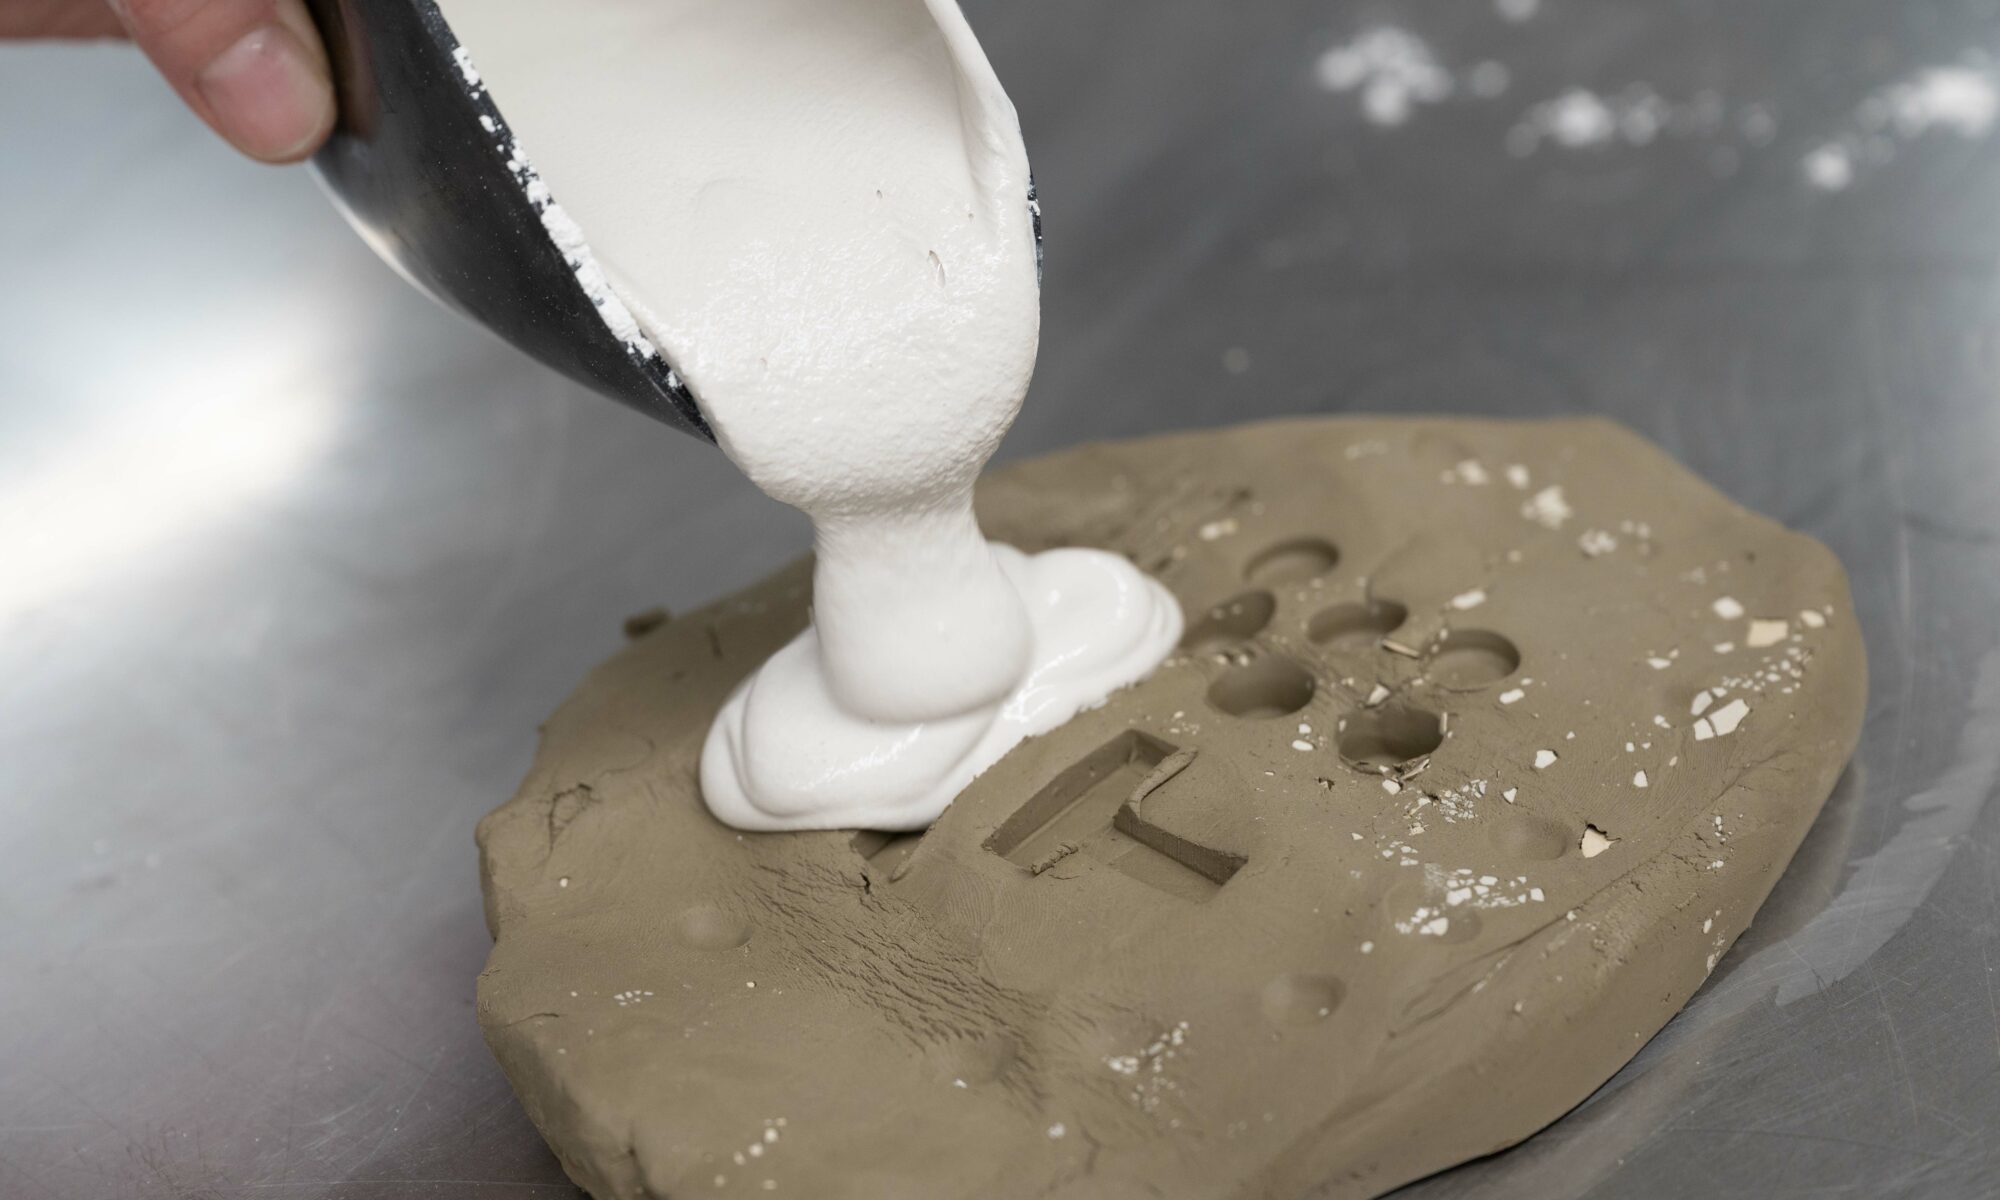
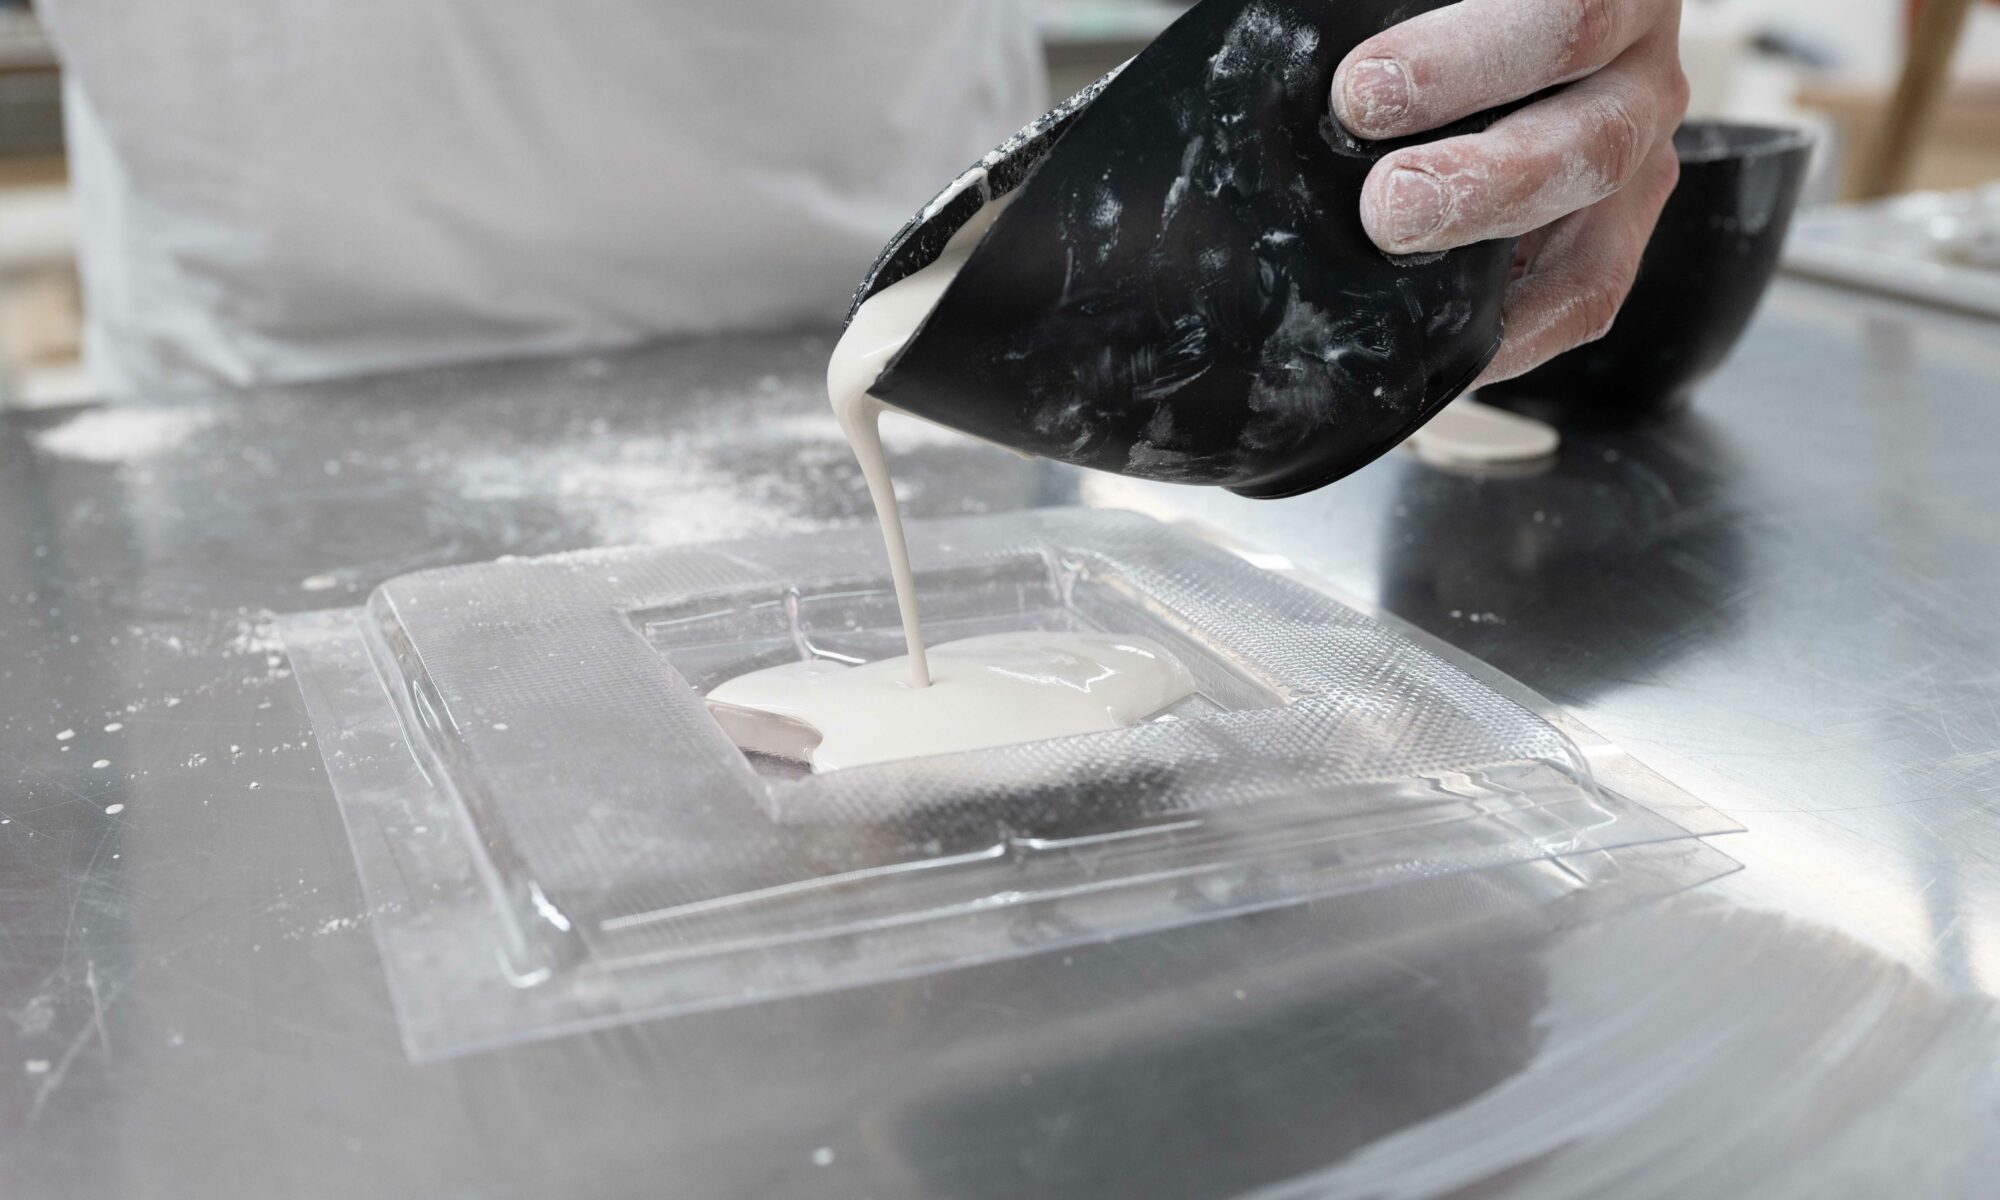
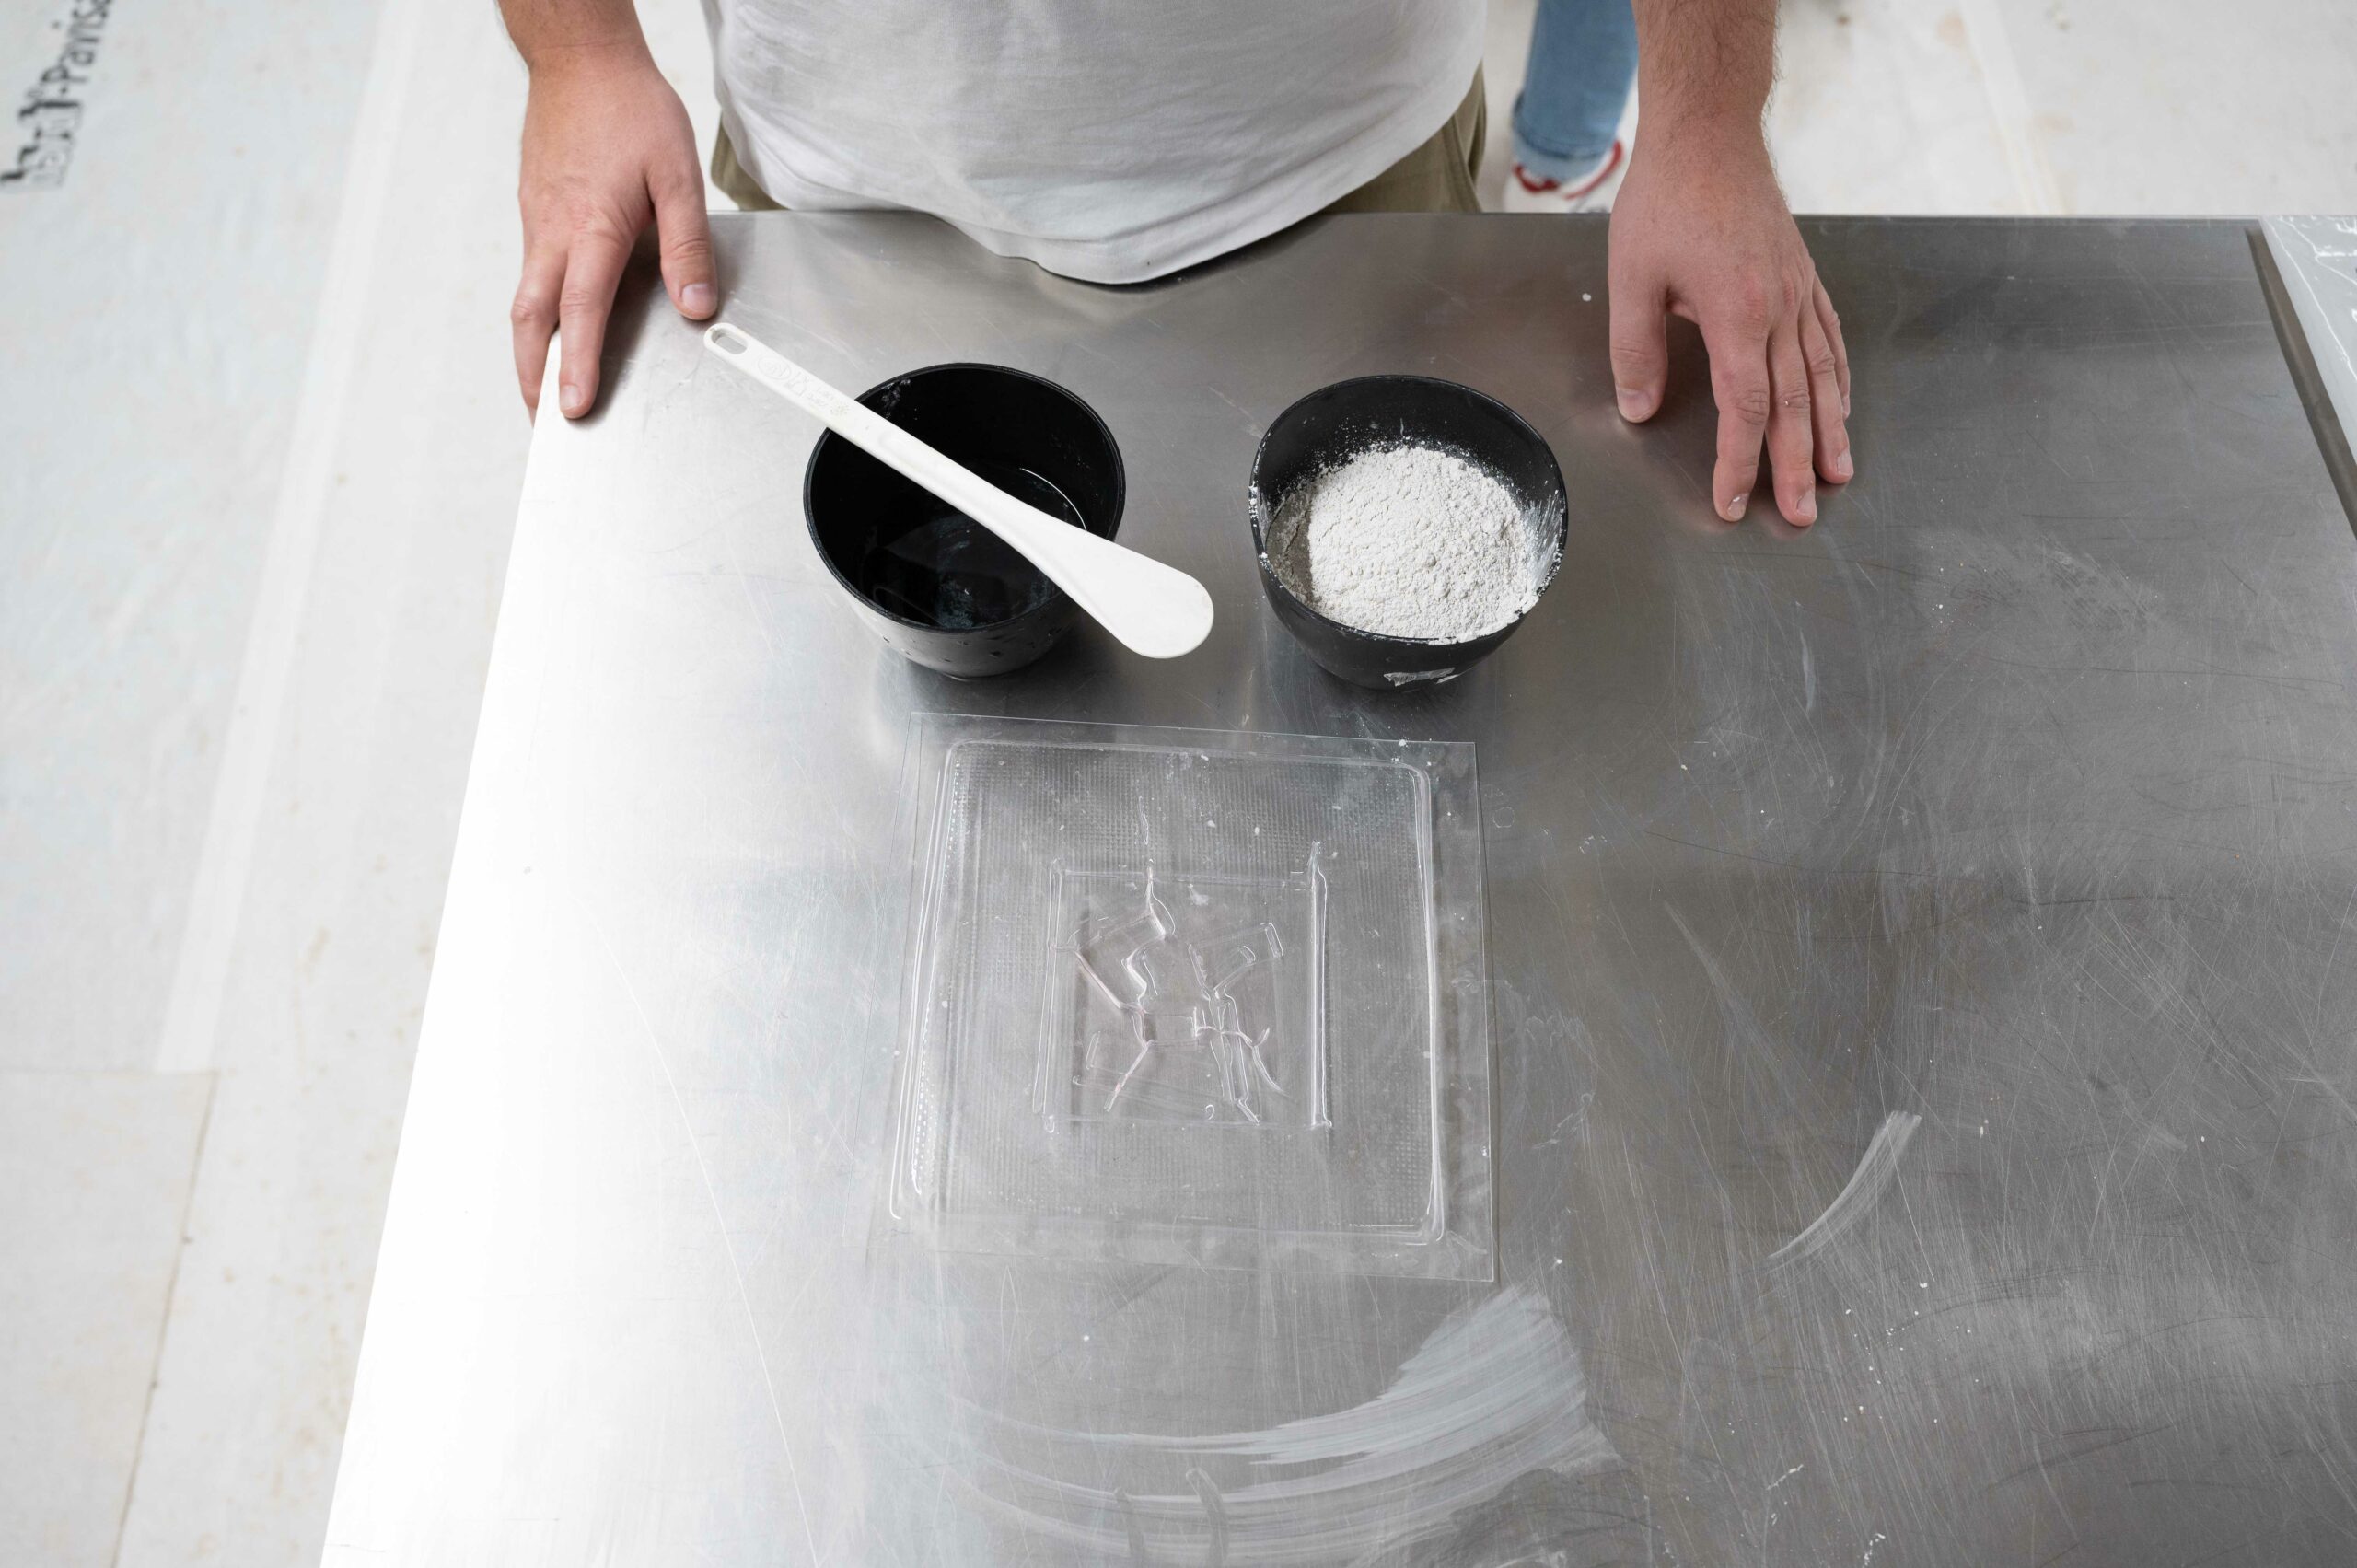
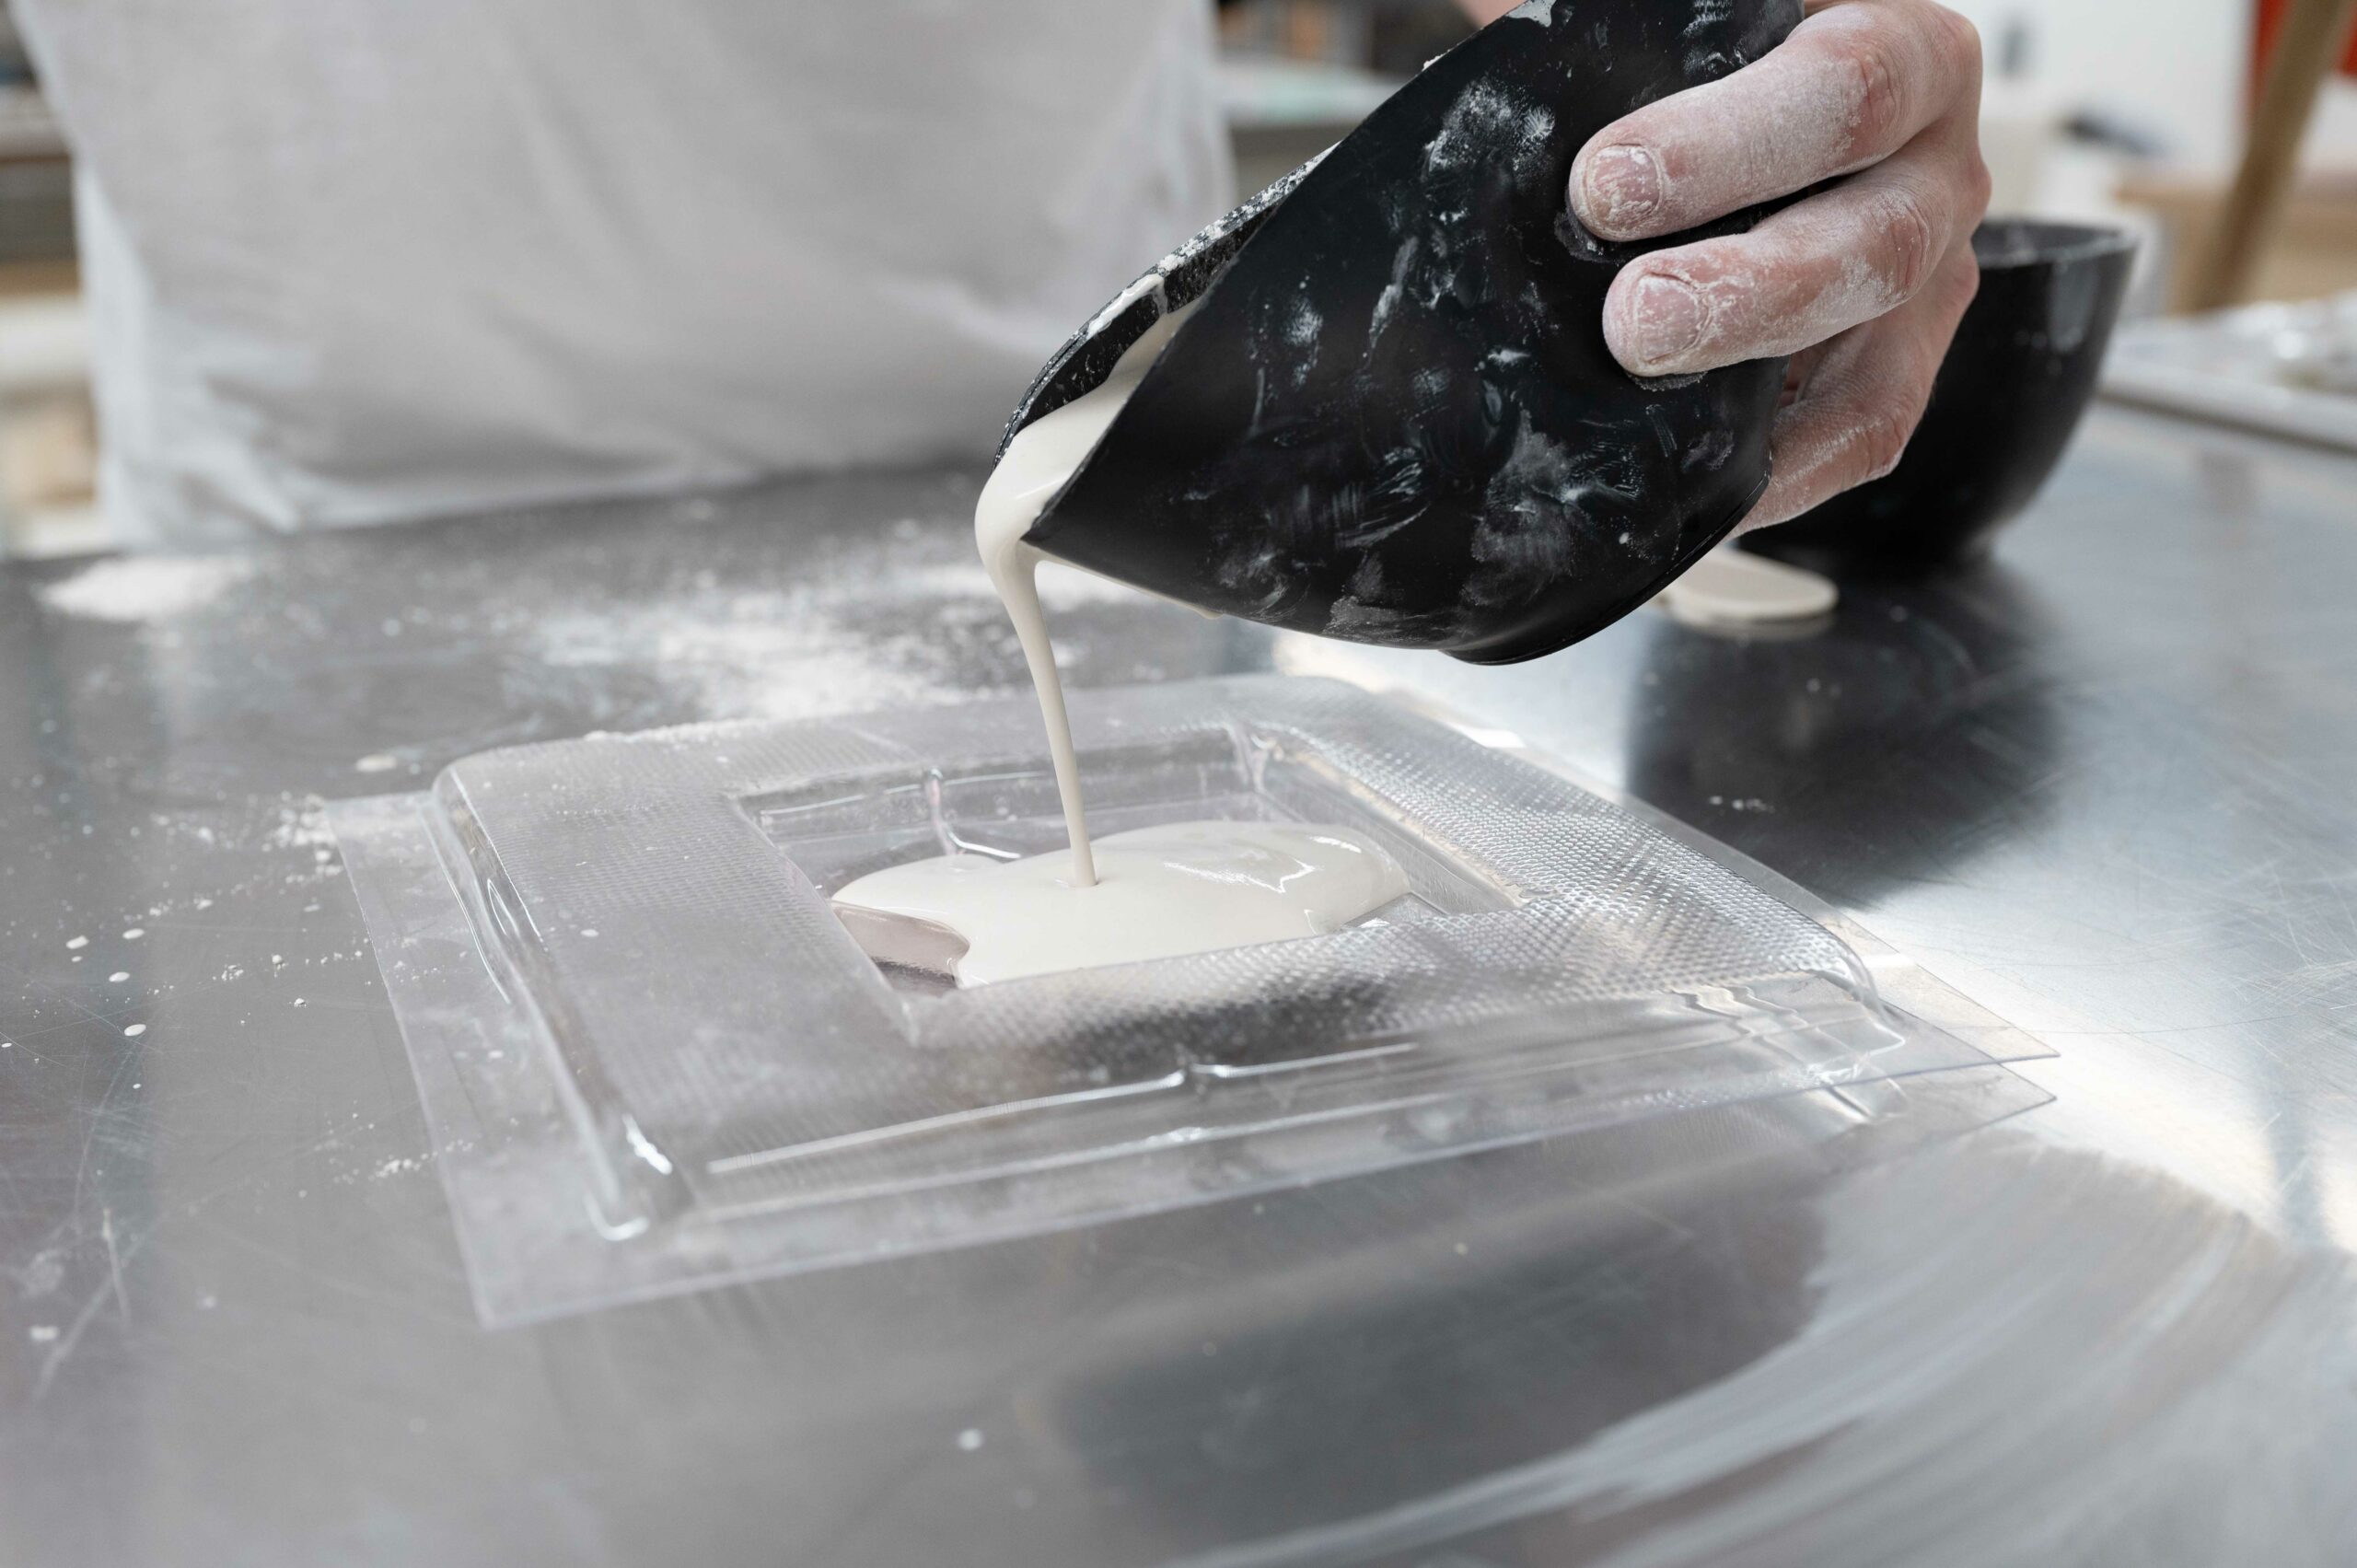
Skill builder simple molds for plaster and concrete

Simple molds for plaster and concrete

Simple mold boxes are constructed with readily available materials and provide a flexible working method during design.

Many examples and considerations in this post work on a smaller scale suited for model building where considerations like hydrostatic pressure are secondary.

First of all: Creating good castings takes time! 

It involves making a positive, a negative, a casting, and, most of the time, some clean-up. The process can be more enjoyable and successful if you use the right combination of mold and casting material and learn how to hide seems in your model to allow for more complex assemblies.

Mold types and basic considerations:

The construction of the mold depends highly on its complexity. Undercuts and enclosures require careful planning of the casting process.

(Gallery with diagrams)

  1. Molds with simple contours
  2. Molds with complex contours
  3. Molds with enclosures
  4. Molds with undercuts
  5. Post-processing of castings (drilling holes, etc…)
  6. No mold
  • Undercuts / Enclosures
    -Try to avoid undercuts and enclosed parts, and consider splitting your shape into different parts
    -Undercuts and enclosures can lead to trapped air and incomplete castings
  • Disassembly logic
    -Build your molds with disassembly in mind.
  • Wall strength and minimal sections
    -Try to avoid long and narrow sections as much as possible
  • Material combinations
    -Use material combinations that make sense. Cardboard and concrete are difficult to combine
  • The structural integrity of your mold
    -Build your mold strong enough and make sure that it does not leak. Fill your mold with water before casting to identify possible weak spots.
  • Release agents
    -Separating agents can lead to cleaner castings with less surface defects if applied correctly

Examples

The examples below should serve as a guide explaining some of your possibilities when designing a mold. Consider from the start what type of details are part of the mold and what can be done with some simple post-processing.

[Image → Block of plaster with a stick inside; the stick can not be removed] incl short description

[Image → Block of plaster;  a hole is drilled by hand] incl short despricption

Materials

Good mold-making materials are easy to assemble, are non-porous, and provide the necessary flexibility to make changes on the go. Selecting a suitable mold-making material depends highly on the material that you want to cast and the result that you want to achieve.

  • Cardboard (raw, coated) → works for plaster
  • Foam board and hot glue → works for plaster and concrete
  • 3d print – spiral vase → works for plaster
  • Polystyrene → works for plaster 
  • Acrylic glass with engravings → works for plaster
  • Vacuformed part → works for plaster and concrete
  • Styrofoam – glued with contact cement → works for plaster and concrete
  • MDF → works for plaster 
  • Phenolic plywood → works for concrete and plaster 

Separating agents


Materials like MDF and cardboard are porous and unsuited for creating molds without applying separating agents to them.

Separating agents range from simply coating material in tape to applying shellac or wax to seal the surface.


Some of the more commonly used separating agents are: (should be accompanied by an image)

  • Tape – Suitable for separating plaster from cardboard
  • Talcum – Ideal for separating plaster from clay
  • Shellac – Perfect for separating plaster from
  • plaster – Ideal for sealing MDF before casting
  • plaster – Suitable for sealing cardboard before casting plaster
  • Beeswax (melted) – Ideal for coating cardboard, MDF, and other porous materials that are not heat-sensitive
  • Vaseline – Ideal for coating styrofoam 
  • Release Oil – Suitable for coating wood before casting concrete  / Perfect for coating phenolic plywood before casting concrete

Checklist Release Agent when pouring plaster into a mold:

Casting materials comparison

Casting Materials Comparison

This list shows casting materials commonly used in model and prototype making and should serve as an overview to guide you in the right direction. Do your research on specific application techniques and safety procedures for chemicals and adhesives before you buy any materials. 


Work in well-ventilated areas and wear personal protective equipment according to the safety data sheet for your work material.

Common Casting Materials

Plaster

Plaster solidifies quickly, is homogeneous, and can easily be post-processed with simple hand tools. It has a very plain and smooth appearance but can also be altered by adding pigments or other additives like sand. It creates fast and clean results while being low-tech, low-cost, and non-toxic.

Application areas: working models, landscape models, facade models, volumetric studies

+ Fast curing
+ Low cost
+ Low tech
+ Easy post-processing
– Undercuts need extra effort 
 

Further reading…

Giluform 

Giluform solidifies faster than plaster, producing a hard and homogeneous casting that is difficult to post-process. It has a plain and smooth appearance that can be altered by adding pigments. Consider Giluform only if you have a pristine mold that requires no post-processing.

Application areas: Replications of small and highly detailed parts

+ Fast curing
+ Low cost
+ Low tech
+ durable
– Difficult to post-process
– Undercuts need extra effort 

Further reading…

Tin

xy


Common moldmaking materials

Silicone

xy


Further reading…

Vinamold

xy


Further reading...

Alginate

xy


Further reading...

Polysterene

xy


Further reading...

Skill builder casting plaster

Casting Plaster

Casting plaster; step-by-step guide

The following seven points serve as a guide to illustrate the most critical steps of casting plaster and provide some in-depth information on all the necessary considerations for the process. Individual points can be used as a reference during the making process or to refresh your memory before you start your model-building project.

  1. Building the mold
  2. Calculate the volume
  3. Workplace setup
  4. Mixing and pouring
  5. Cleaning
  6. Demolding
  7. Post-processing

Step 1 — Mold making
The significance of mold-making can not be overstated. Typically, a substantial amount of time and work is spent to prepare the mold for casting plaster. It is the stage that, besides properly mixing the plaster itself, determines how successful your outcome will be.

Ensure your molds are constructed to be watertight, sealed, and easily disassembled. There are various methods and tricks to good mold making; some of them are outlined in the following post: → link to mold making post.

Step 2 — Calculating the volume
Carefully calculate the volume of your mold before you prepare everything. Most CAD software does this step for you if you have a 3d model of your part — check the internet on how to do so for your drawing program.

If you have to calculate the volume by yourself, use the simple length x width x height formula to do so and convert the result to liters. For safety, add 10% to the volume.

Mixing ratio by weight: water/plaster = 2 : 3

Use the following guidelines to calculate how much water and plaster you need:

1L is approximately: 600g water + 900g plaster

Step 3 — Setup your workplace

It makes sense to set up your workplace with all the tools you need to avoid surprises during casting and take the time to go through the process step-by-step.

  • Check your formwork to see if there is anything that needs changing
  • If necessary, apply mold release
  • Prepare the raw materials in separate buckets (water/plaster)
  • Make sure you have all the tools ready
    1. gloves
    2. Buckets
    3. Spatulas
    4. Clay for sealing the mold

Step 4 — Mixing and pouring plaster

The process outlined below is known as the island method and is an intuitive and proven way to prepare plaster on the fly.

  1. Fill the mixing container up to ⅔ with cold, clear water.
  2. Sprinkle the plaster evenly over the entire water surface until dry islands form on approximately ⅓ of the surface. Do not agitate the mix at this stage!
  3. Leave the plaster to slack for 1-3 minutes, and wait until the plaster is saturated.
  4. Stir for no more than 2-3min. Keep the stirring action below the surface and avoid introducing additional air bubbles.
  5. Tap the mixing container on the table to release any air bubbles.
  6. Pour the liquid plaster into your mold

Fill your mold from the lowest point to the top for the best results. Try to stay at this point and pour evenly. This technique helps to push away any air from the formwork naturally.

(This needs a diagram)

If, at some point, plaster starts to leak out, either seal it with clay or sprinkle it with plaster powder.

Step 5 — Cleaning

After casting, residual plaster must be cleaned right away. Plaster is known for rusting and ruining your tools and clogging drains and pipes, leading to costly repairs.

How to clean:

  1. Scrape your buckets and tools to remove any residual plaster and put it into the (what do we call this?)
  2. Rinse all your buckets and tools carefully in our sink and store them in our drying rack
  3. Clean the sink and remove any hardened bits
  4. Clean your table, and do not forget to check the floor
  5. Put any hardened plaster directly in the skip

For more details, see the following instructions:

Cleaning Tools and Workspace

Step 6 — Demolding

An exothermic reaction takes place during the plaster setting process. The heat development, up to 60C, indicates that the plaster is setting correctly. We can use the generated heat of the setting process to indicate when the time to demold is reached.

As a rule of thumb, plaster can be demolded 40-60 min after the pour or as soon as it cools down again, although there is no harm in waiting longer.

Initially, the plaster will look gray and feel wet when touched; this is the ideal moment to do any post-processing that might be necessary. Left in a dry spot, well circulated with air, it will gradually dry for a few days and develop its characteristic white color.

Step 7 — Post-processing

The final casting can be processed efficiently with simple hand tools before it dries. This way of working has two functions. Firstly, it avoids unnecessary exposure to dust, and secondly, the plaster is still soft and has vastly improved workability compared to a dried piece. Therefore, hand tools like saws, chisels, rasps, scrapers, scalpels, and a surform are all necessary to finalize any shape or form.

Liliana Siewczyk

Liliana Siewczyk

Workshop Manager Casting Workshop

Initially working as a carpenter for some years, I went on to study Industrial Design in Basel. There I intensively worked with different materials and technical processes. In particular, I am interested in the interface and interaction between analog craftsmanship, modern digital techniques and new materials. Following my previous job as a product developer I am now very happy to be part of the RAPLAB team at ETHZ to support the students in their projects.

hiclipart.com

+41 44 633 49 93