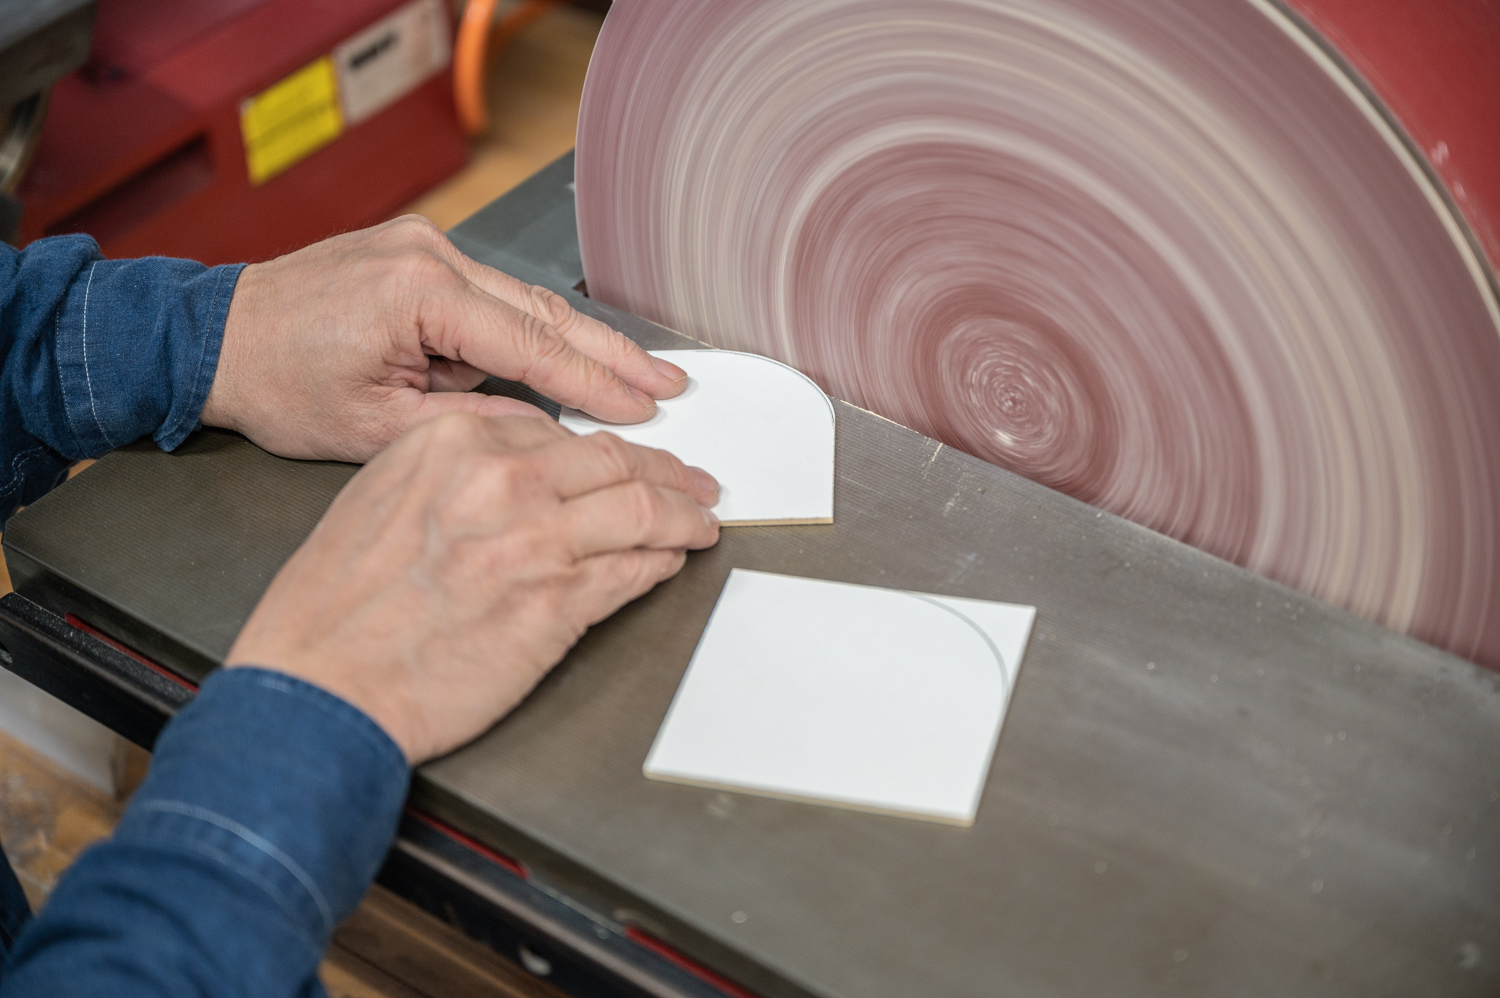
For small workpieces use sanding jigs – keep your hands off the blade!
Use only the left half of the sanding paper
Keep the worpiece flat on the worktable
Introduction
The disc sander is used as a quick way to clean up saw marks left behind from the band saw and helps precisely remove material from a workpiece. In model building, the disk sander is generally used for smaller parts and cannot handle long edges that extend over the left half of the disk or tall objects. We typically use it for volumetric objects like buildings on a scale from 1:500 to 1:100. For operations that the disk sander can not handle, we usually switch to the belt sander or sanding by hand.
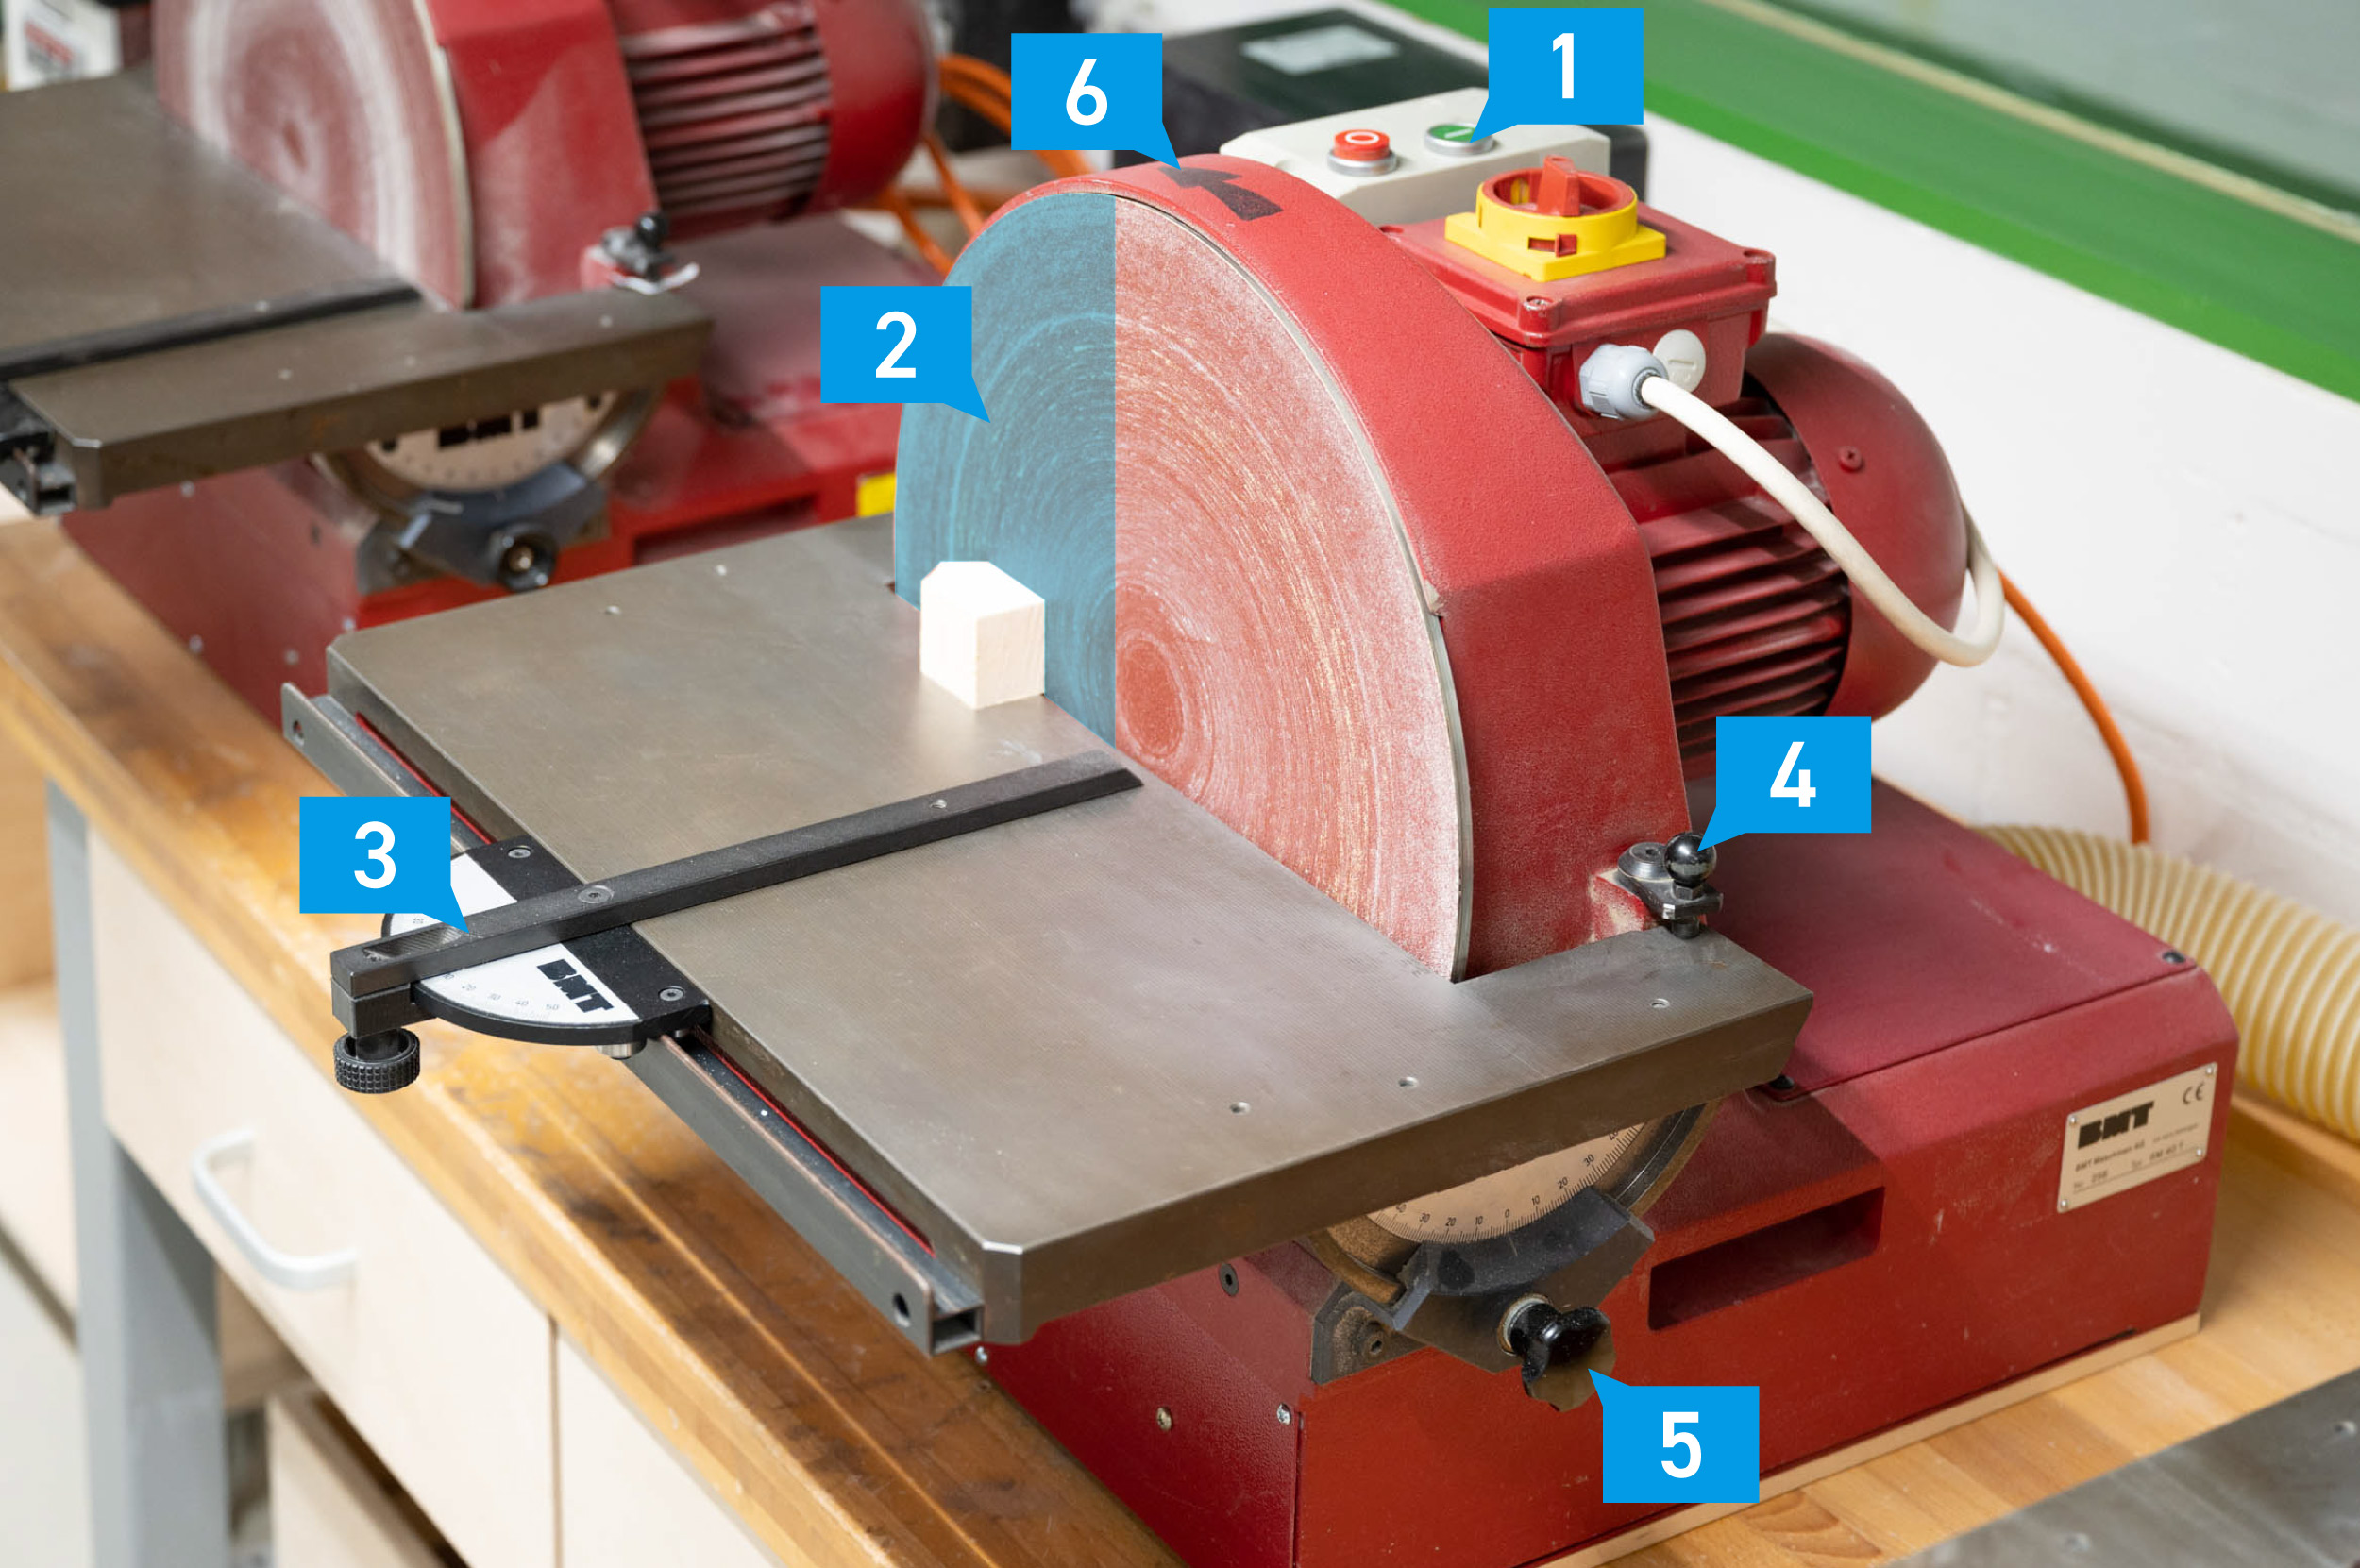
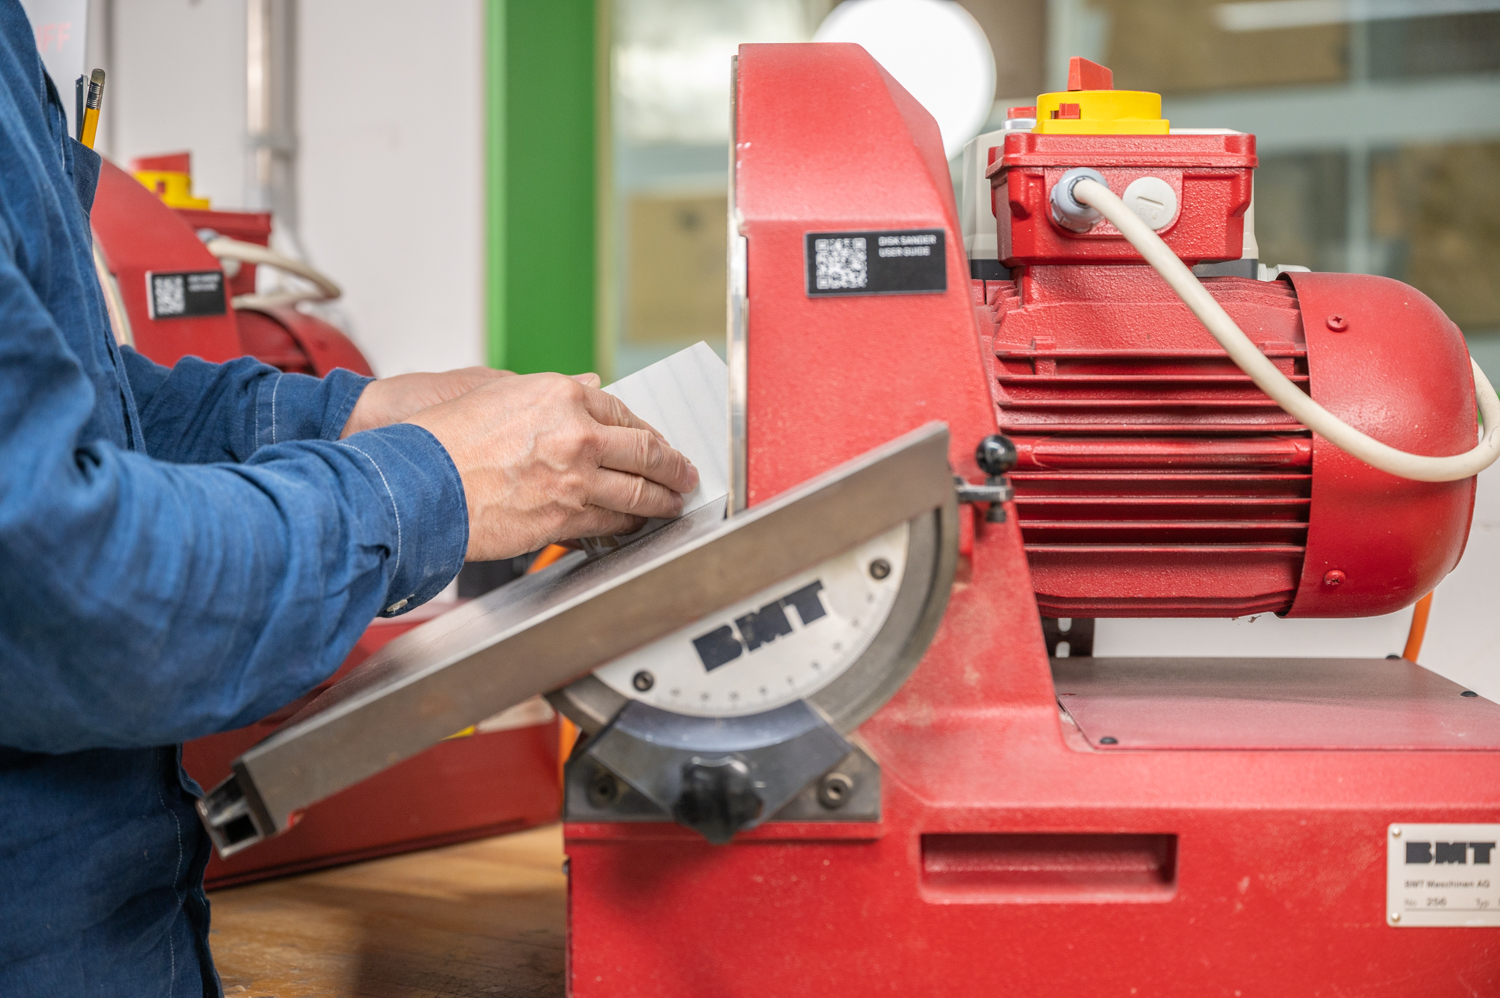
Disc Sander Overview
#1 Power switch #2 Working area #3 Miter gauge #4 Machine table retainer (90°) #5 Retaining screw (both sides of the machine) for changing machine table angle #6 Direction of rotation
Machine Handling
Preparation
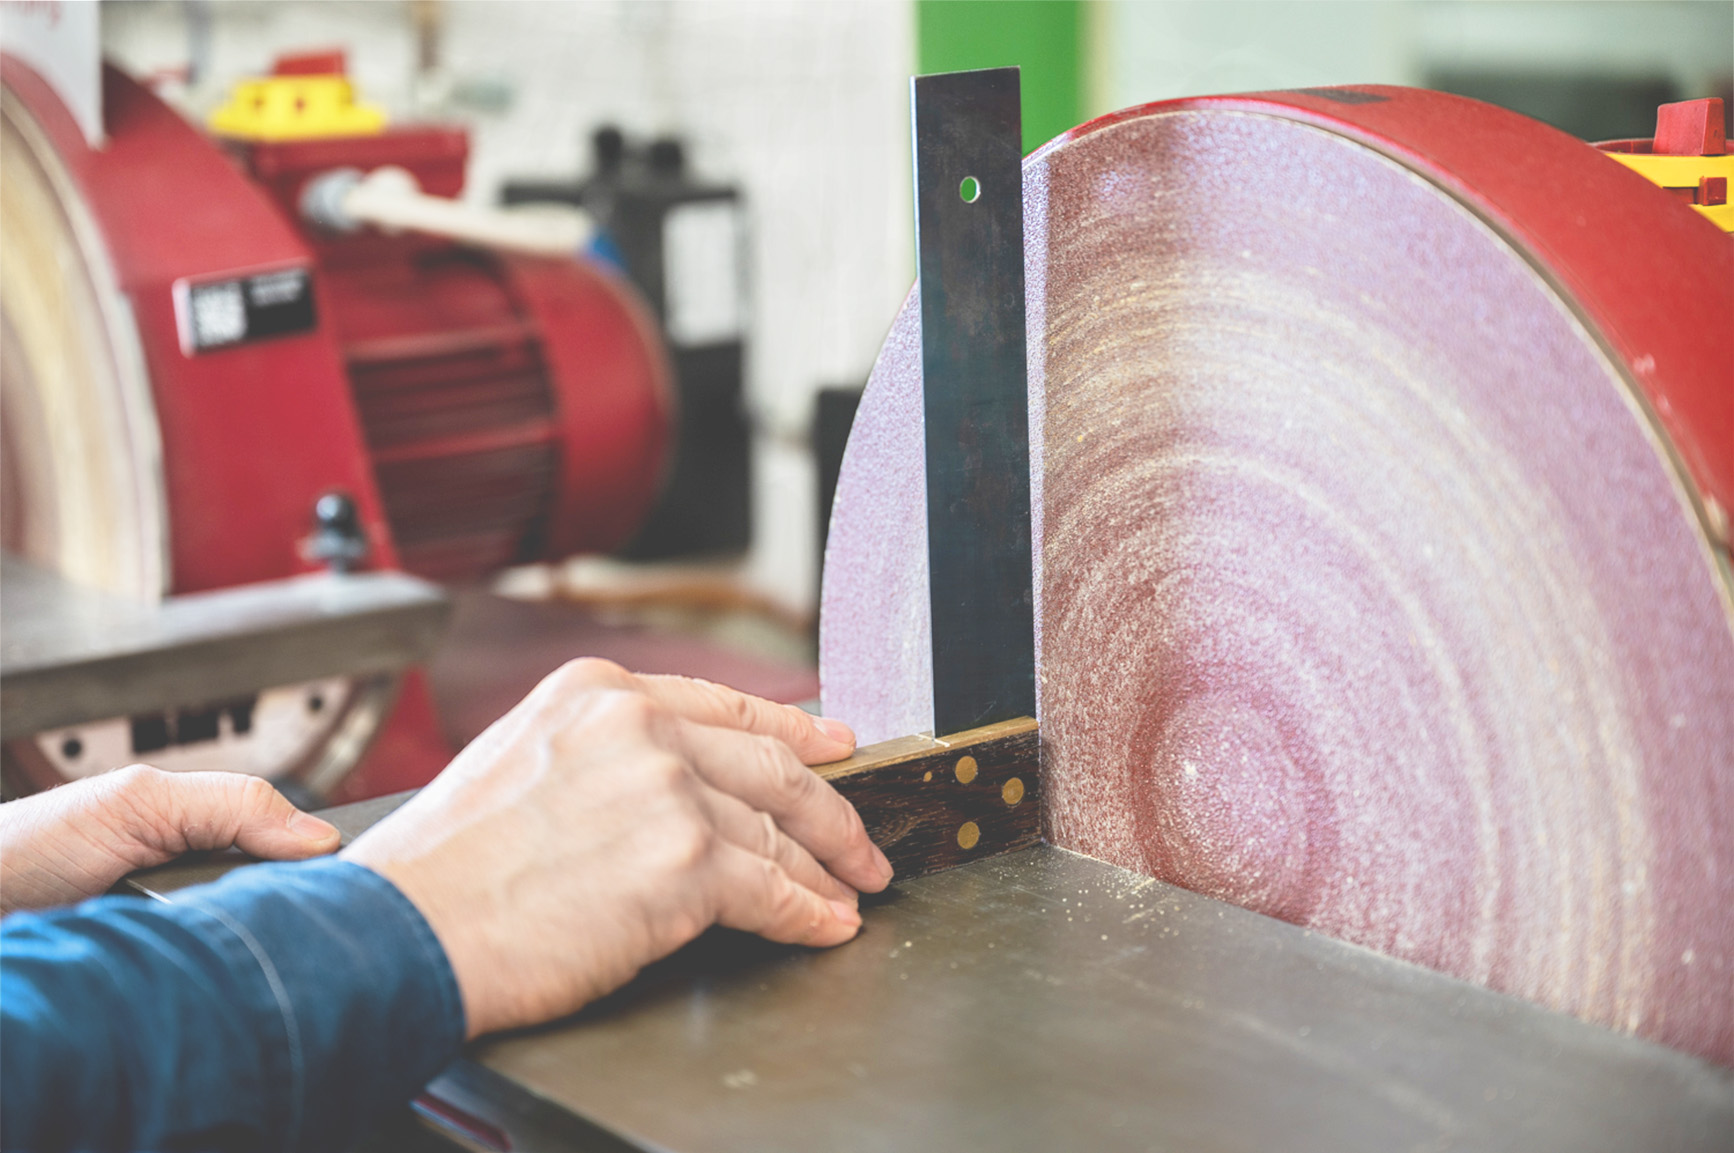
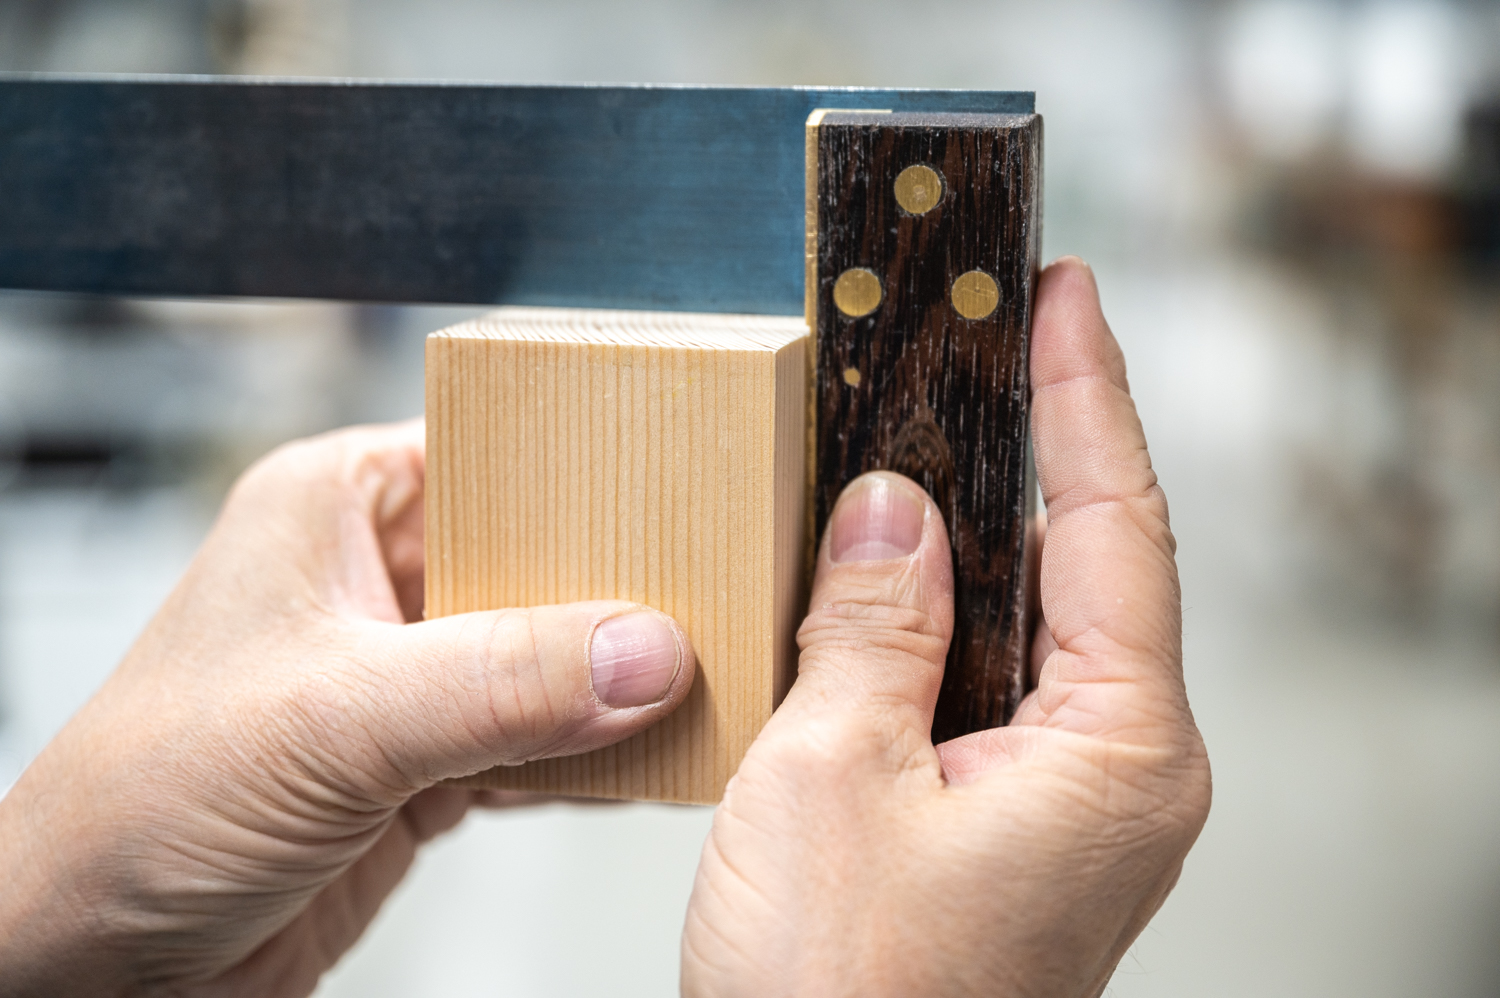
Make sure that the machine is correctly set up by checking the angle of the worktable with a reliably try square before turning on the device to ensure that your parts turn out the way you want them.
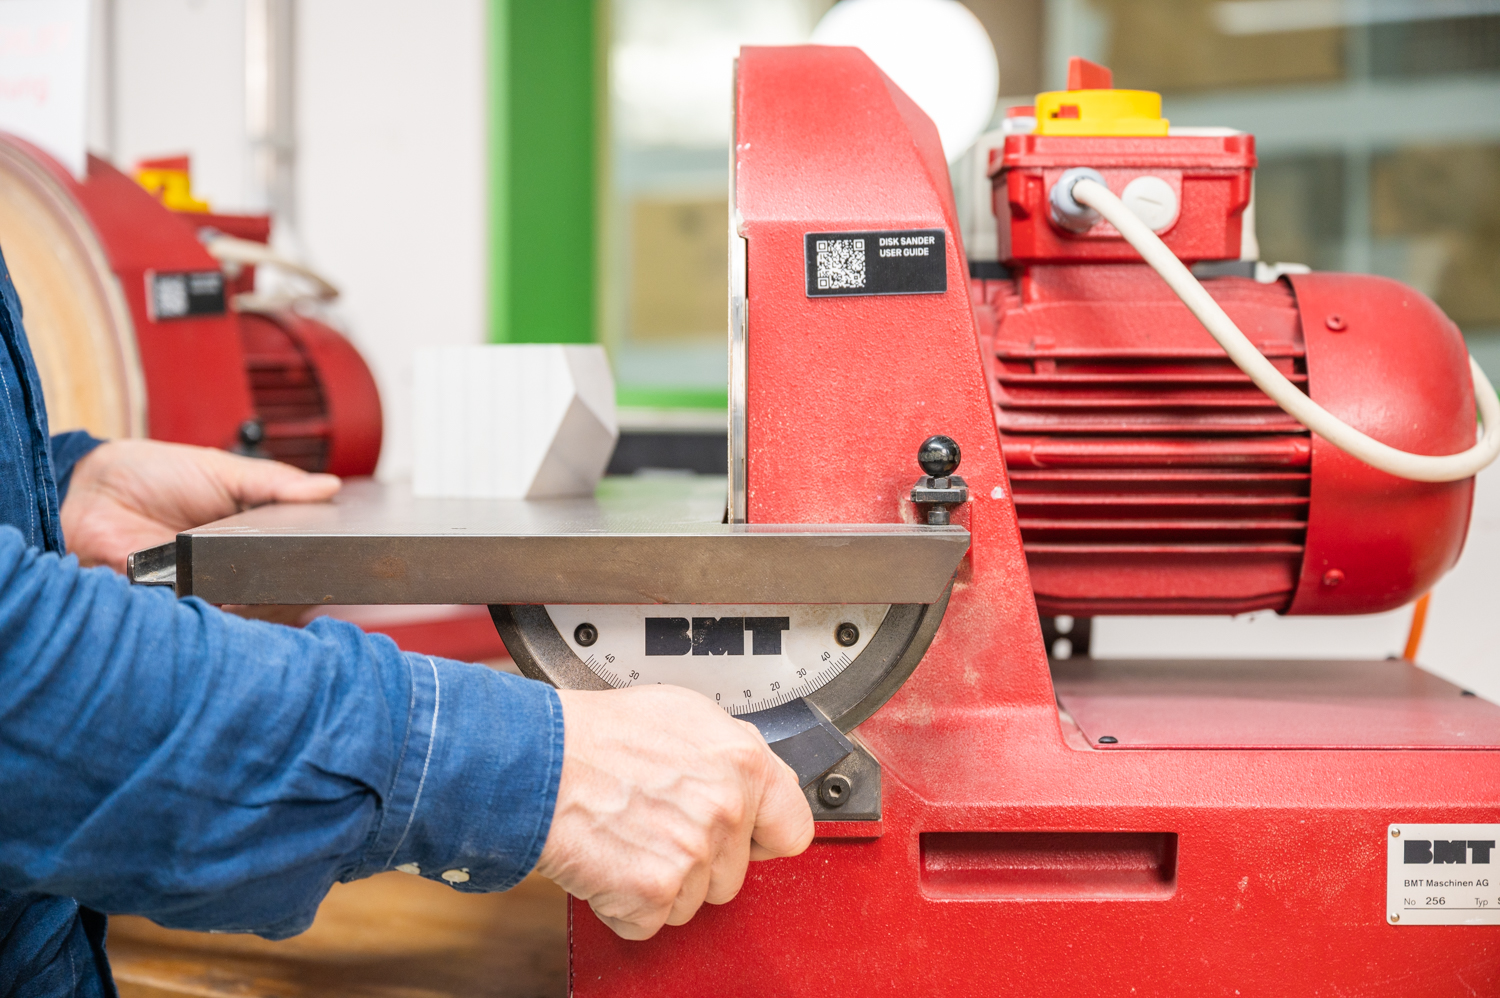
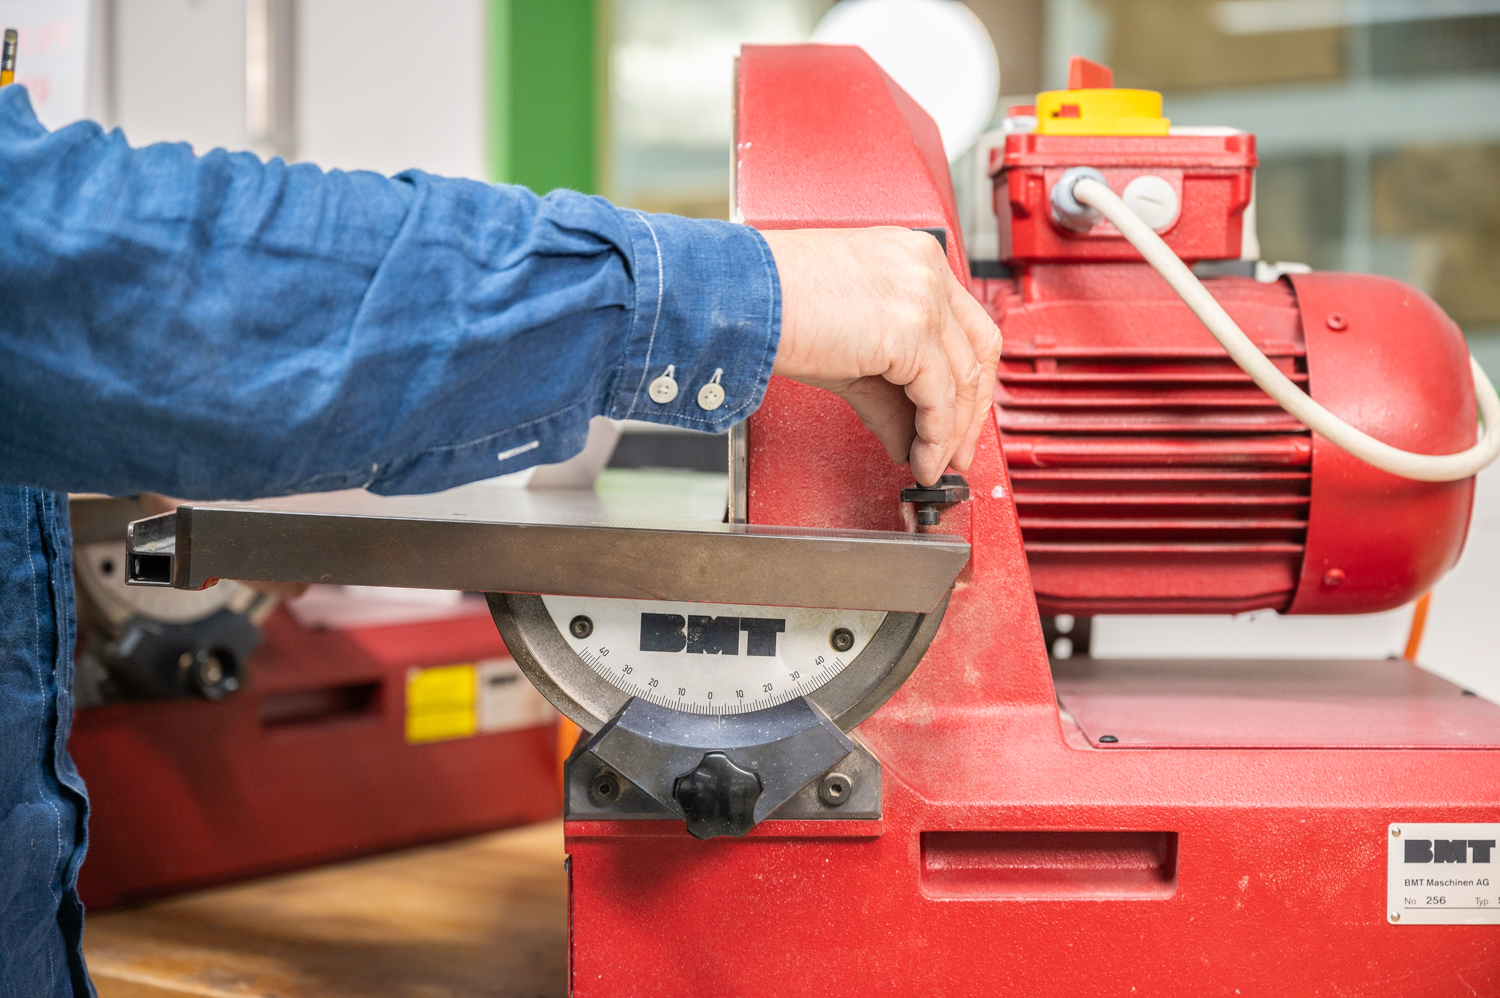
To adjust the table, you must unlock it on both sides and slide it to the correct position. If you need to set up a precise angle for sanding, you can use the angle measurements at the pivoting slide below the table.
Notice the small end stop that can be turned on the right side of the table that helps to bring the work table back to 90°. Lock the table as soon as the table is in the desired position before turning on the machine.
How To
The disk sander is not made to size down your workpiece. Prepare your workpiece by cutting close to the required shape with the band saw to minimize sanding.
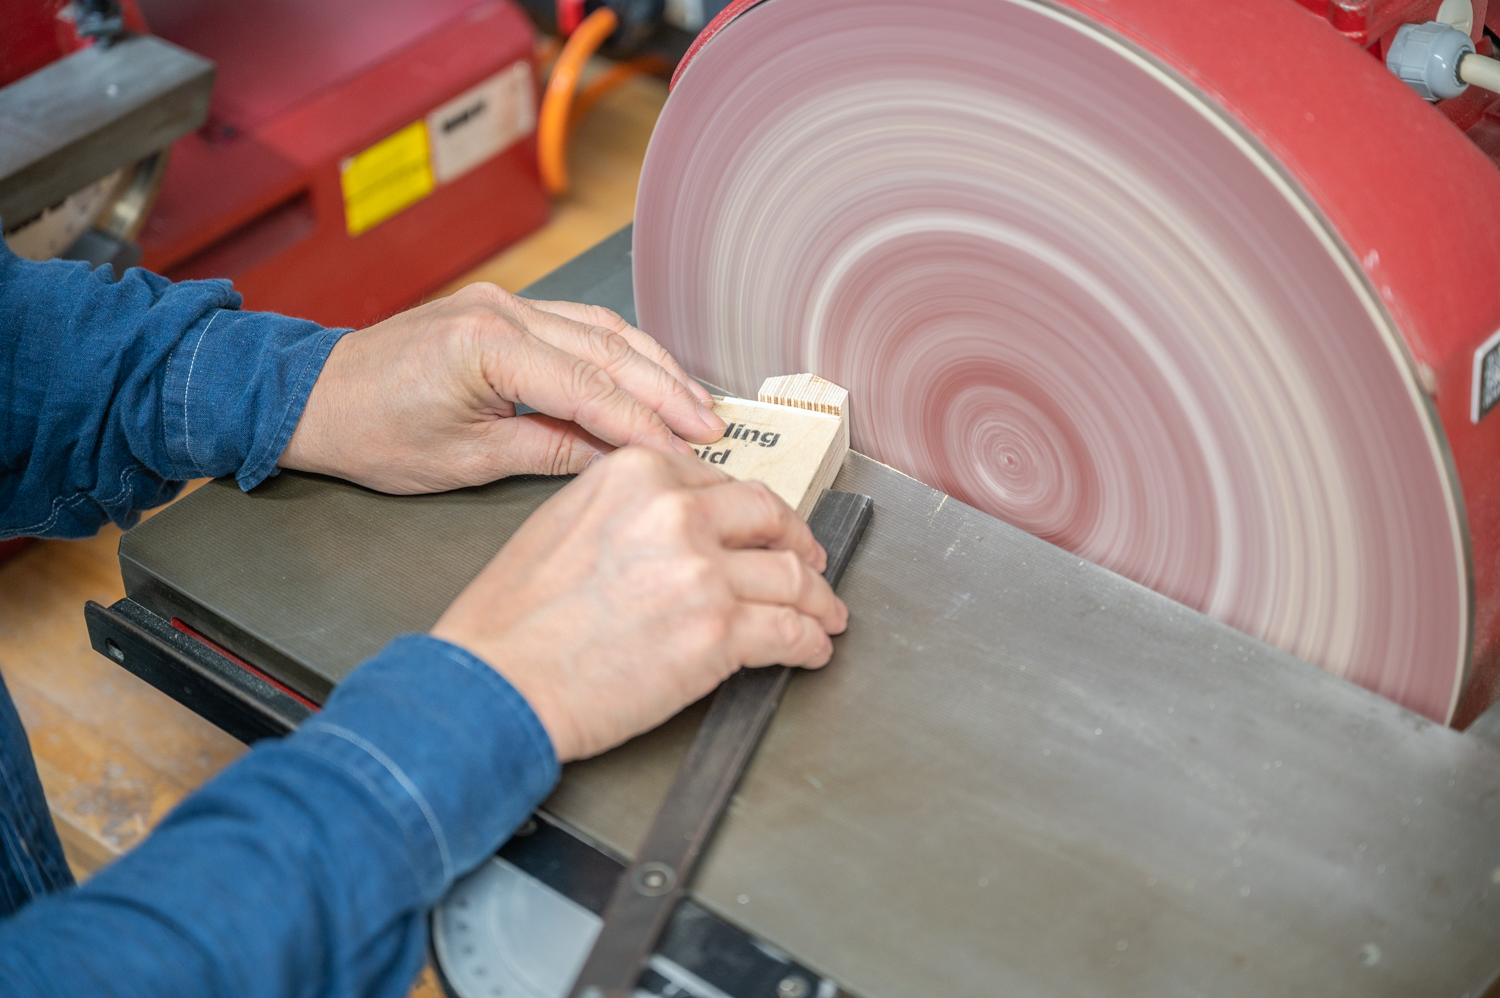
Use the miter gauge to sand reliably and repeatedly to accurate angles.
Work Holding And Checking
Using a sanding jig for small parts is advisable to avoid injuries. Some essential jigs are provided to you in the drawer below the disk sander. Please get in touch with our staff if you need a more elaborate setup for something you want to make on the disk sander. We typically attach the workpiece to the jig with double-sided tape; this ensures that small parts are held securely.
Even small parts can be sanded to precise dimensions and complex shapes without the risk of injury with the help of a sanding jig that places your fingers away from any potential danger zones.
The machine table can be adjusted for custom compound angles by tilting the table downwards. Most common operations can be achieved by adequately orienting the workpiece on a 90° table. If this is impossible, only tilt the table downwards to avoid a potentially dangerous setup!
Check the angle of your workpiece from time to time to ensure that everything is square and parallel. The speeds on the outside of the disk are far greater than towards the center; this leads to more material being removed on the outer side. You have to compensate for this by turning the workpiece regularly or using a sanding aid with the miter gauge.

