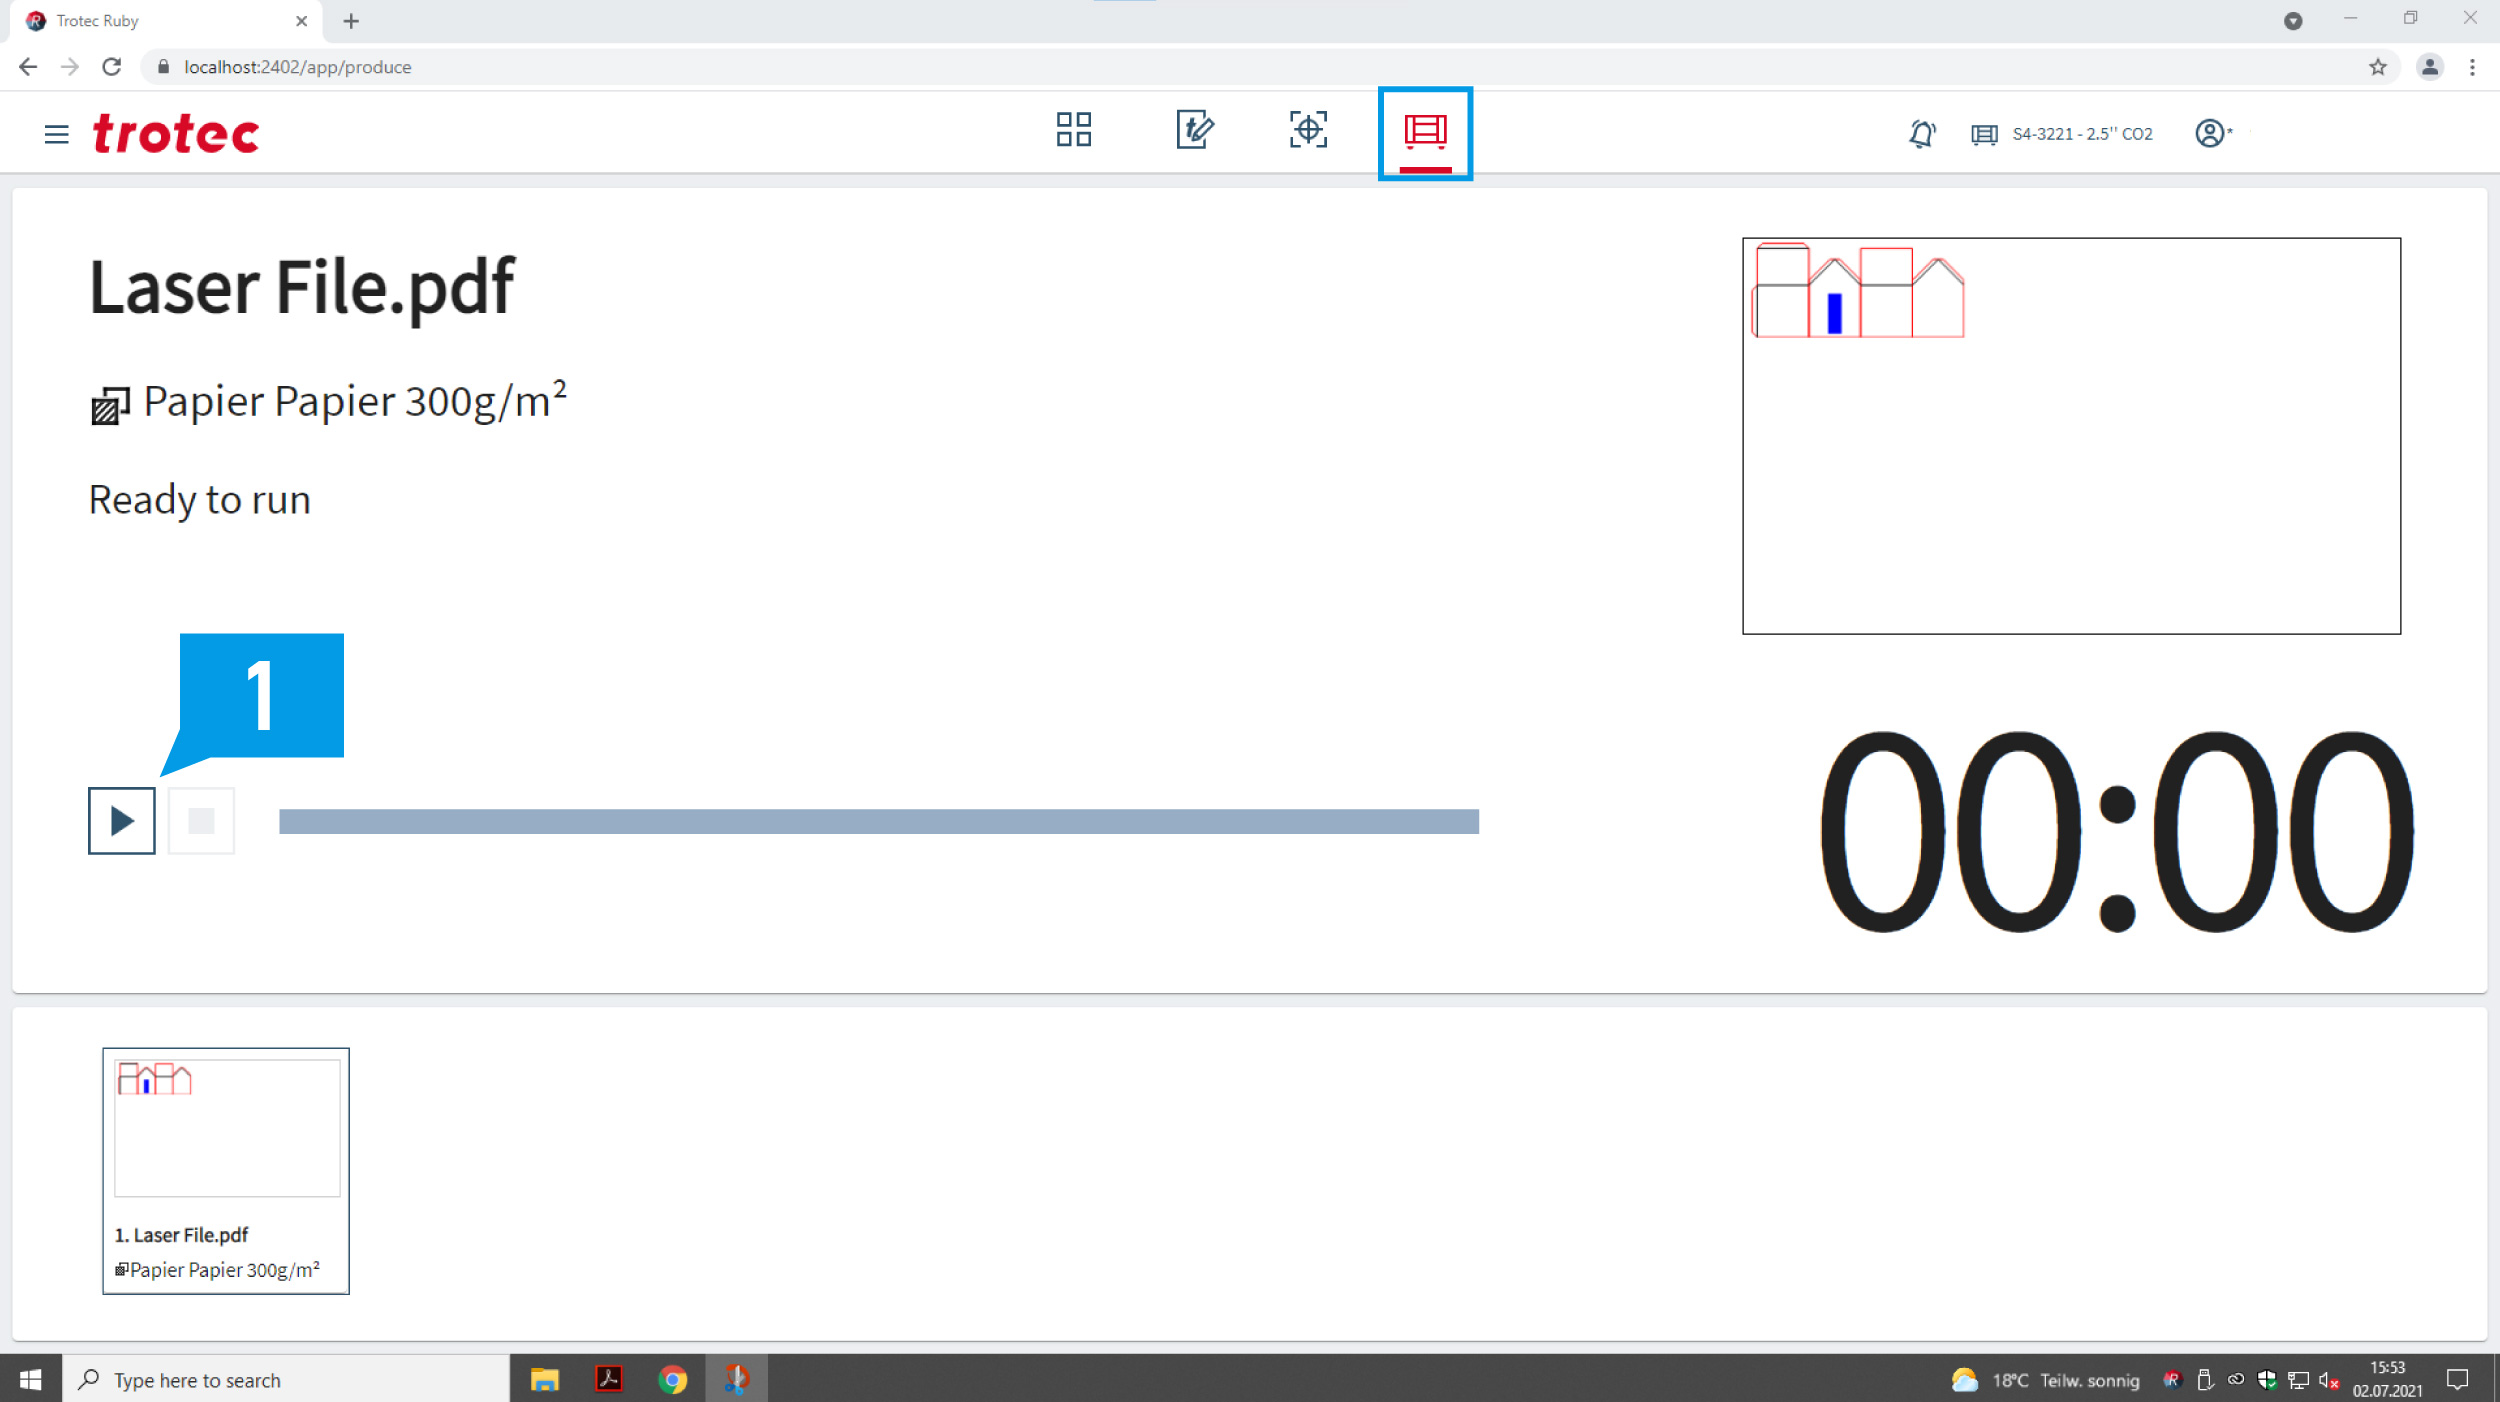
Trotec Laser Cutter

General Information

  1. Turn on the laser cutter and computer
  2. Unlock the machine with your ETH card
  3. Place the material onto the laser bed
  4. Pull down the protective cover and focus
  5. Import your PDF into Ruby
  6. Choose placement and material
  7. Cut
  8. Turn off the laser cutter and the computer after use

Cost: 20.- / h  (starts from login time!)
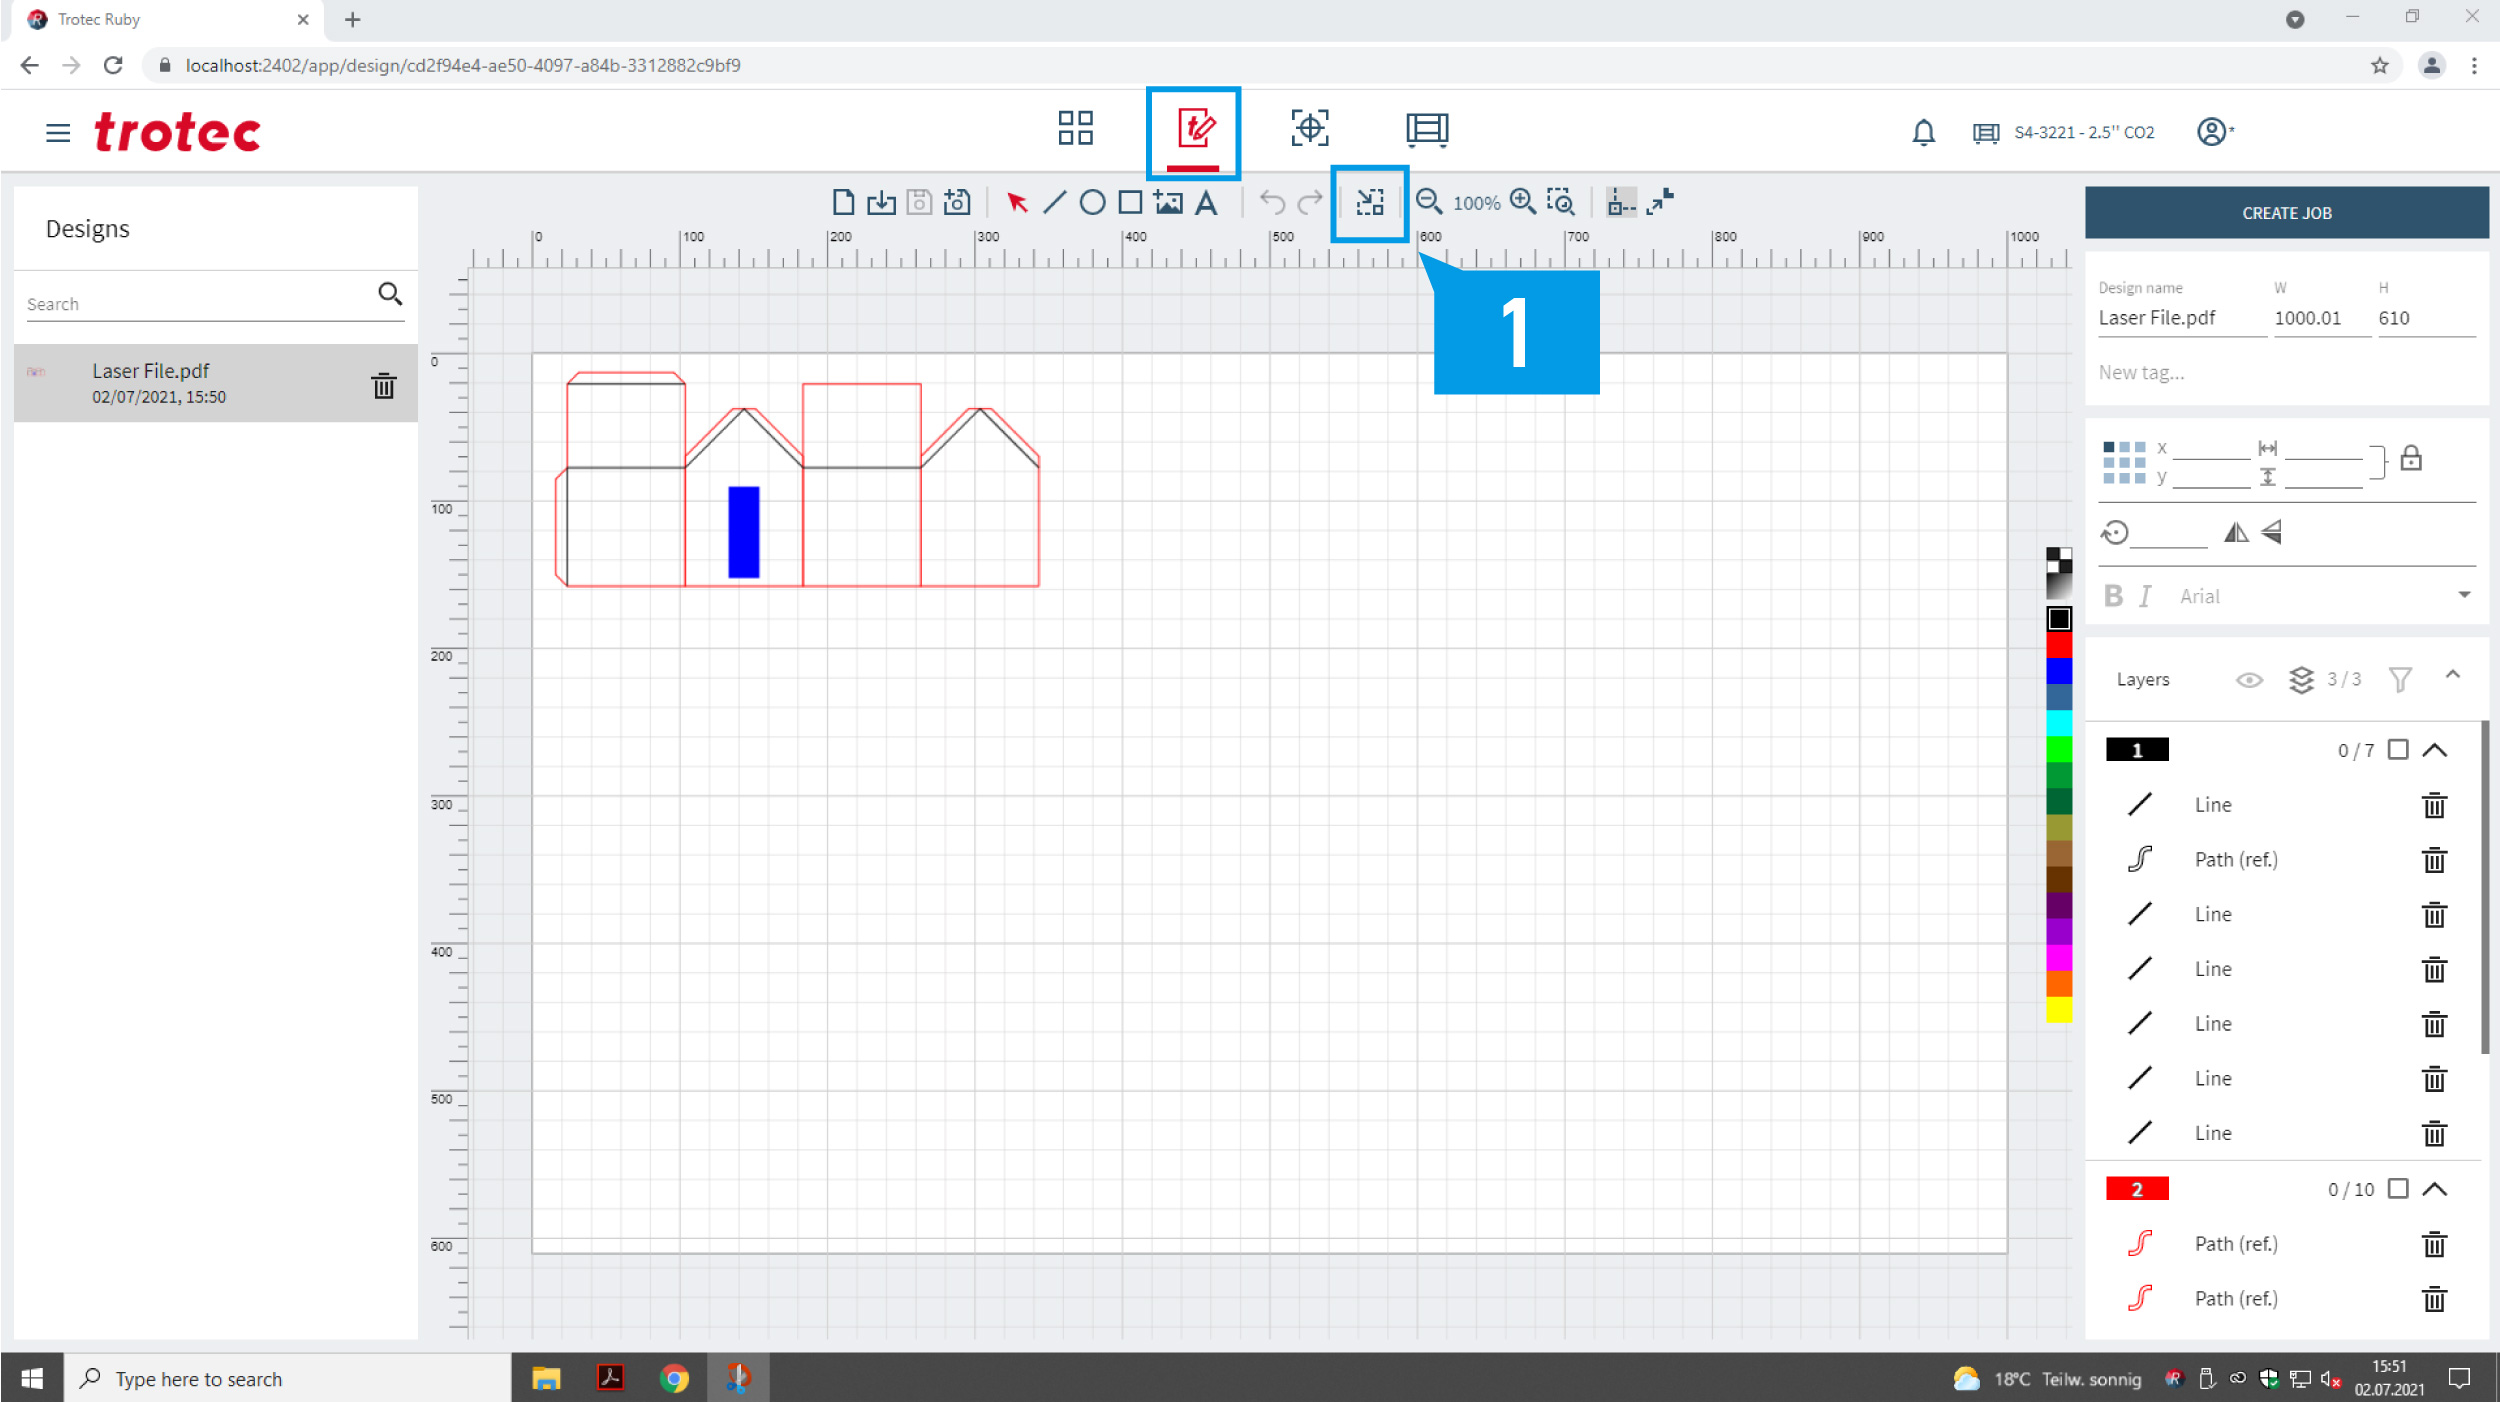
Area: 1000mm x 600mm
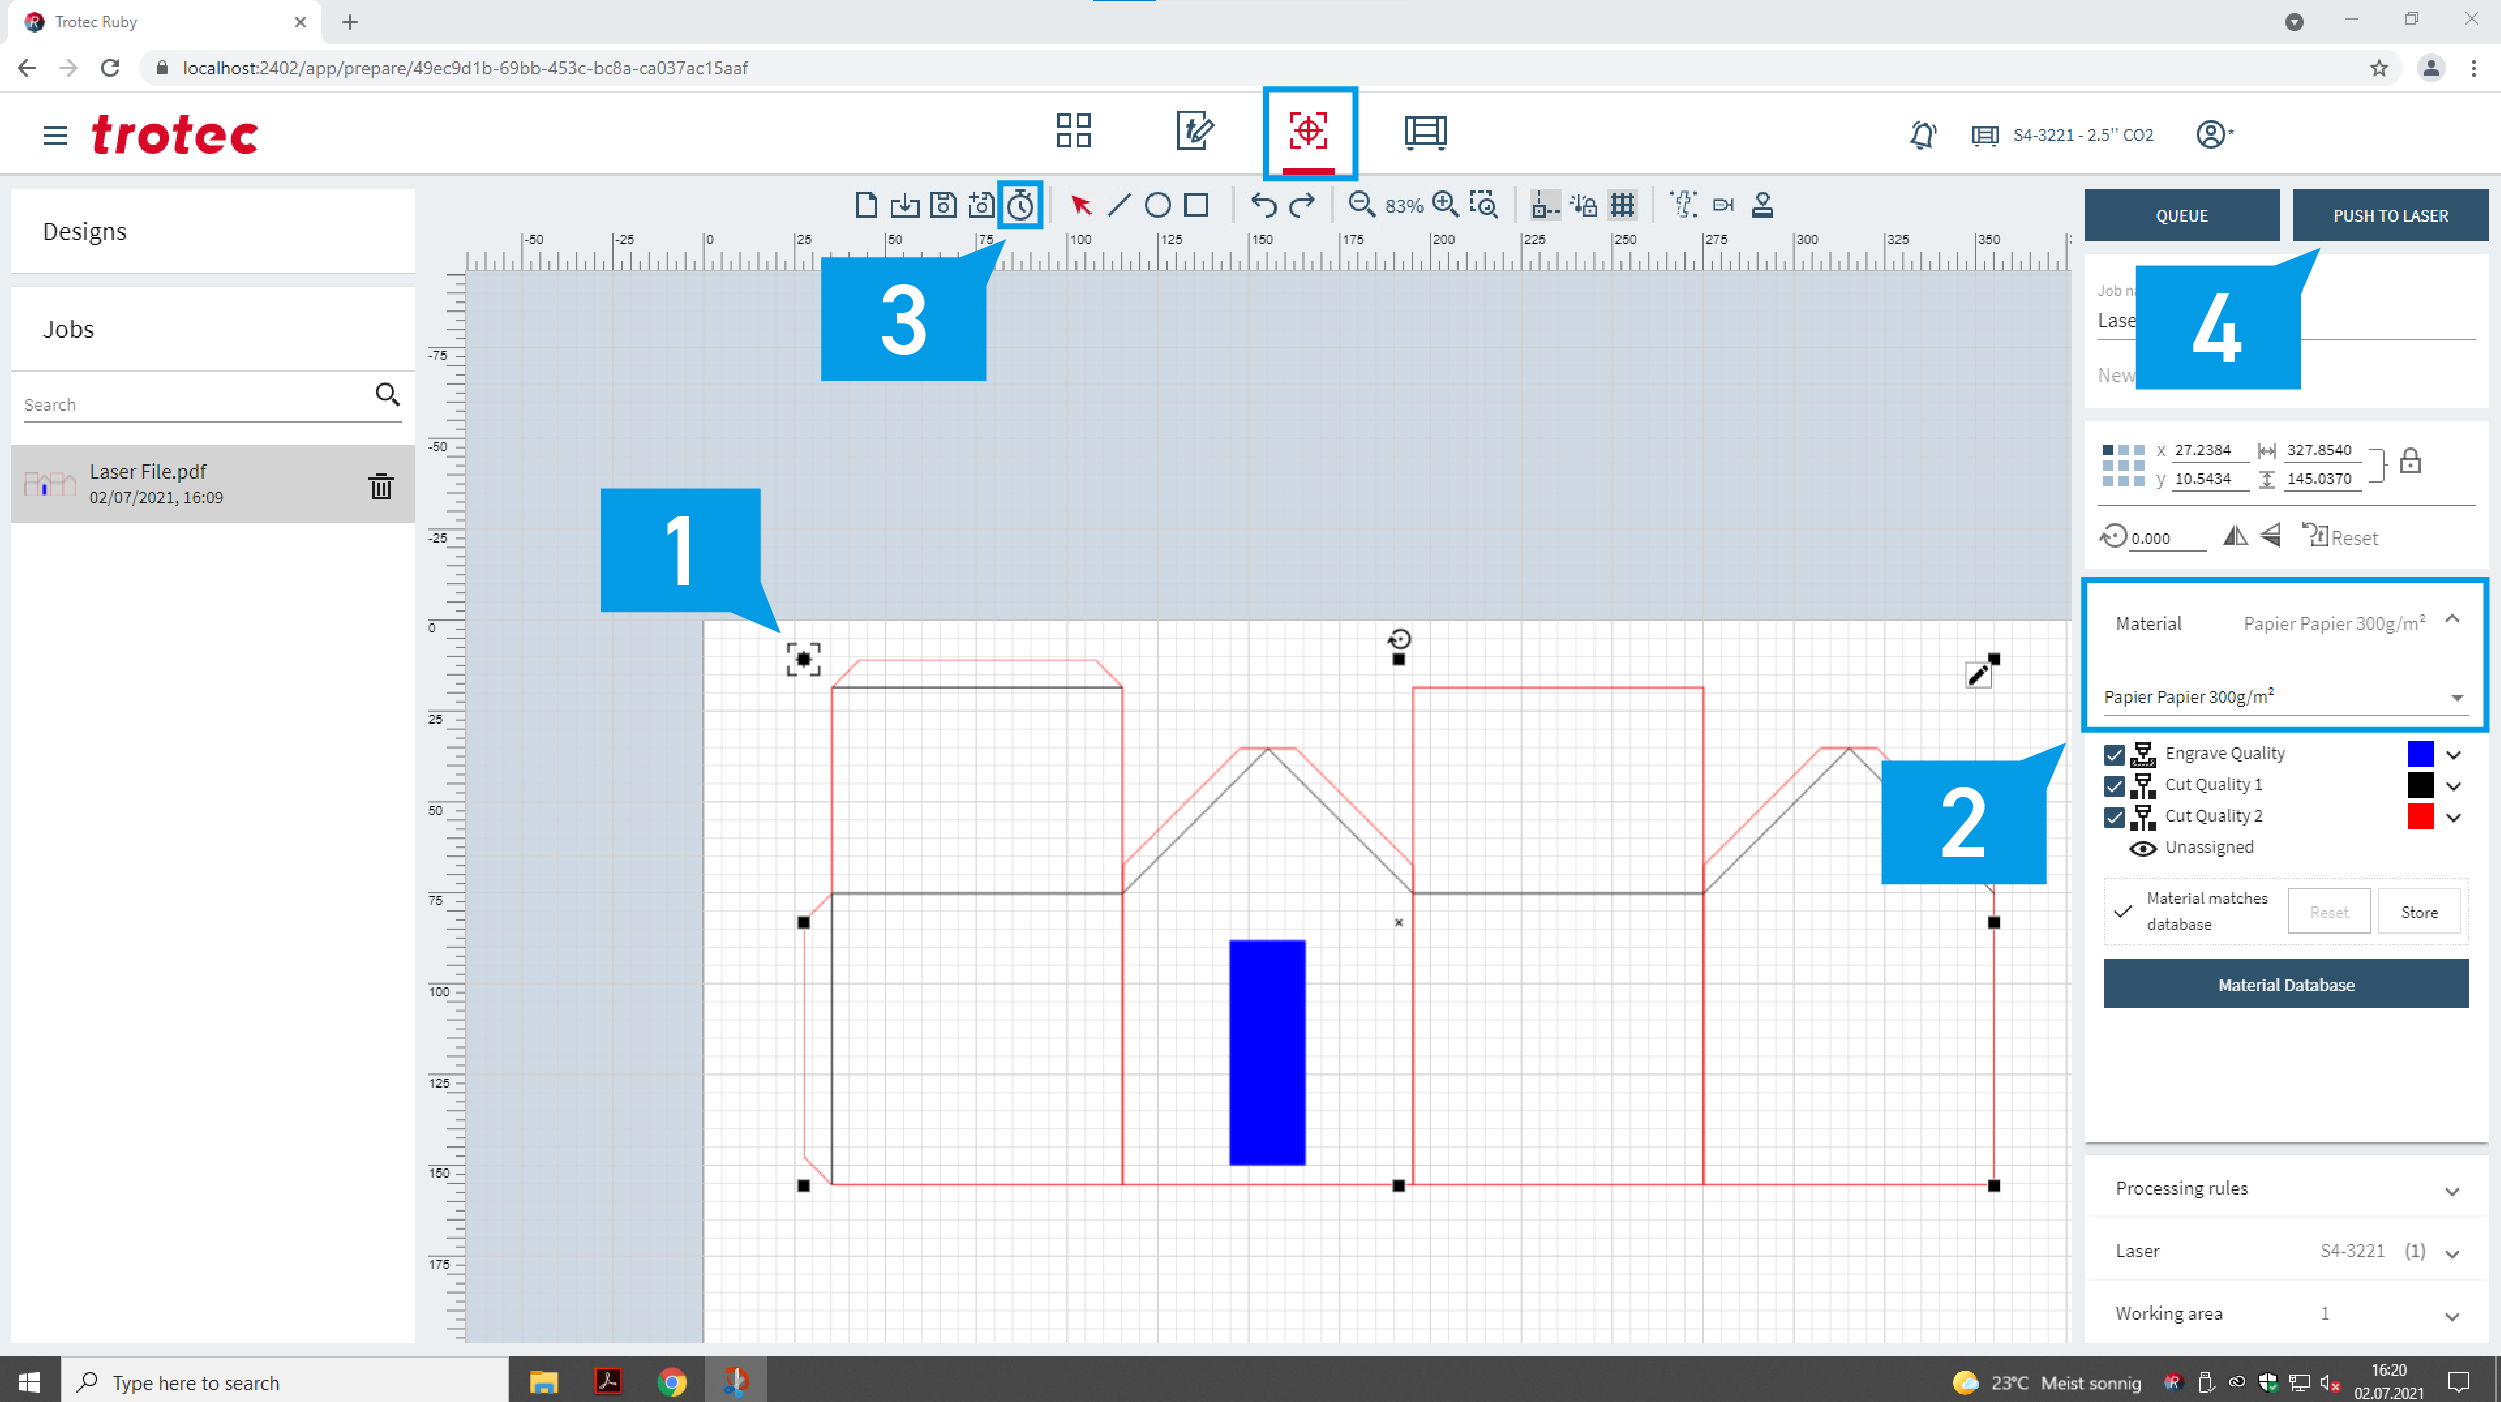
File: PDF, RGB colors, vector-based, no groups

Colors:

  • Cut = Red (RGB 255,0,0) (Hairline / 0.01pt / 0.01mm thick)
  • Engraved Line = Black (RGB 0,0,0) (Hairline / 0.01pt / 0.01mm thick)
  • Engraved Area = Blue (RGB 0,0,255)
  • Acrylic Glass (Plexiglas, PMMA) (0.5mm to 10mm)
  • Paper (up to 300g)
  • Corrugated Cardboard (0.5mm to 4mm)
  • Cardboard (0.5mm to 4mm)
  • Air-Ply (0.5mm to 2mm)
  • Poplar Plywood (3mm to 10mm)

  • PDF Export Guide for various CAD programs
  • Convert fonts to paths
  • Pay attention to closed paths (the laser is as accurate as the file)
  • No cut masks, no groupings, no compound paths
  • Try to void duplicate lines
  • No paths beyond or exactly at the edge of your file
  • Try to join lines into closed polylines
  • Try to avoid line segments smaller than ~0.5mm (can result in not being able to cut your file!)

Laser 2-6 HIL

  1. Unlock the machine with your ETH card at the entrance door.
  2. Turn on the laser cutter by pressing the standby button (1
  3. Place the material on the upper left corner of the laser bed and pull down the cover.
  4. Move the laser head over the material with the navigation keys. (2)
  5. Focus on to the material surface by pressing both AF-keys at the same time (3). For Laser 1, follow instructions below.
  6. If you want to start your file at a specific spot drive there manually with the navigation keys. (2)
  7. As soon the laser job started you can anytime pause the process with the “Pause/Play” key. (4)
  8. To cancel a job press the stop button (5)
Standbybutton-03

Turn on

DSC_2986

Place material in the top left corner

DSC_3033

Place laser head over material

DSC_2984

Focus

Laser 1 HIL and Lasers at ONA Workshop

The Laser 1 and the Lasers at ONA workshop work basically the same as all the other laser cutters, only the laser focus must be differently.

  1. The machine will turn on as soon as you login
  2. Move the laser-head over the material.
  3. Mount the distance gauge.
  4. Raise the laser bed incrementally until the distance gauge falls off.
  5. Store the distance gauge. The laser cutter is now in focus.

Ruby (Laser Software)

  • Open the laser software “Ruby”.
  • Log in with the auto-filled credentials if necessary. 
  • If the message “Job Control isn’t running. Do you want to switch to Ruby?” appears, accept it with “Yes”.

Tab 1: Import (1) your PDF. (2)

If “Error” appears check Troubleshoot.

Tab 2: Delete the white area around your drawing (1) or skip with “create job”.

Tab 3: The position of the laser (1) should be visible and can be used to position your file. Choose the material from the drop down menu (2). Check how long the job will take with the clock button (3). Then continue with “push to laser”. (4)

Tab 4: Check the material settings and start the laser process. (1)

Stay with the machine while the job is cutting to reduce the risk of a fire.

Please clean your workspace and turn off machine after you’ve finished cutting.

Troubleshoot

Check that there are

  • only necessary lines
  • Boarder 600mmx1000mm or less
  • no watermarks or hatches
  • only RGB colors
  • hairlines set to 0.01mm/0.01pt
 

To edit  (do this only if Ruby can’t load your file!) your file either

  • open it in Illustrator and switch to vector mode.
  • or use the Adobe Acrobat Reader and switch to edit mode.
 
How to fix hairlines in Adobe Acrobat Reader:
  1. Go to “Print Production”.
  2. Choose “Fix Hairlines”.
  3. Set the target value to 0.01mm/0.01pt.
  4. Save the file.
 

If that does not work, try printing your file as a PDF in Acrobat Reader: 

  1. Click “Print file” or press “Ctrl”+”P” to open Adobe Print.
  2. In the Printer drop-down menu select “Adobe PDF”.
  3. Press “Print”.
  4. Wait until “Save PDF file as” window opens. Once open, select where you want to save your PDF (e.g. “Desktop”).
  5. Save PDF.
  6. Try importing the PDF into Ruby.

Check if

  • the material settings are correct 
  • autofocus is set correctly
  • your material is flat – even 1-2mm can make an enormous difference! Here is some more information on how to keep your material completely flat. Laser cutter skill builder

If all checks have been made and the laser is still not cutting through, contact a Raplab staff member.

In some cases the laser-job can be continued with the “Play” button. If this doesn’t work you’ll have to restart the machine and check your file in-depth. Often geometries with too many anchor points or very small line-segments (< 0.2mm) lead to this problem.

To solve this problem try to redraw the lines in question or repair them in your CAD software by rebuilding the curve with less control points. More information on how to fix this can be found here

  1. Check that your lines are the correct color. (They must be 255, 0, 0 RGB for red lines.) To easily change it. Go back to the design page, select all of the lines that the incorrect color. Click on the correct color swatch.  Then click create job again.
  2. Check whether you have exported the file correctly. It is import that you select the “Vector” option not the “Raster” option.

Go back to the design page and press “create job”.

Check on the produce page and check if the machine is paused. If it is try pressing the stop button located on the machine.