The machine user must stay with the machine for the duration of the cutting time.
If there are flames above the sheet material, pause the job and notify a staff member.
A small amount of smoke in the machine cabinet if normal. However is the smoke seems to build up inside the cabinet pause the machine and notify a staff member.
Cost: 20.- / h (starts from login time!)
Area: 1000mm x 600mm
File: PDF, RGB colors, vector-based, no groups
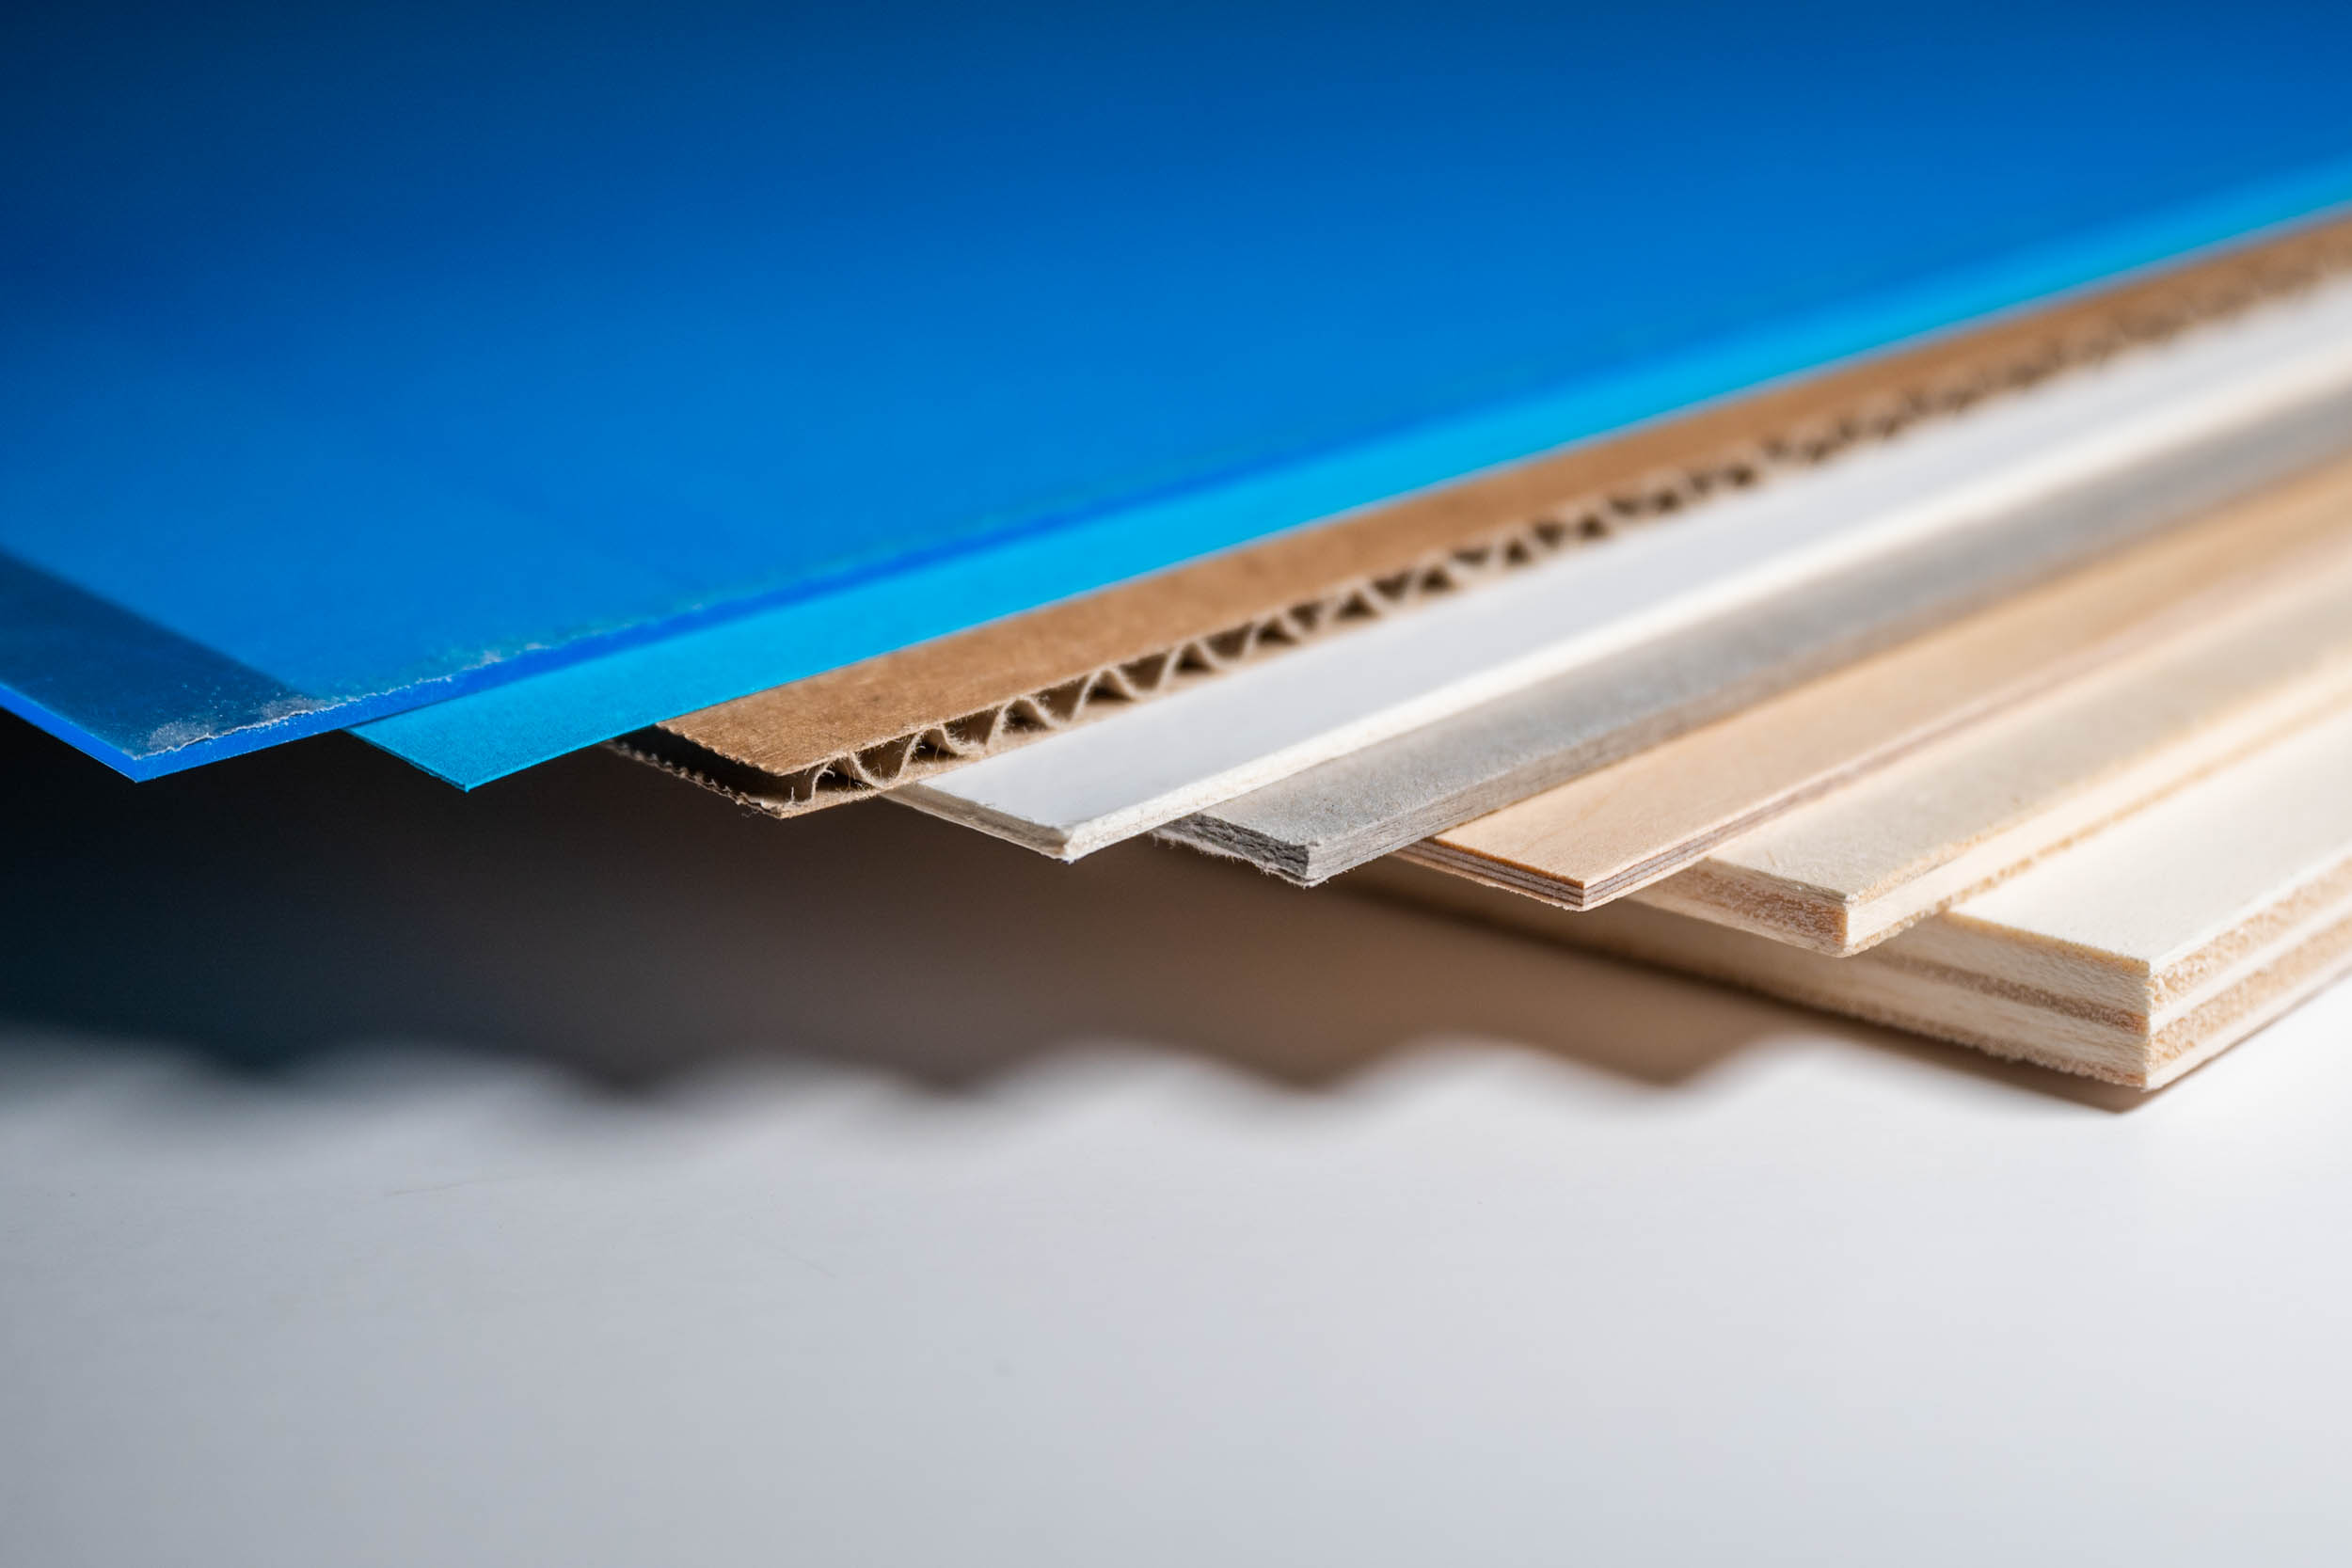
Colors:
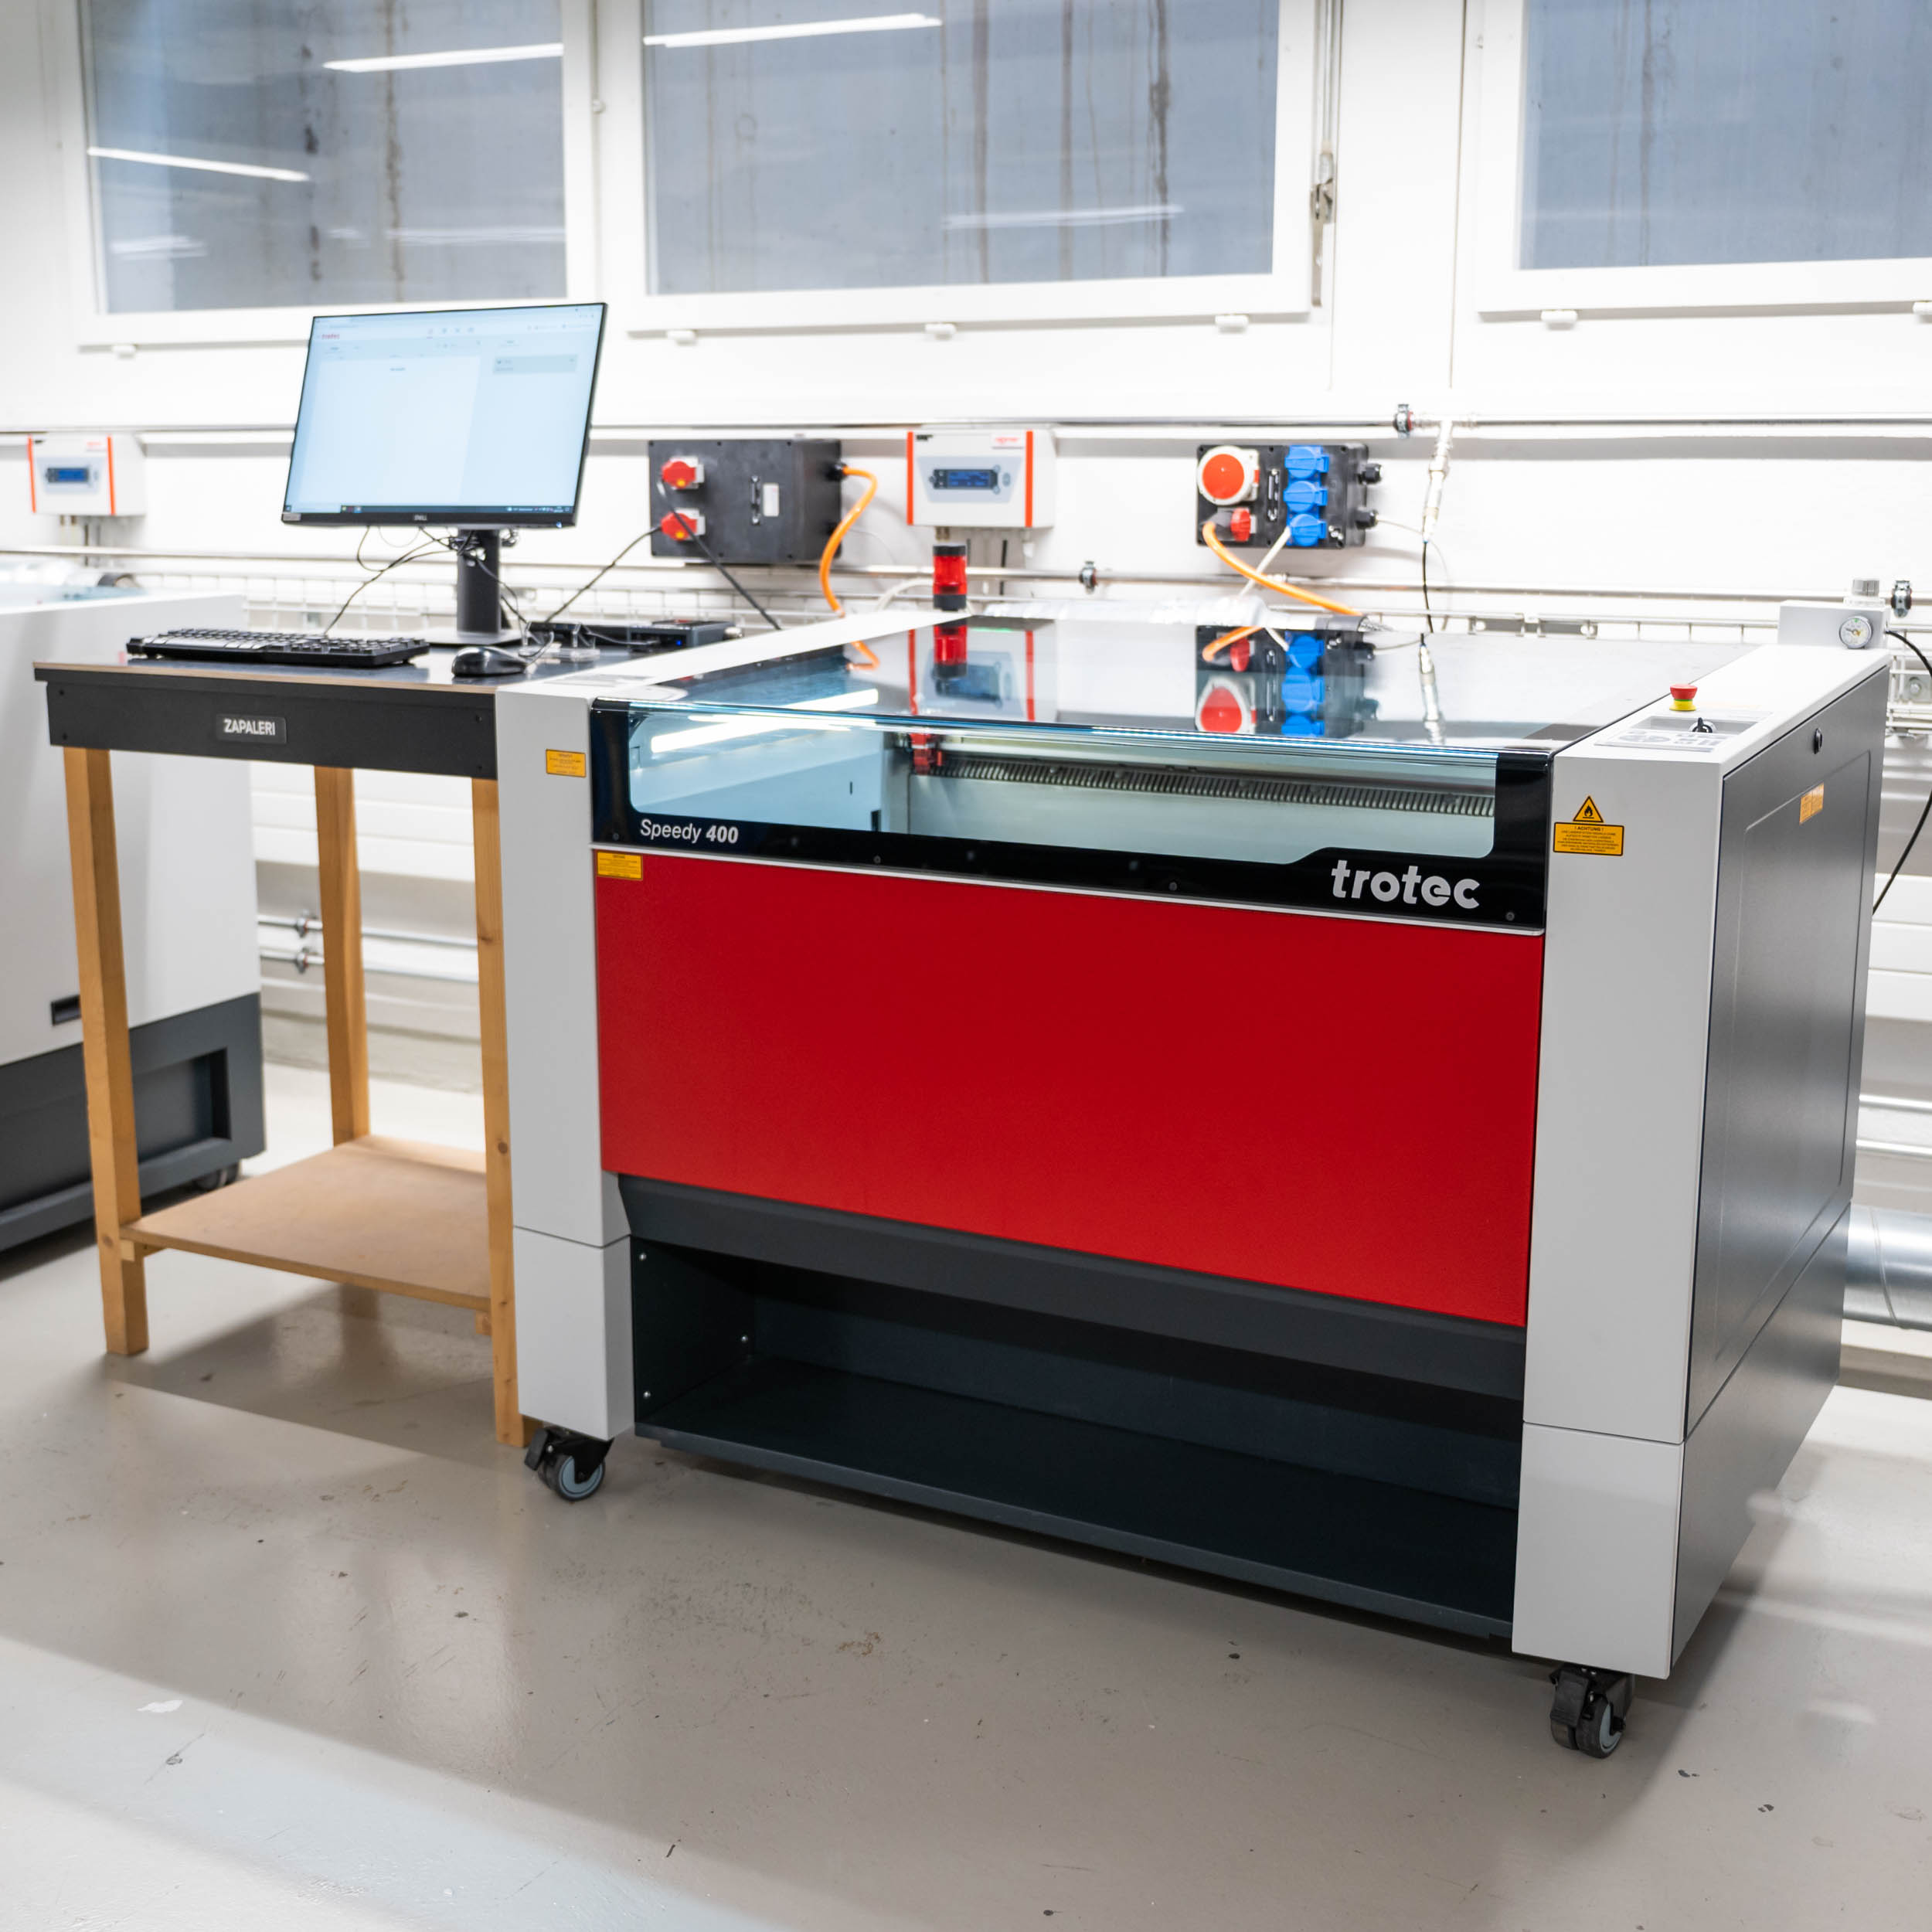
Turn on
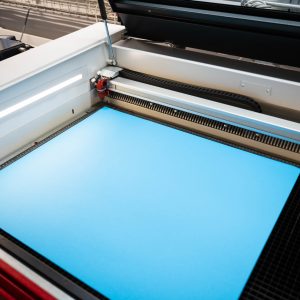
Place material in the top left corner
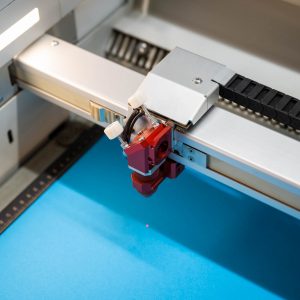
Place laser head over material
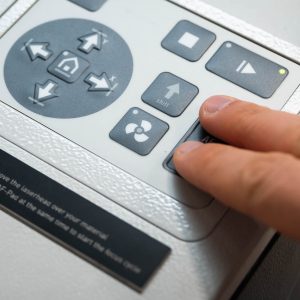
Focus
The Laser 1 and the Lasers at ONA workshop work basically the same as all the other laser cutters, only the laser focus must be differently.
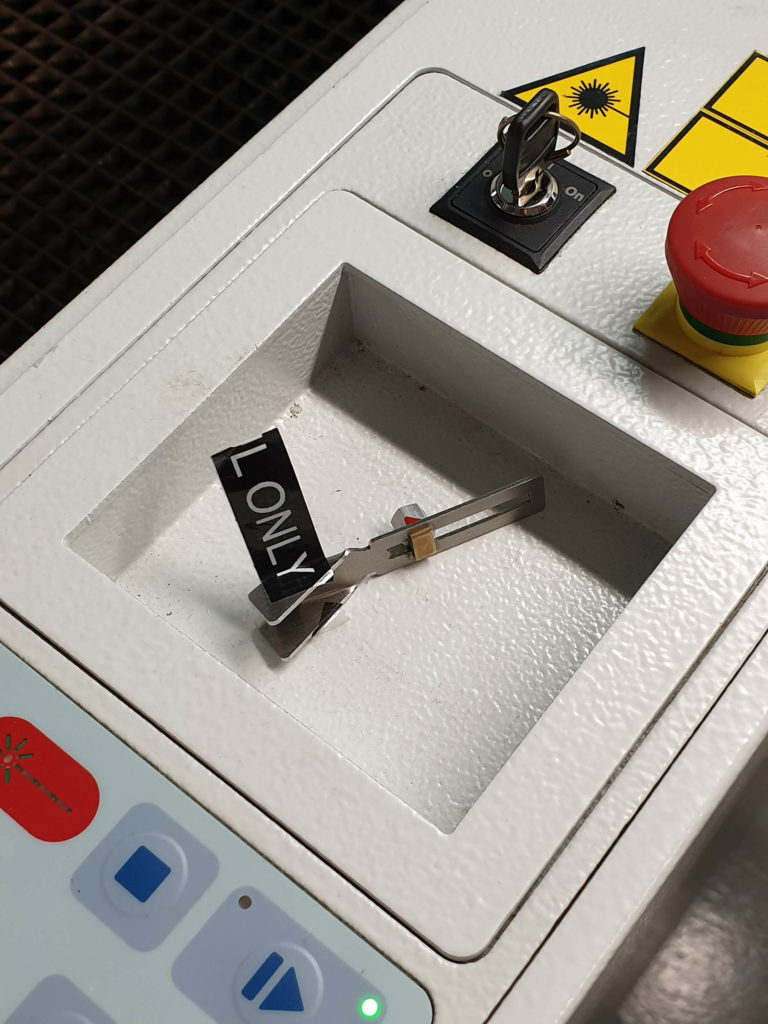
Distance gauge
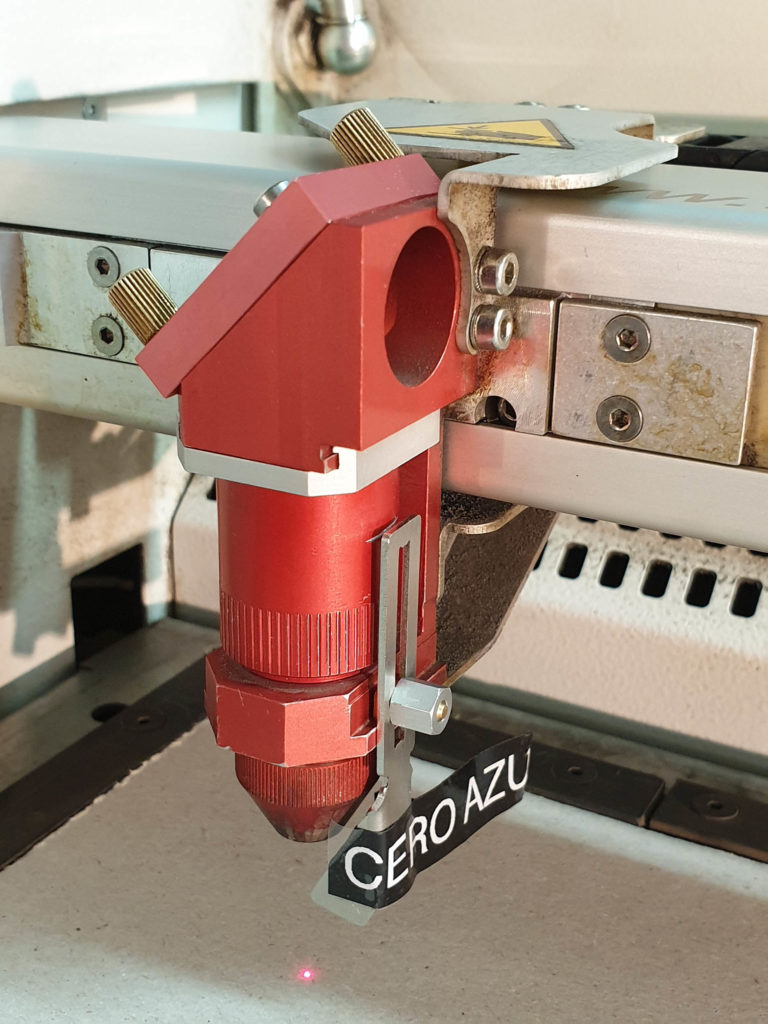
Mount distance gauge
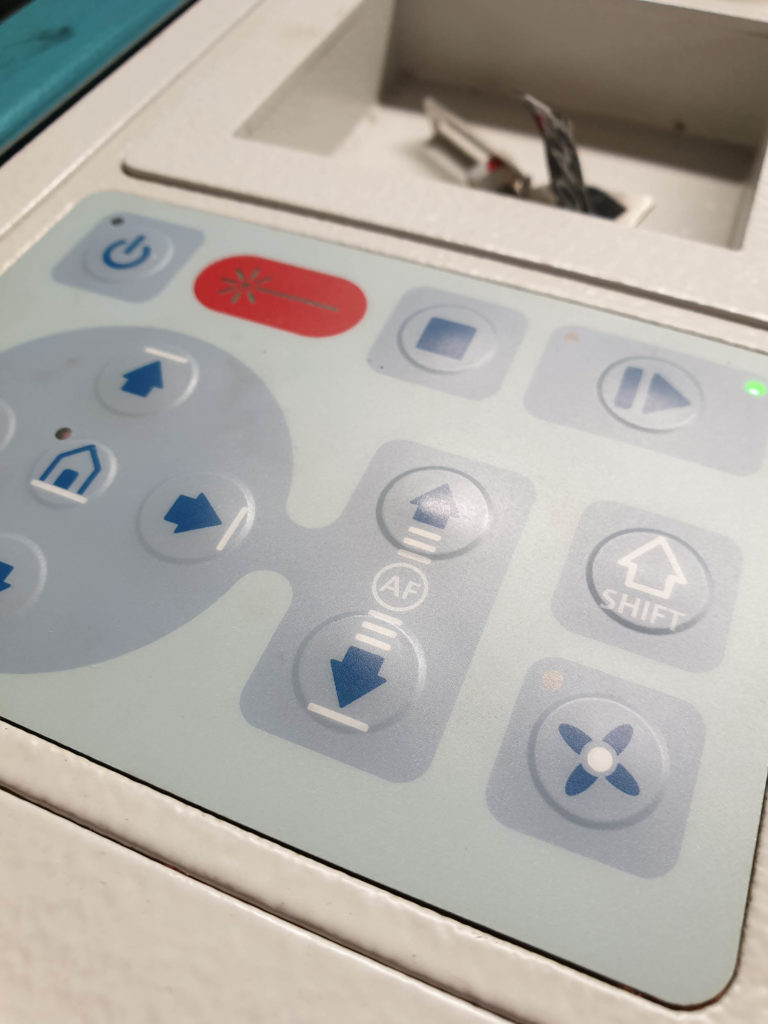
Z up key
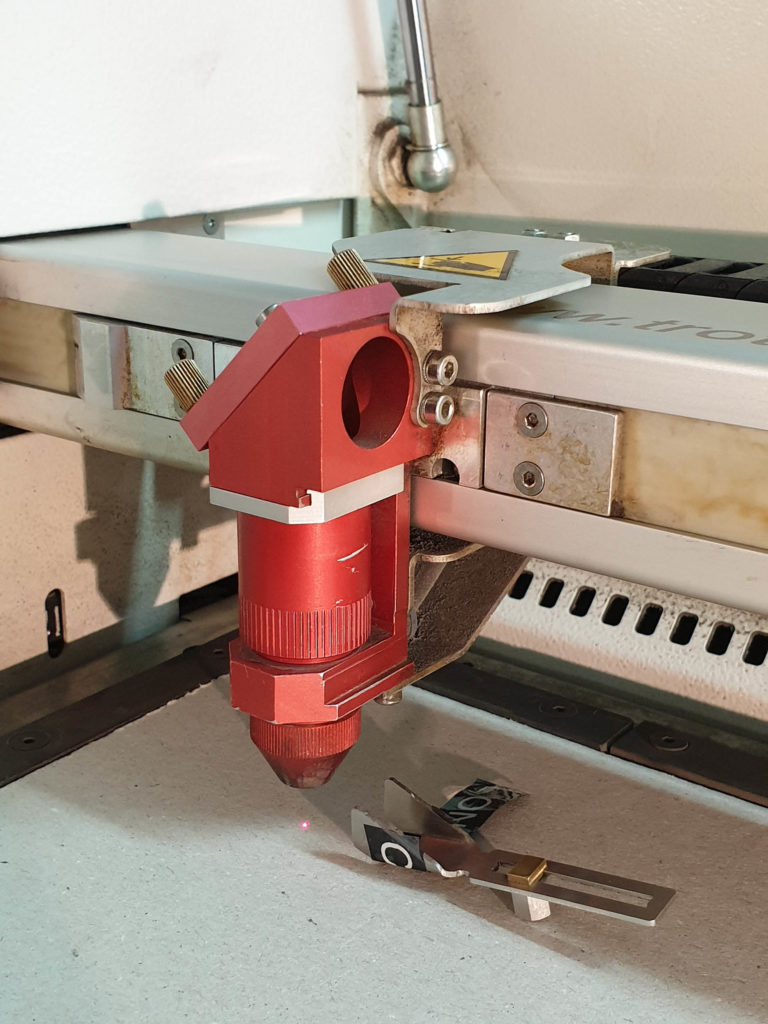
Laser focused
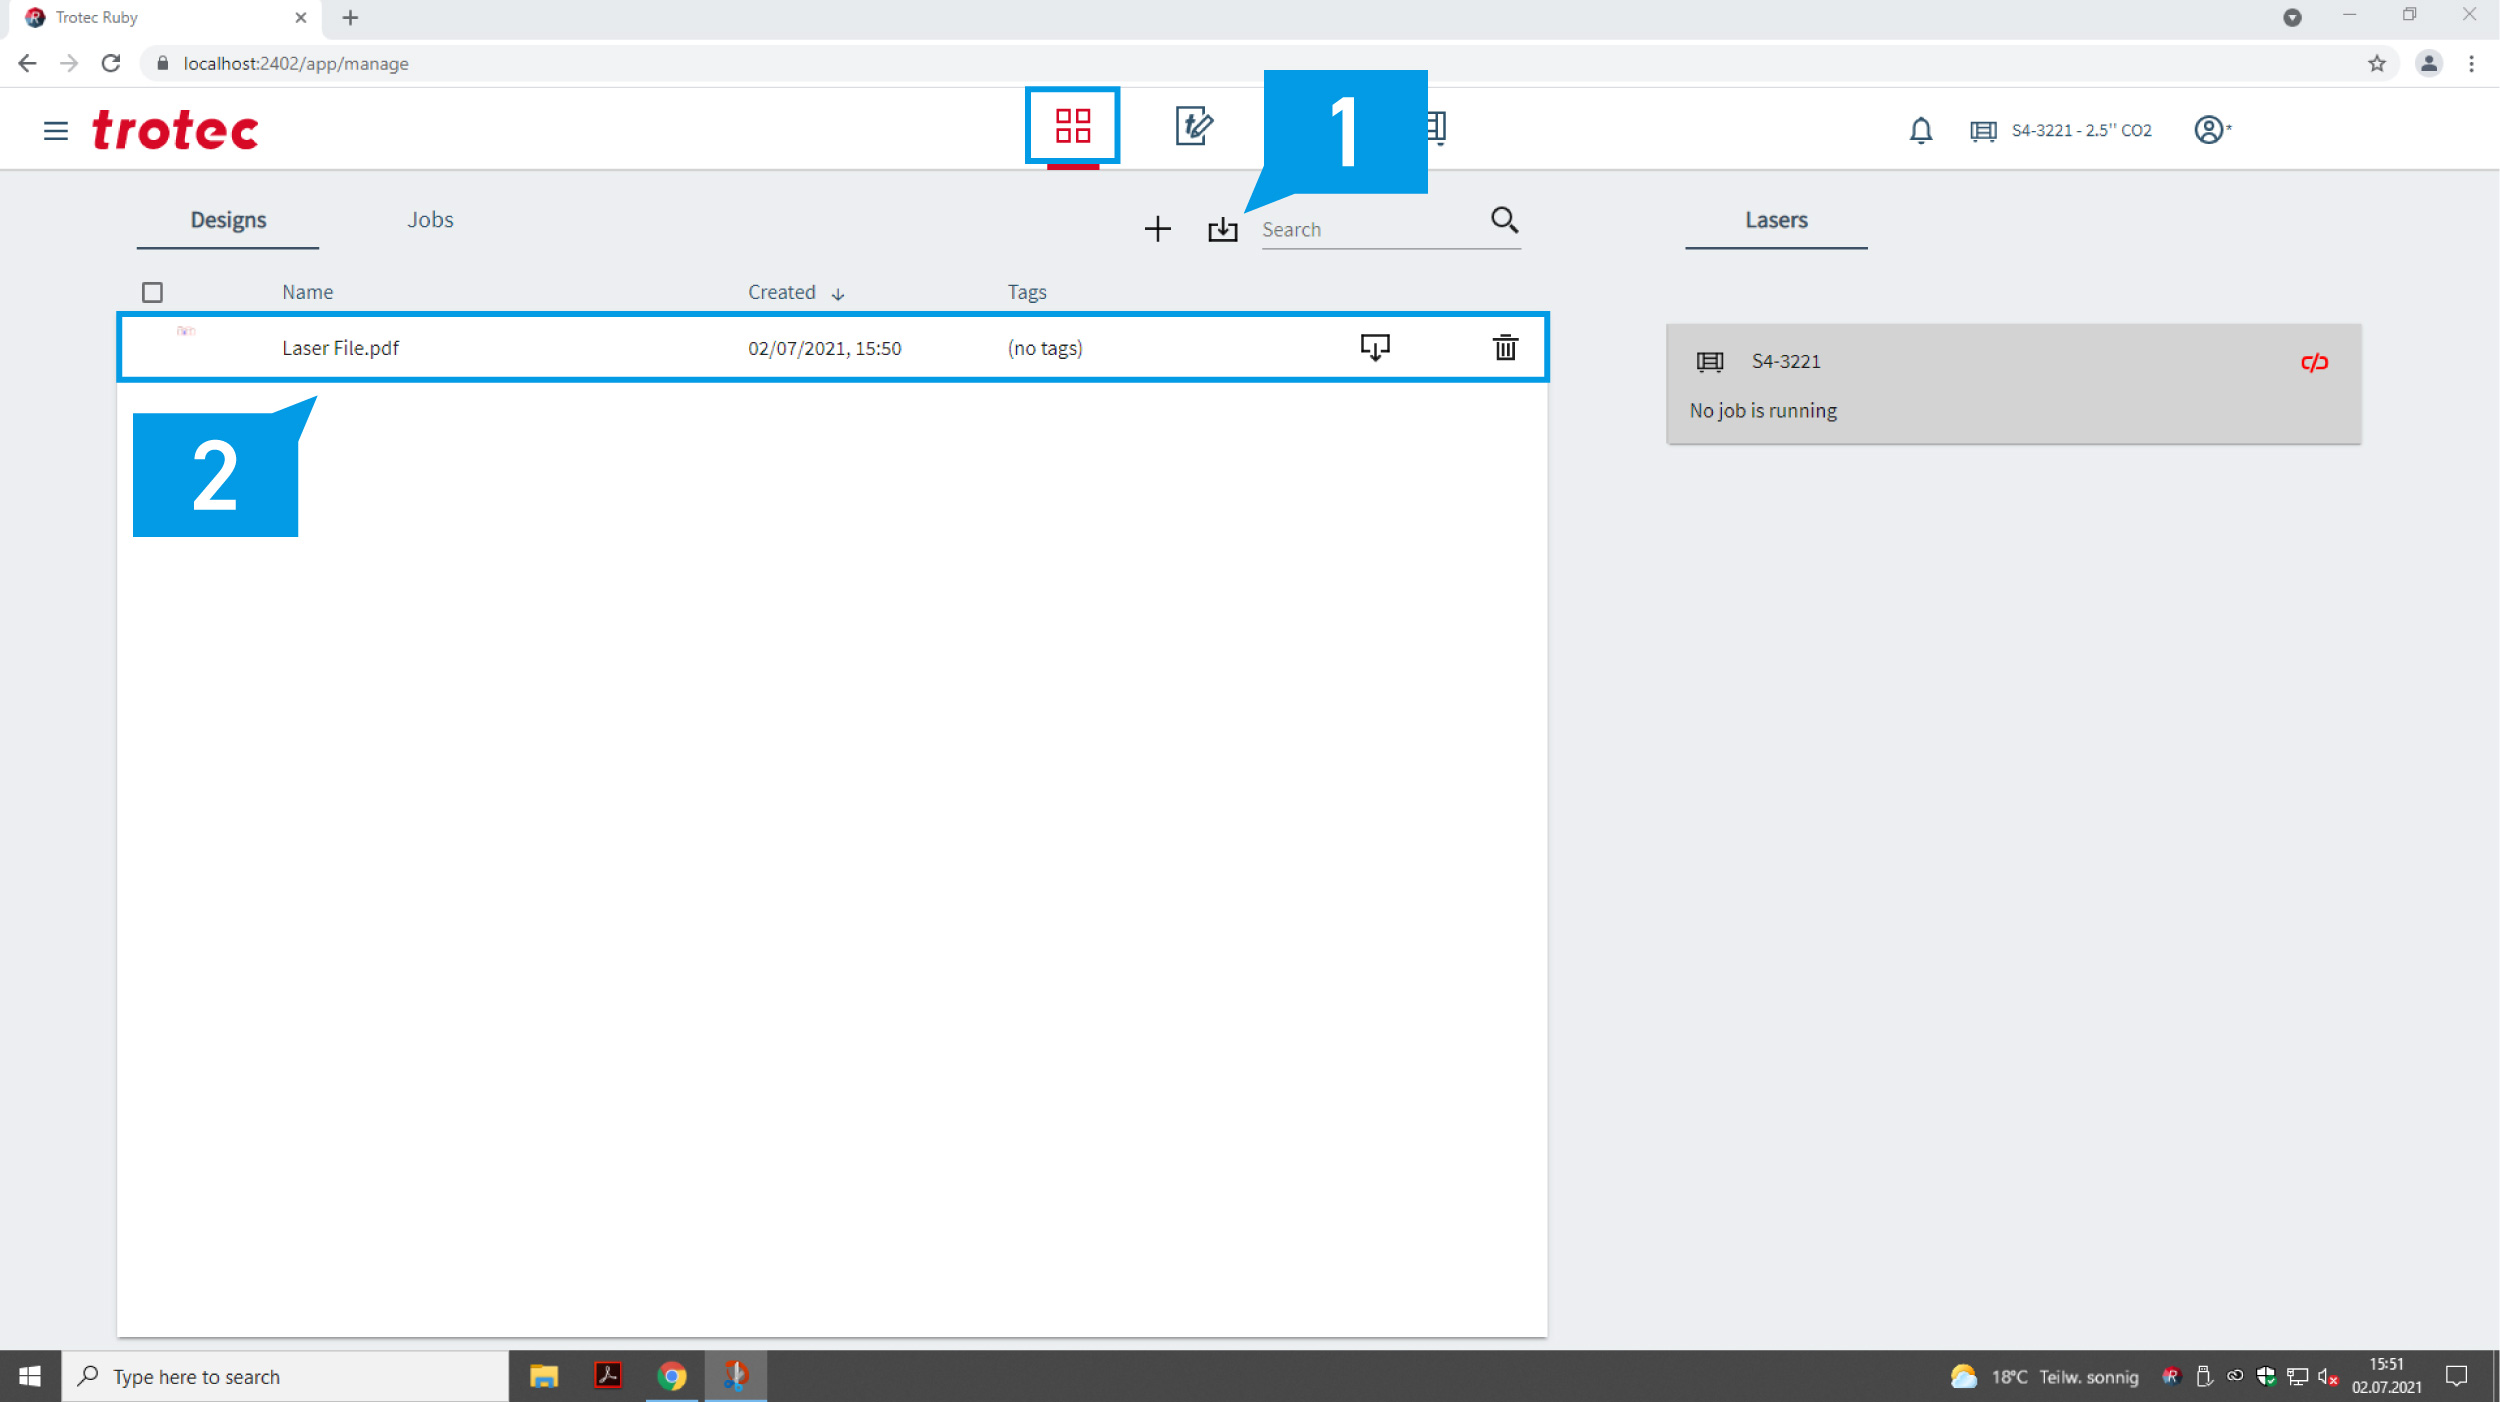
Tab 1: Import (1) your PDF. (2)
If “Error” appears check Troubleshoot.
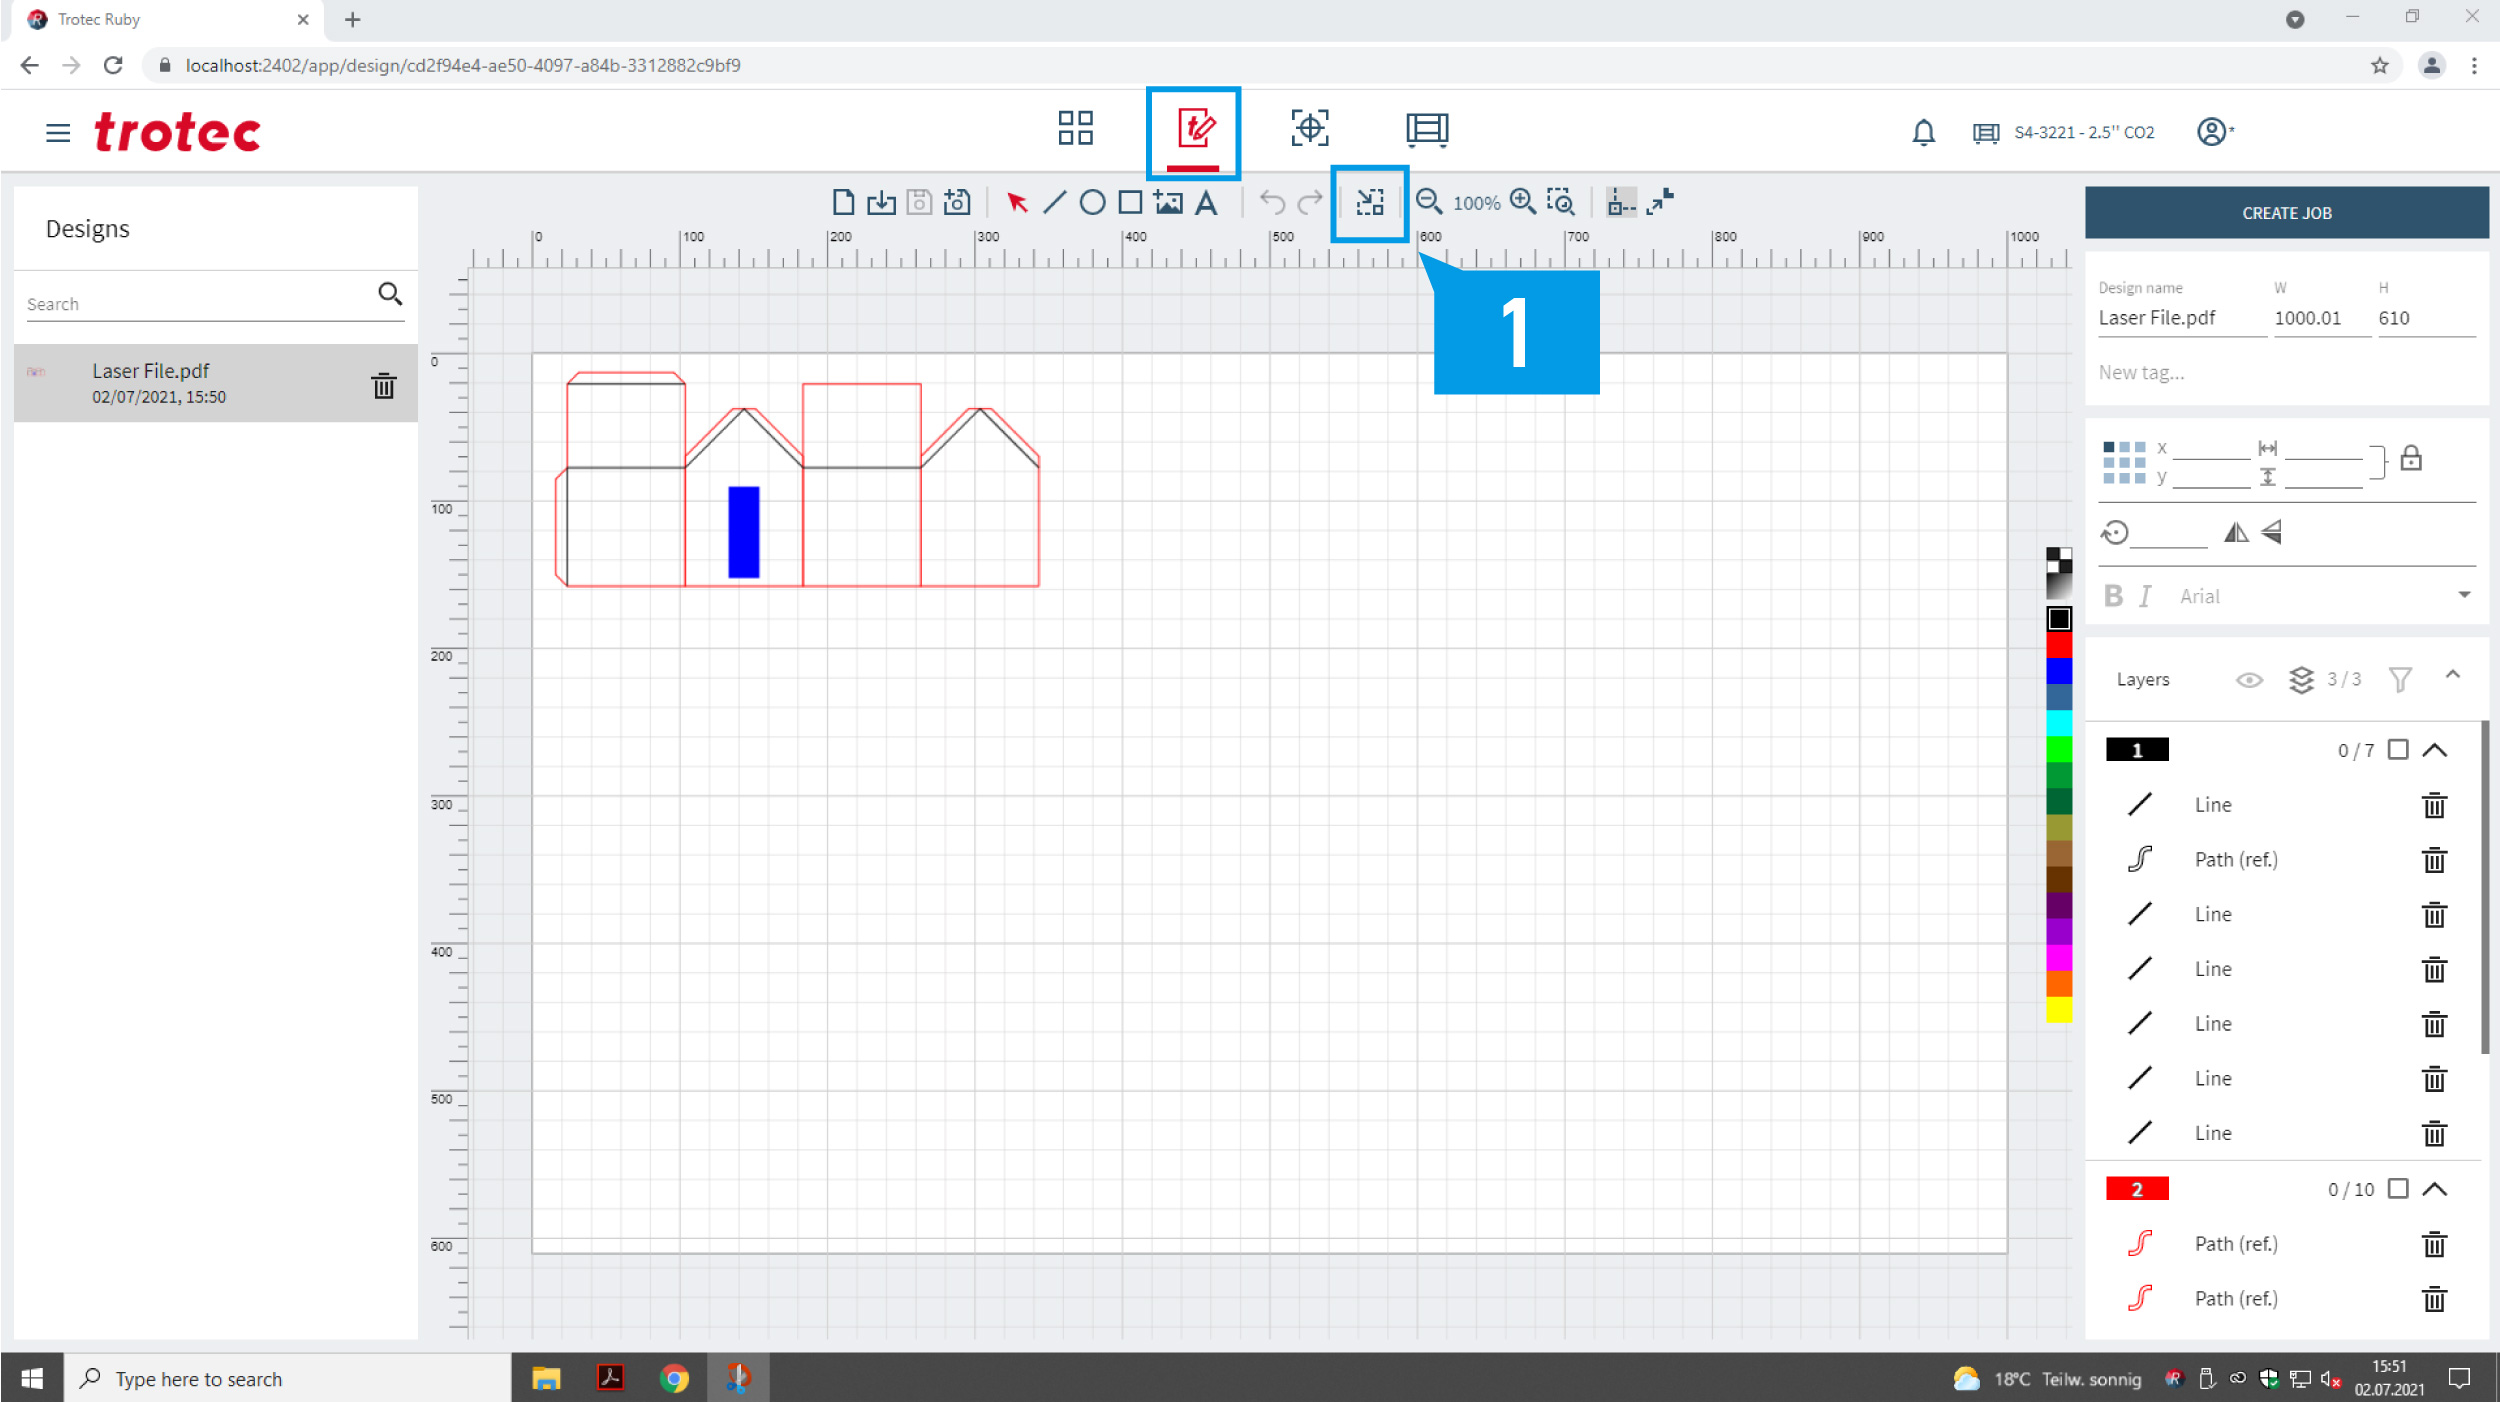
Tab 2: Delete the white area around your drawing (1) or skip with “create job”.
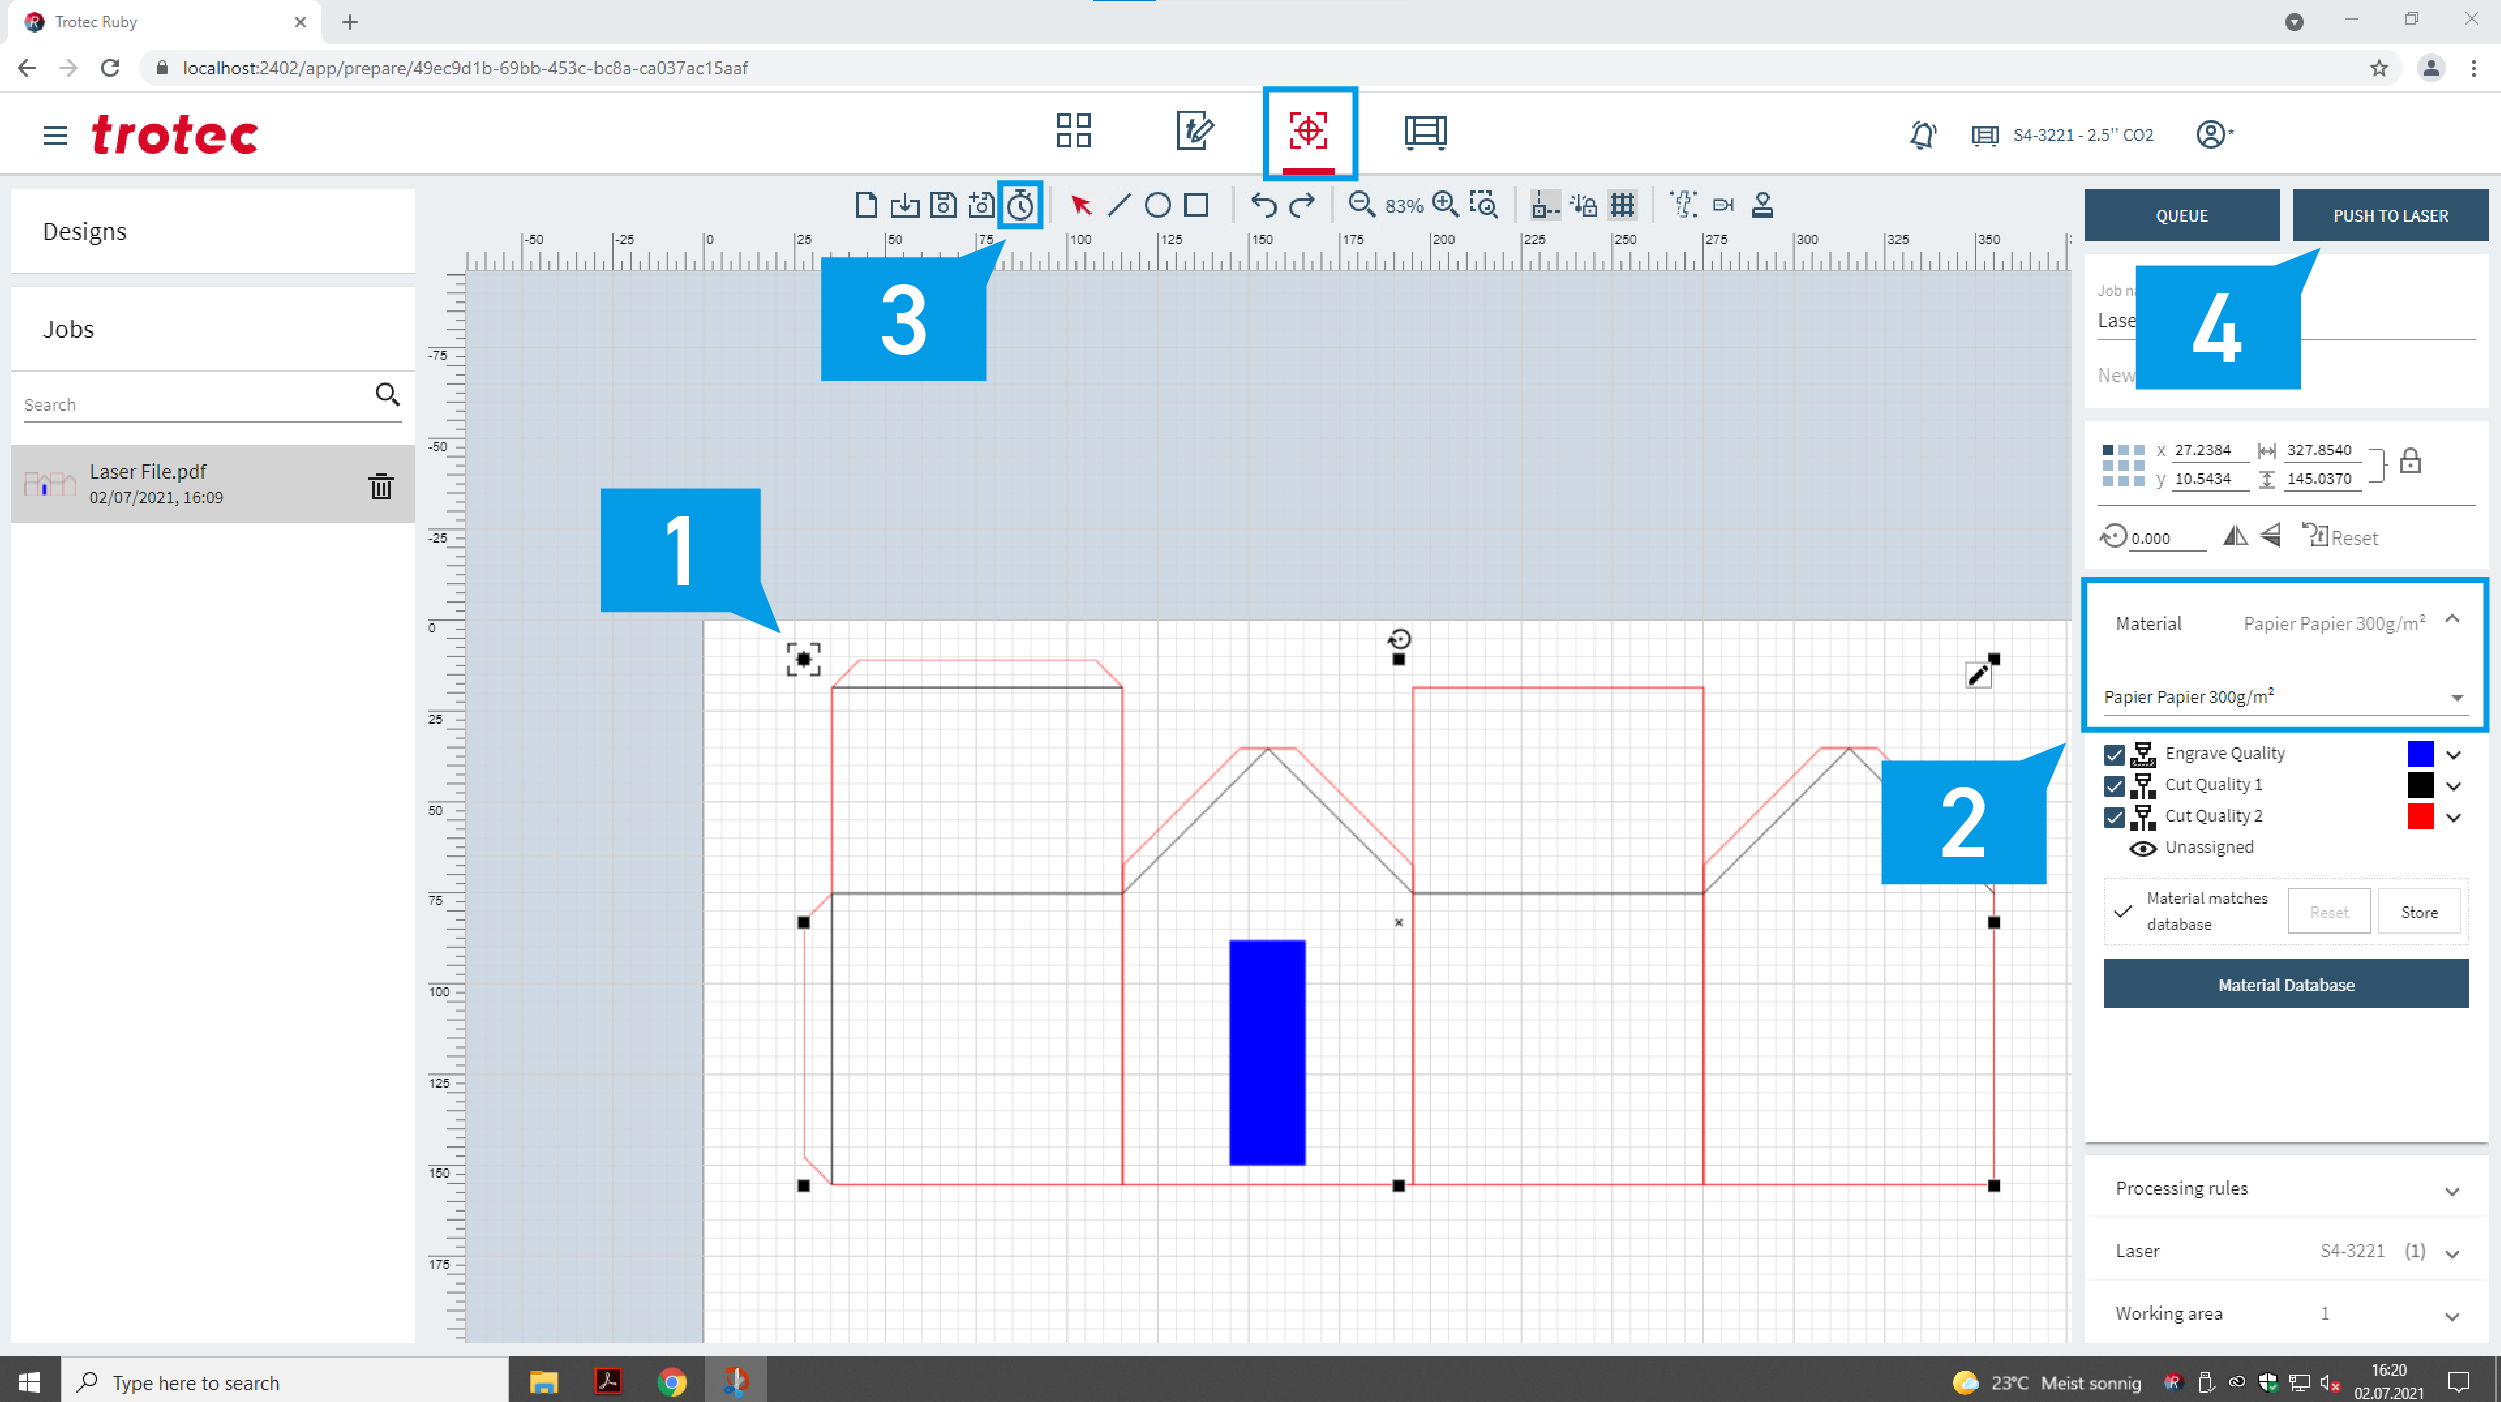
Tab 3: The position of the laser (1) should be visible and can be used to position your file. Choose the material from the drop down menu (2). Check how long the job will take with the clock button (3). Then continue with “push to laser”. (4)
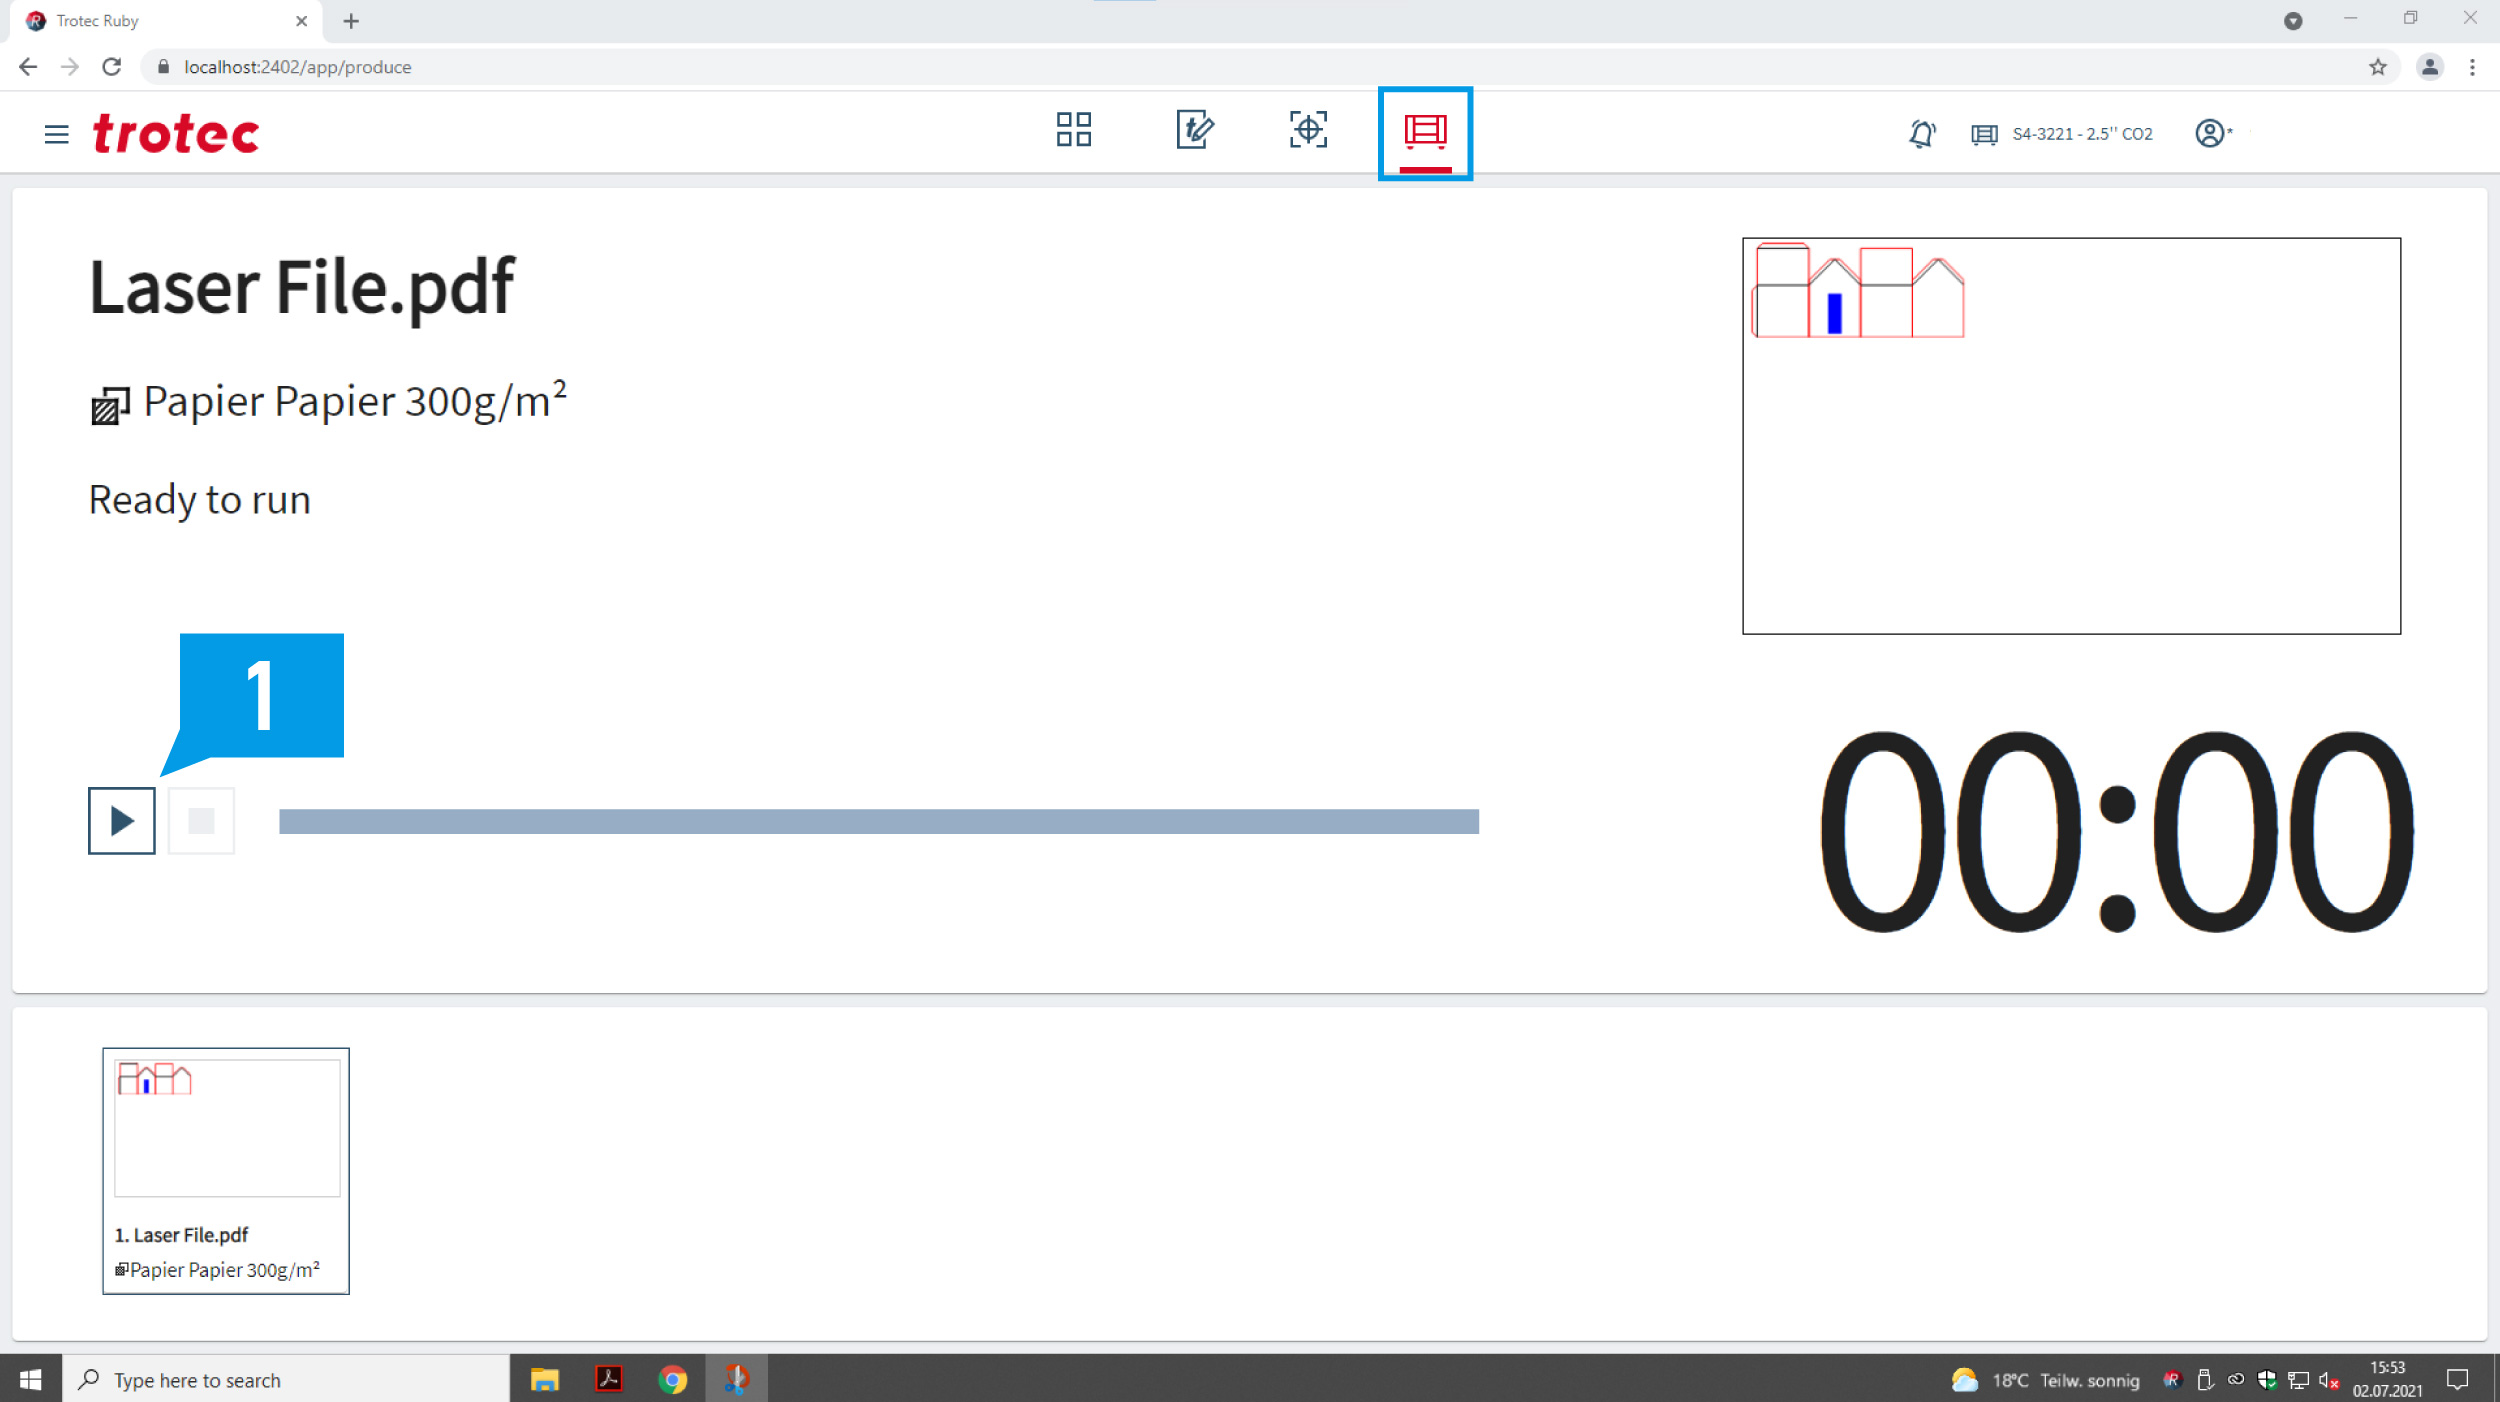
Tab 4: Check the material settings and start the laser process. (1)
Stay with the machine while the job is cutting to reduce the risk of a fire.
Please clean your workspace and turn off machine after you’ve finished cutting.
Refresh the website.
Check that there are
To edit (do this only if Ruby can’t load your file!) your file either
If that does not work, try printing your file as a PDF in Acrobat Reader:
Check if
If all checks have been made and the laser is still not cutting through, contact a Raplab staff member.
In some cases the laser-job can be continued with the “Play” button. If this doesn’t work you’ll have to restart the machine and check your file in-depth. Often geometries with too many anchor points or very small line-segments (< 0.2mm) lead to this problem.
To solve this problem try to redraw the lines in question or repair them in your CAD software by rebuilding the curve with less control points. More information on how to fix this can be found here.
Go back to the design page and press “create job”.
Check on the produce page and check if the machine is paused. If it is try pressing the stop button located on the machine.