Bambu A1 Printer

Bambu A1 3D Printer

  • 3rd Semester or higher
  • Completed the Raplab safety introduction
  • Completed the digital workshop introduction
  • Only printing during opening hours
  1. Export your 3D file to STL or 3MF
  2. Slice the exported file in Bambu Studios and upload to a micro SD card. Use the following settings: Bambu Lab A1 0.4 nozzle – Textured PEI Plate – Generic PLA
  3. Turn on the machine
  4. Put the SD card in the machine.
  5. Navigate through the touch screen and select your file.
  6. Wait with the printer until the first layer is complete before leaving the machine.
  7. Come back to remove your print from the print bed once complete.
  • Location: HIL
  • Cost: 2CHF per hour
  • Area: 250x225mm
  • Height: 250mm

White PLA filament only

Bambu Studio Prepare


  • Download the Bambu studio software onto your personal computer.

  • Click on the prepare button. (1)

  • Select the correct printer and plate type (2): Bambu Lab A1+ 0.4mm nozzle + Textured PEI Plate

  • Select the correct filament settings (3): Generic PLA 

  • Import your model by pressing the add button. (4) Press the auto orient button to optimally place the model. If there are undesired results the model can be manipulated with the tools such as “scale”, “rotate” and “lay on face”.

  • For the most reliable results select (5) “0.2mm Standard @BBL X1C”, however another selection can be made according to your project.

  • If your model has overhanging parts, be sure to select “Enable supports” (6)

  • Once happy with the settings, click the Slice plate button (7)

Bambu Studio Preview


  • Check the print time. (1) Keep in mind that the machines will be turned off at closing time. 

  • Analyse the model using the sliders (2) & (3).

  • Adjust the previously made print settings if needed.

  • Press “slice plate” again if changes are made.

  • Click the dropdown arrow (4) and select “Export all sliced file”. Then click on the “Export all sliced file” button (4).  

  • Save the file to a Micro SD card.

At the machine

  • Touch print files on the touch screen
  • Select your file
  • Wait for the first layer to complete before leaving the machine unattended
  • Set a timer on your phone
  • Come back and collect the print once it is complete
  • Remove the steel plate from the machine and flex to remove your parts.
  • Peel off any remaining bits with a plastic scraper
  • The plate is clear of plastic parts and aligned correctly on the machine

Tip: Try not to touch the build plate too much as the oils in your fingers will create a non stick surface. We want the print for the next user to be 

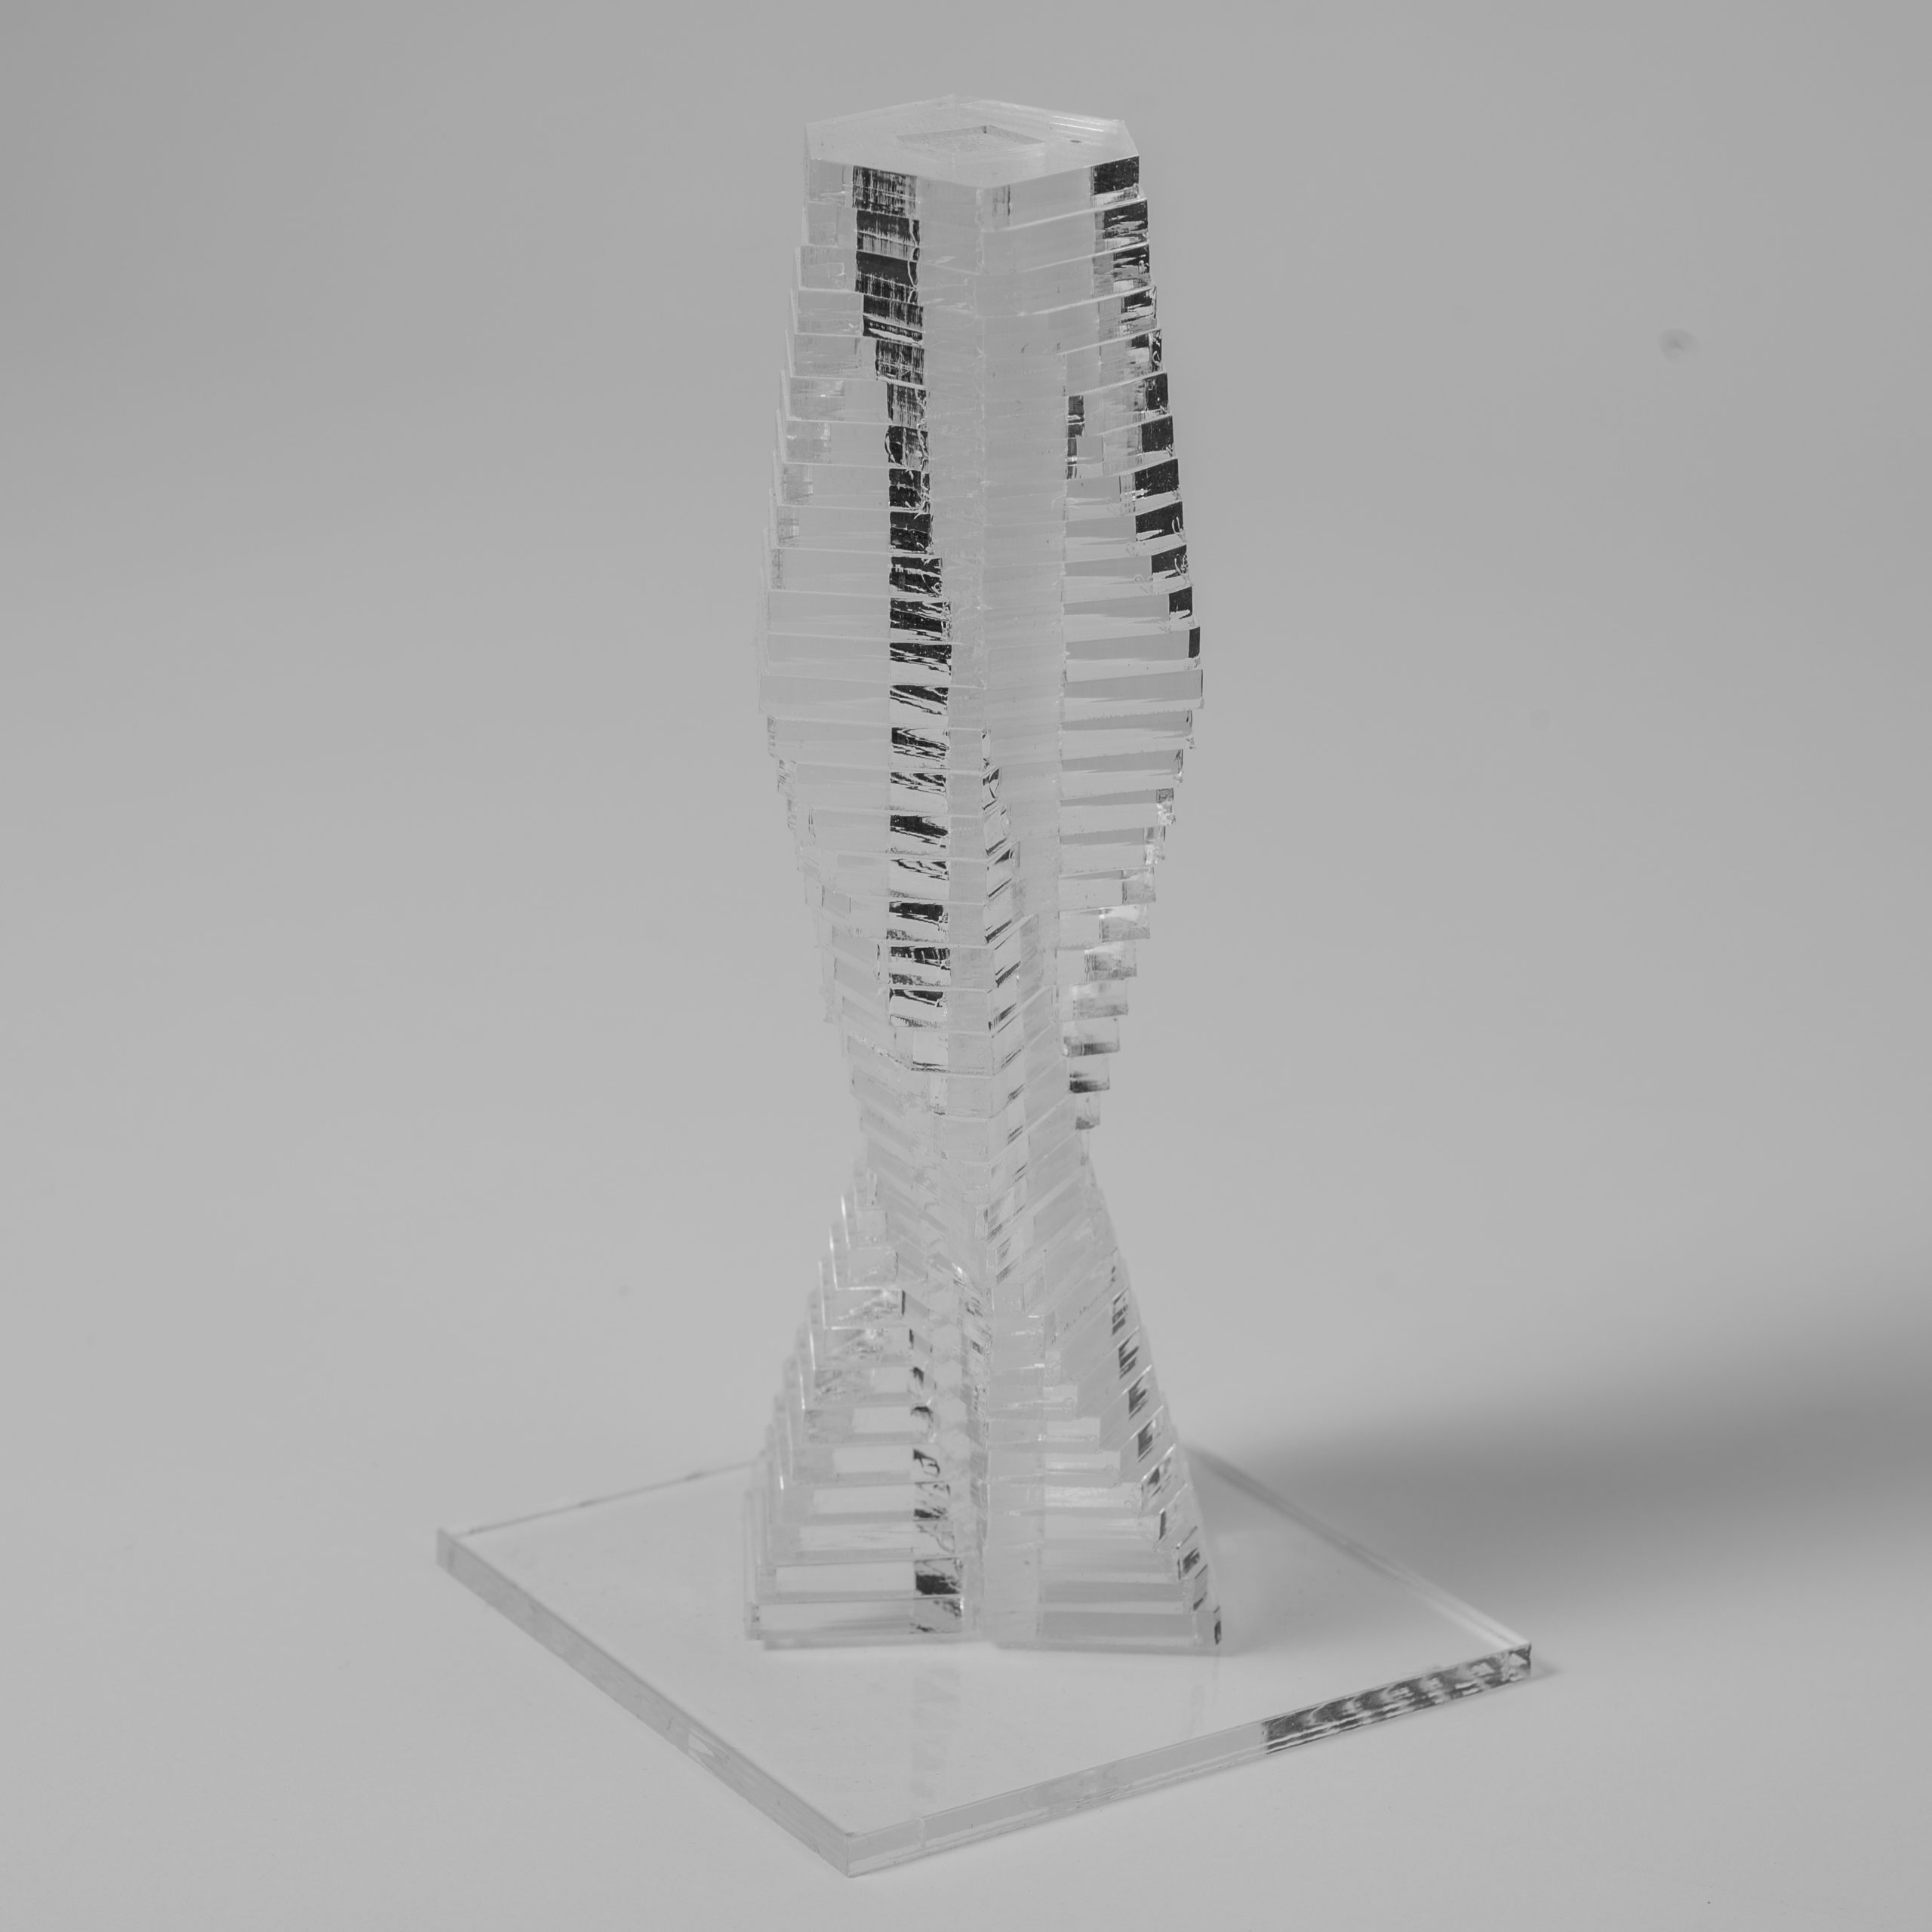
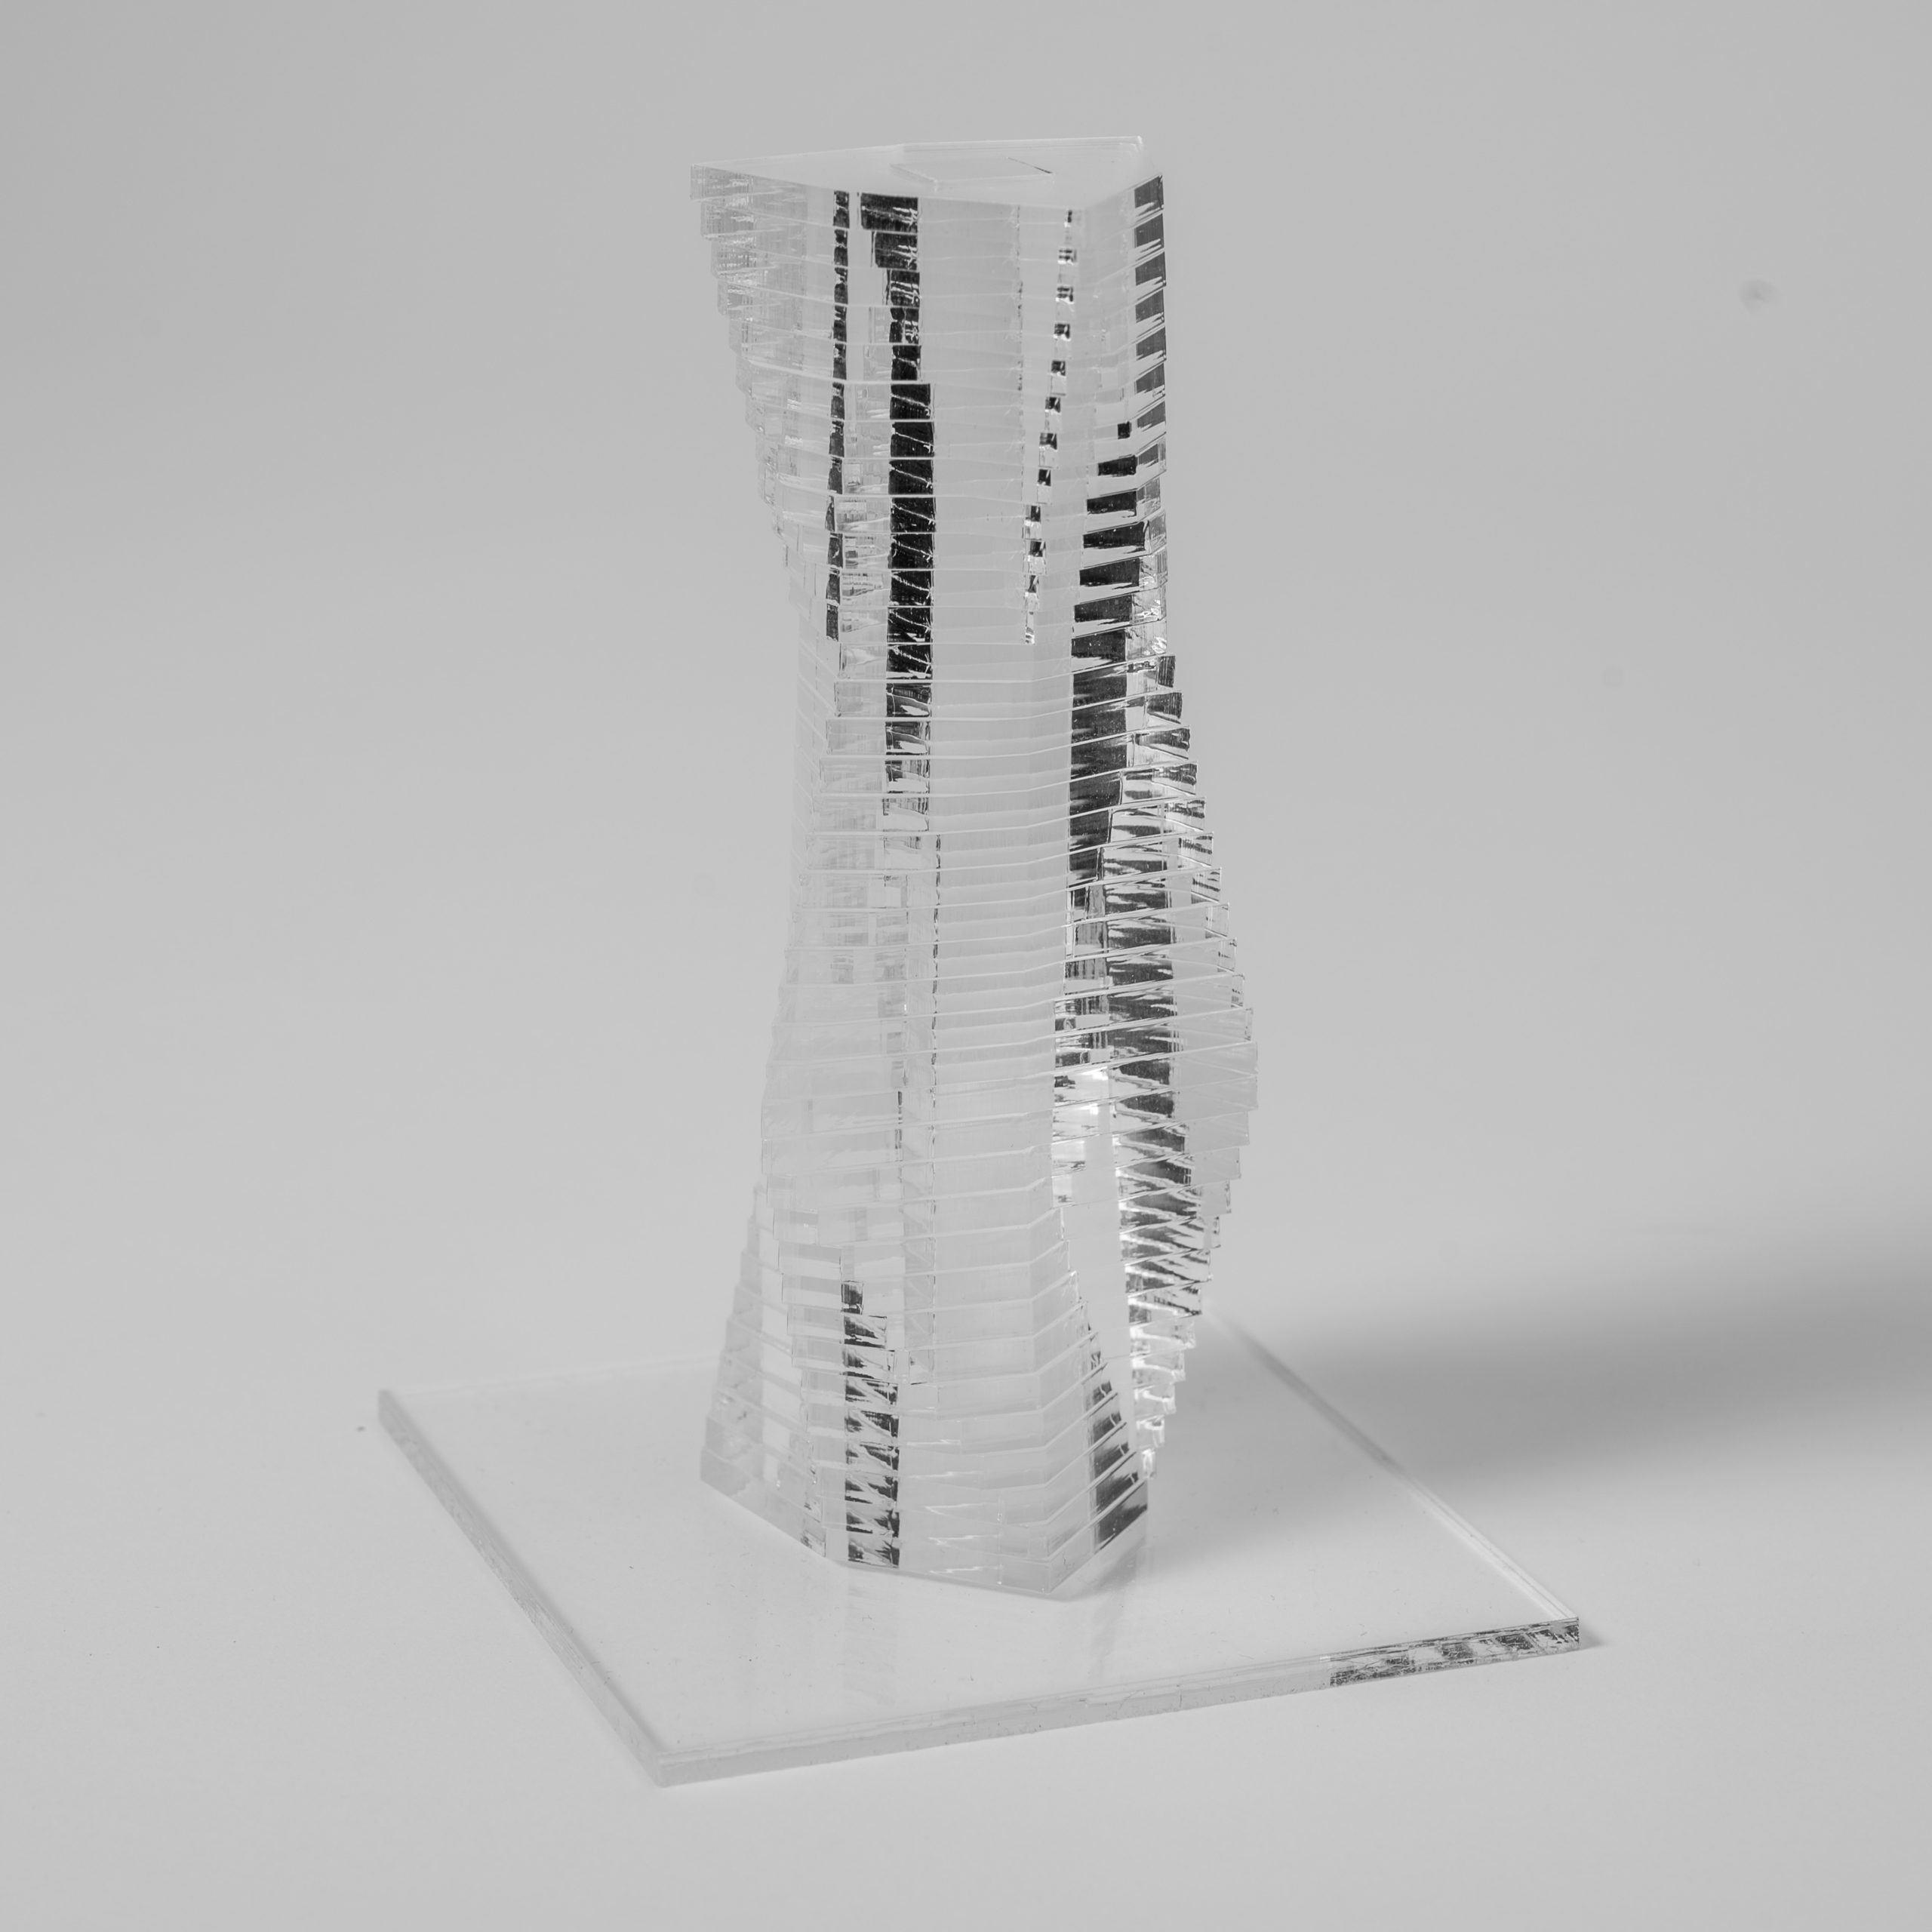
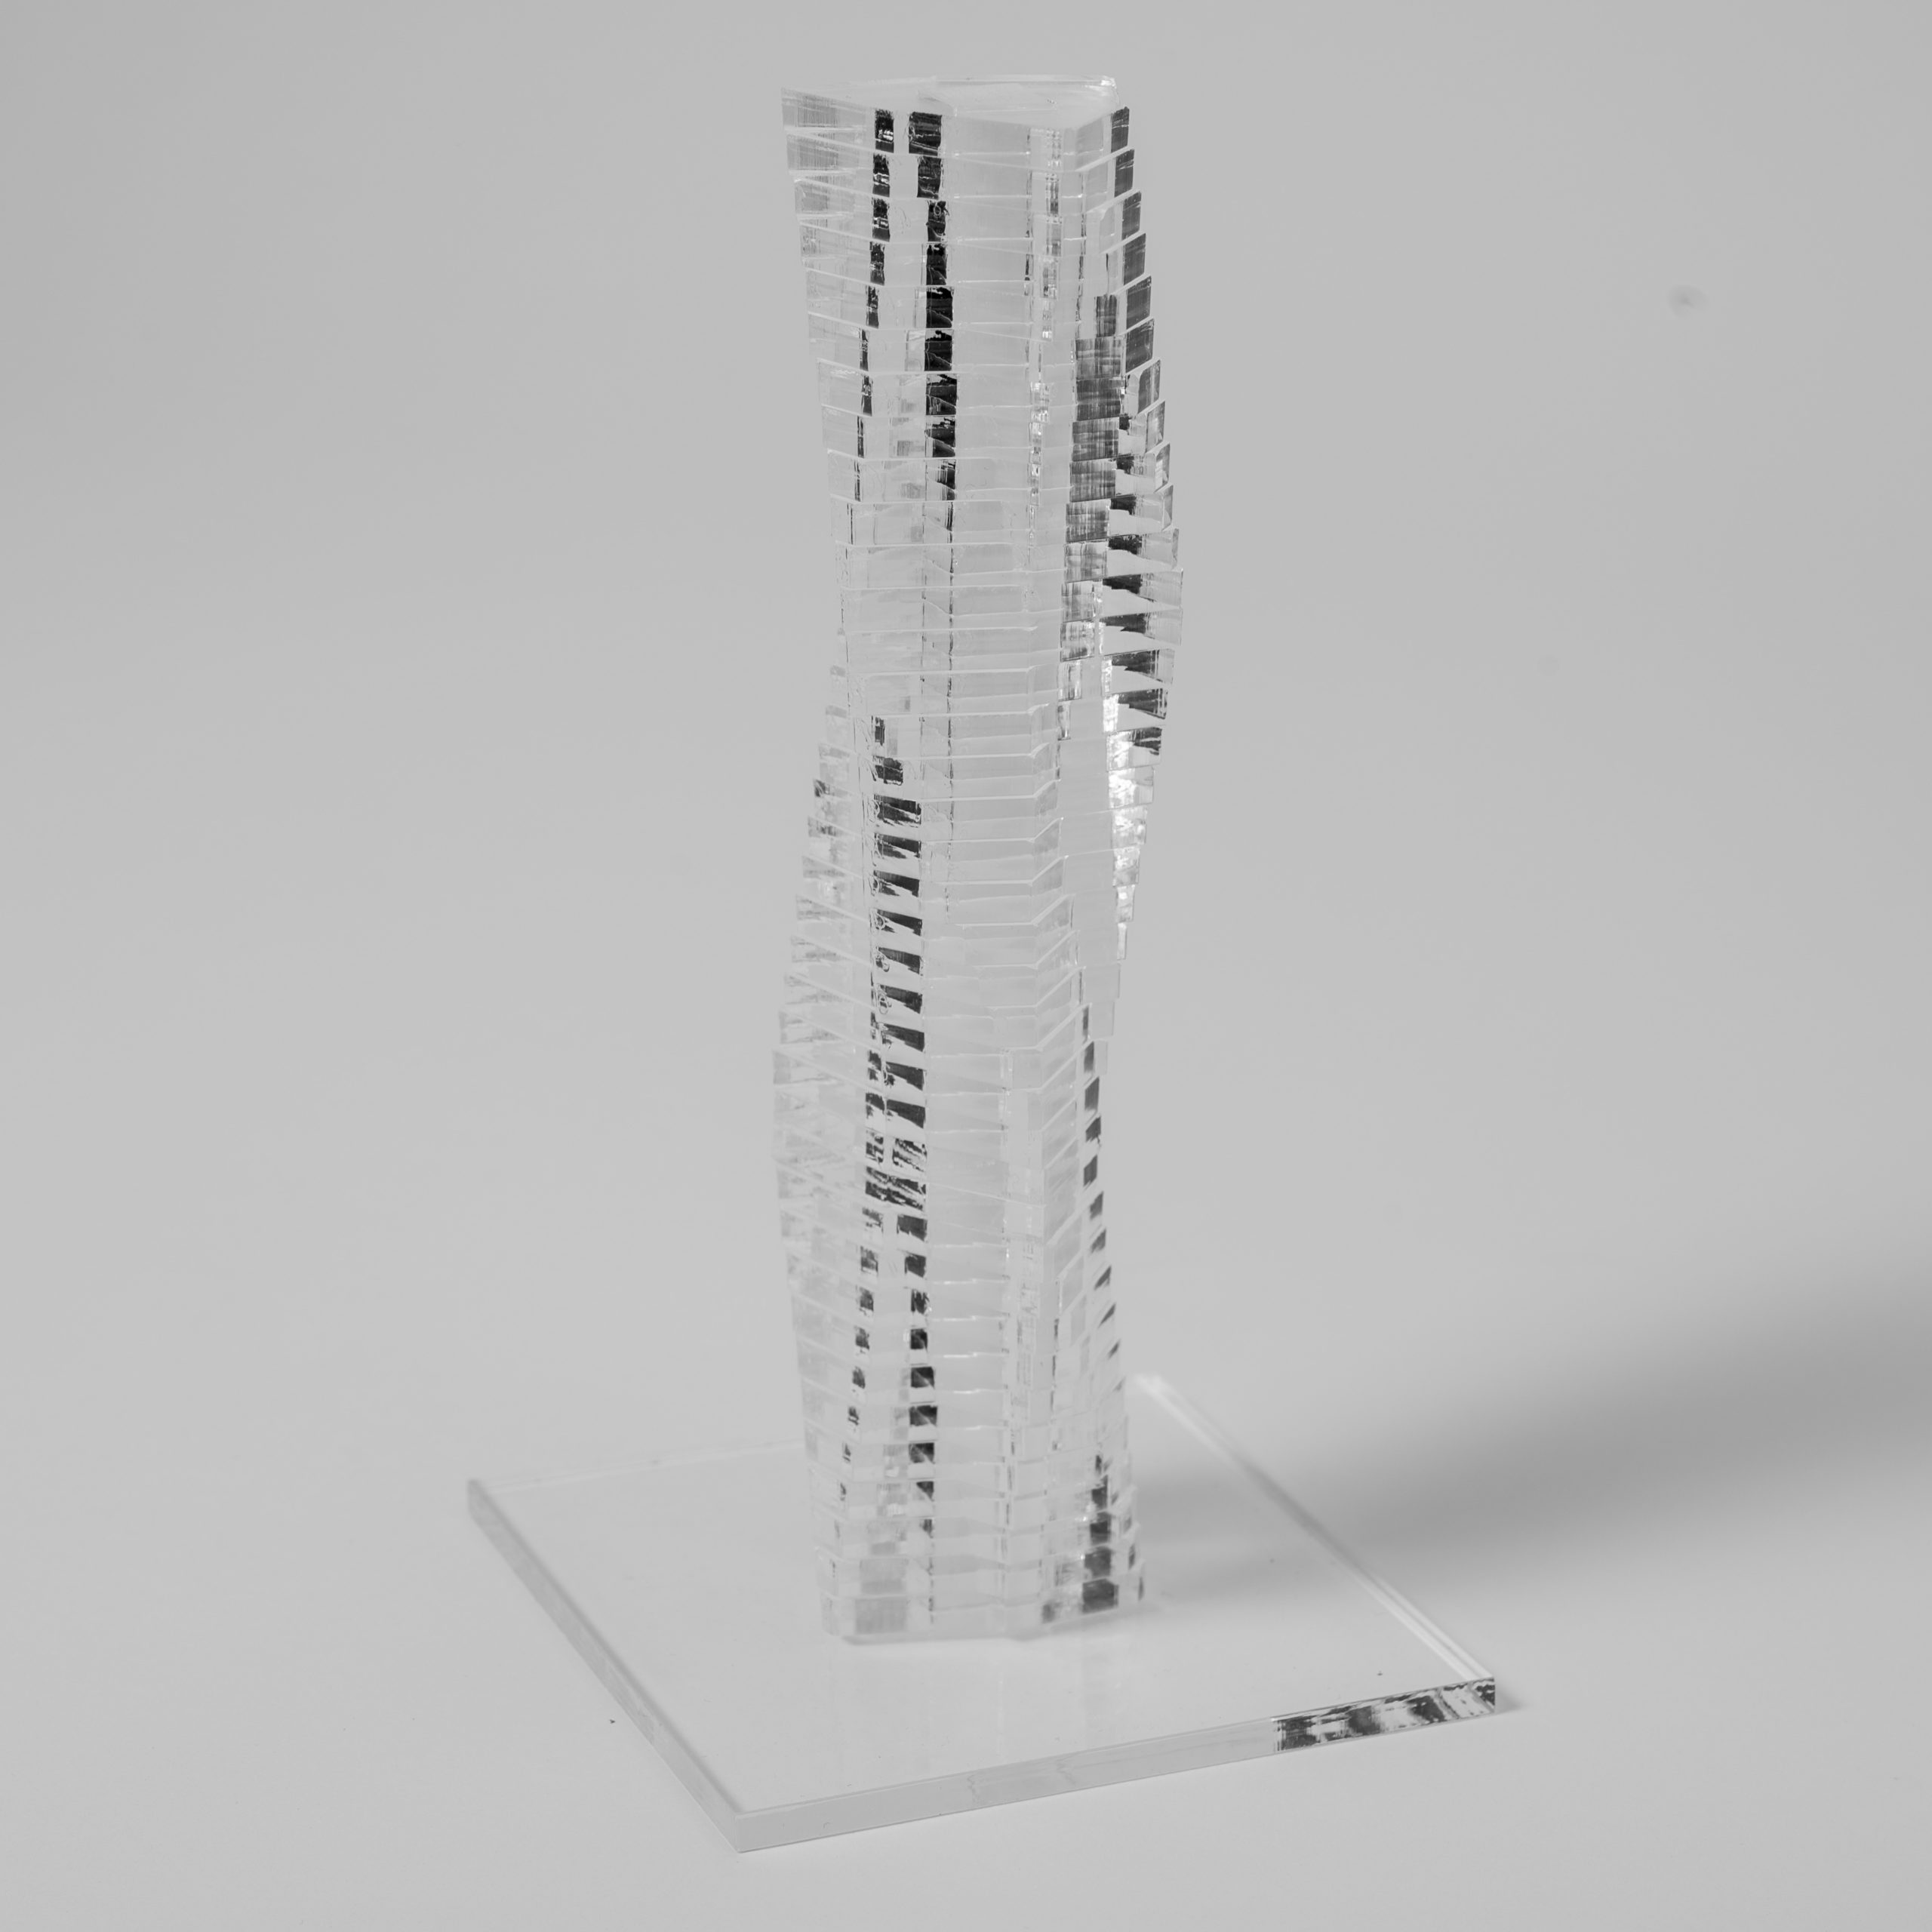
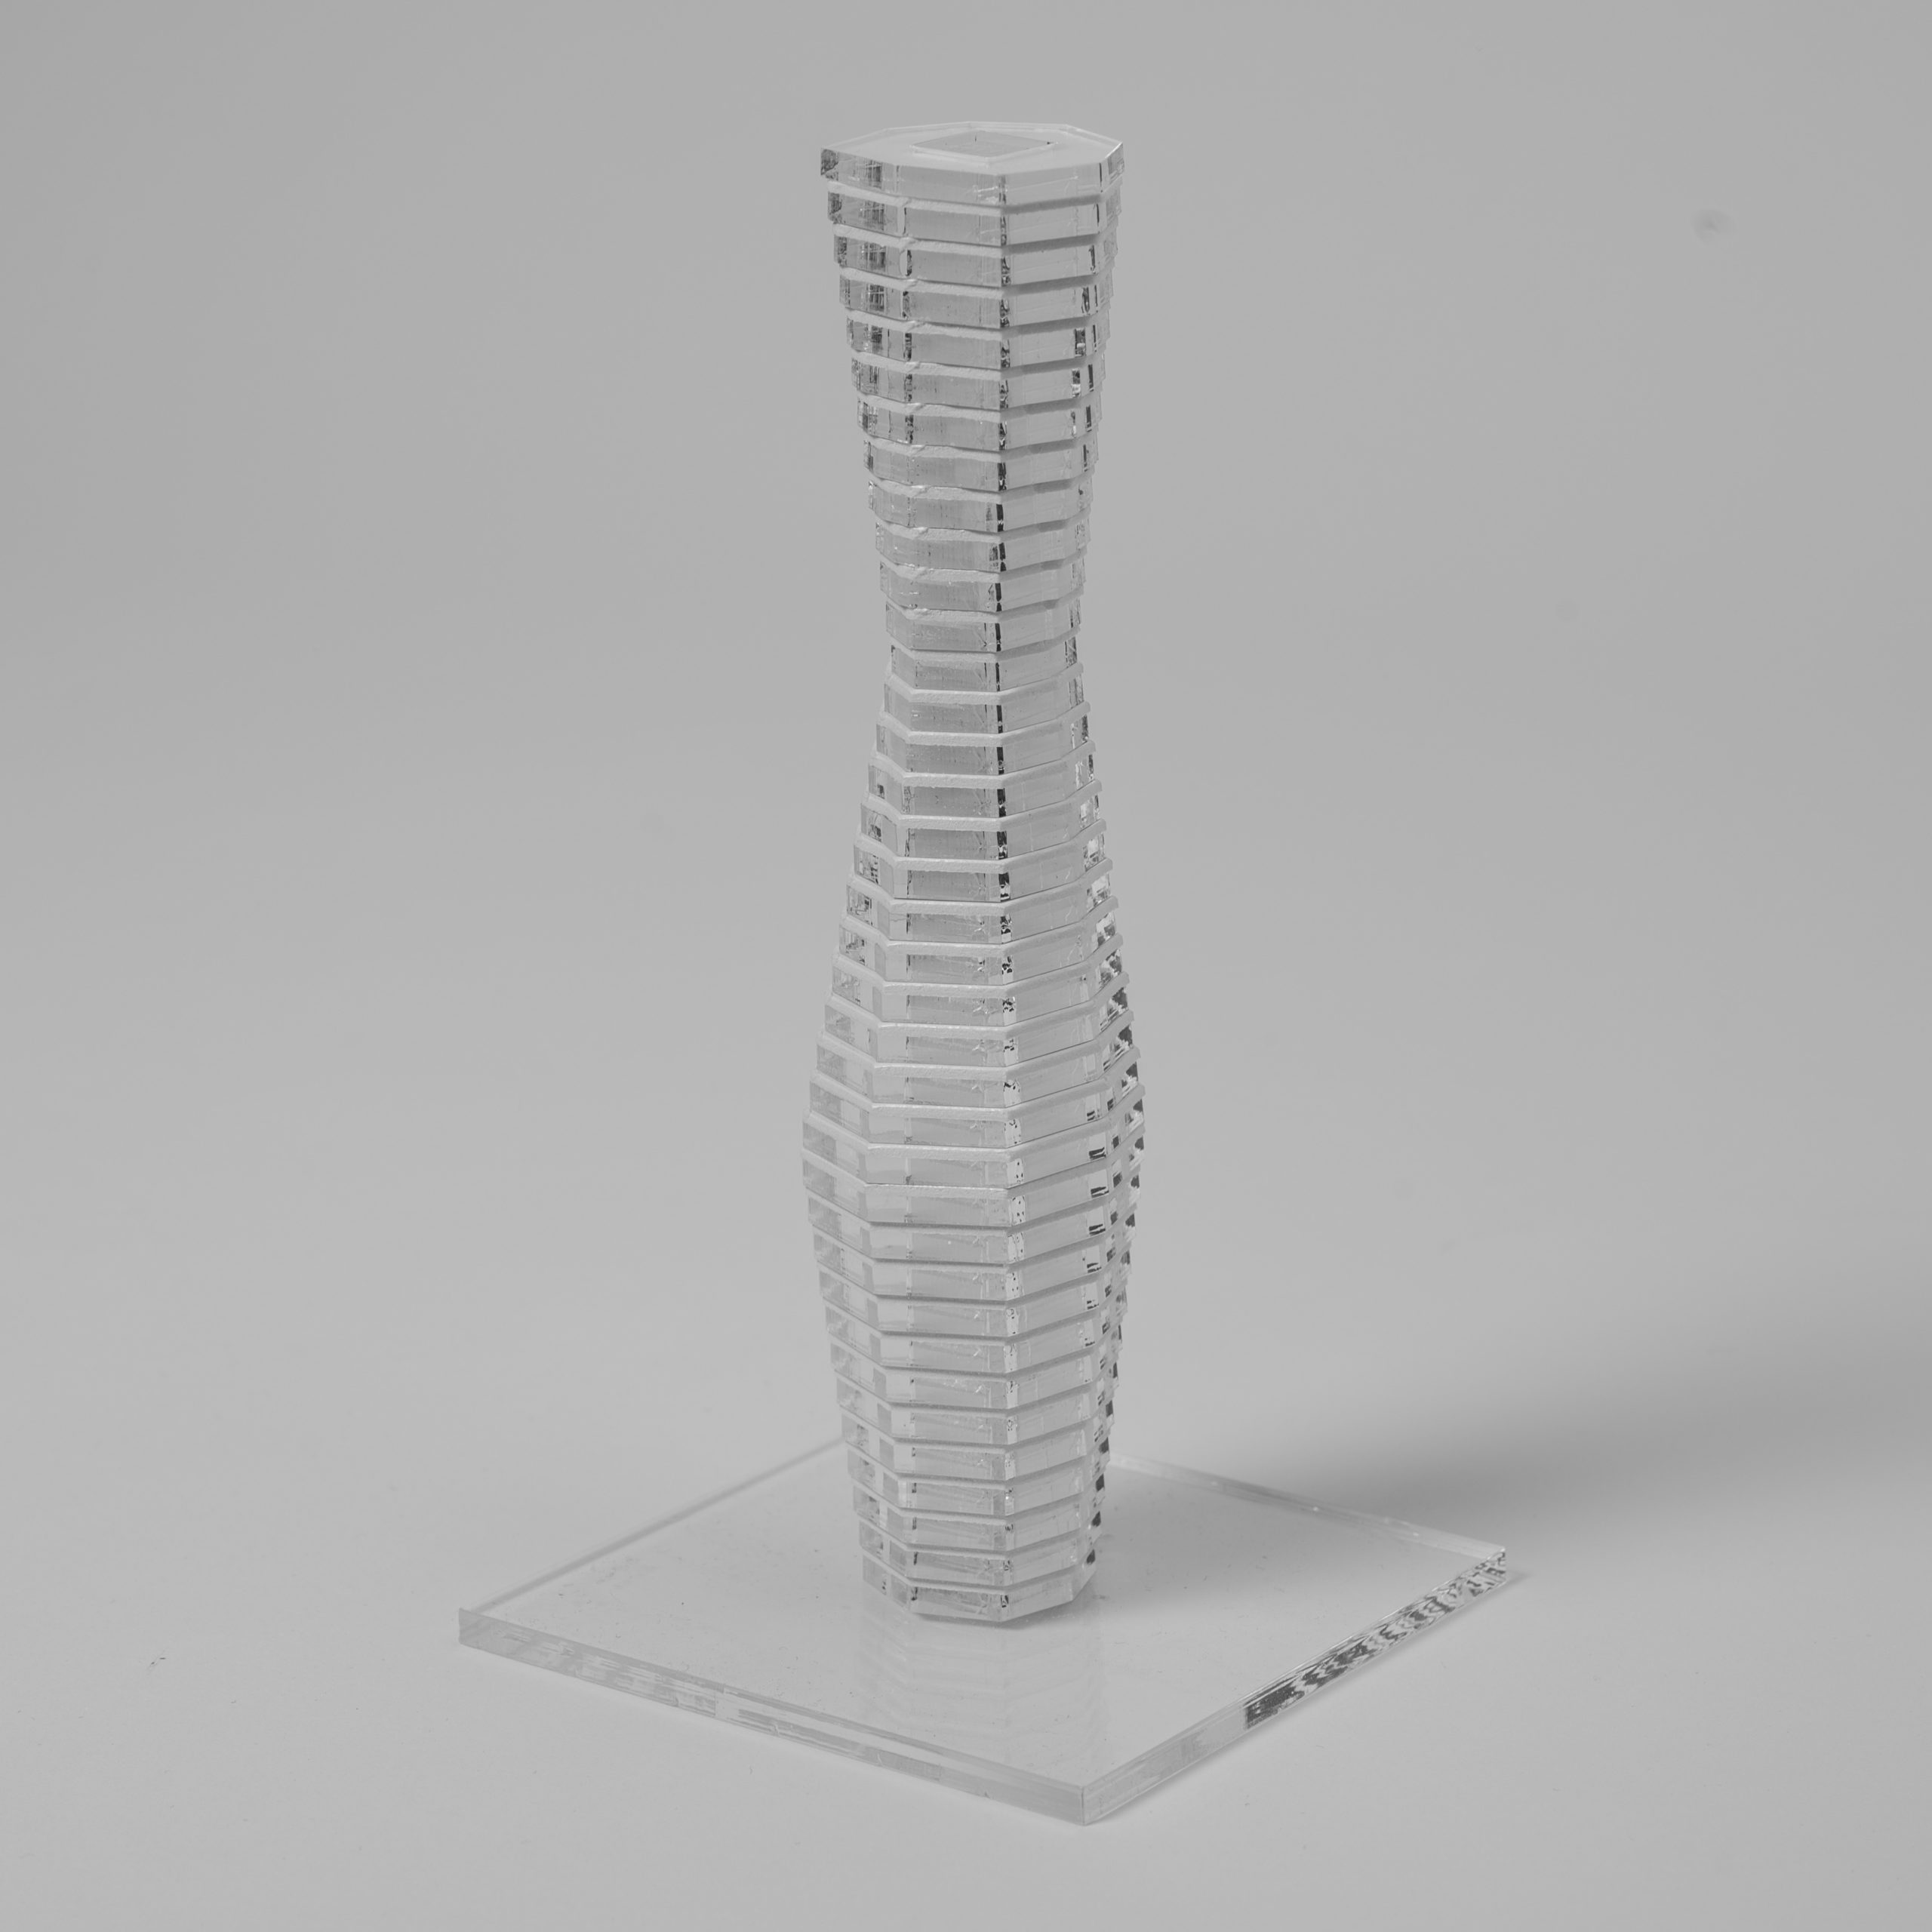
Tower

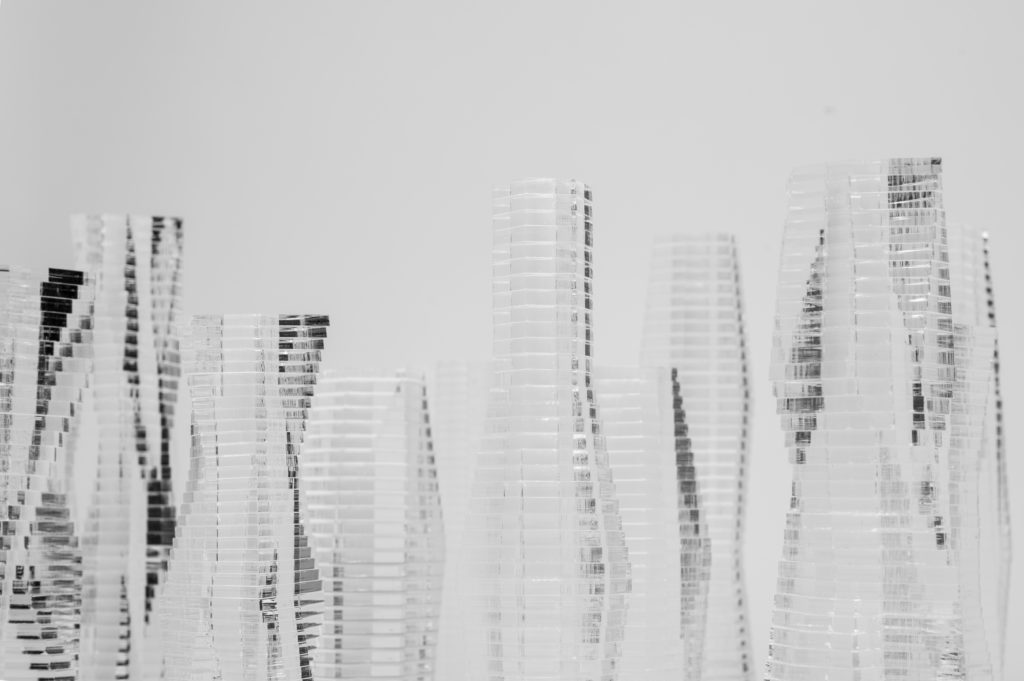
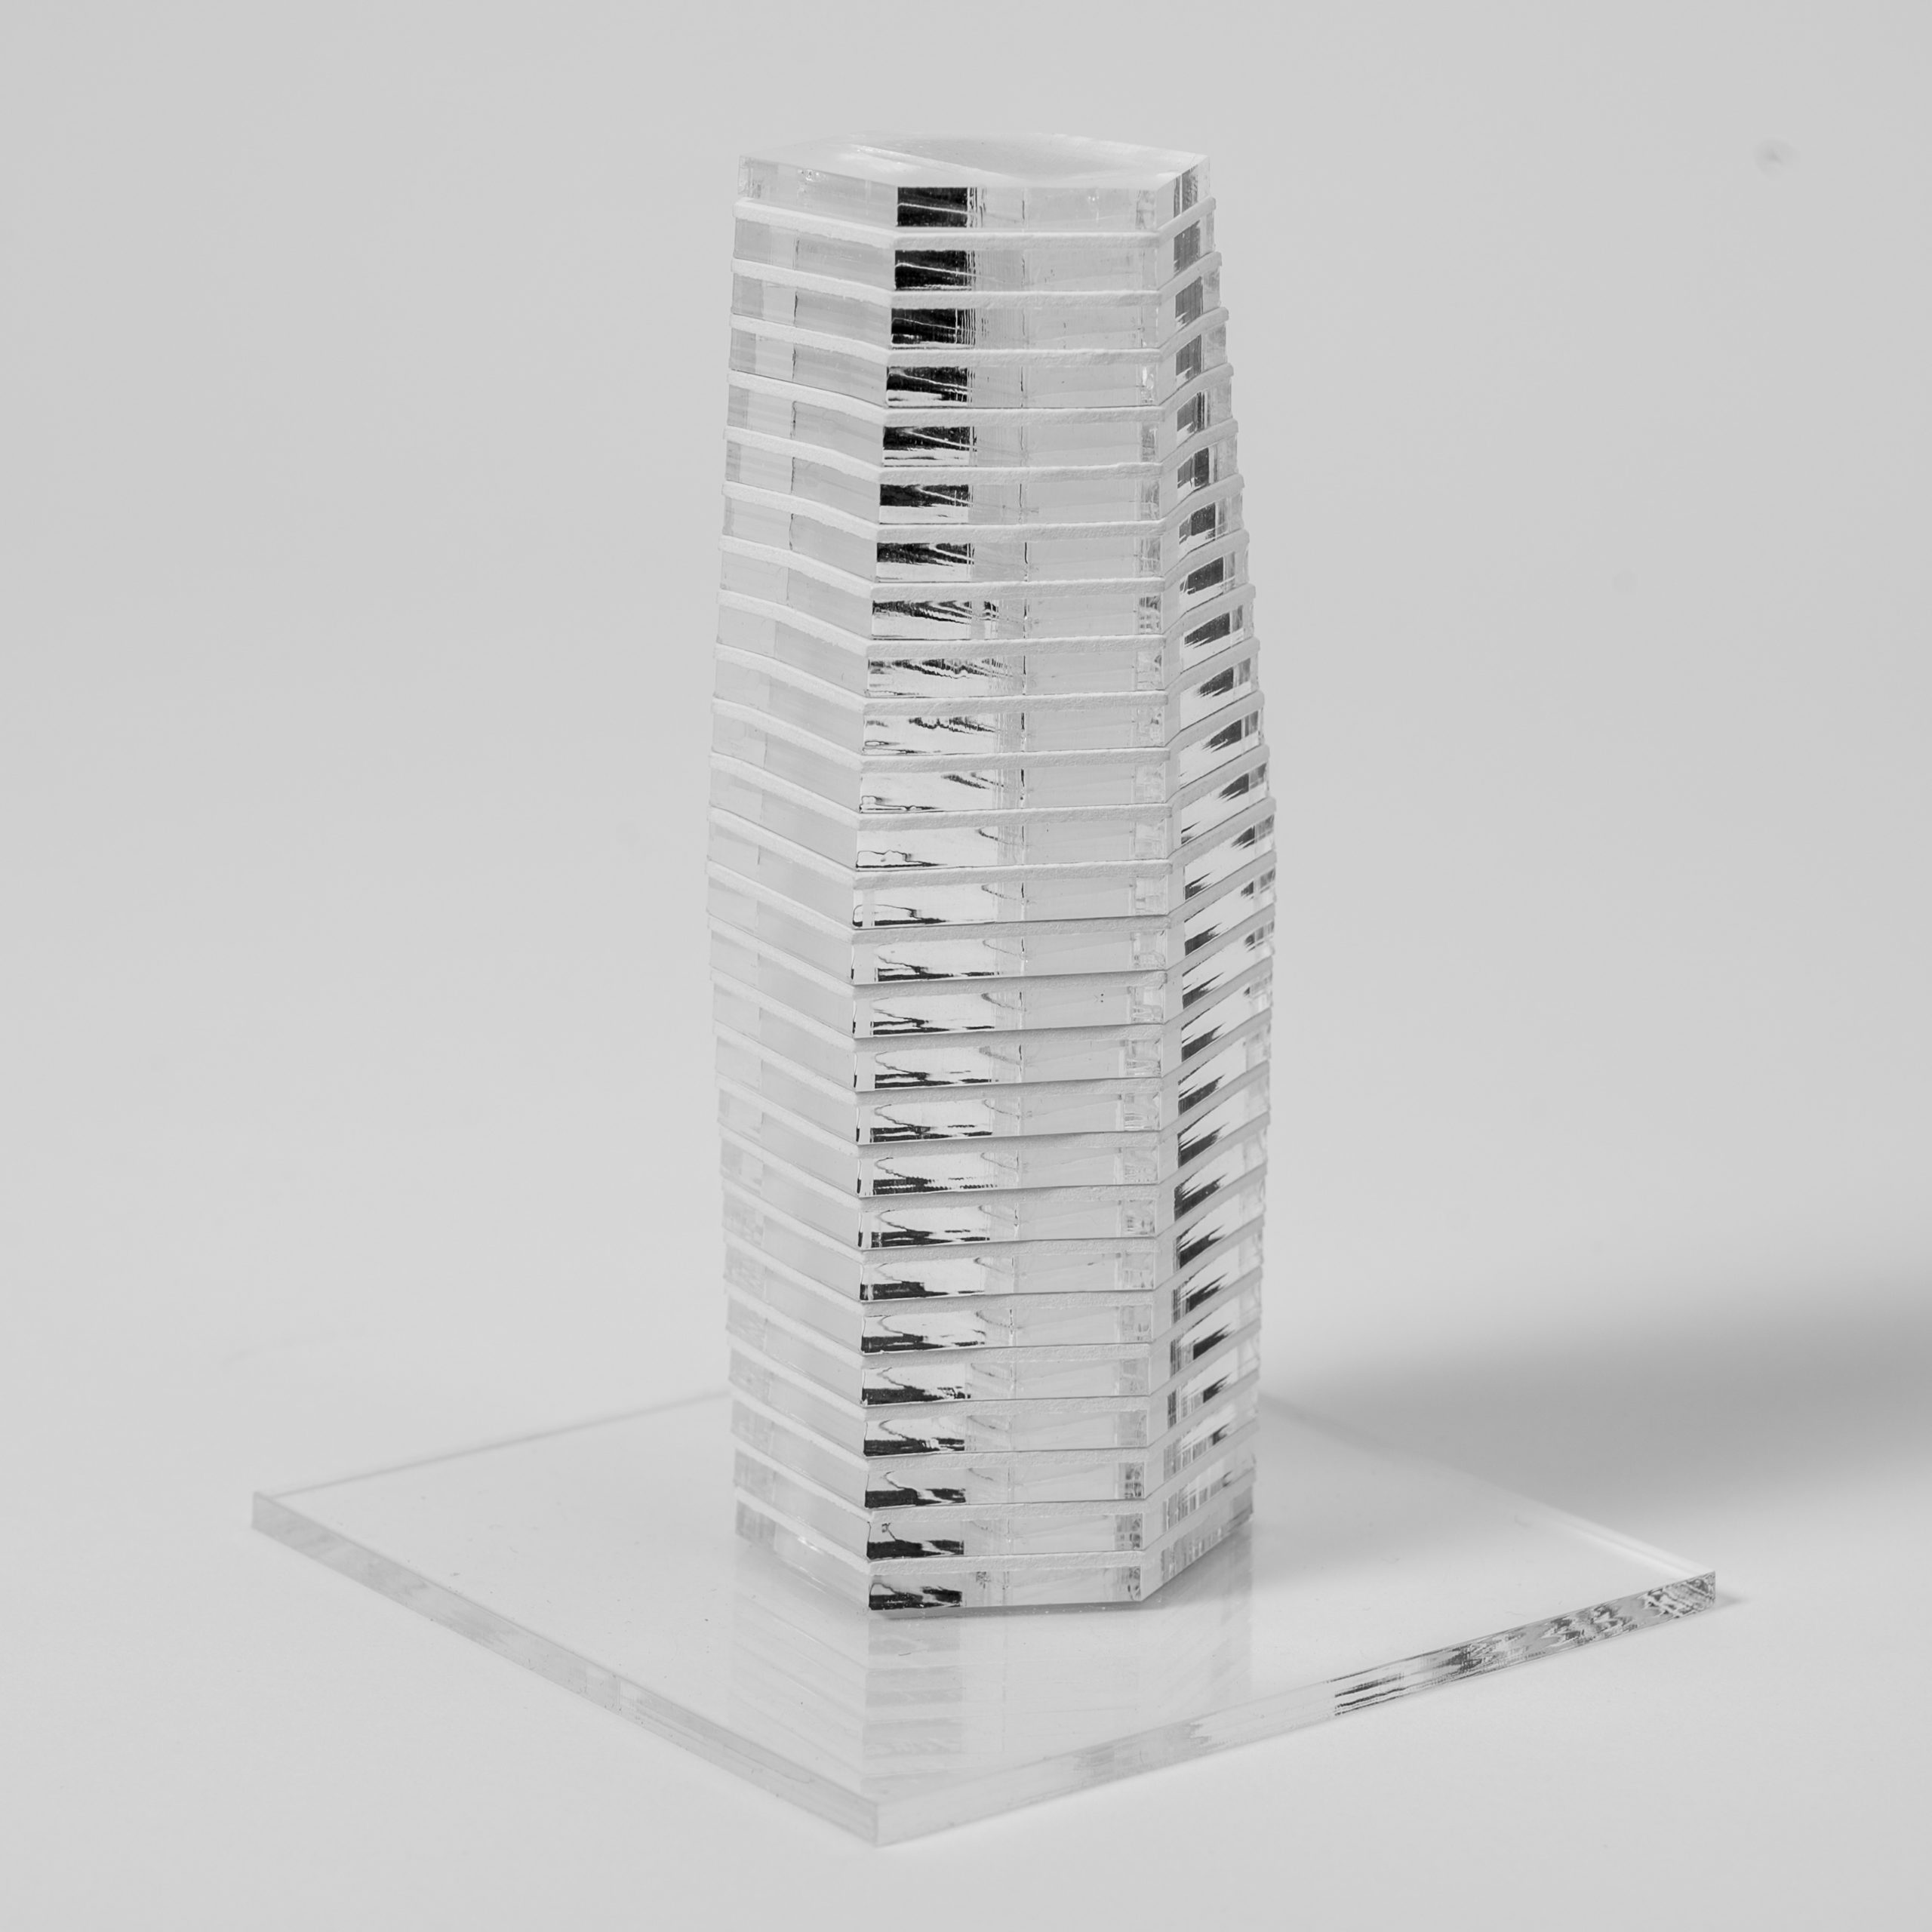
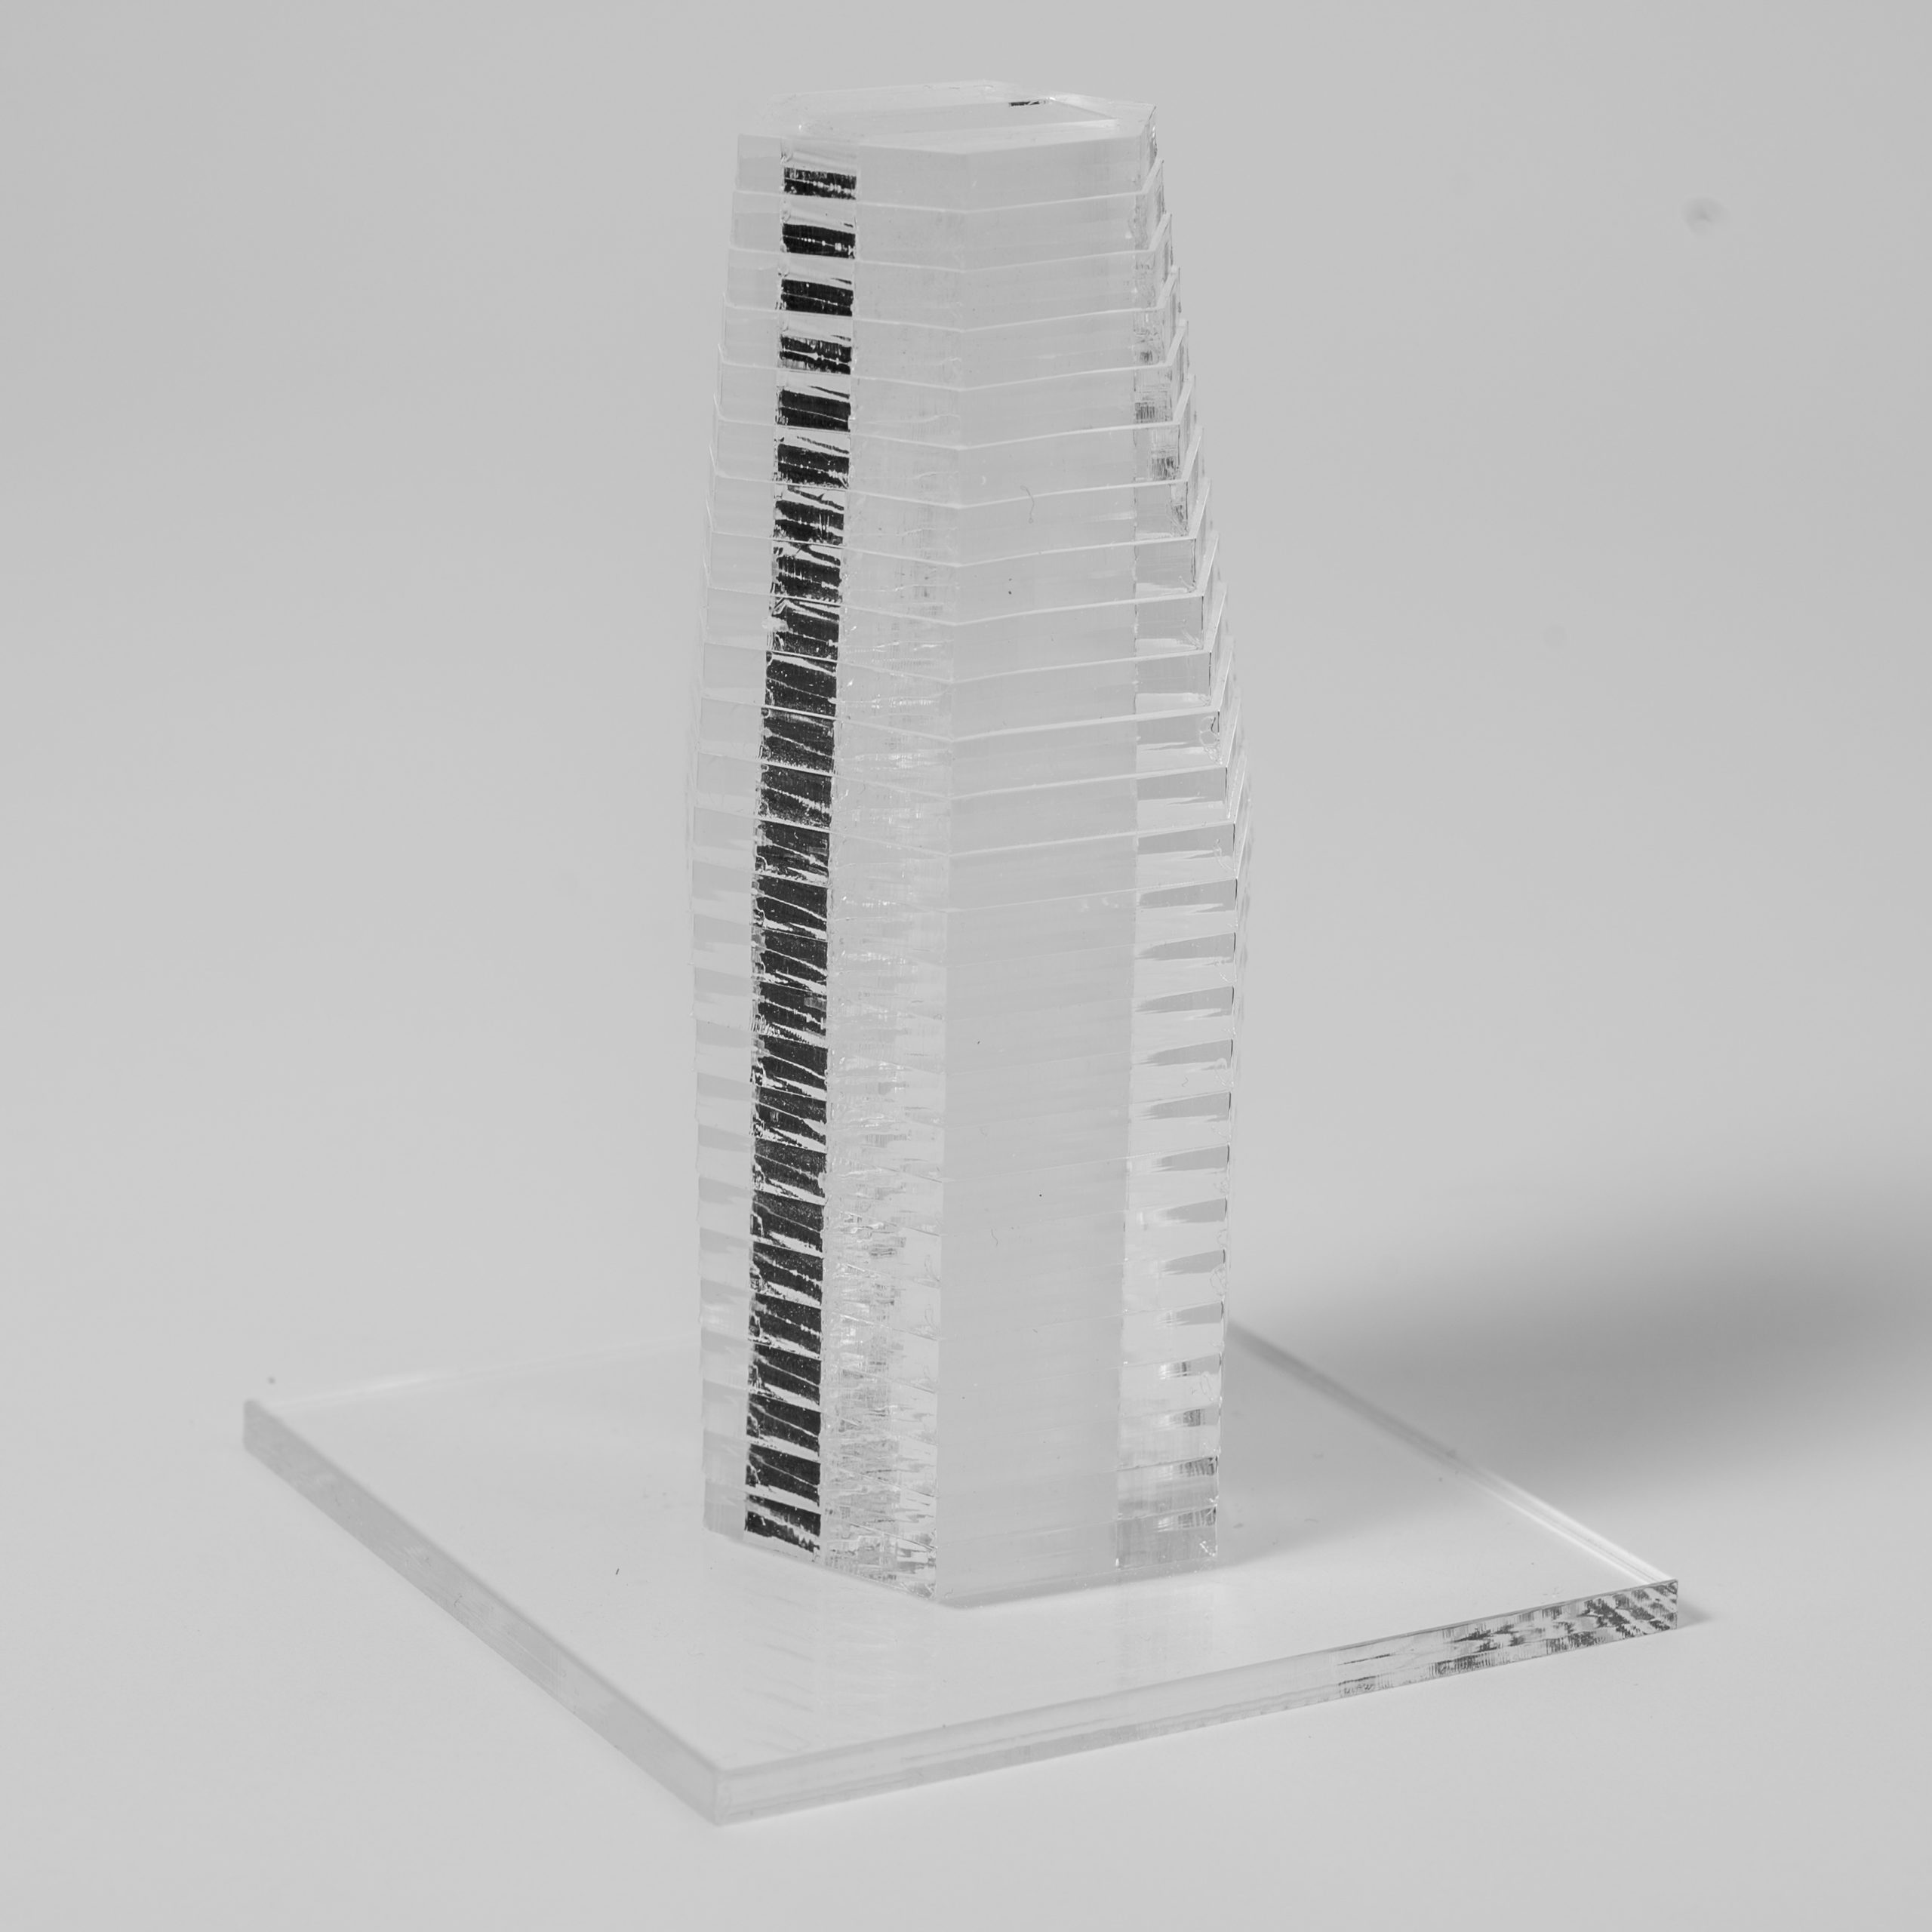
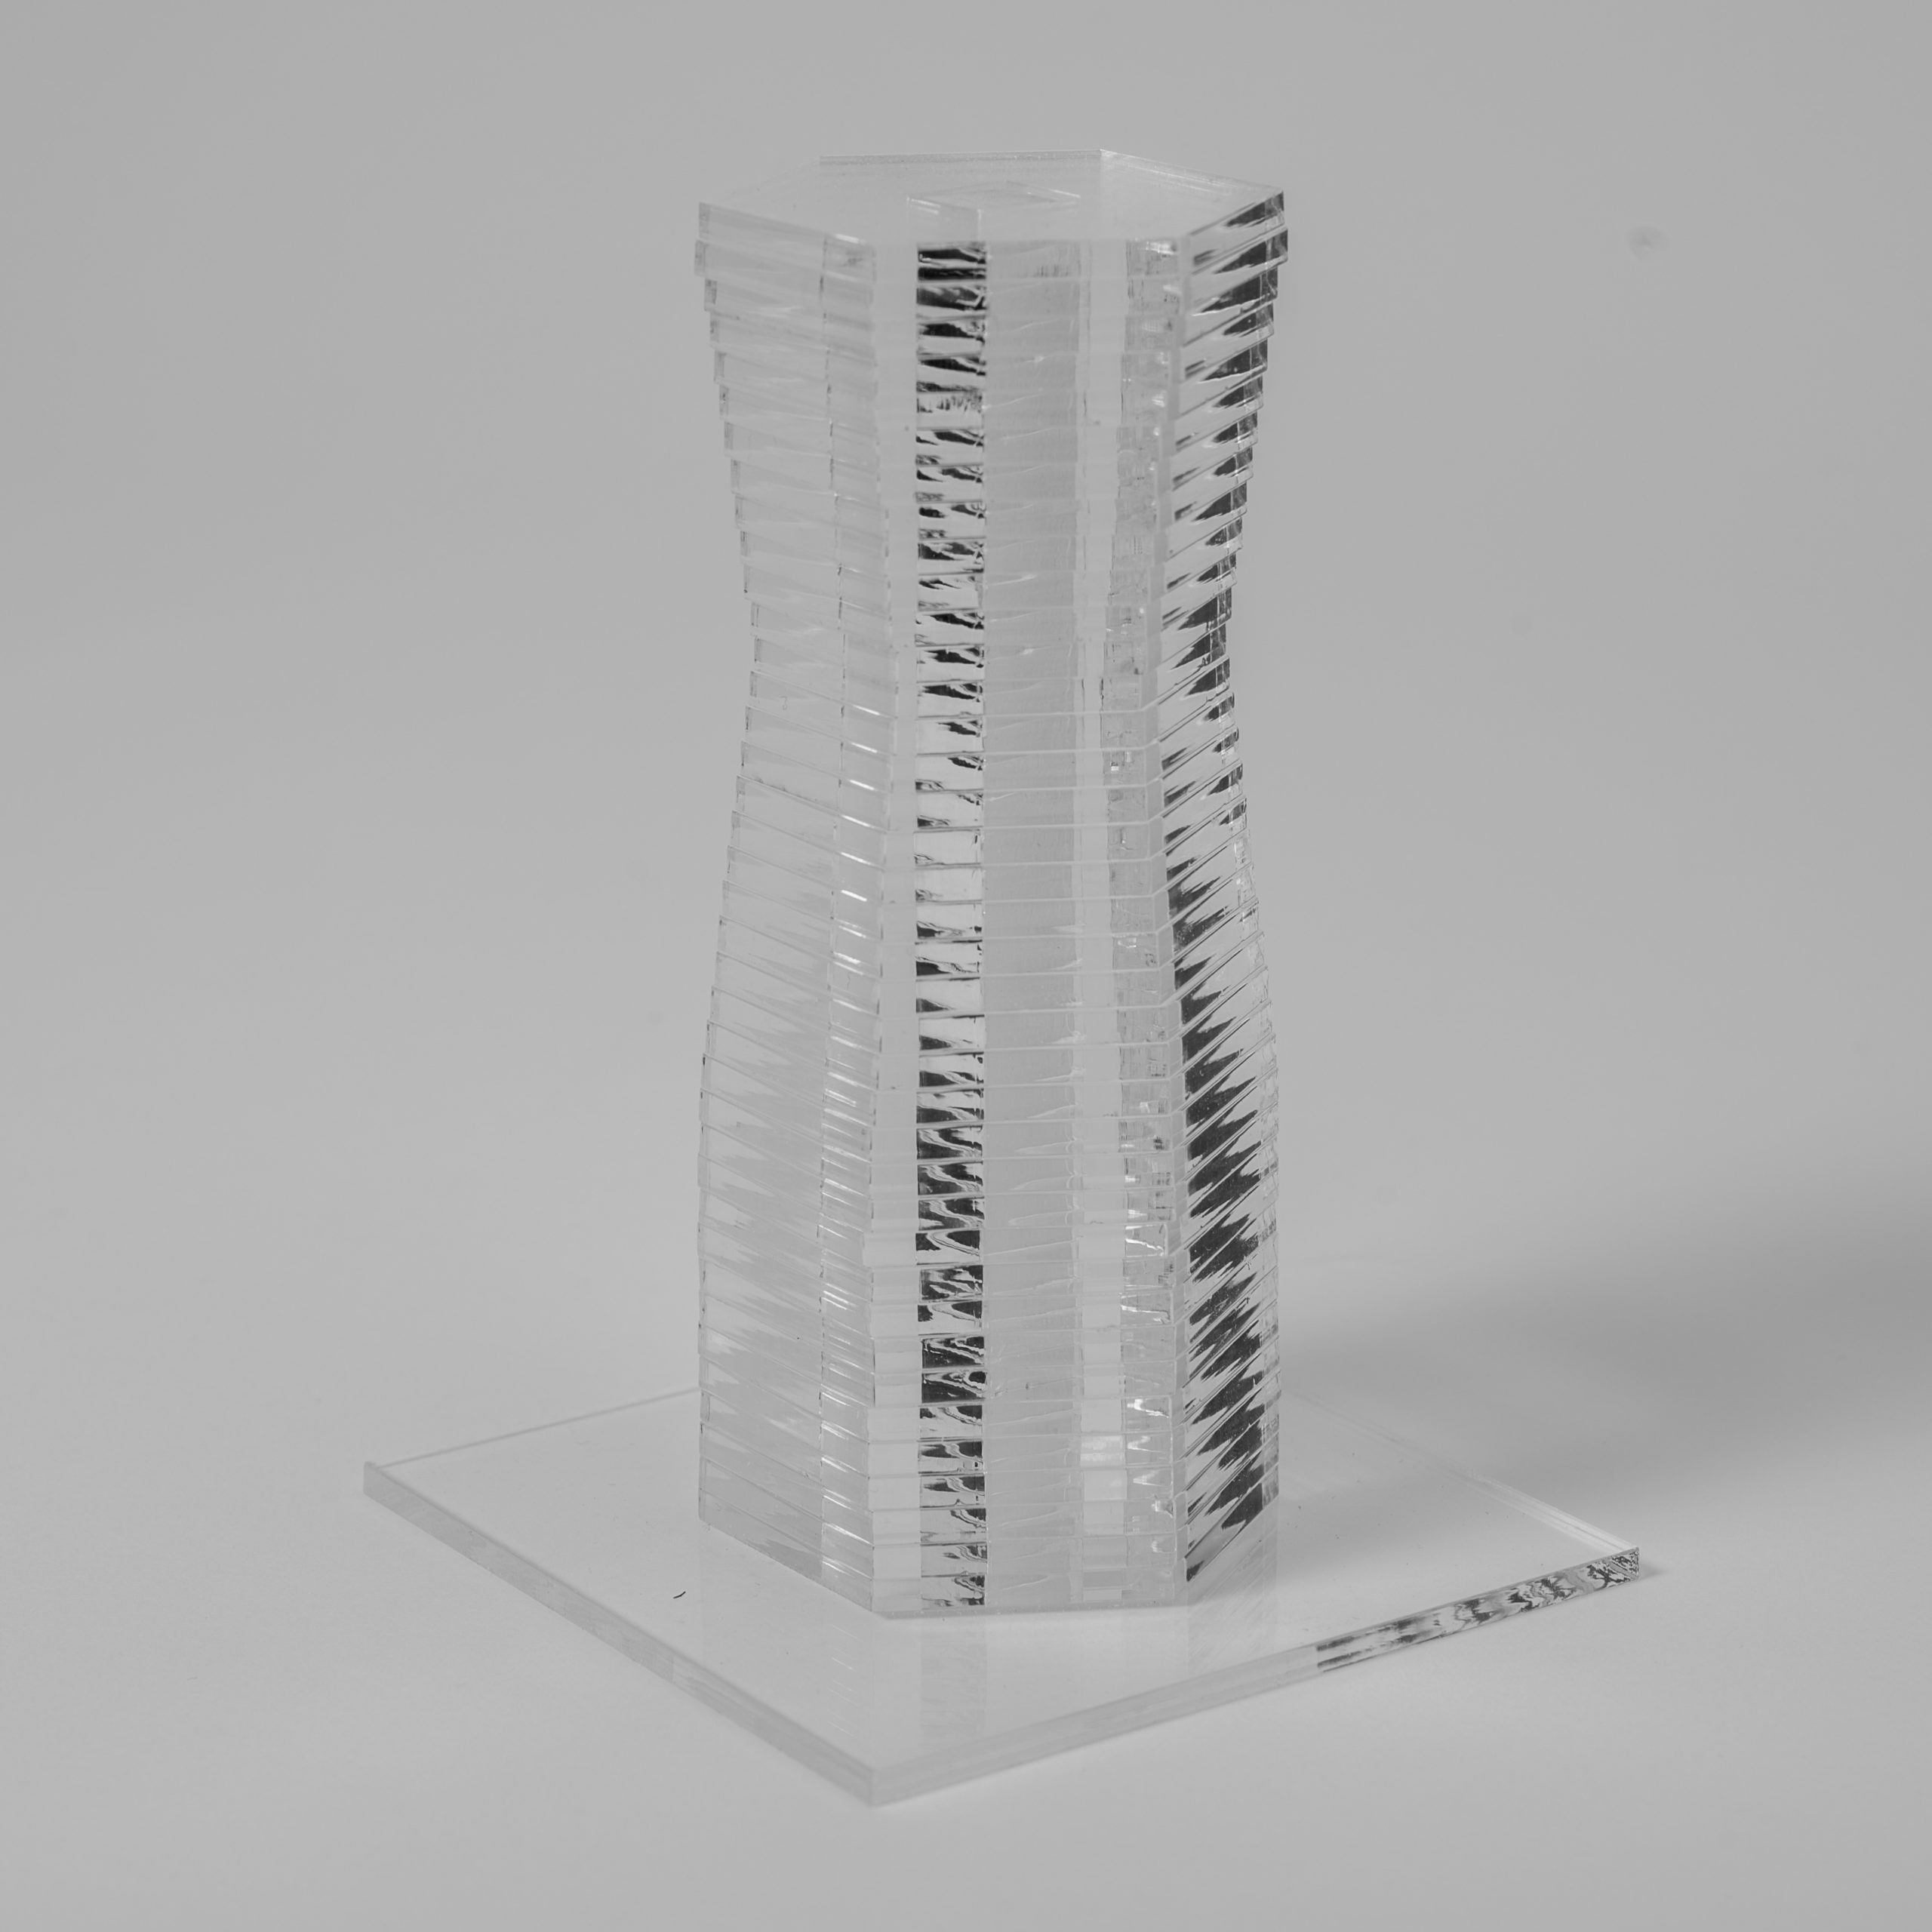
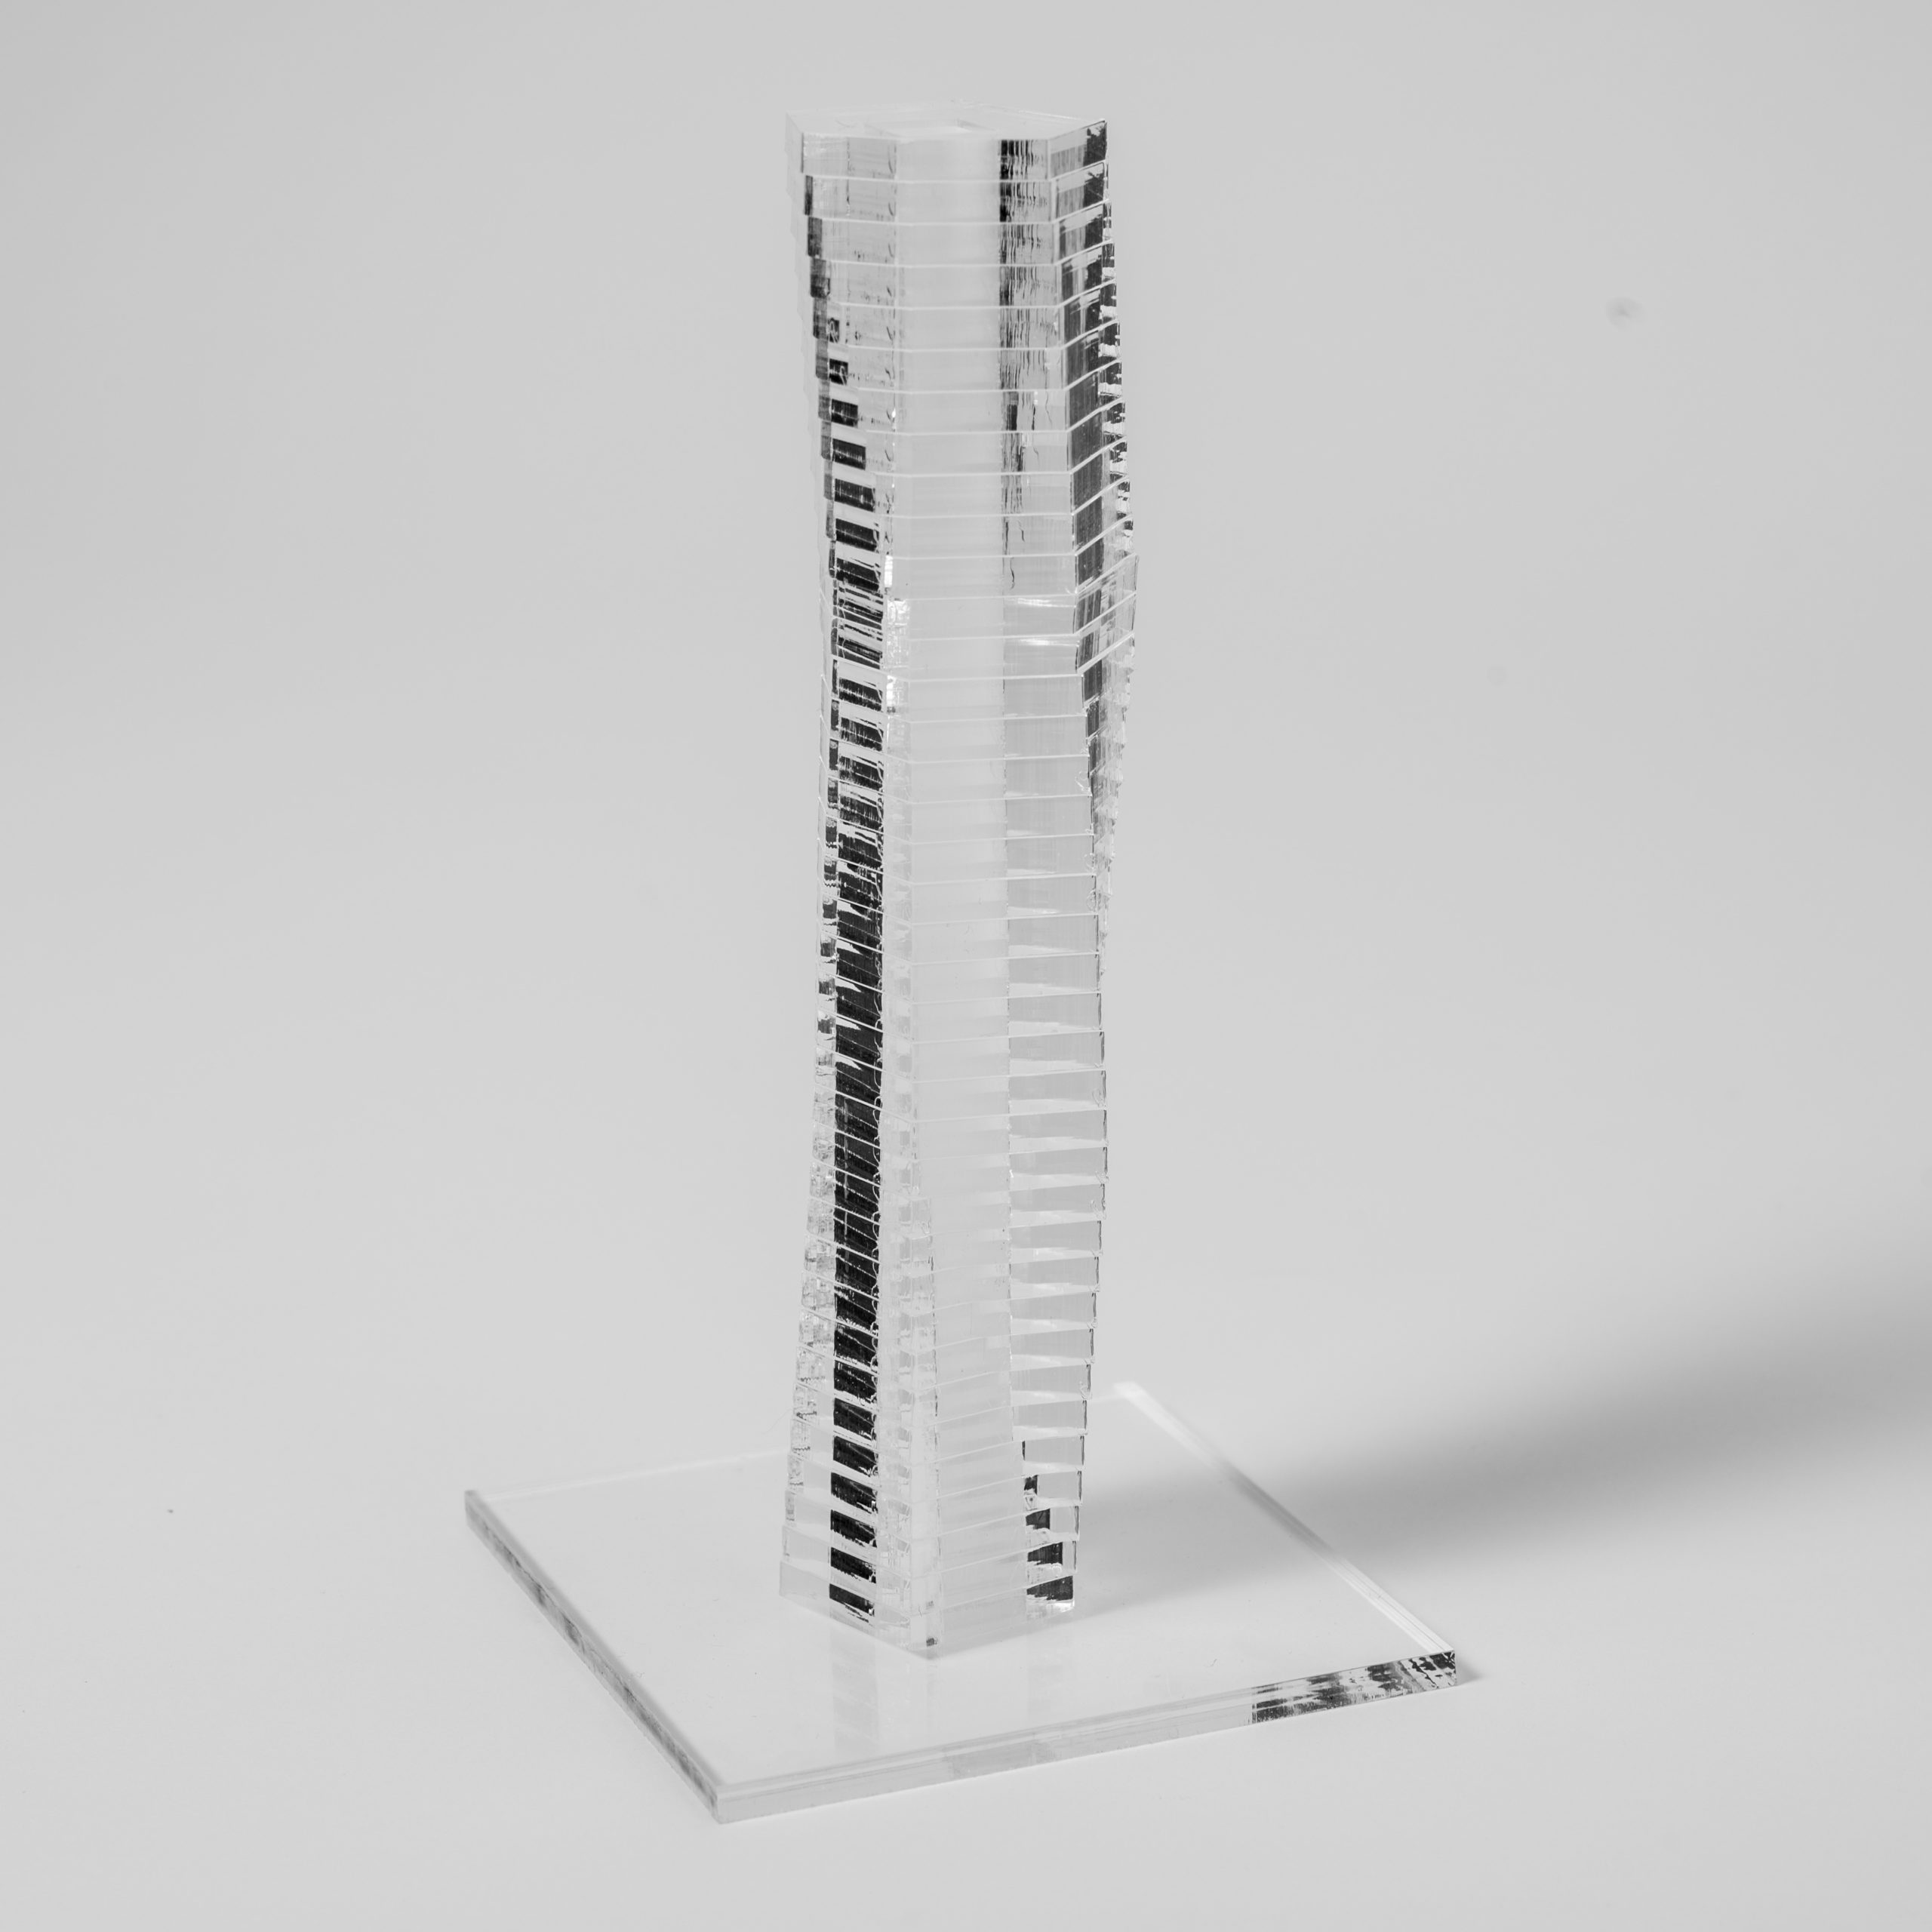
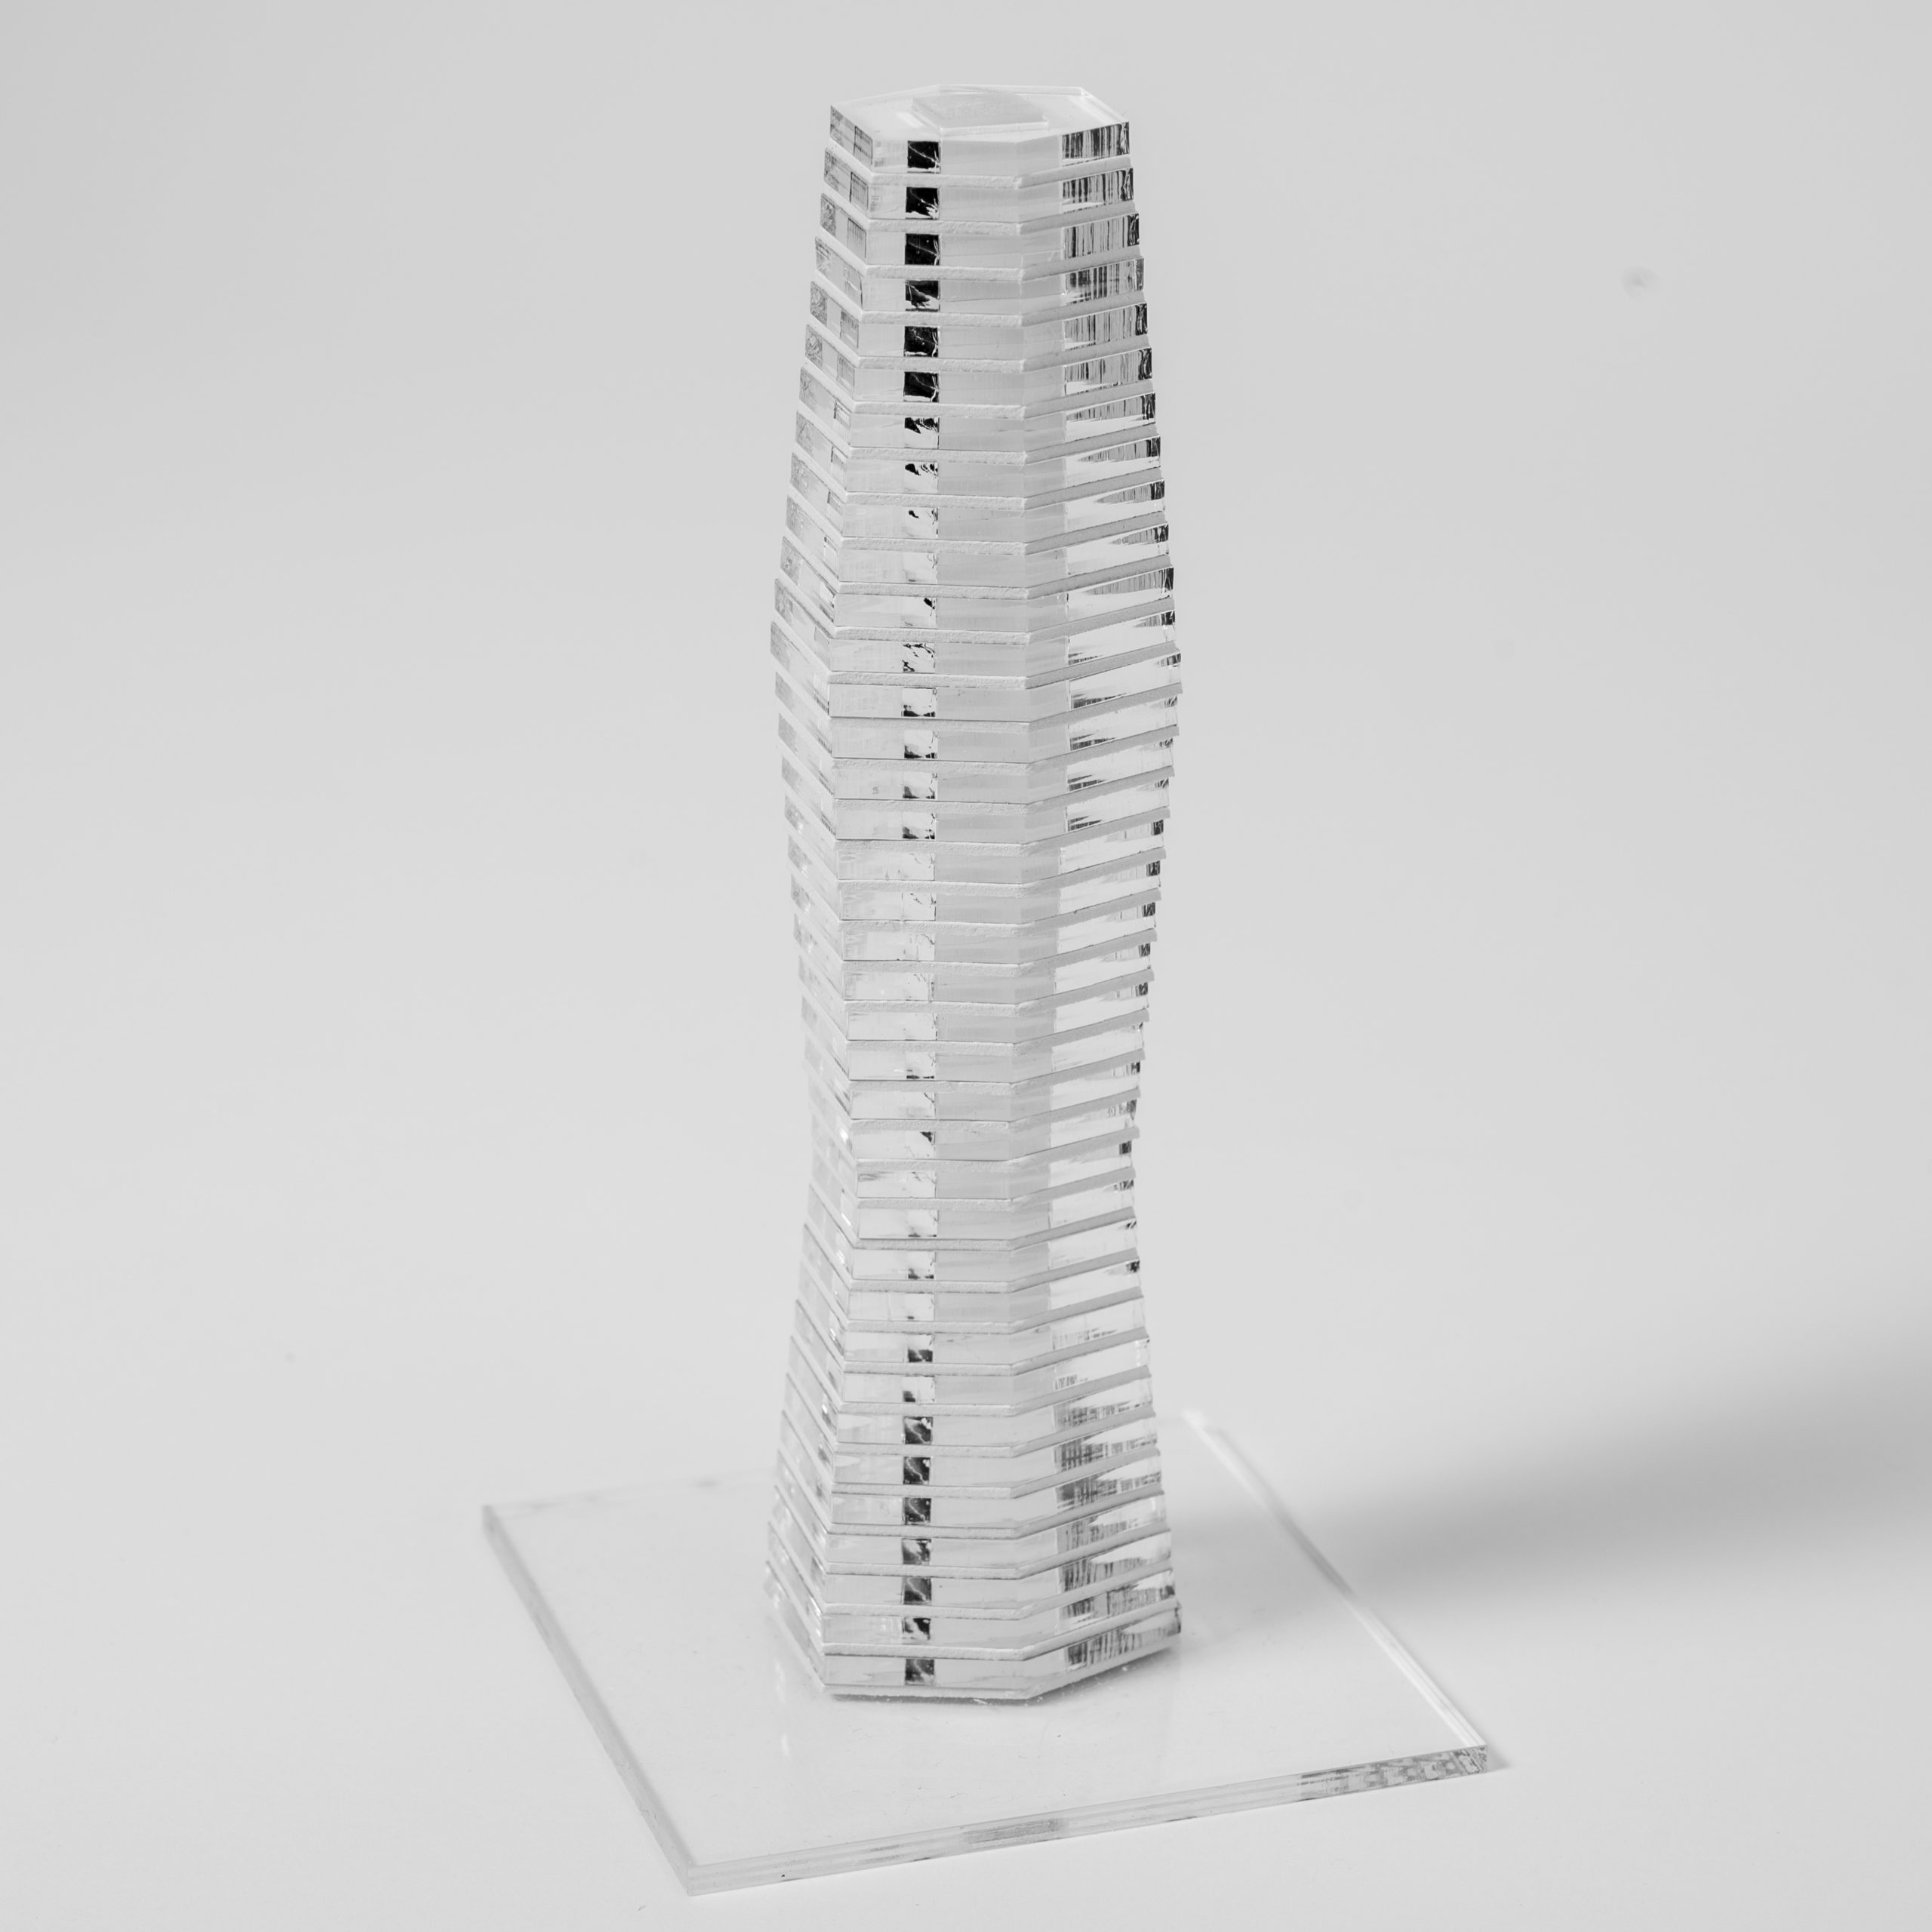
Parametric Tower

Scale: 1:1000
Material: 4mm PMMA (Floors), 10mm PMMA (Core)

Installing Rhino3D and Grasshopper

Please refer to this page for downloading and installing Rhino and Grasshopper as well as an in-depth introduction to Rhino and Grasshopper. 
 

Download the Grasshopper Definition

After successfully installing the software you can download the Grasshopper definition for this tutorial here.

Individual Design Exploration

  1. Open Rhino7 and load the grasshopper file.
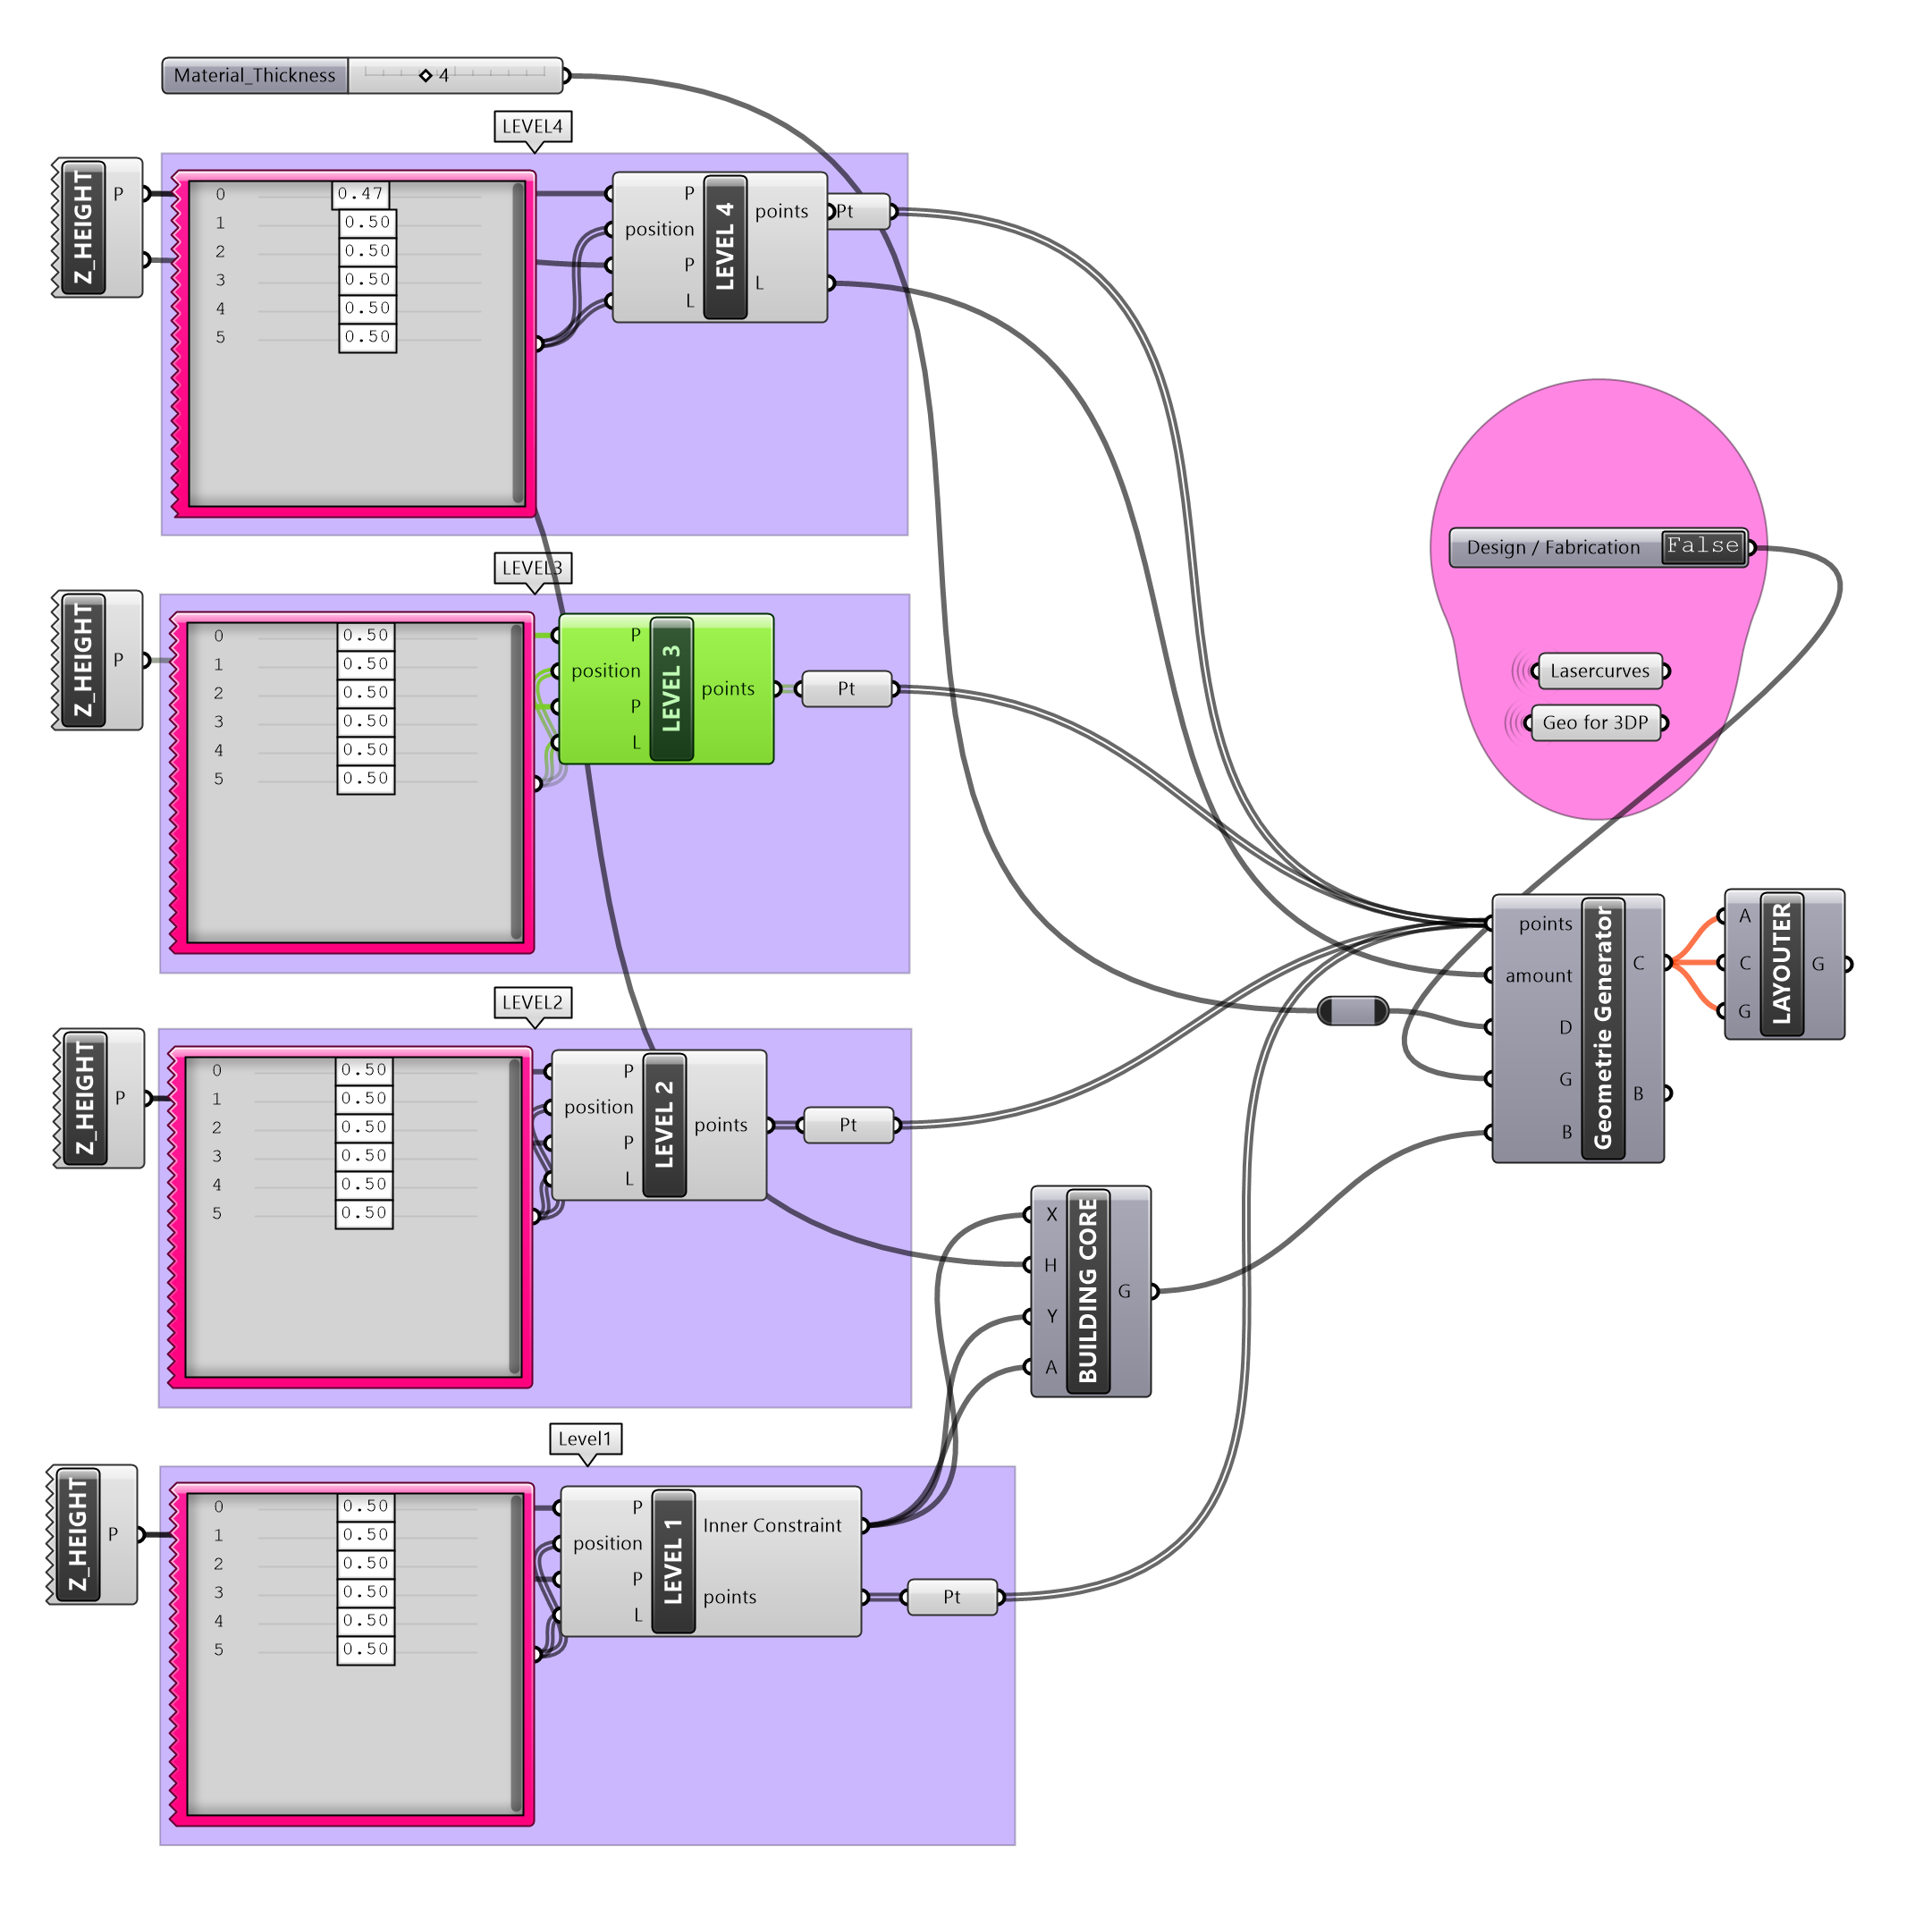
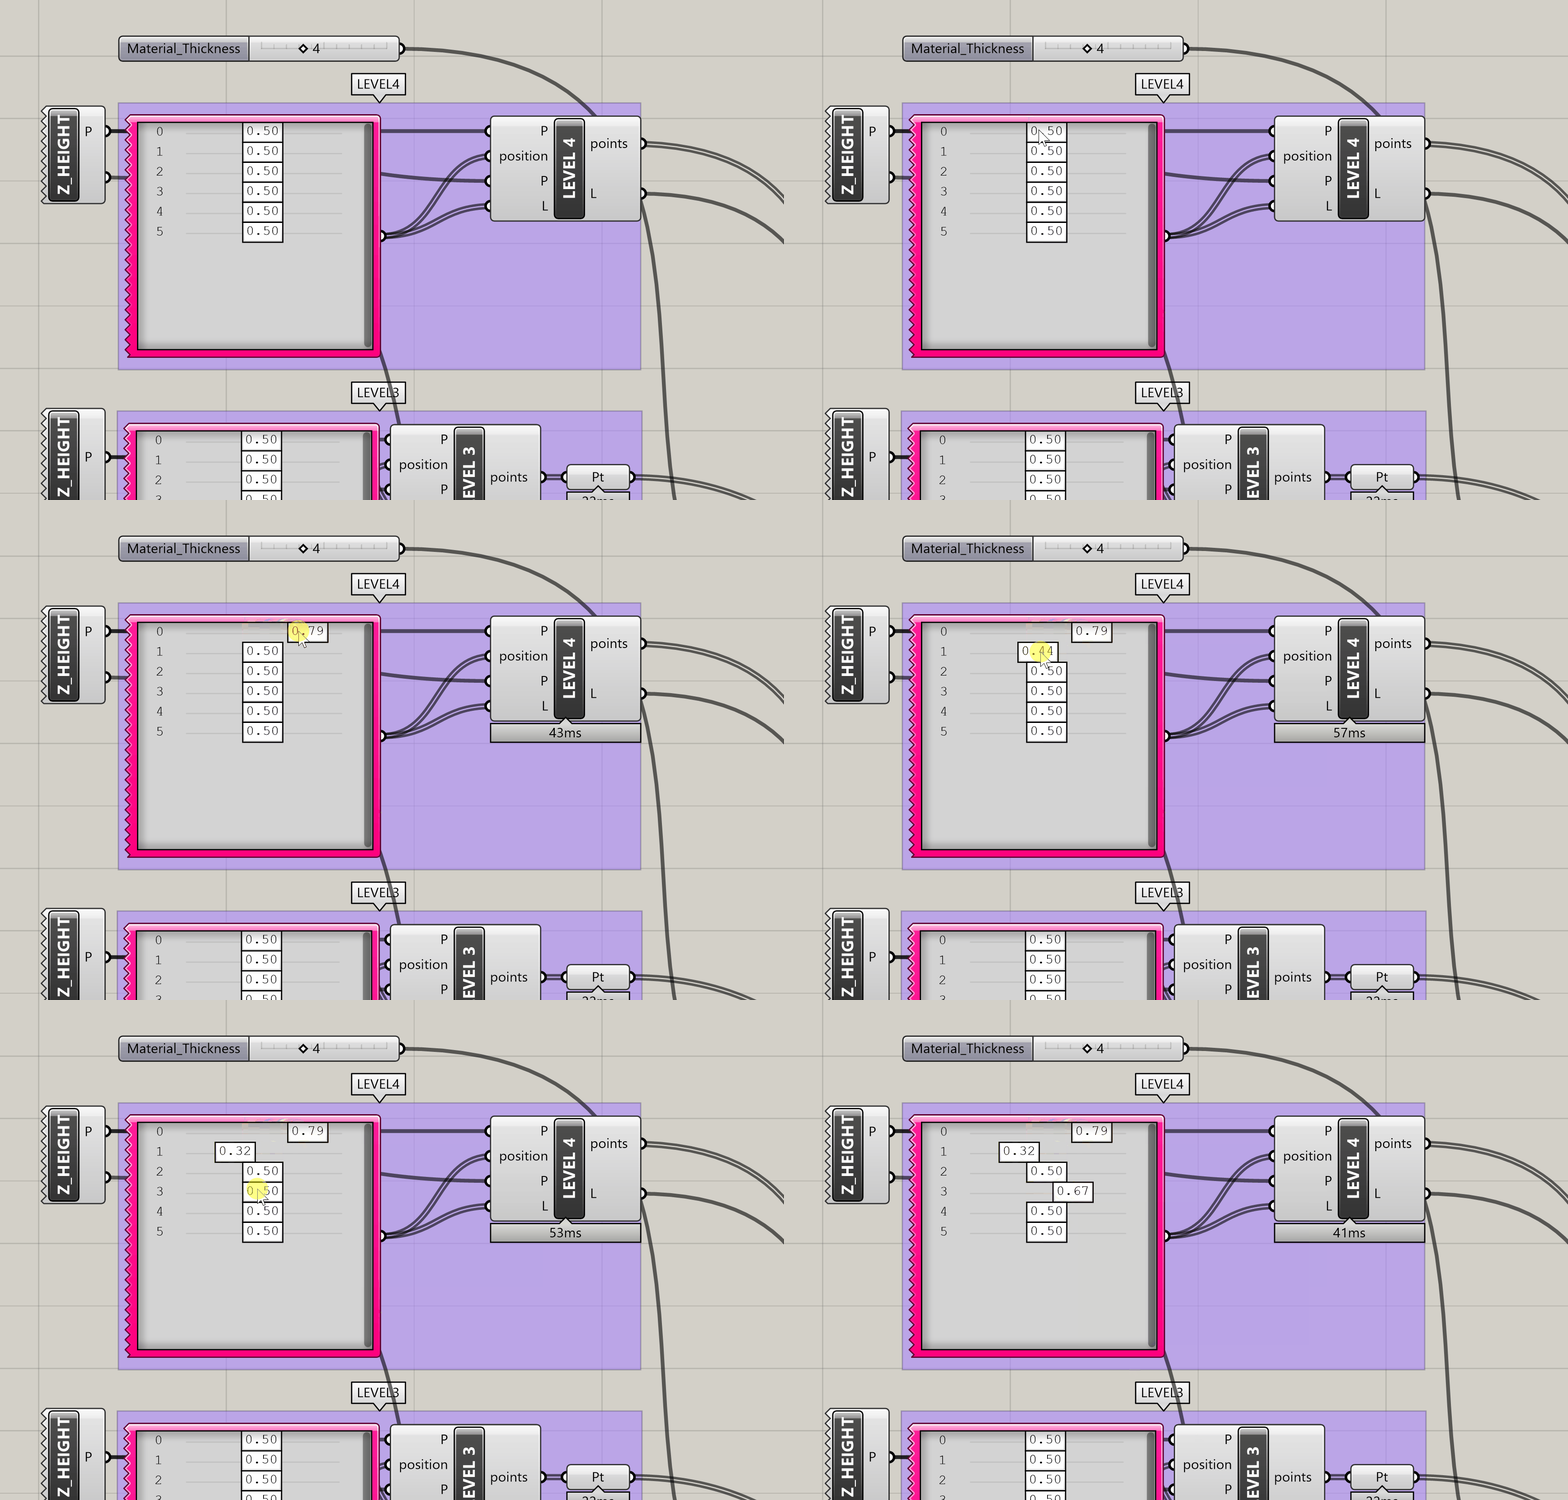
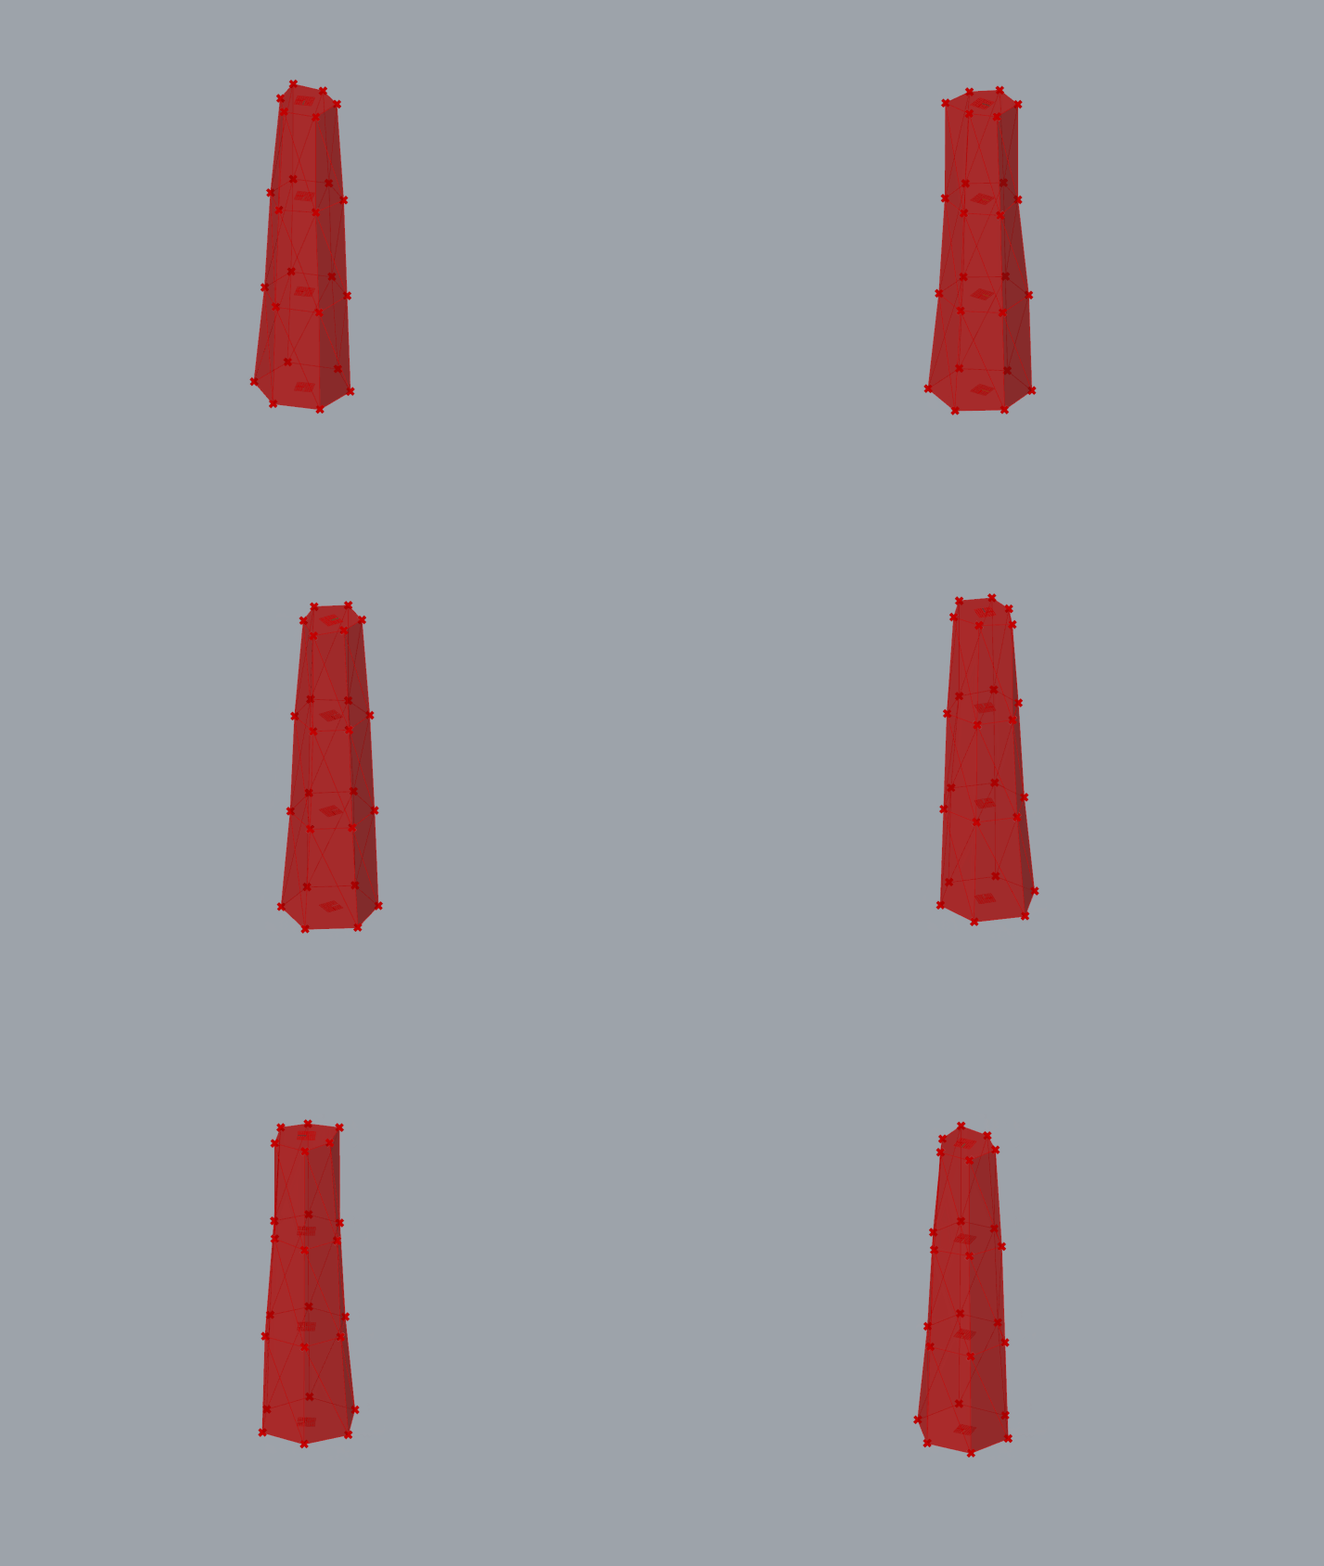
  2. Use the sliders in the four pink boxes to adjust the overall shape of the tower (Fig. 1).
  3. Explore your design options in realtime in the Rhino viewport (Fig 3).
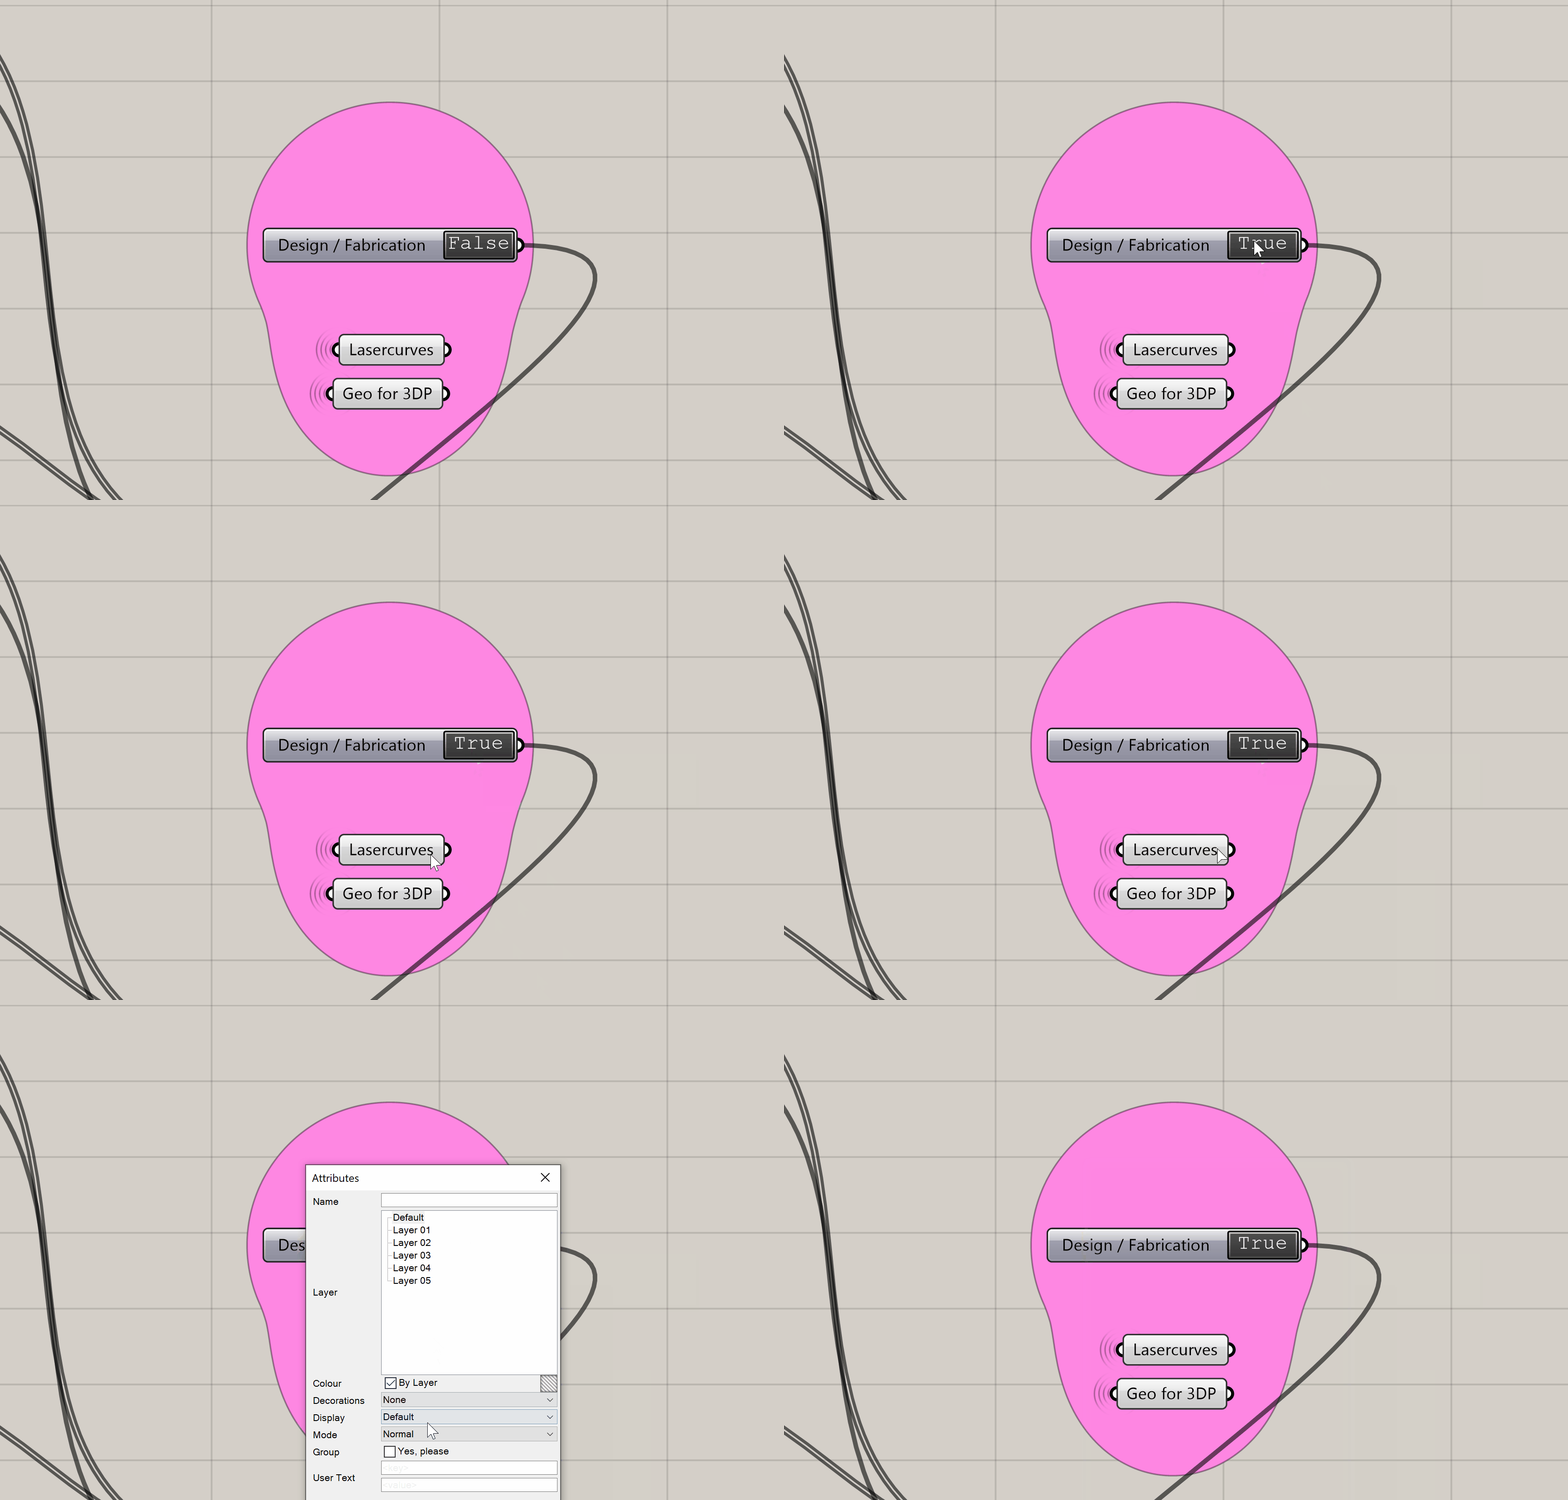
  4. Once you are done designing double click the design / fabrication toggle in the pink bubble.
  5. Right-click the component “Lasercurves” and press “bake” to generate the curves for laser-cutting.
Optional: Measure your material thickness and adjust drawings accordingly!

Laser-Cutting Preparation

  1. Go to top-view in Rhino and print to PDF (Ctrl+P).
  2. Check your document size and line weight according to the specifications.
    (Use the how to export a PDF guide for Rhino if you run into any problems)

Making

  1. Download the PDF-File for the core and the base form here!
  2. Laser-cut both files (the one you created (4mm) and the one you downloaded (10mm)).
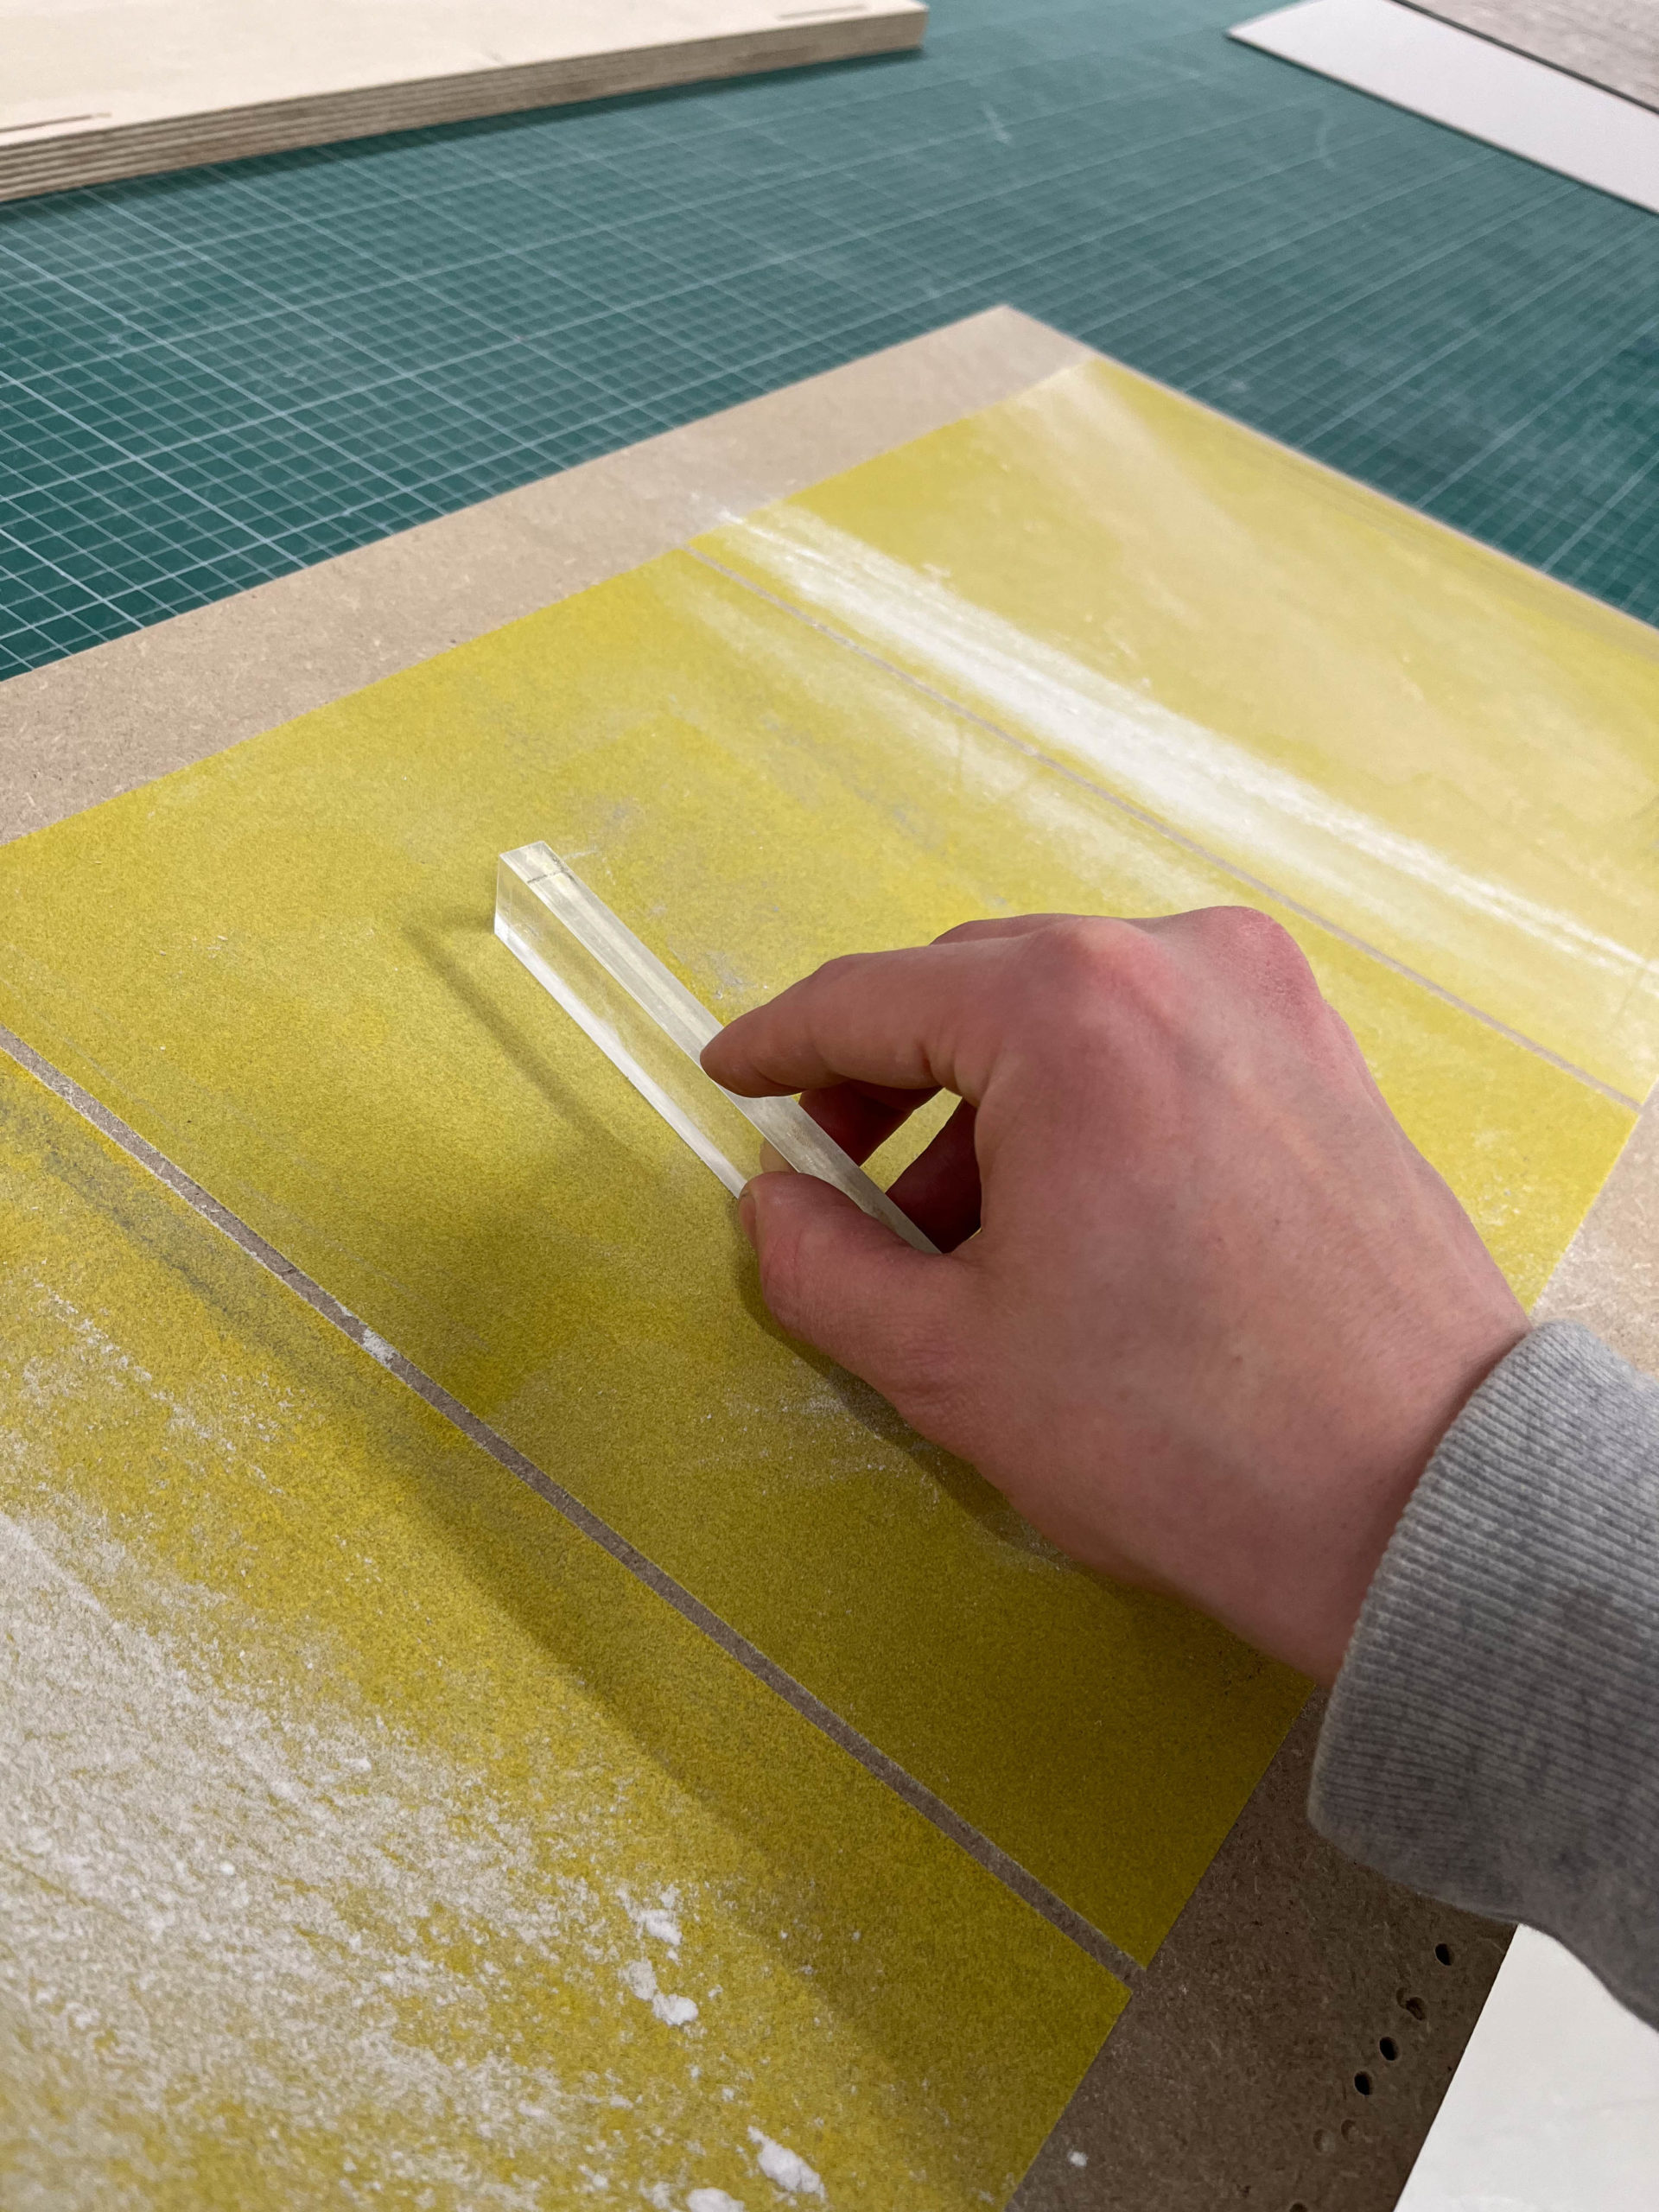
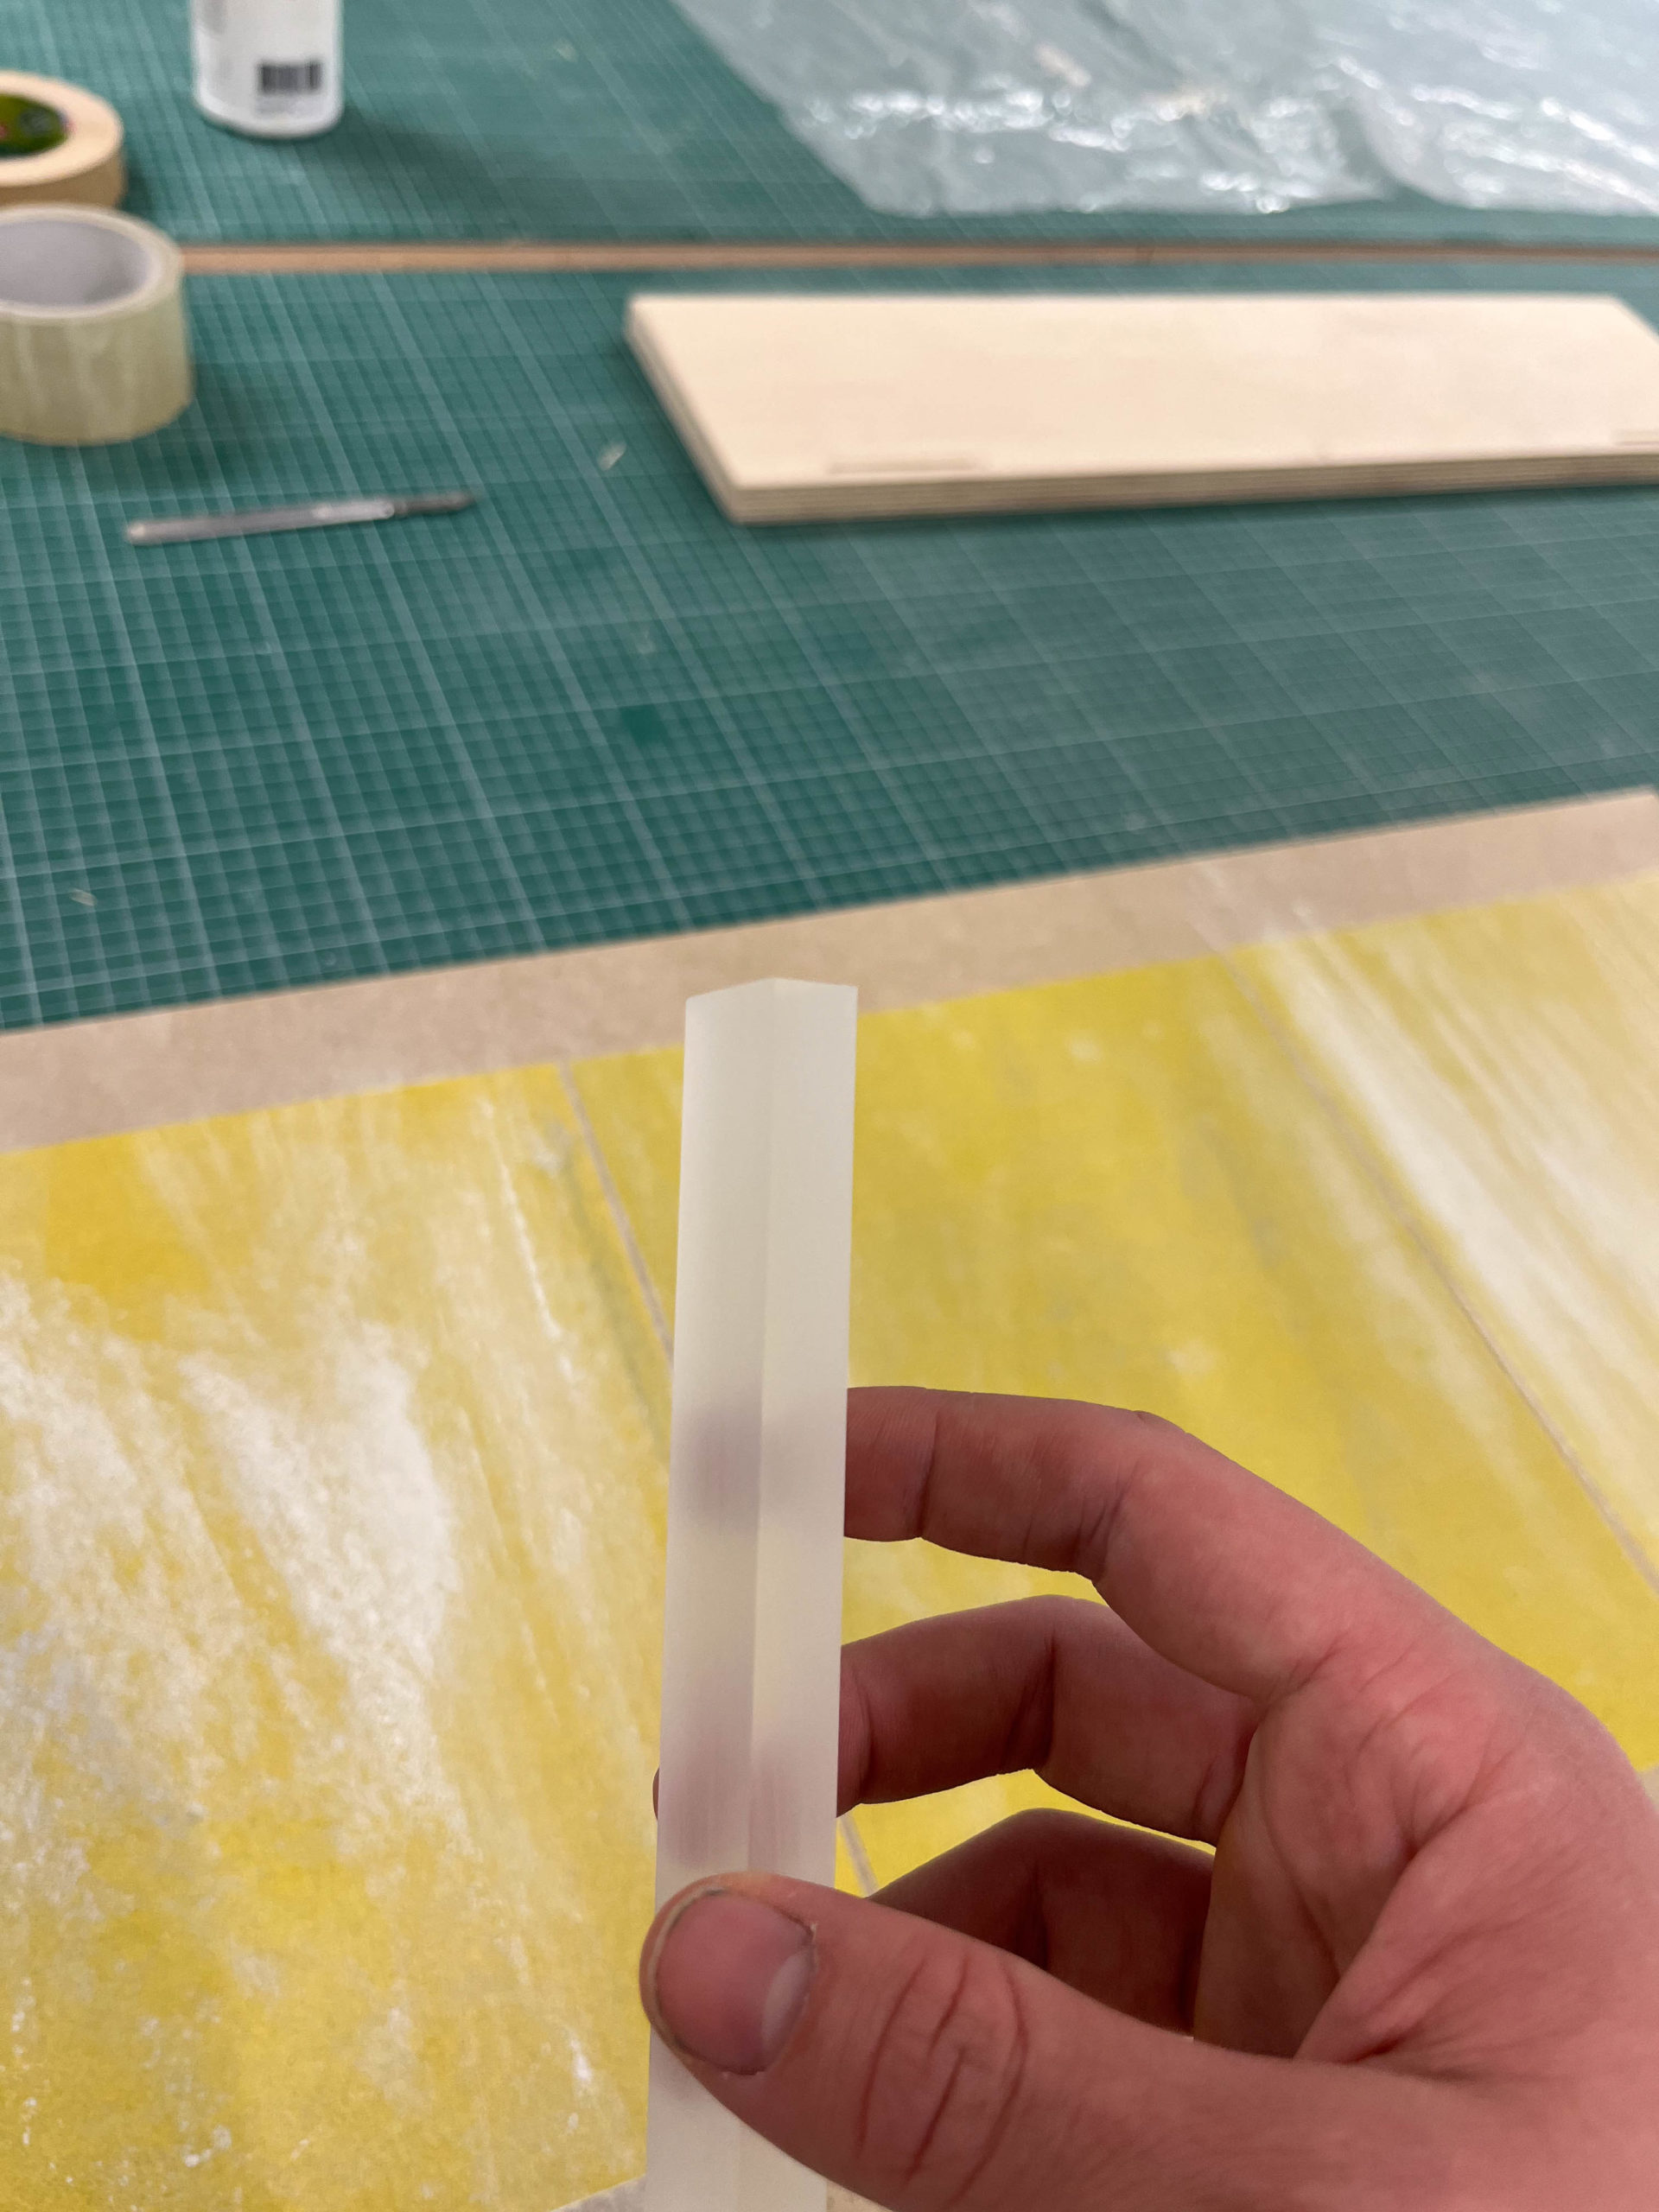
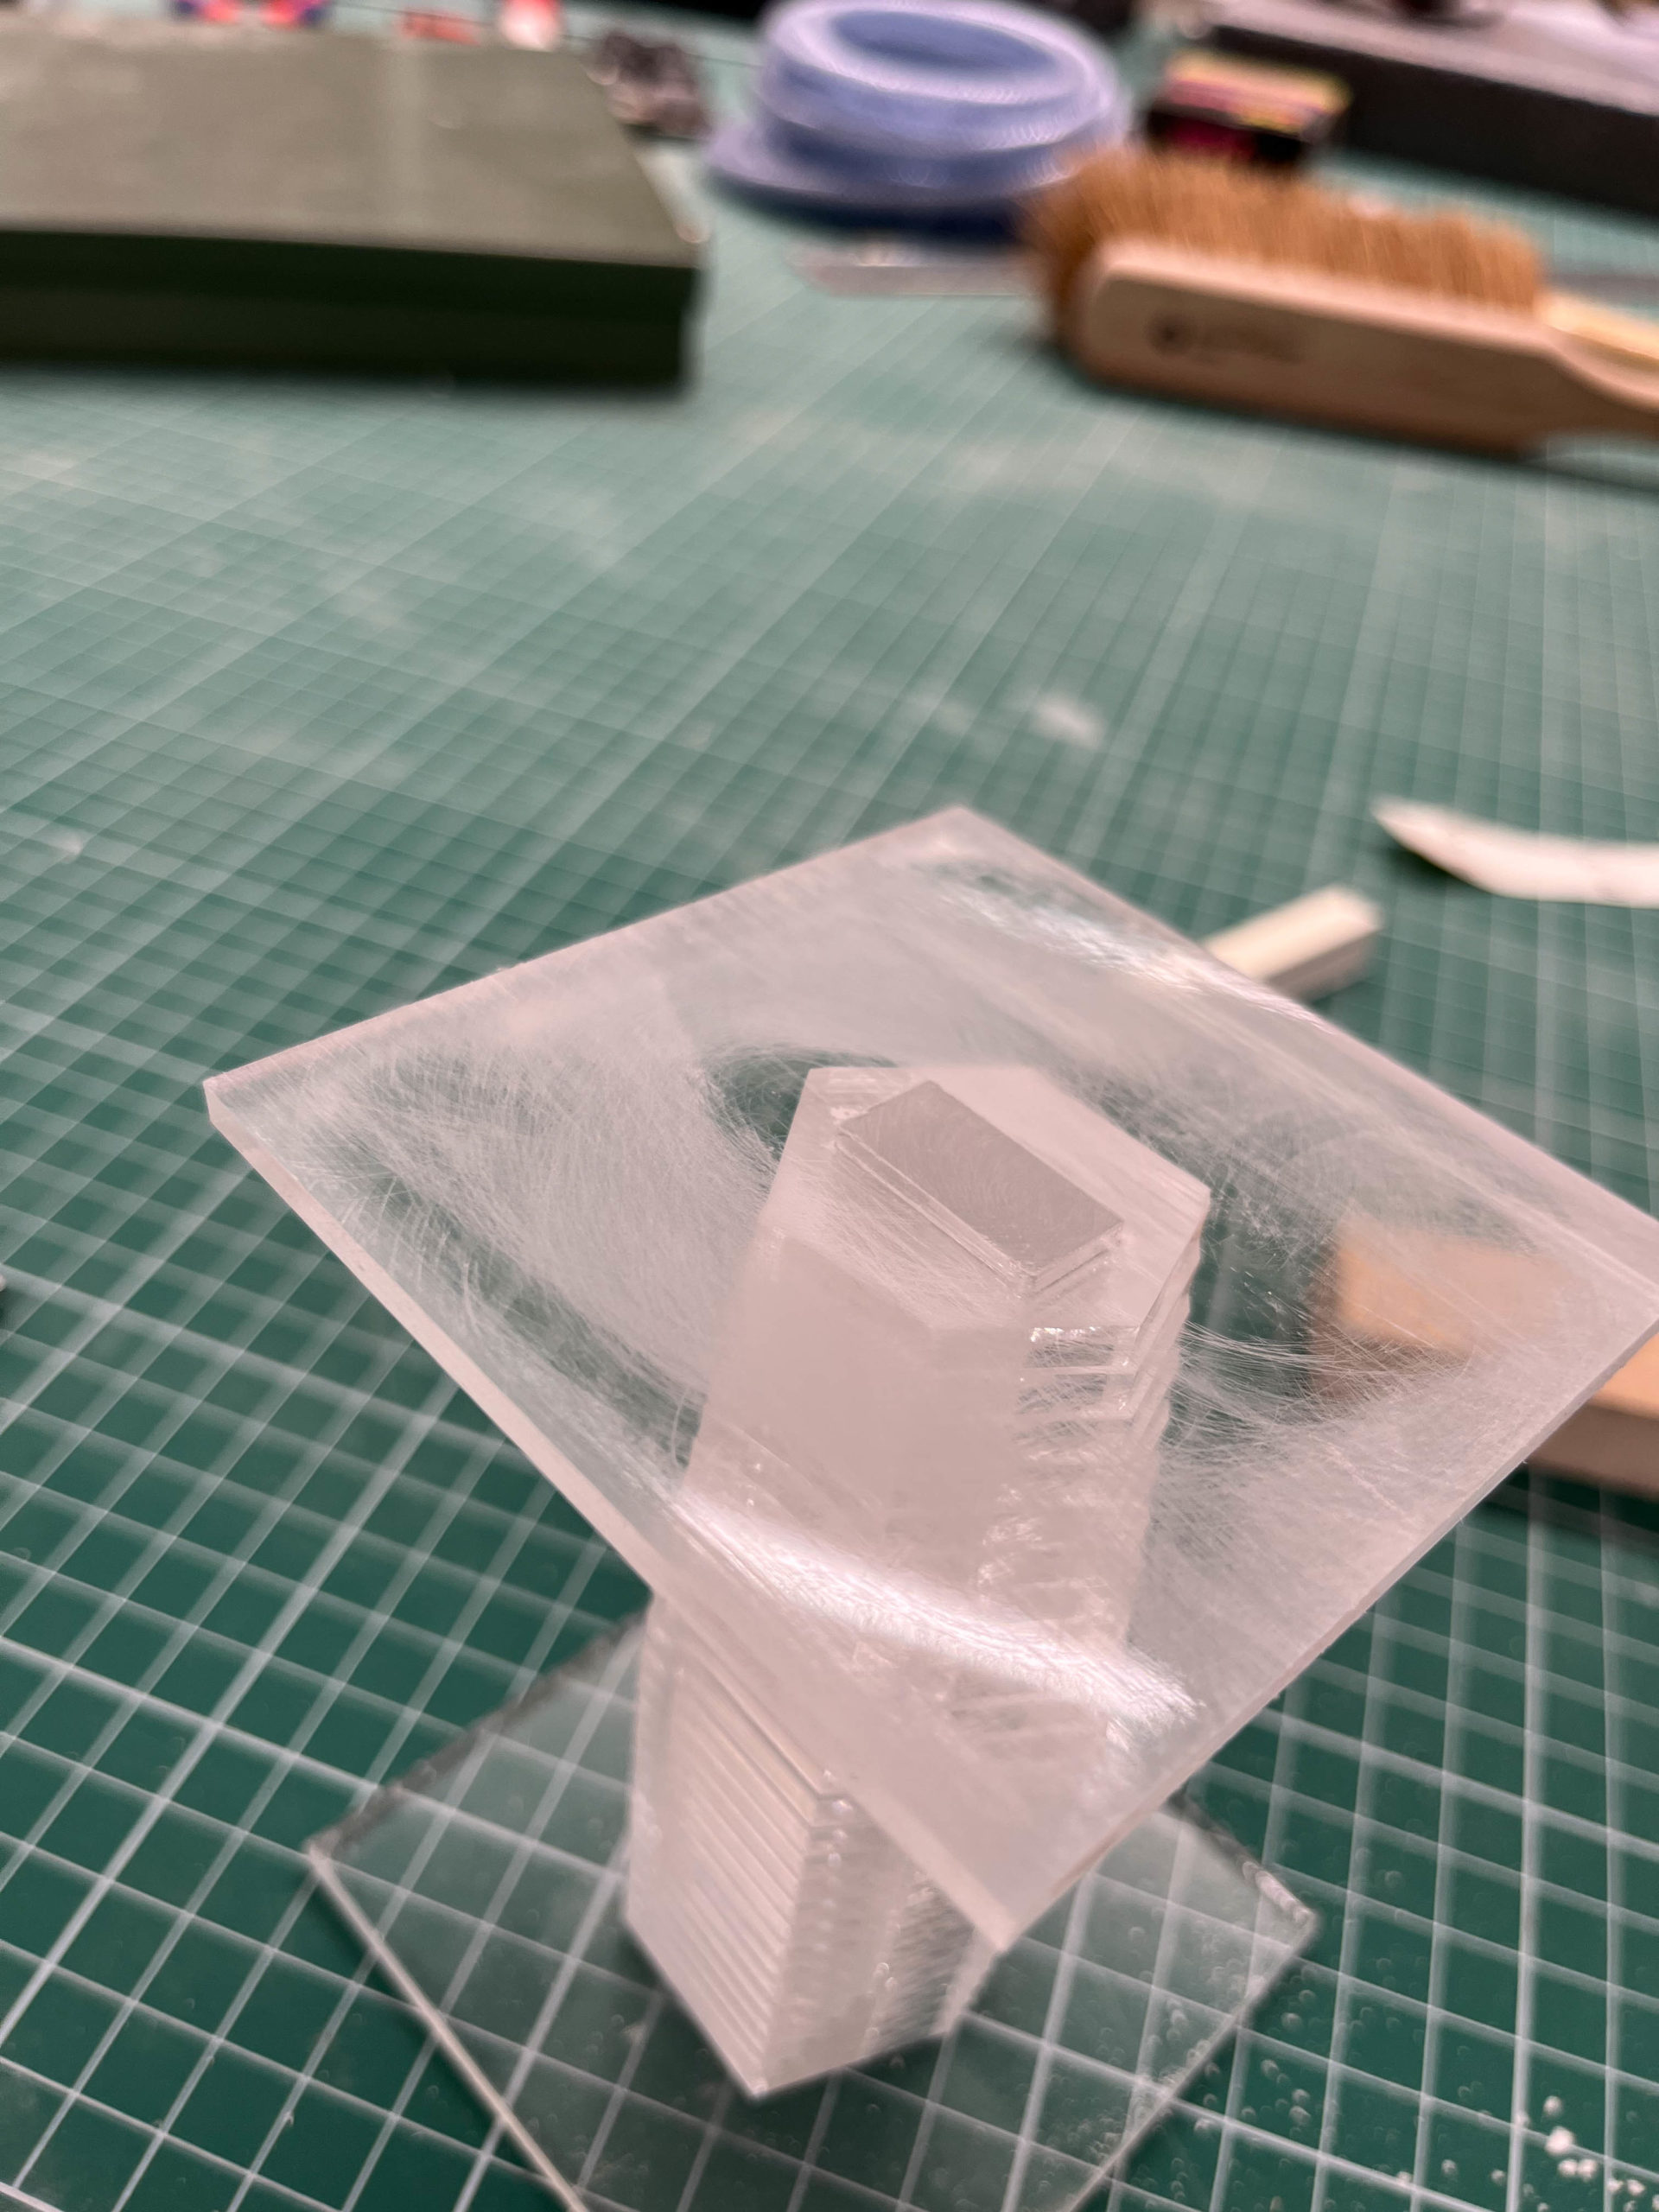
  3. Sand the 10mm core with 150 grit sandpaper to create a translucent matte finish.
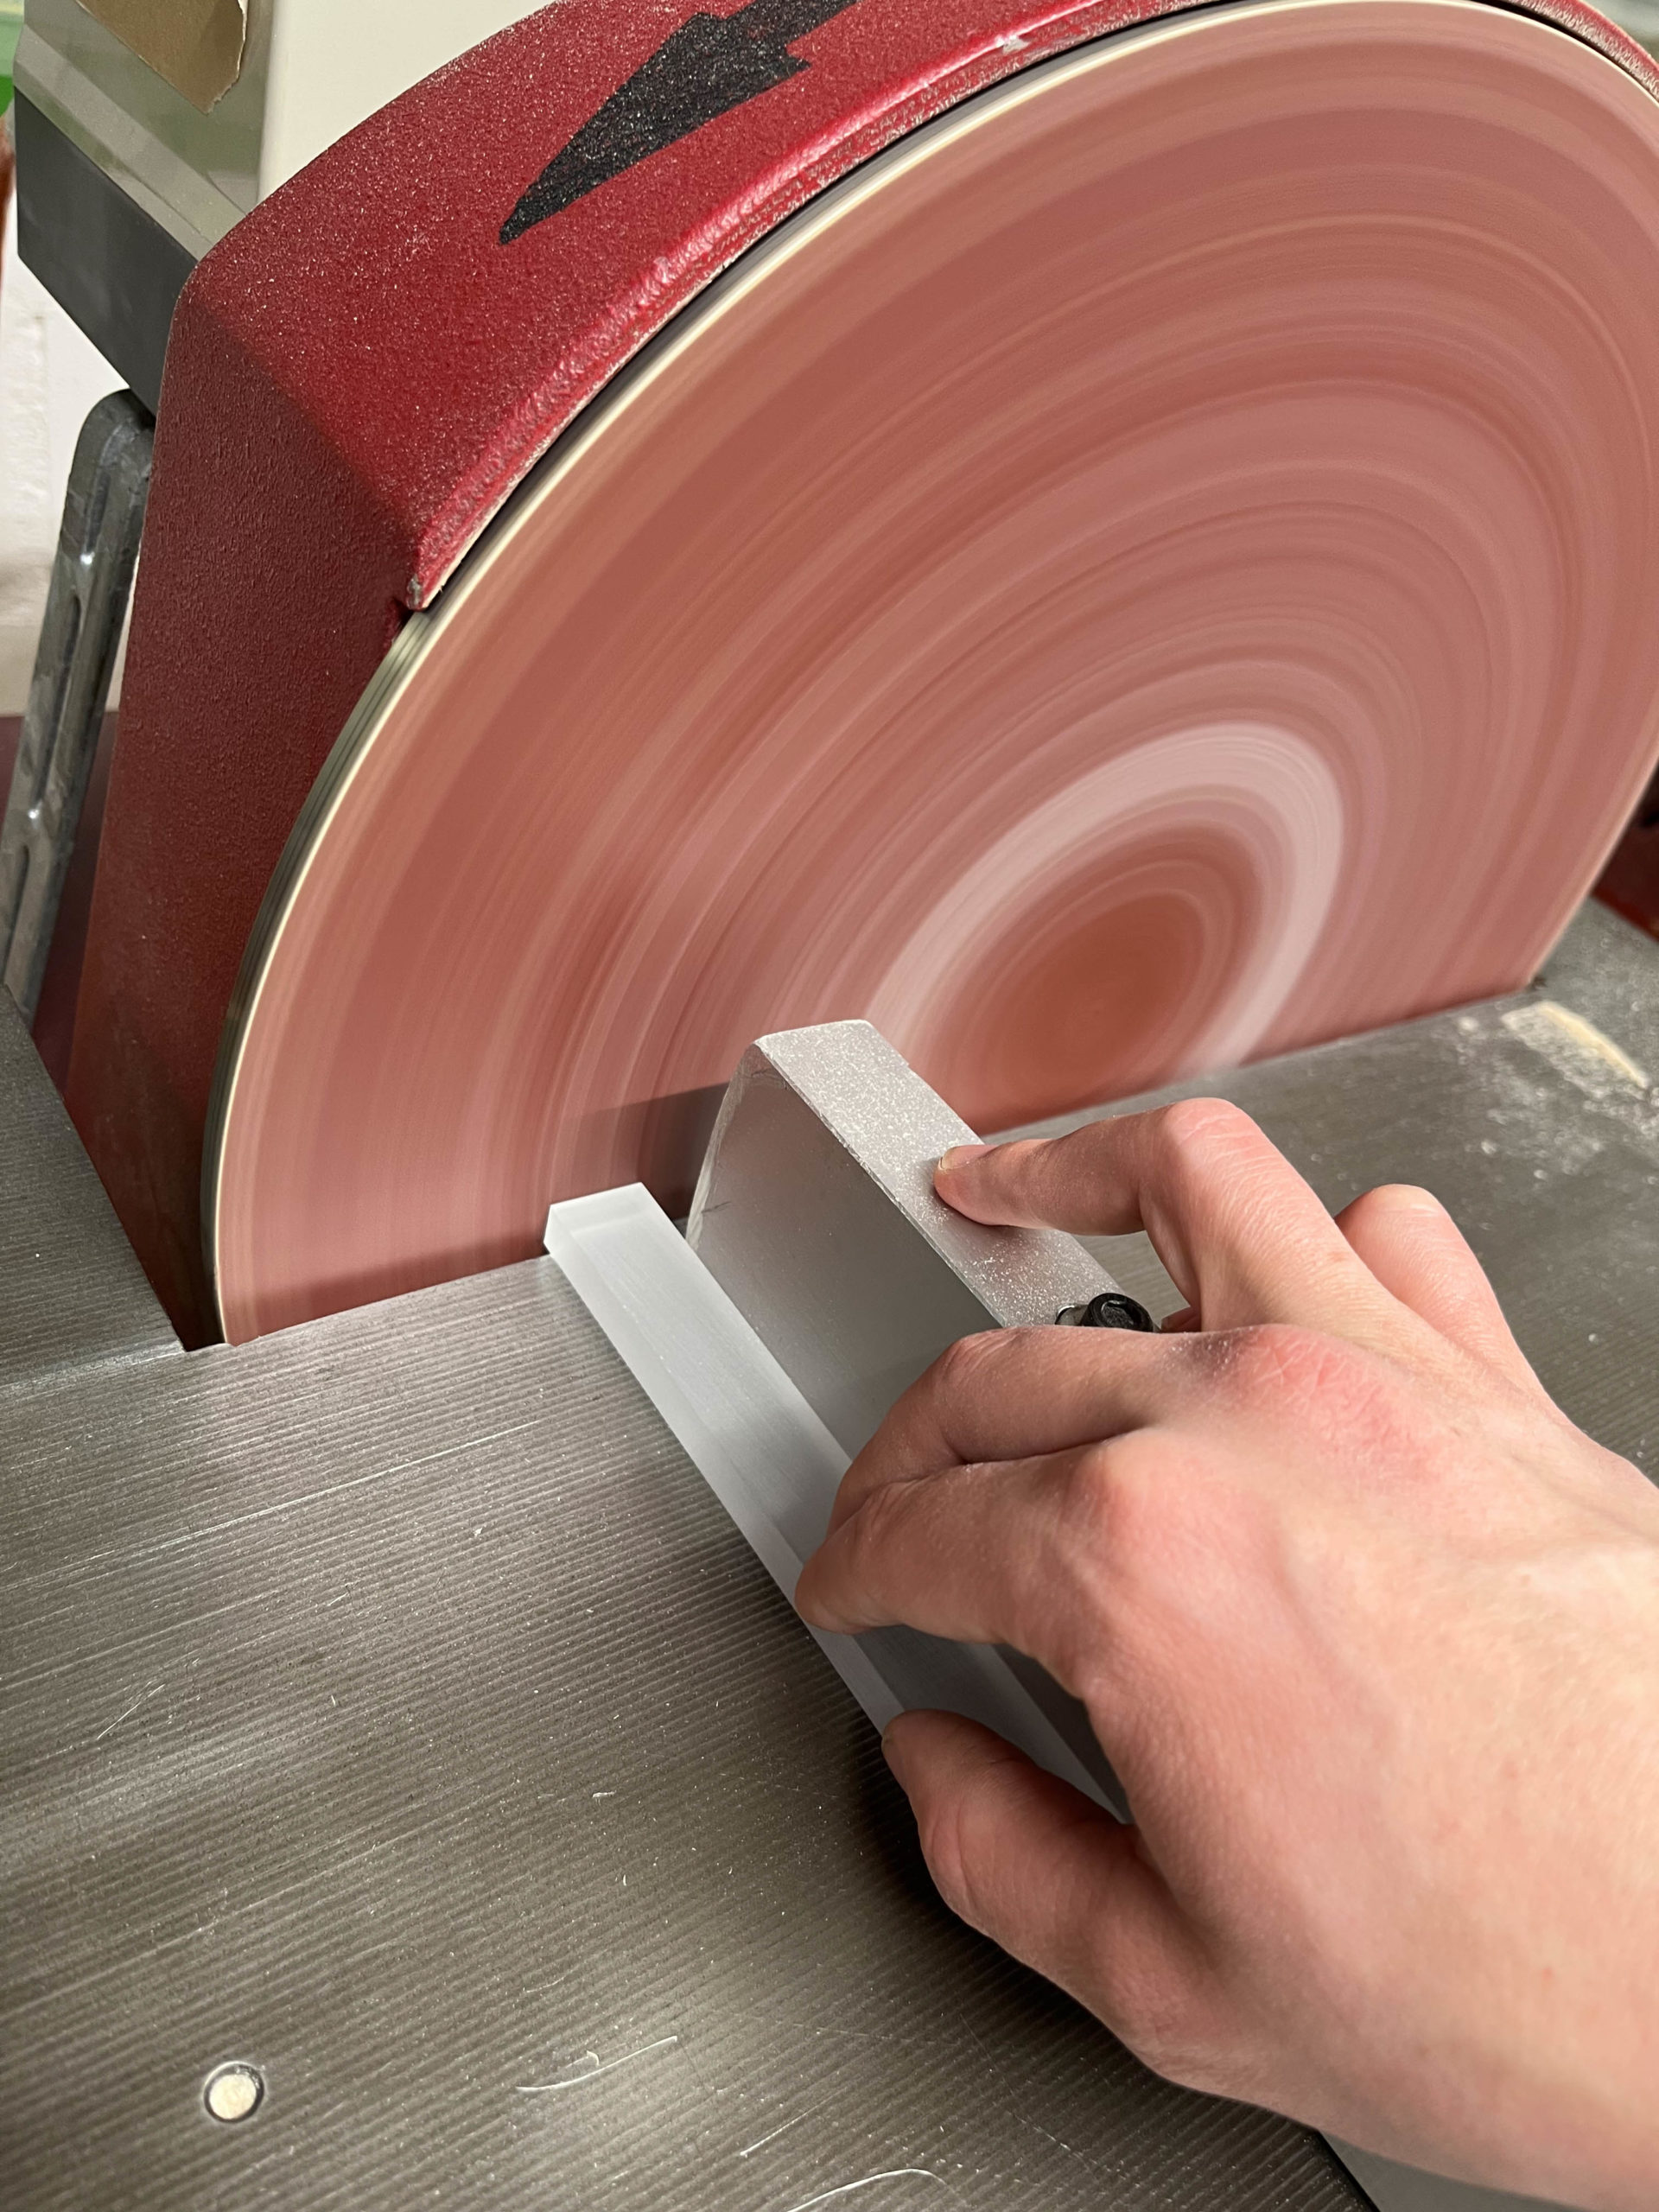
  4. Square off one end of the core using the disk sander. 
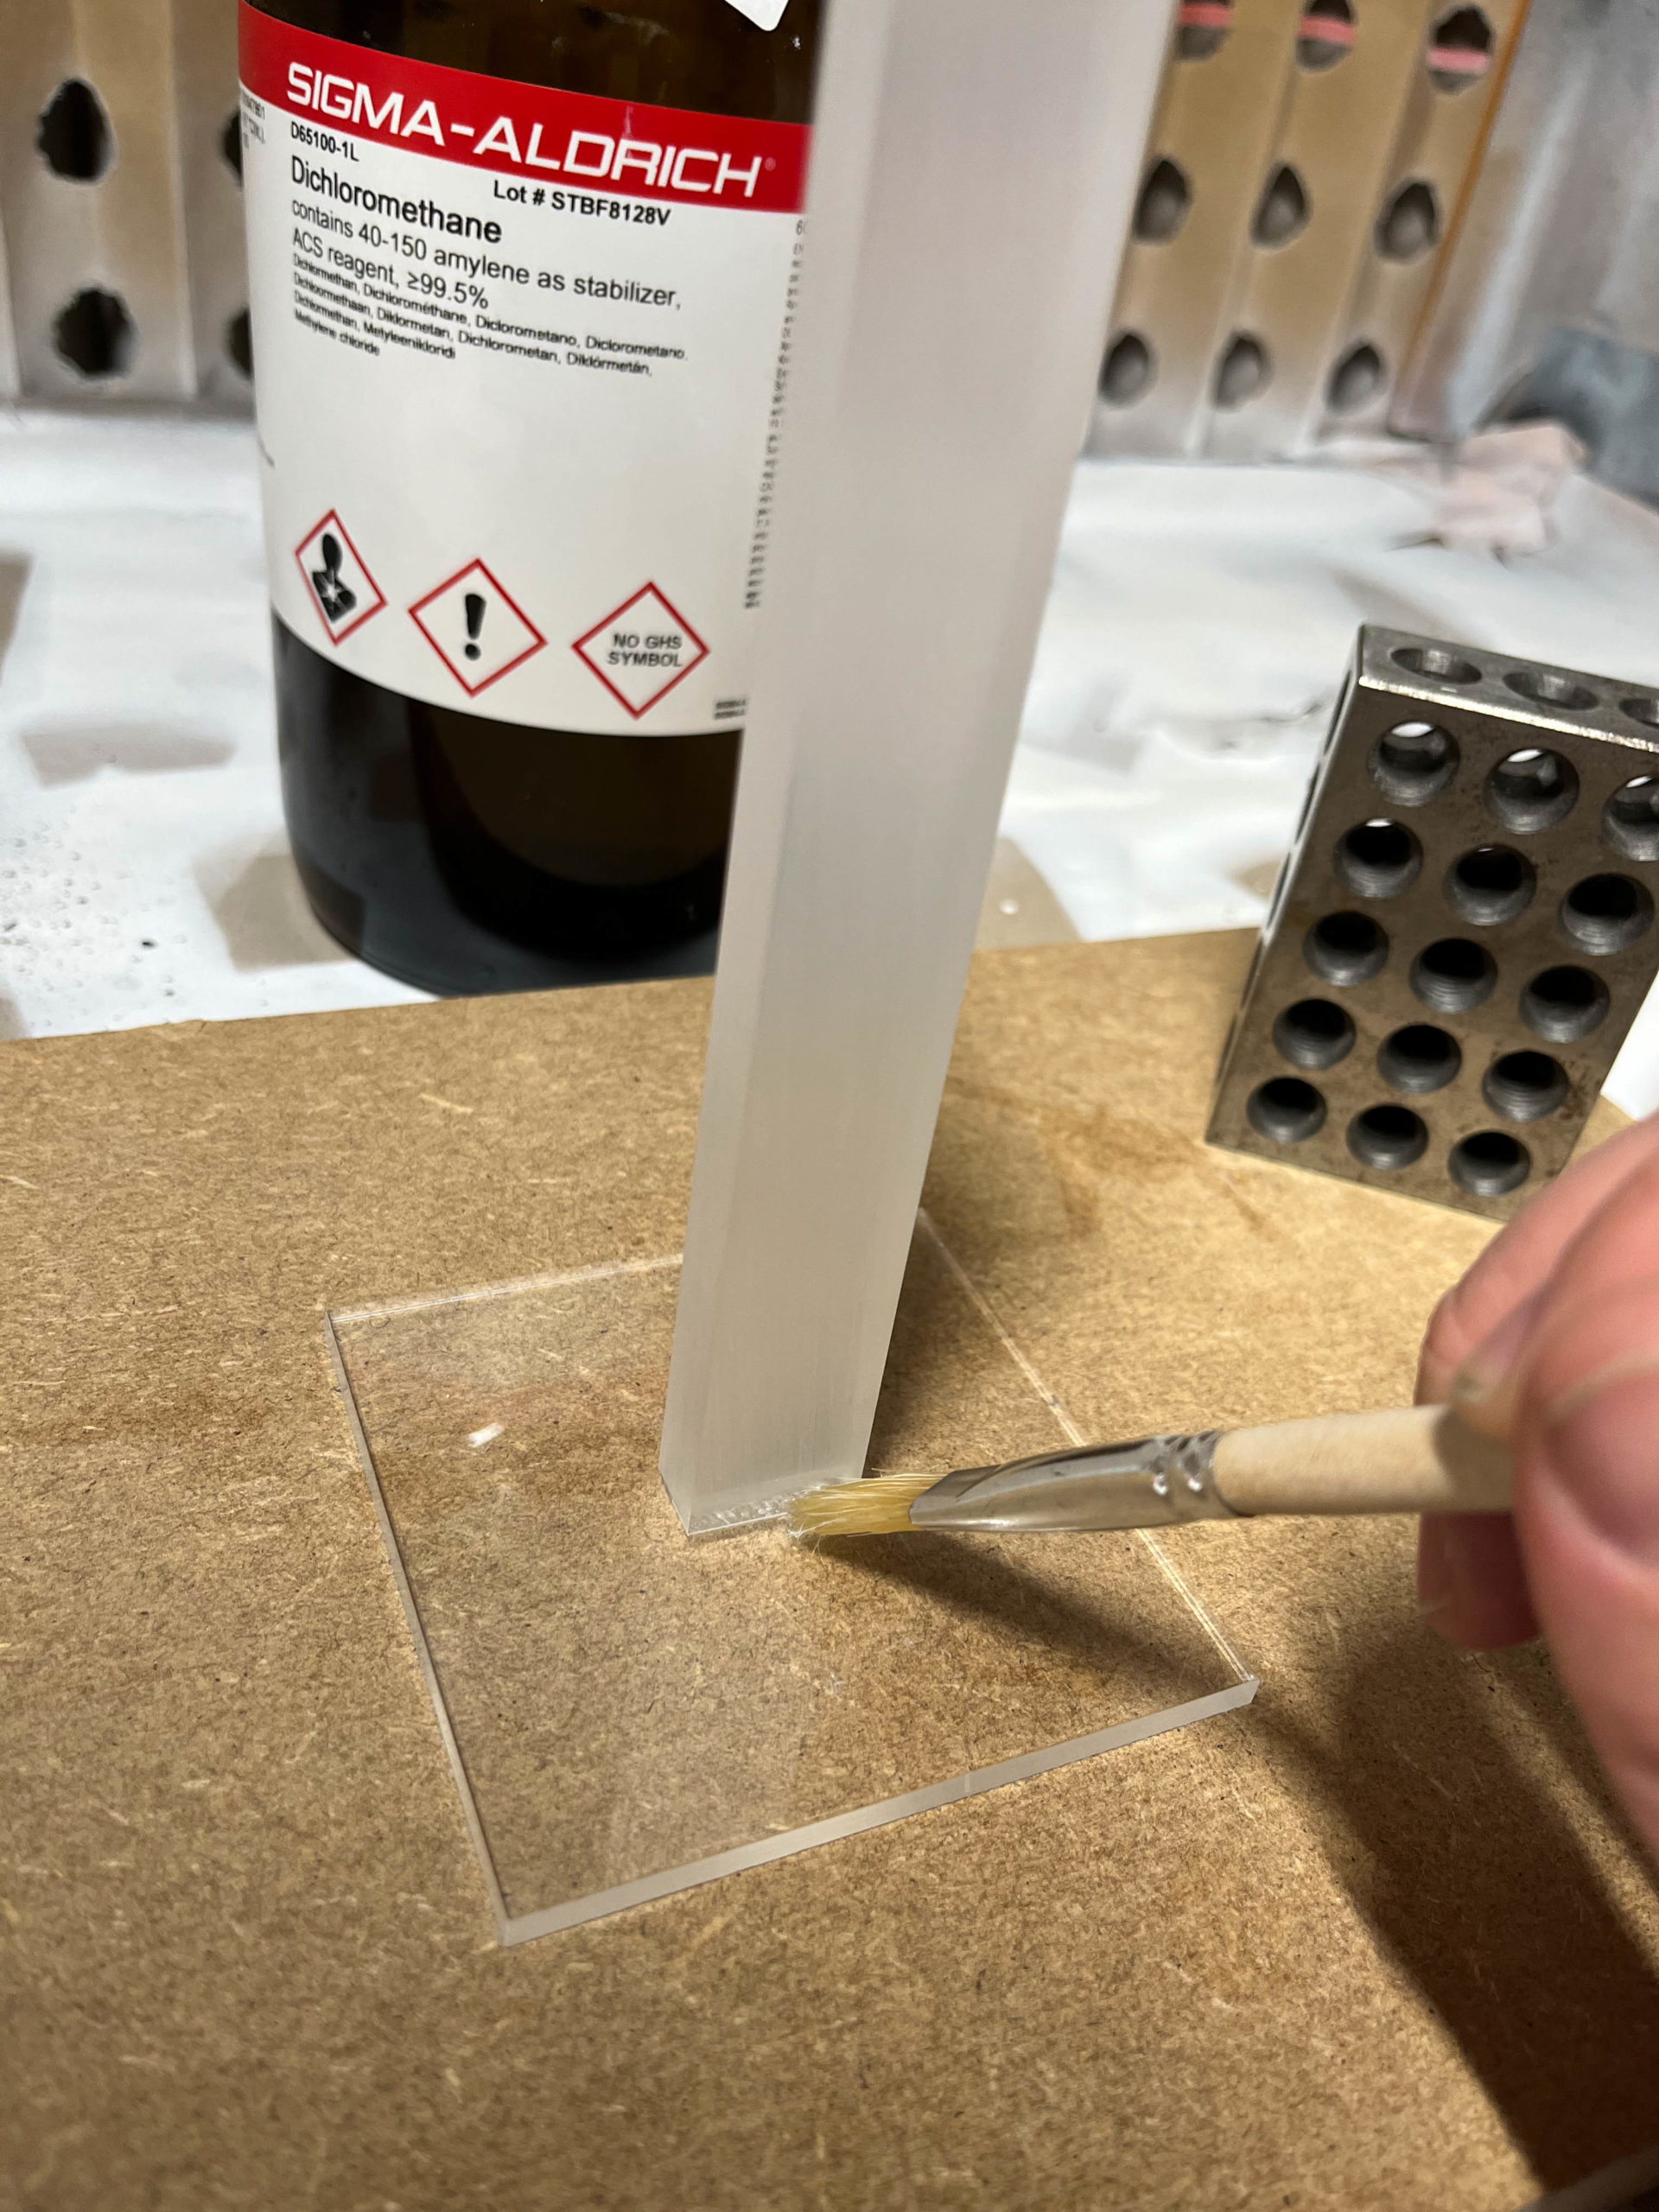
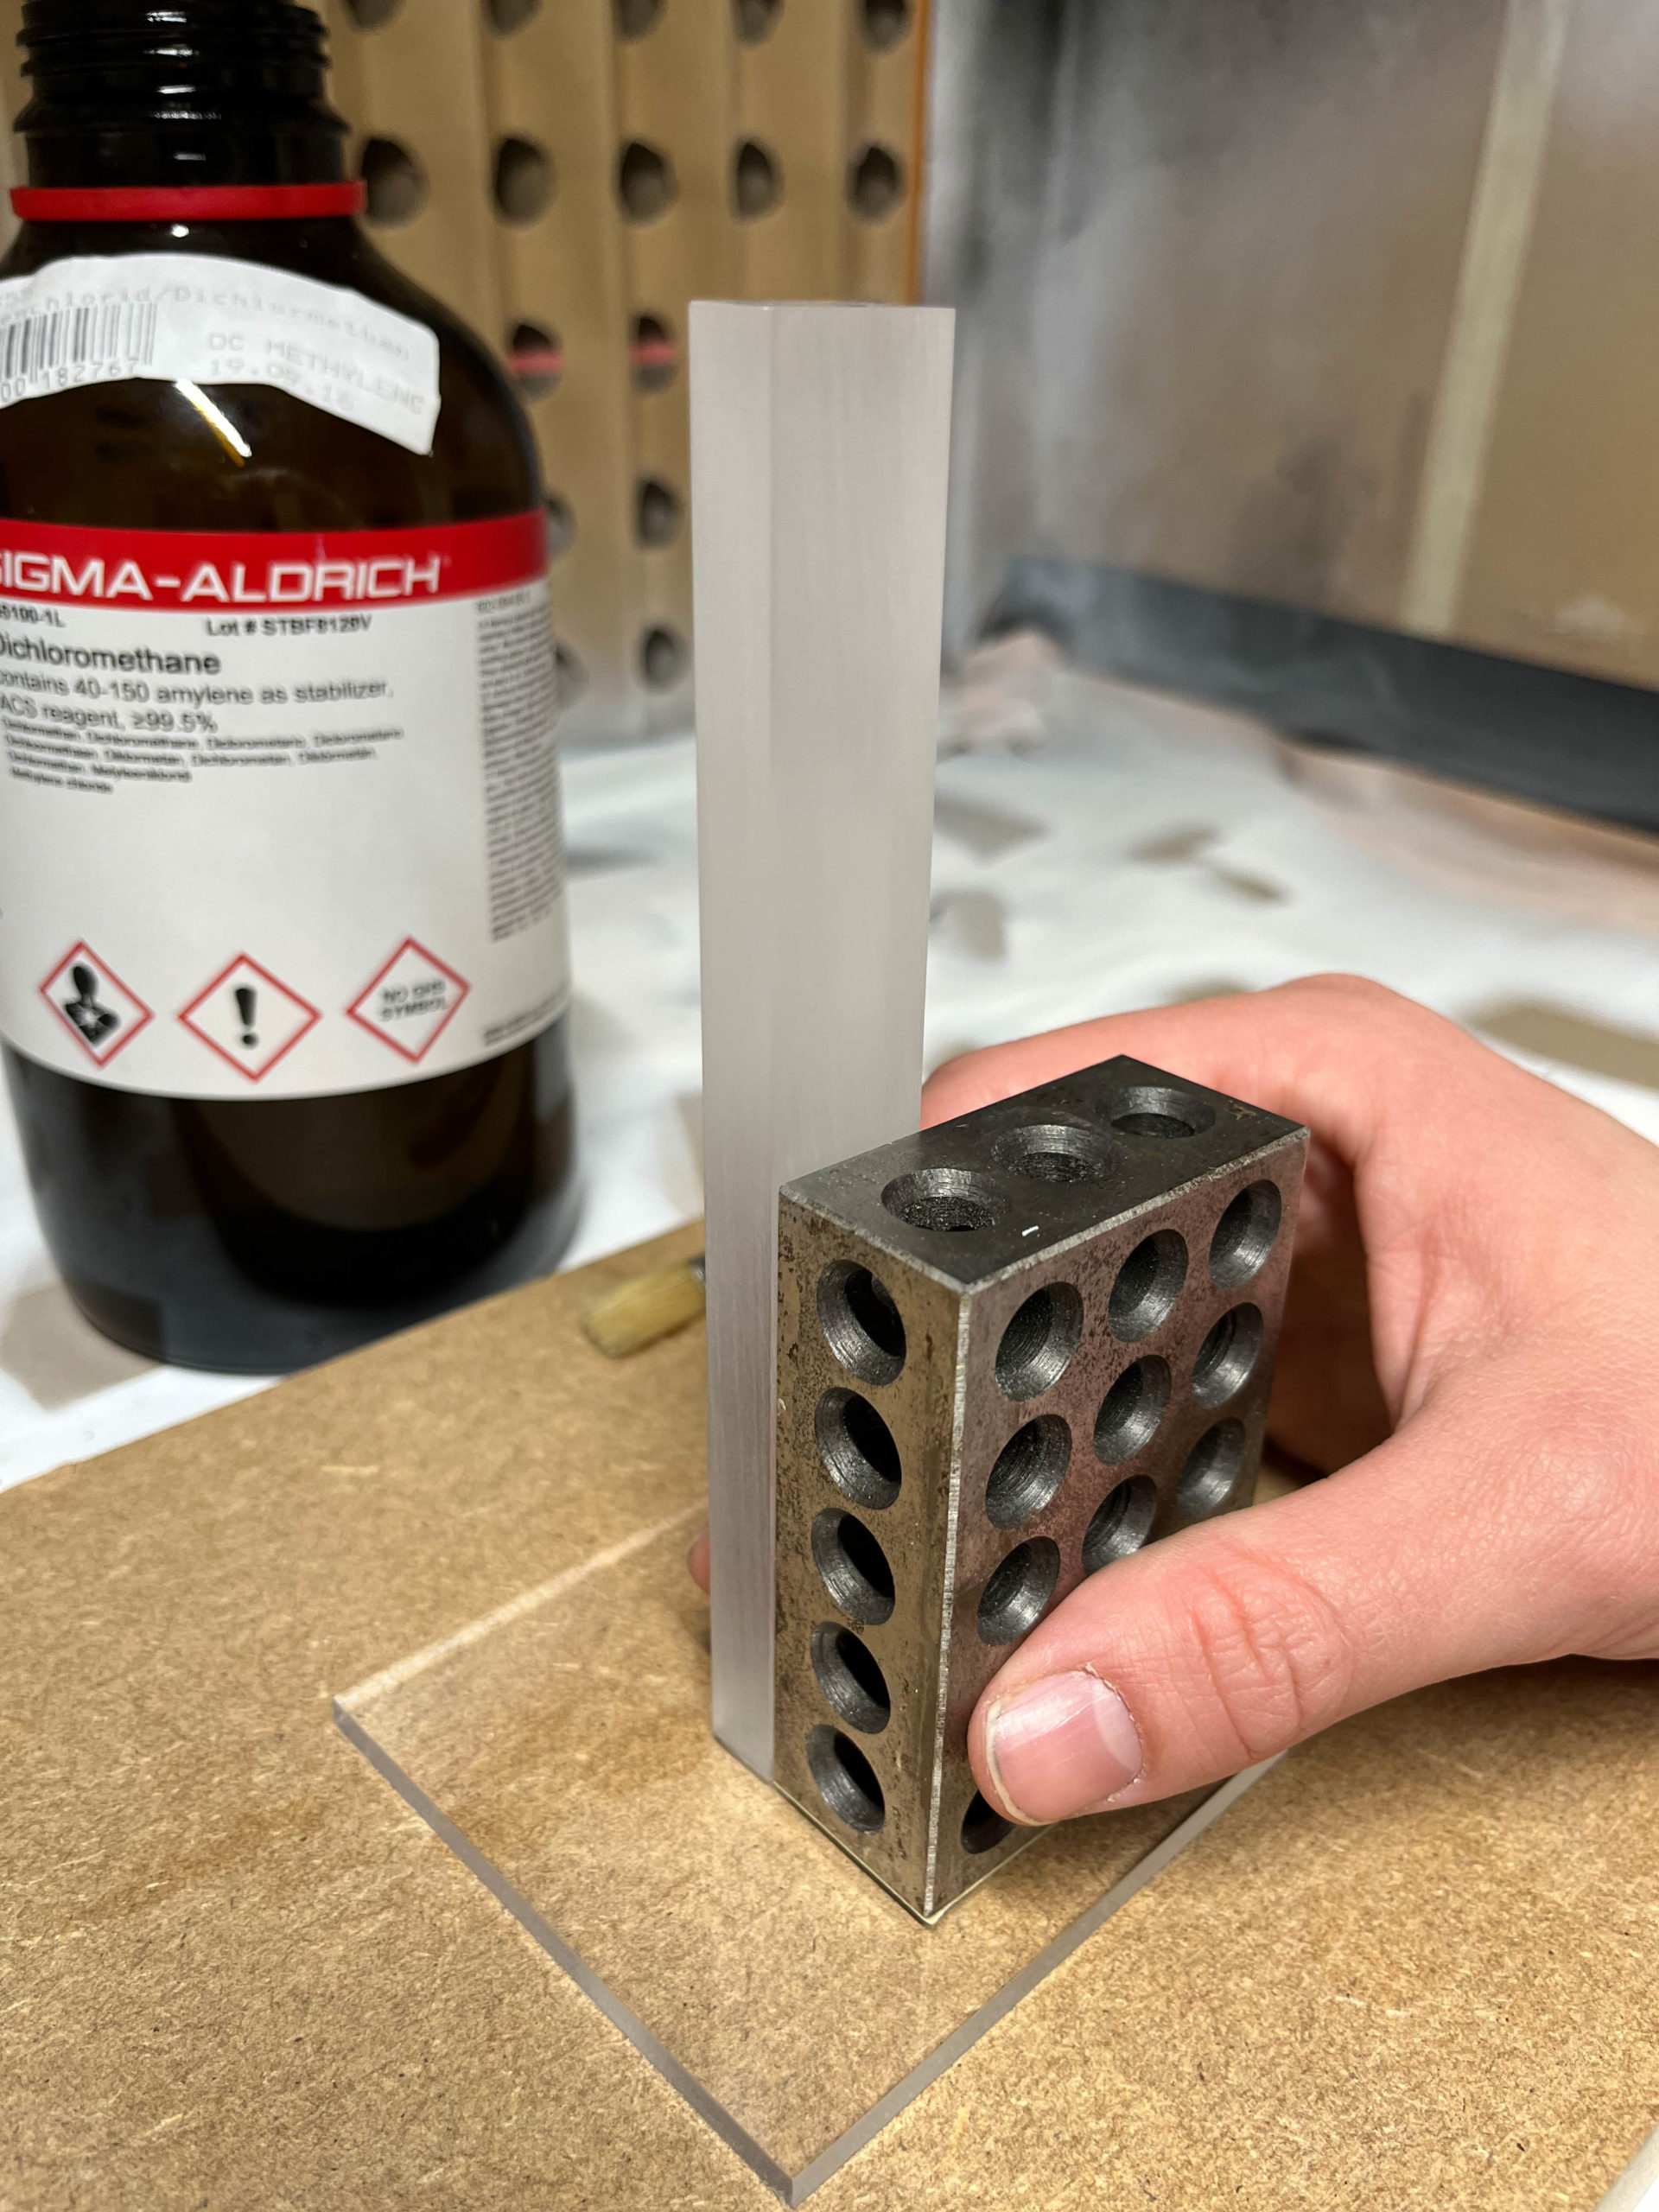
  5. Use a paintbrush and dichloromethane to adhere your core to the base
    (the part with the engraved square)

Assembly

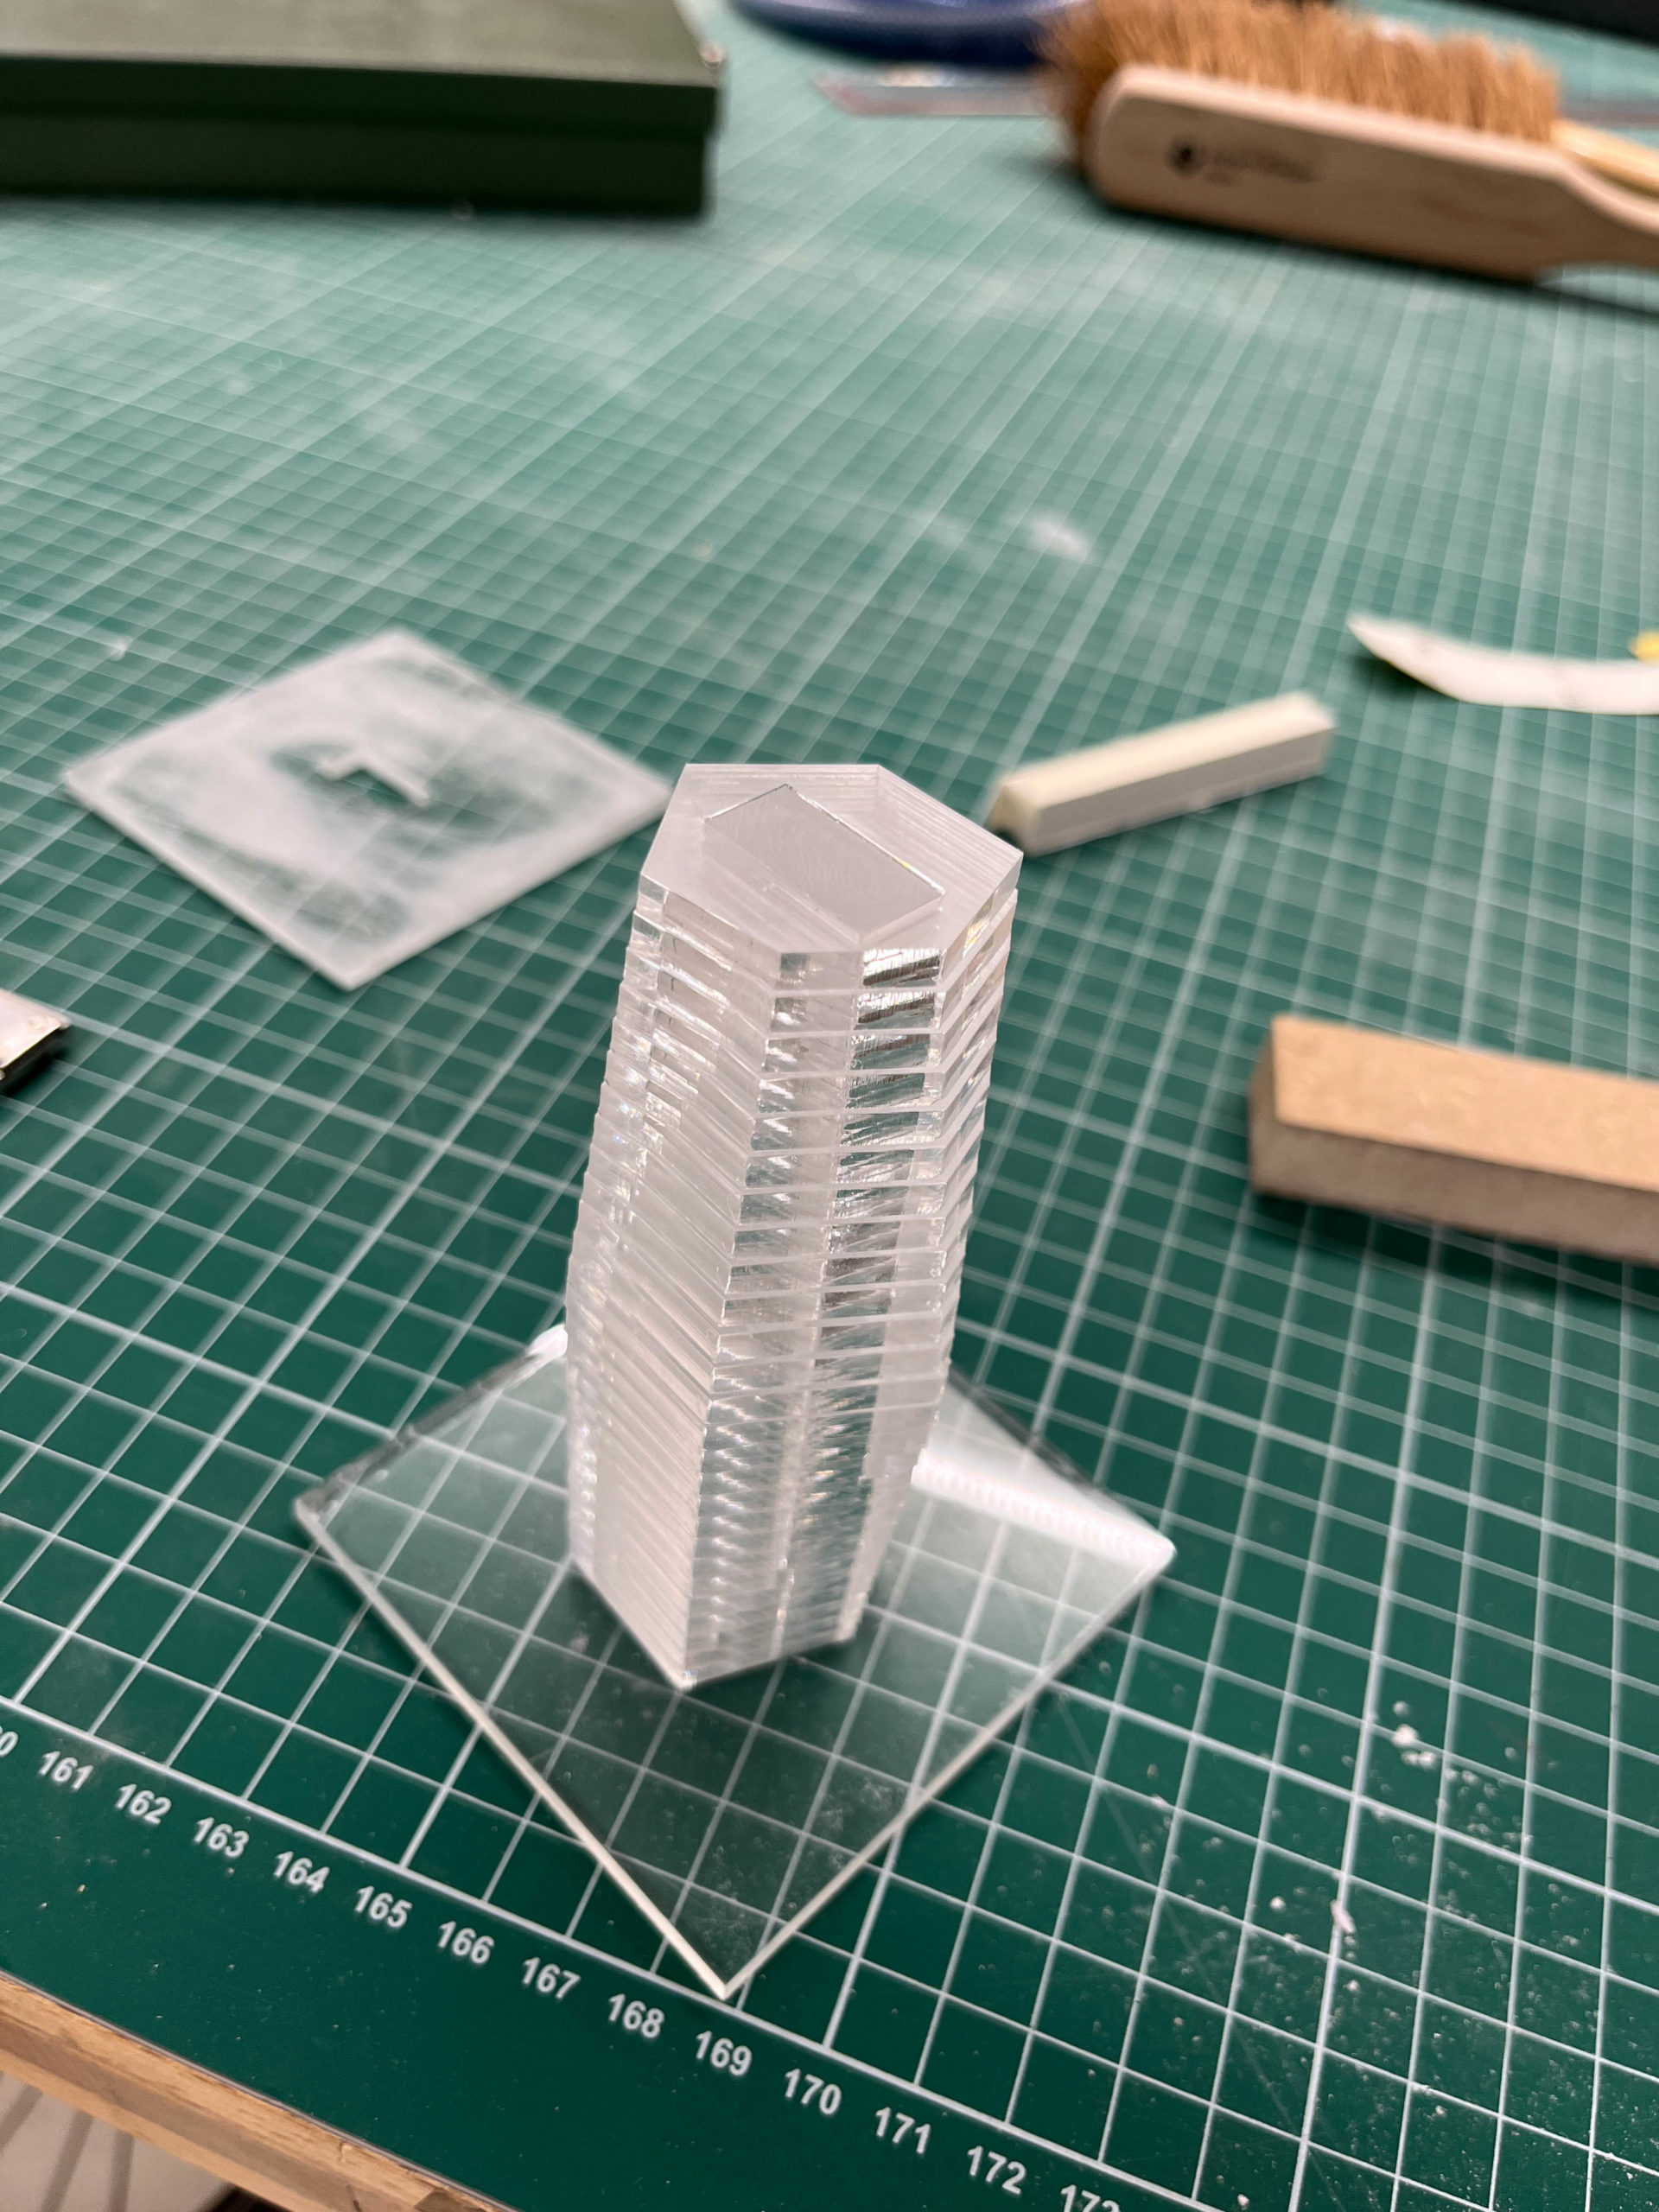
  1. Slide your laser-cut pieces down the core.
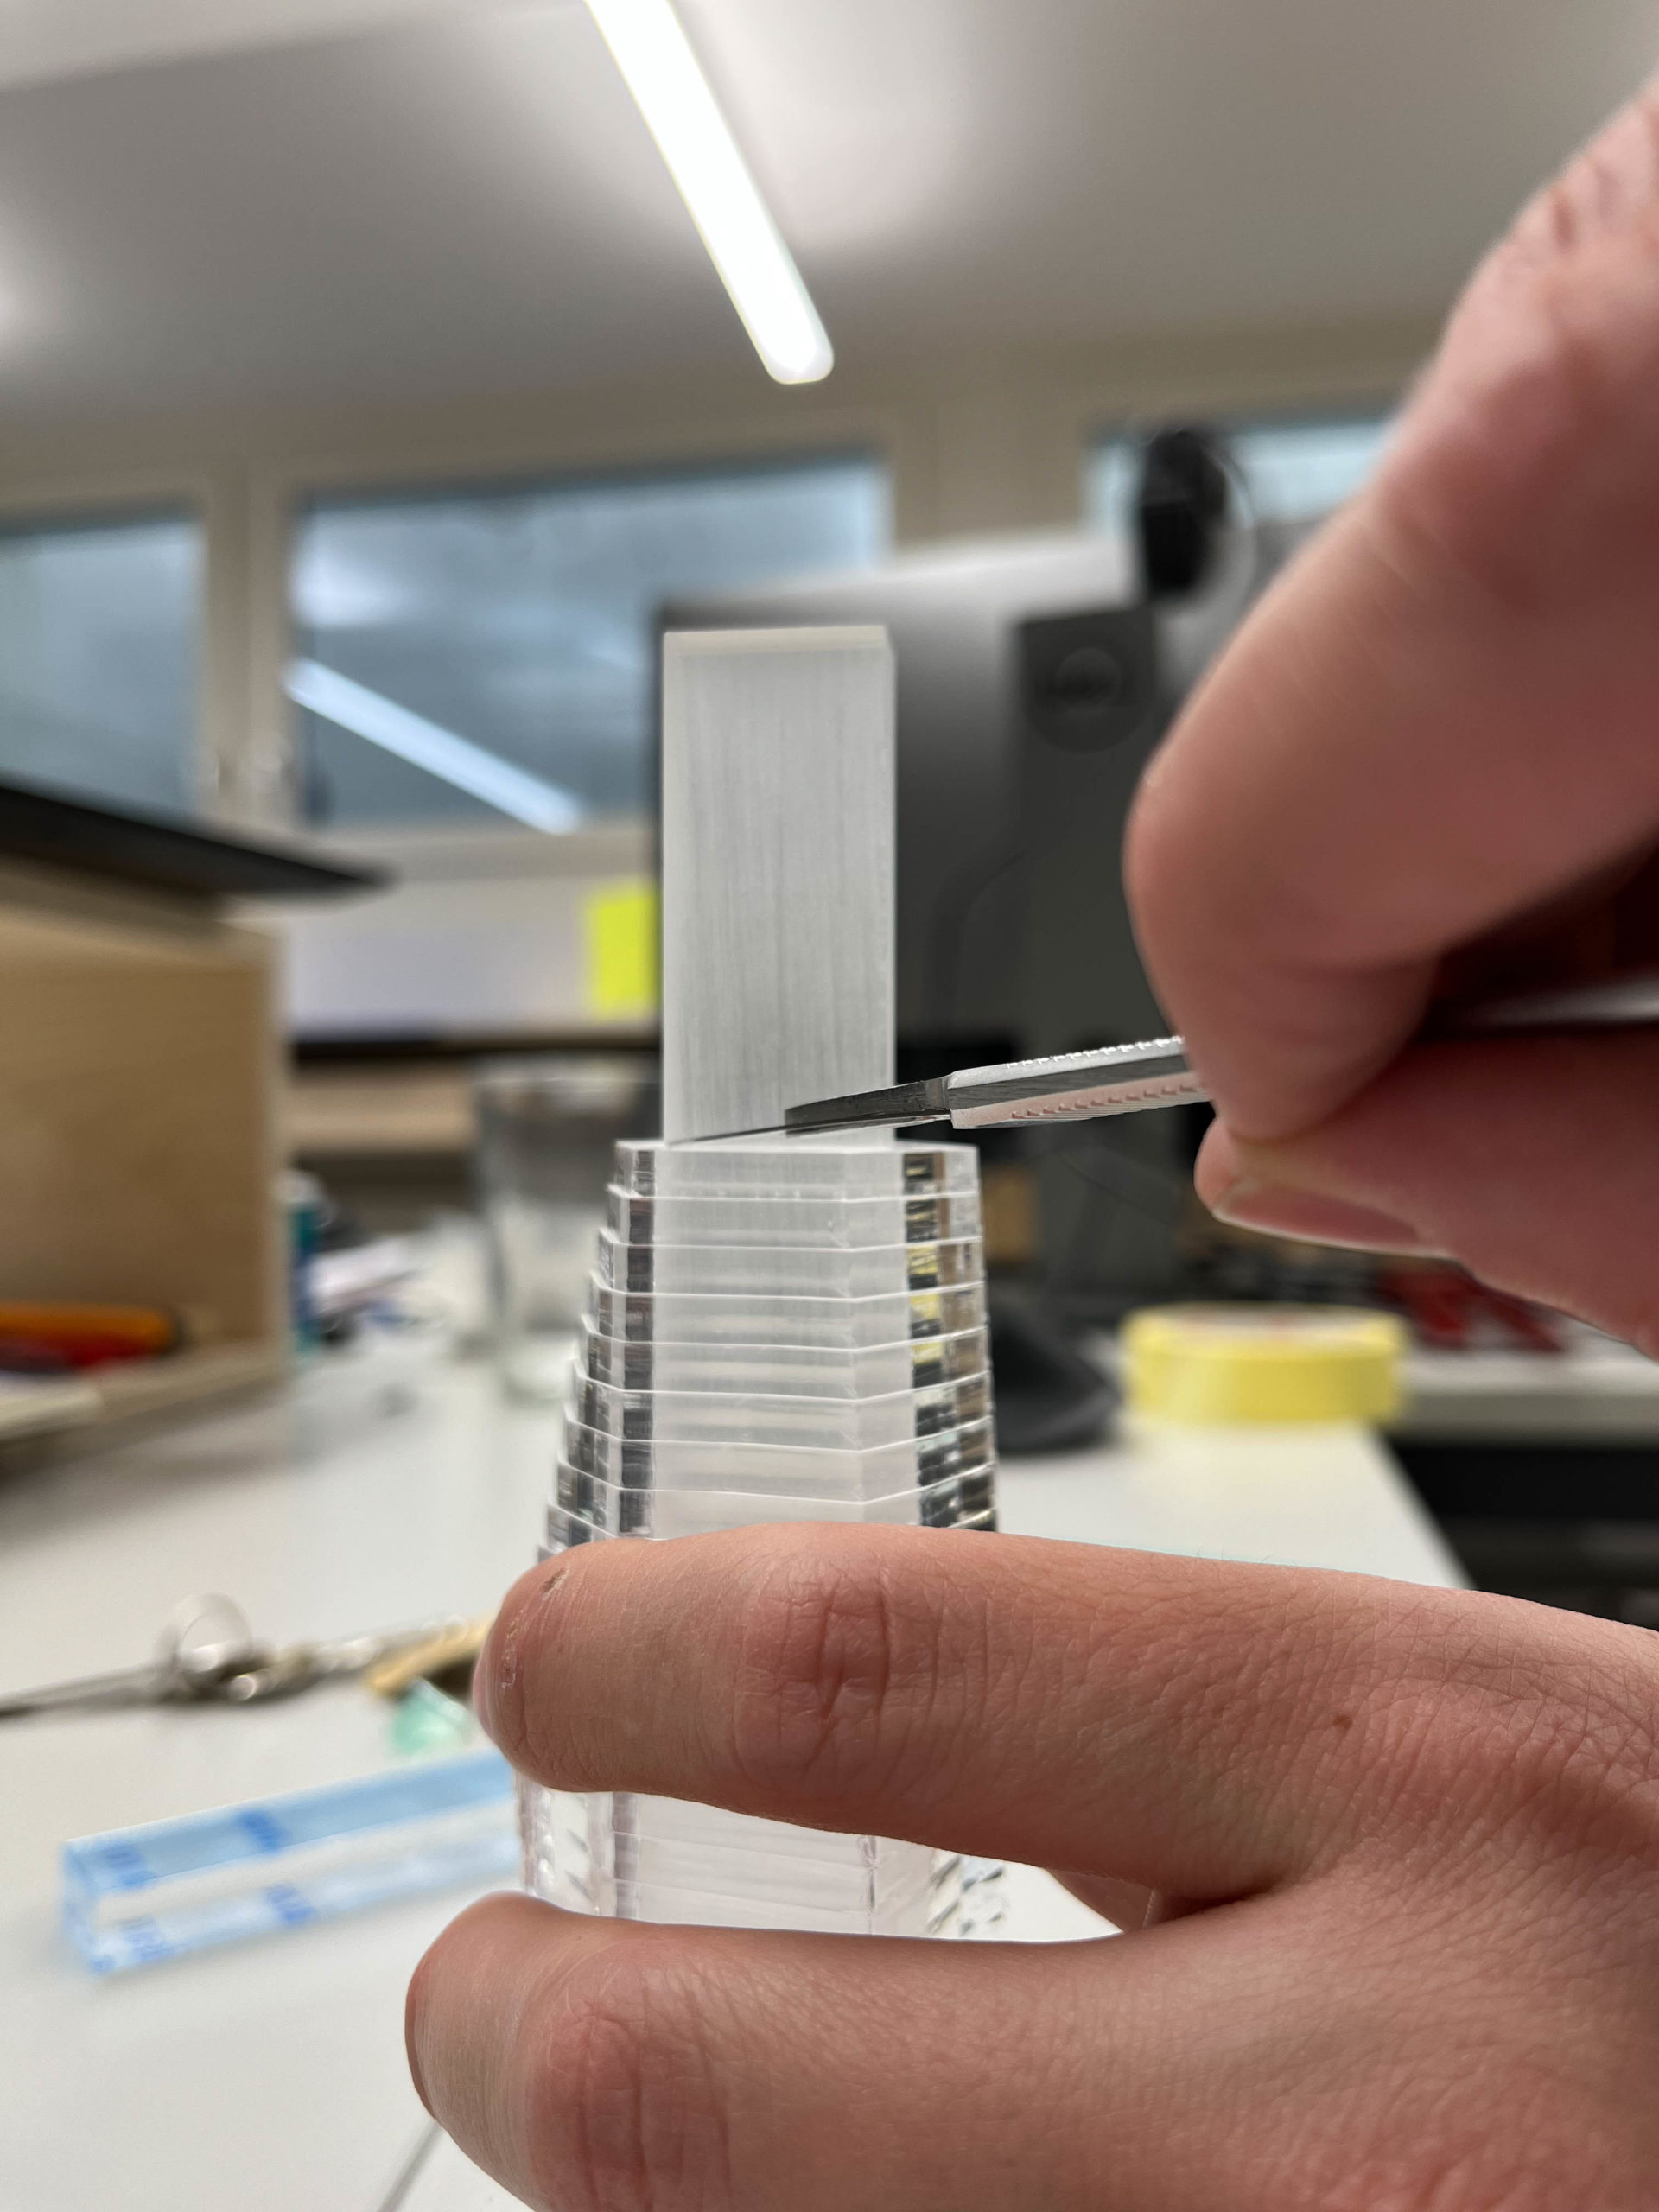
  2. Once all the pieces are on the core, score a line on the core to indicate the full height.
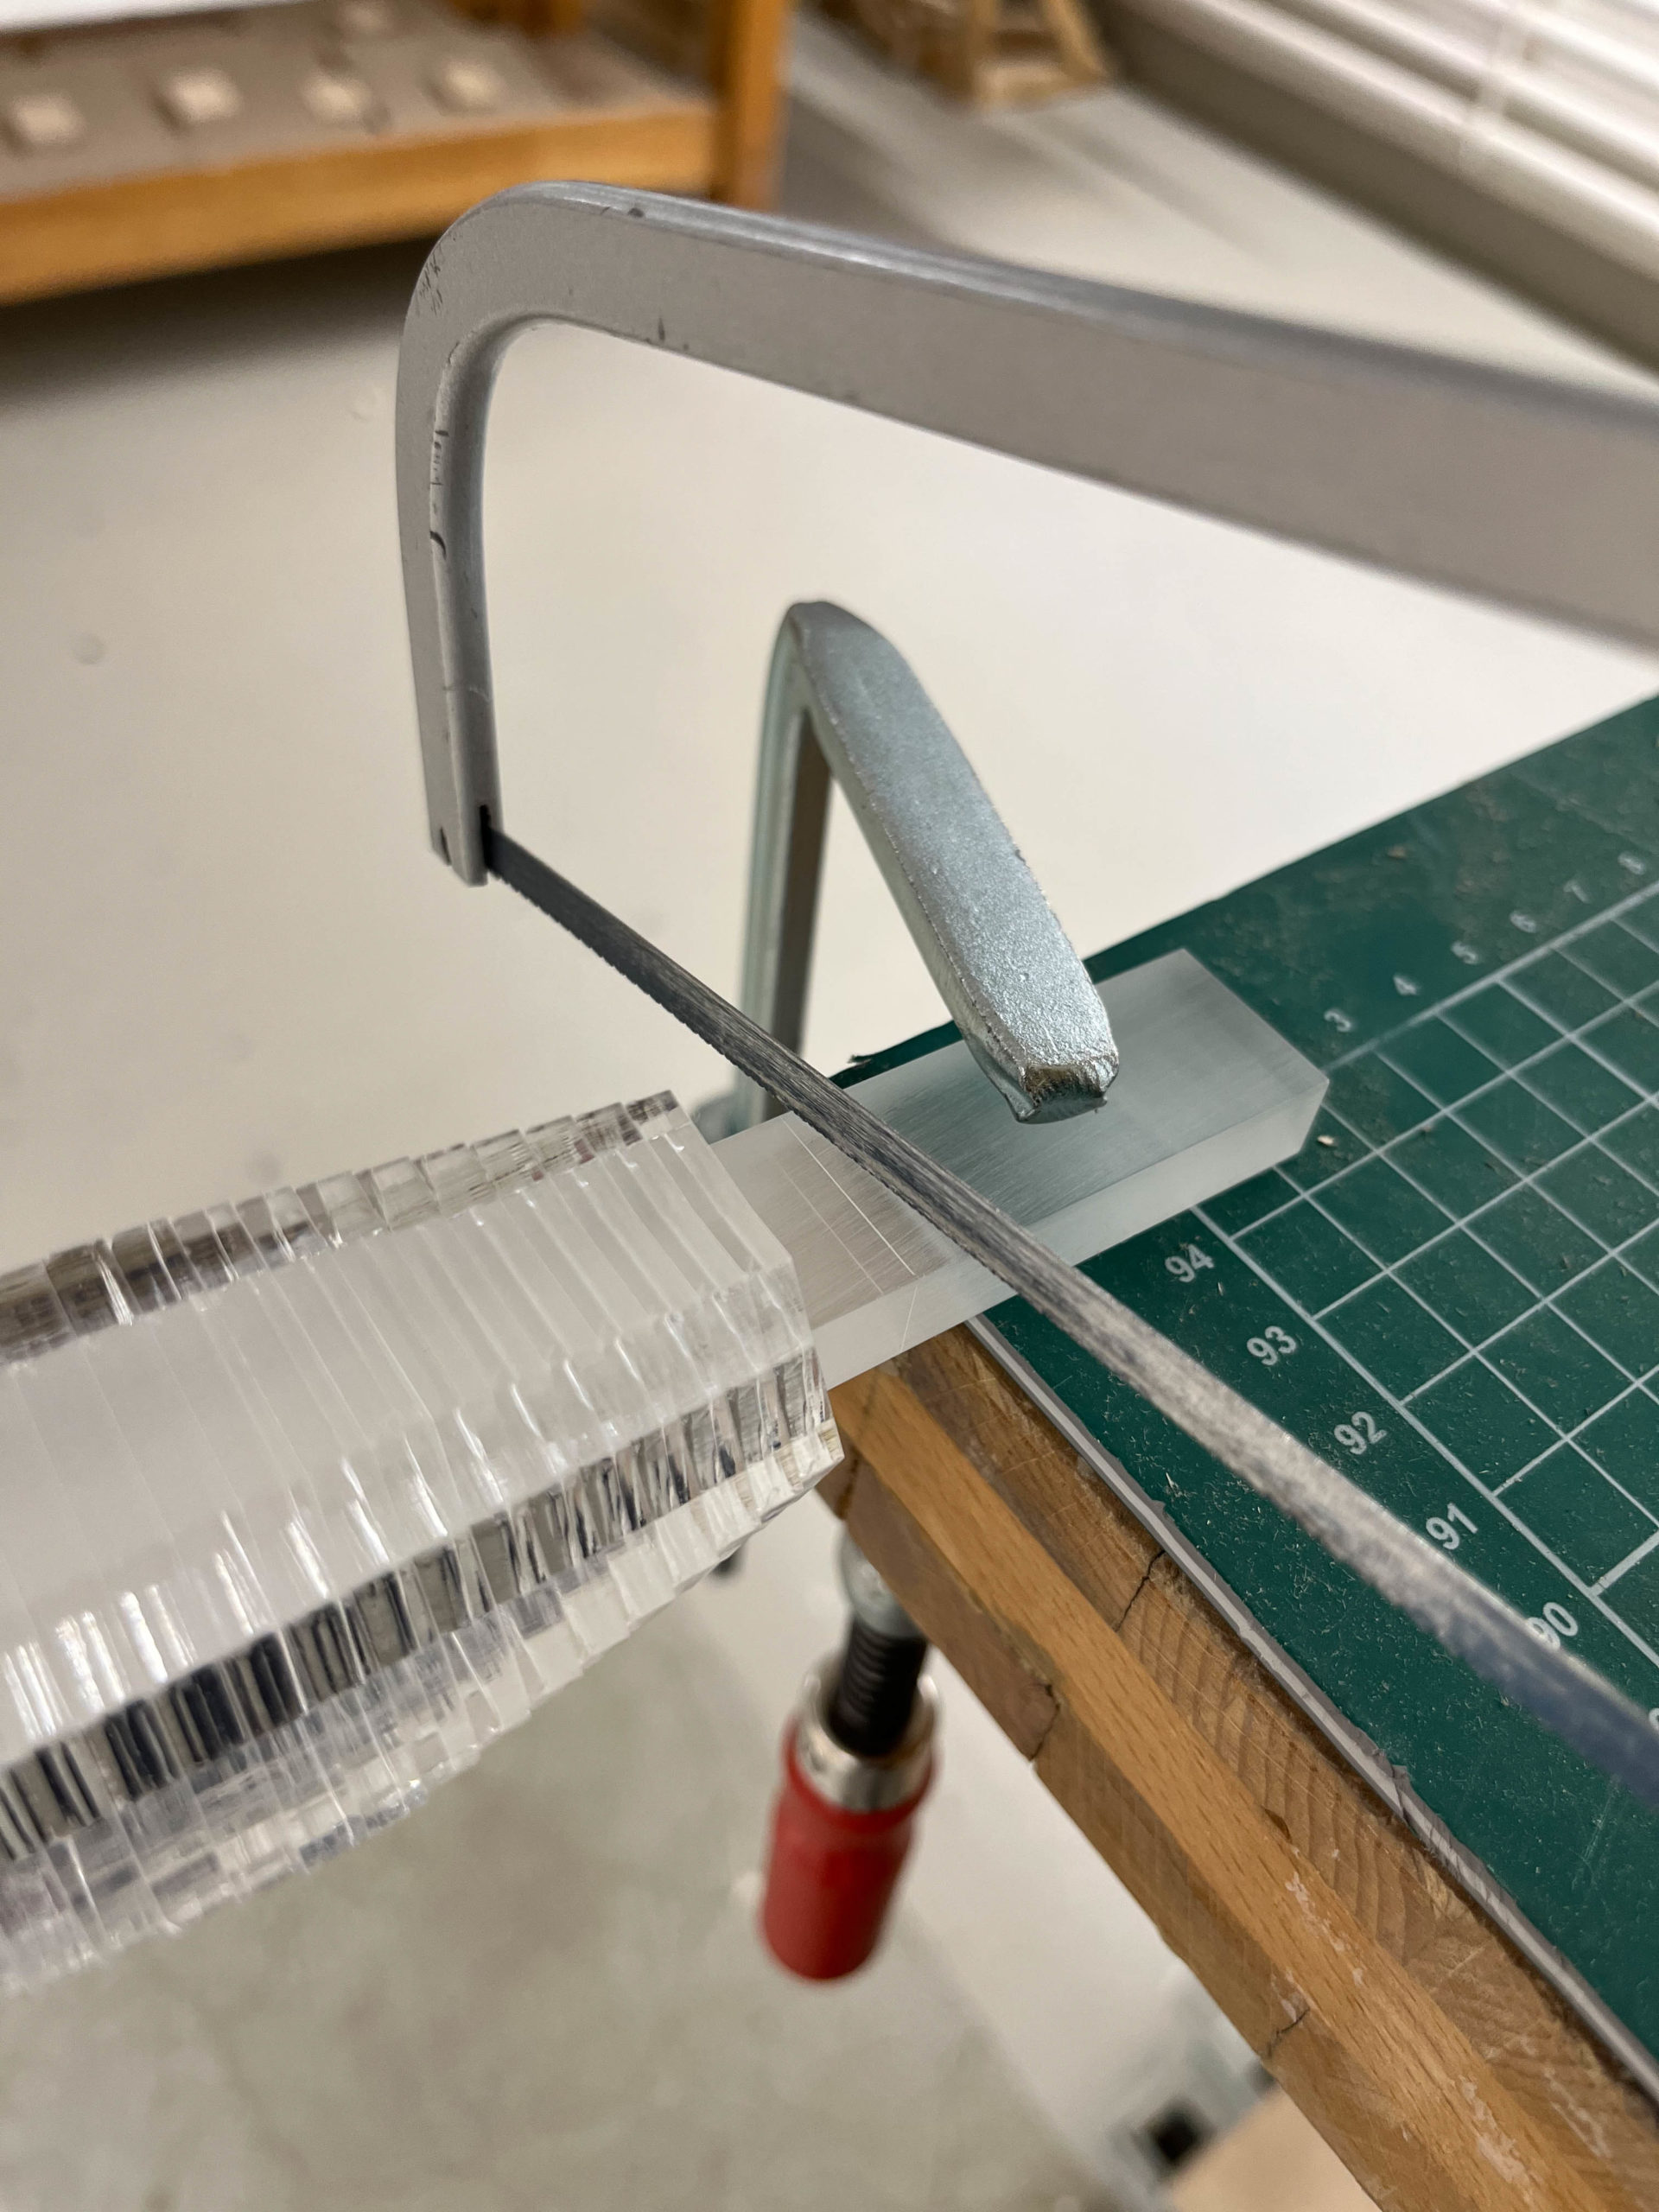
  3. Remove some of your floors and cut your core to size
    (leaving an extra 0.5mm or so)
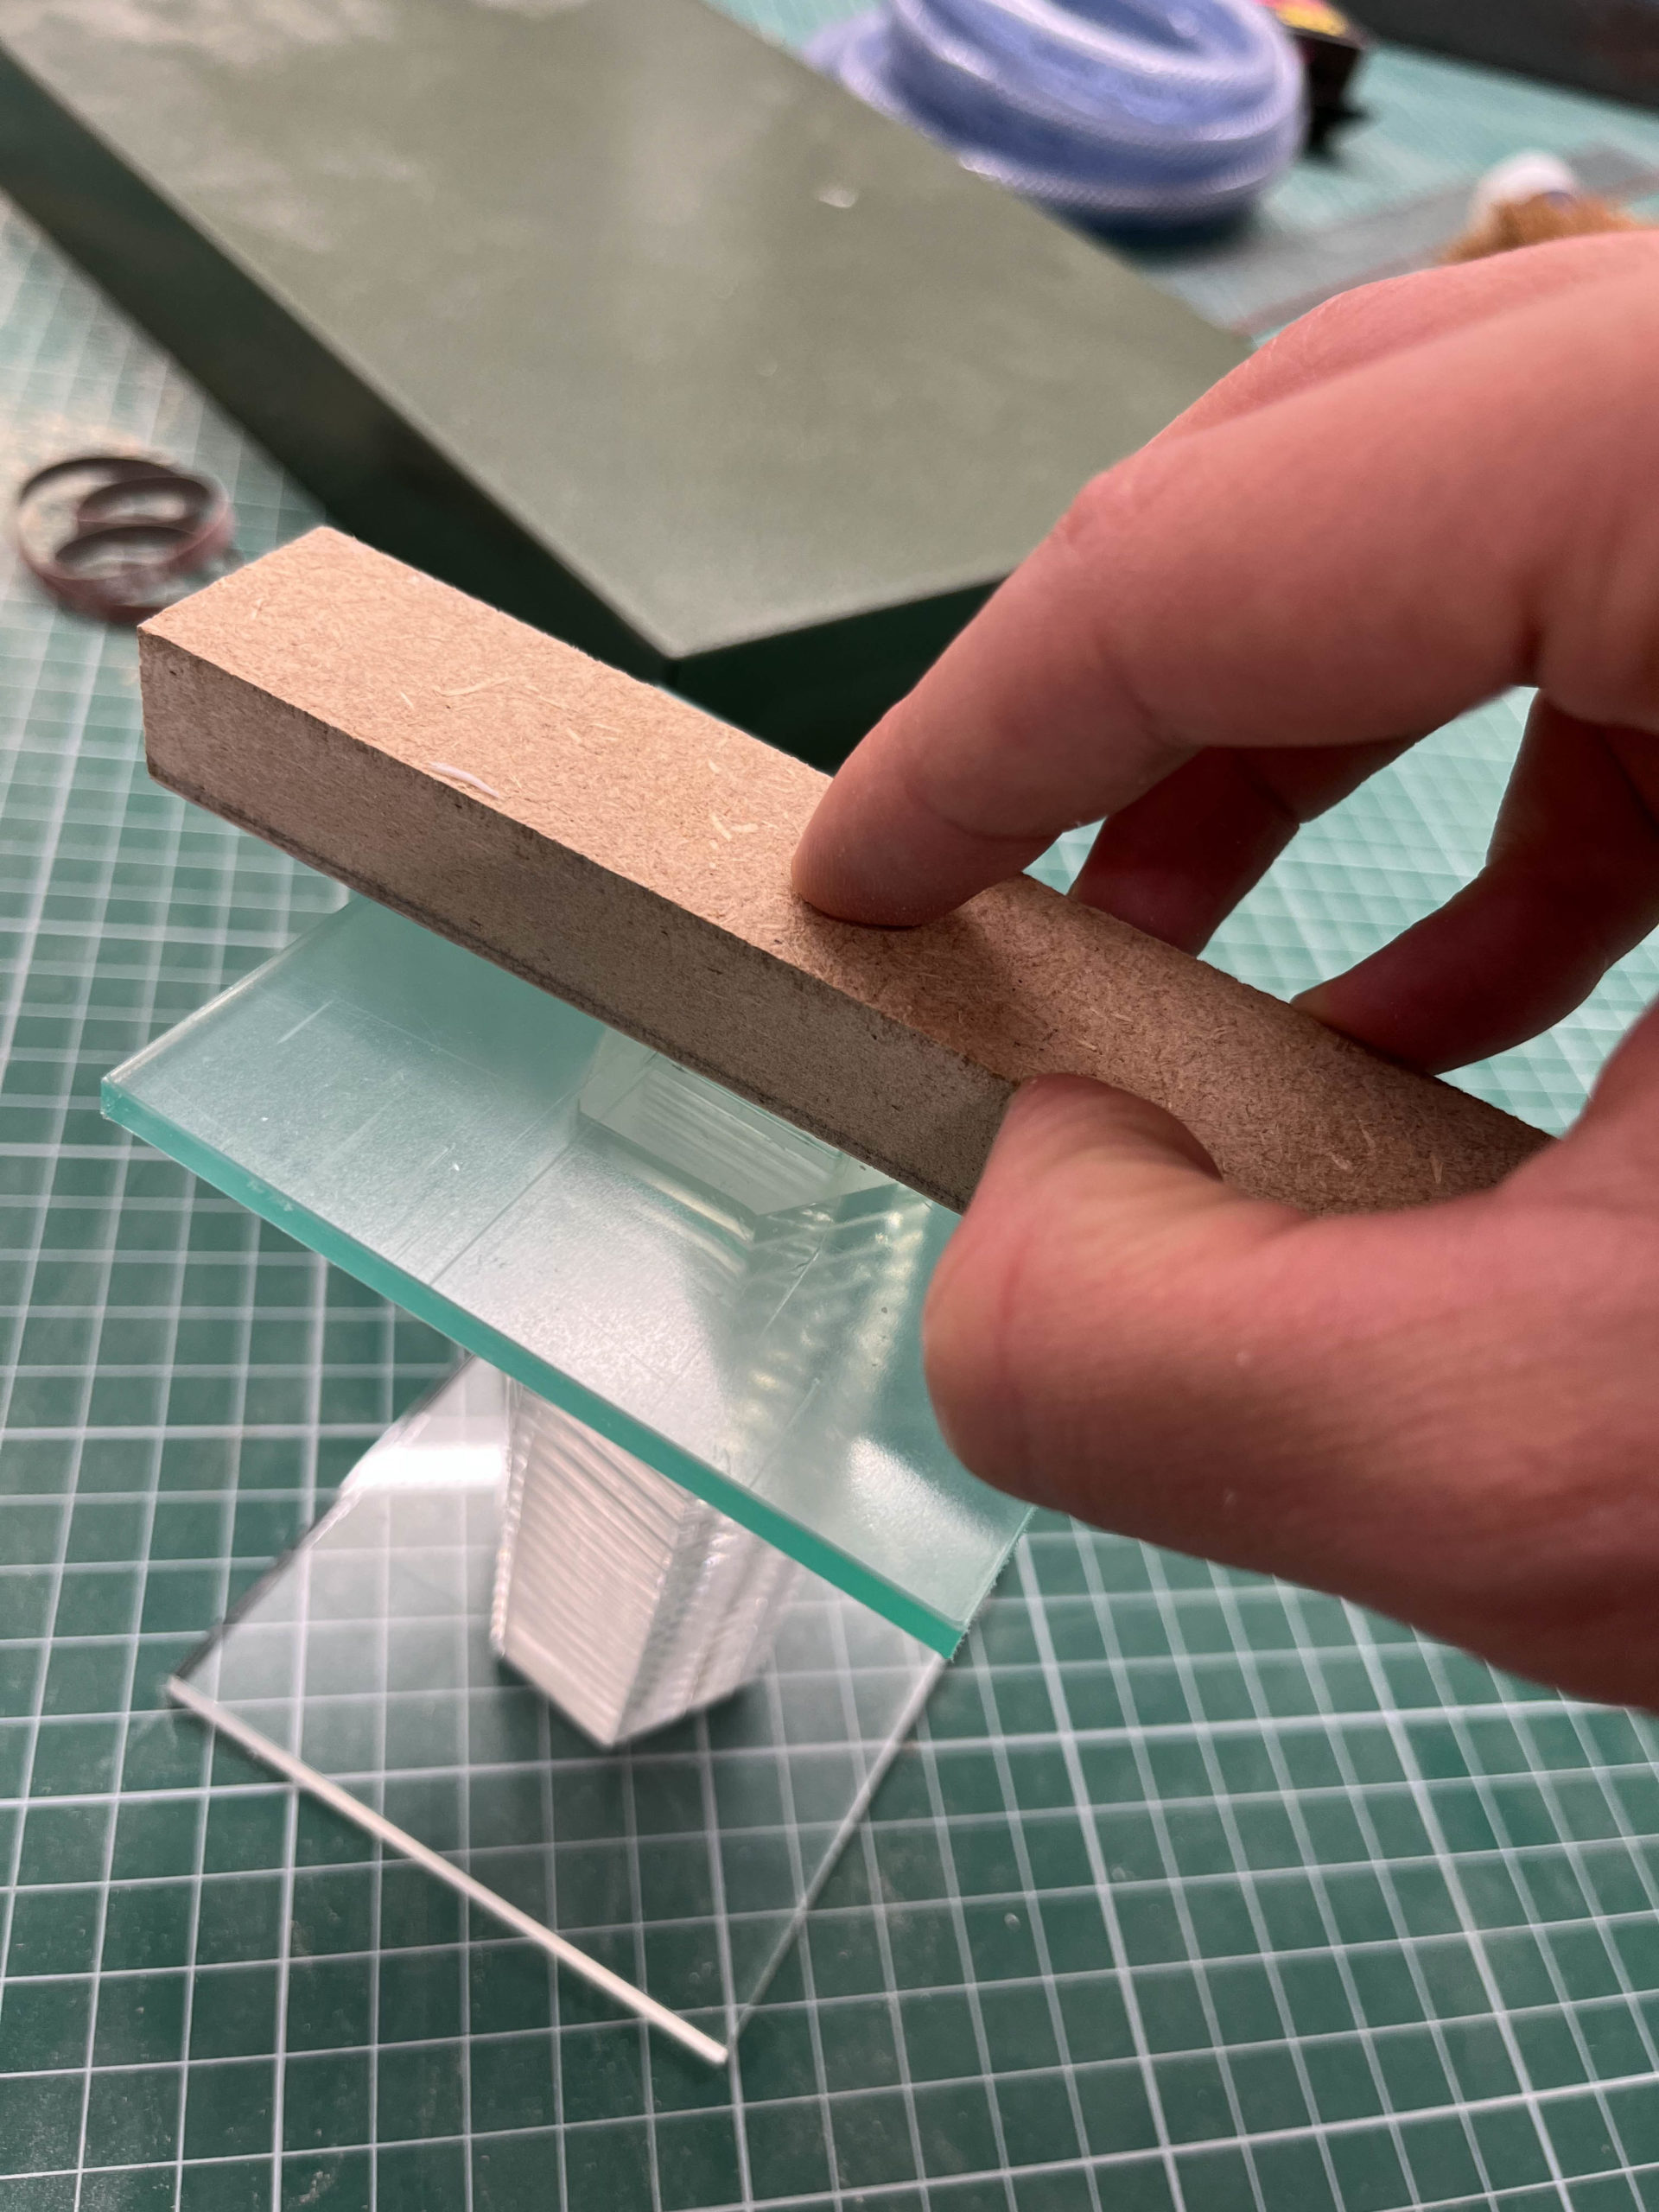
  4. Slide the floors back onto the core except one. Use the Sanding jig, provided with the core and base PDF file to sand your core to the final size.
  5. Add your final parts to the core

FINISHED!

Examples