Teaching Team
Blanca Guardelegui
Charlotte Schaeben
Alessandro Tellini
Christian Egli
Henry Welch
Students
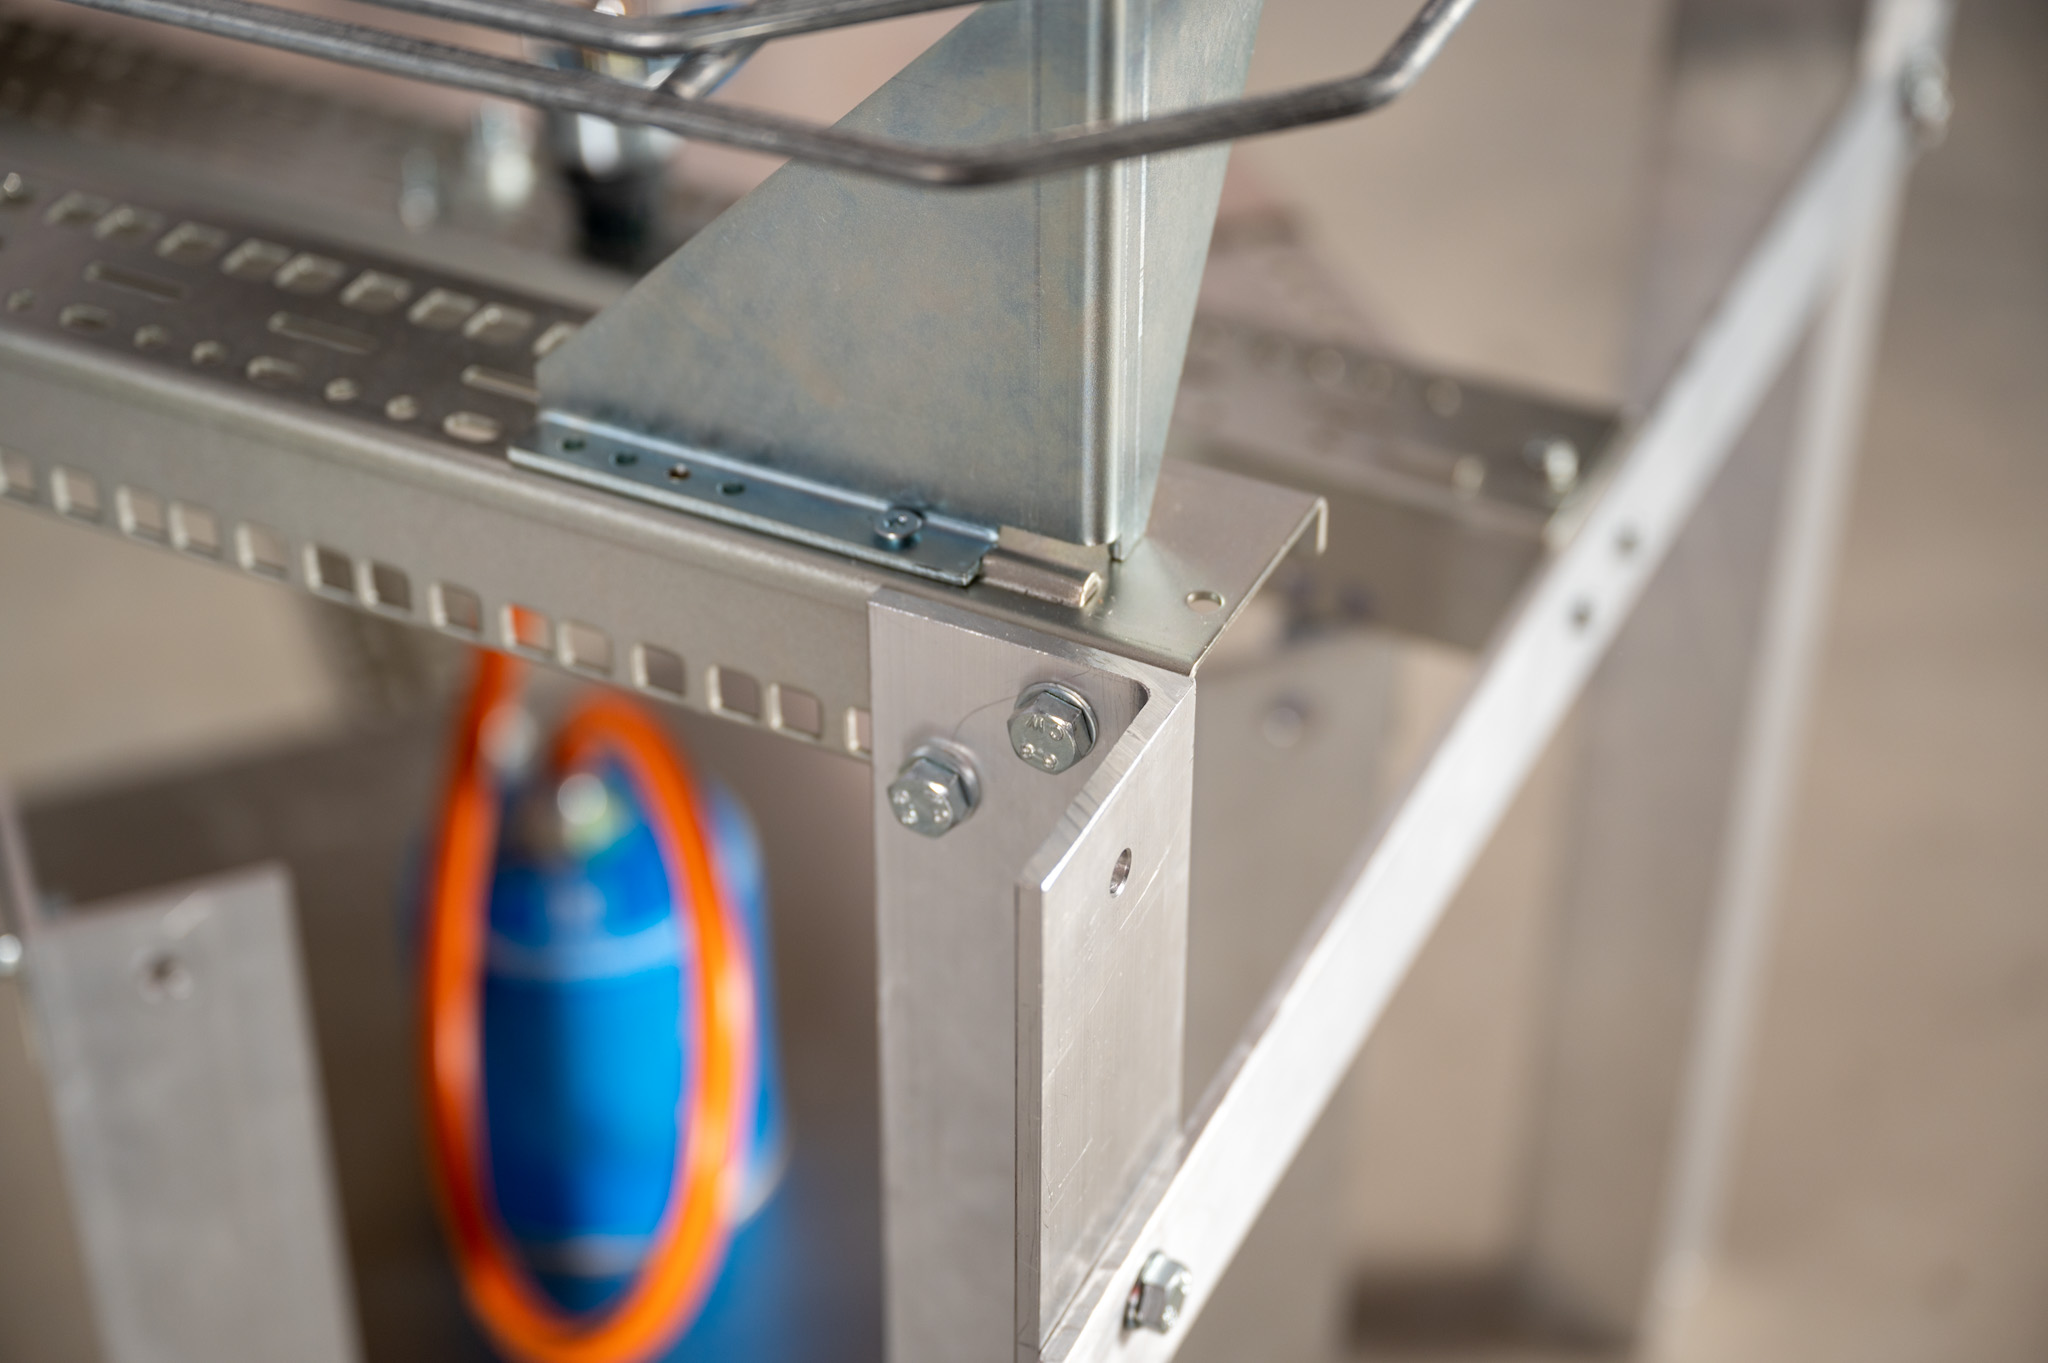
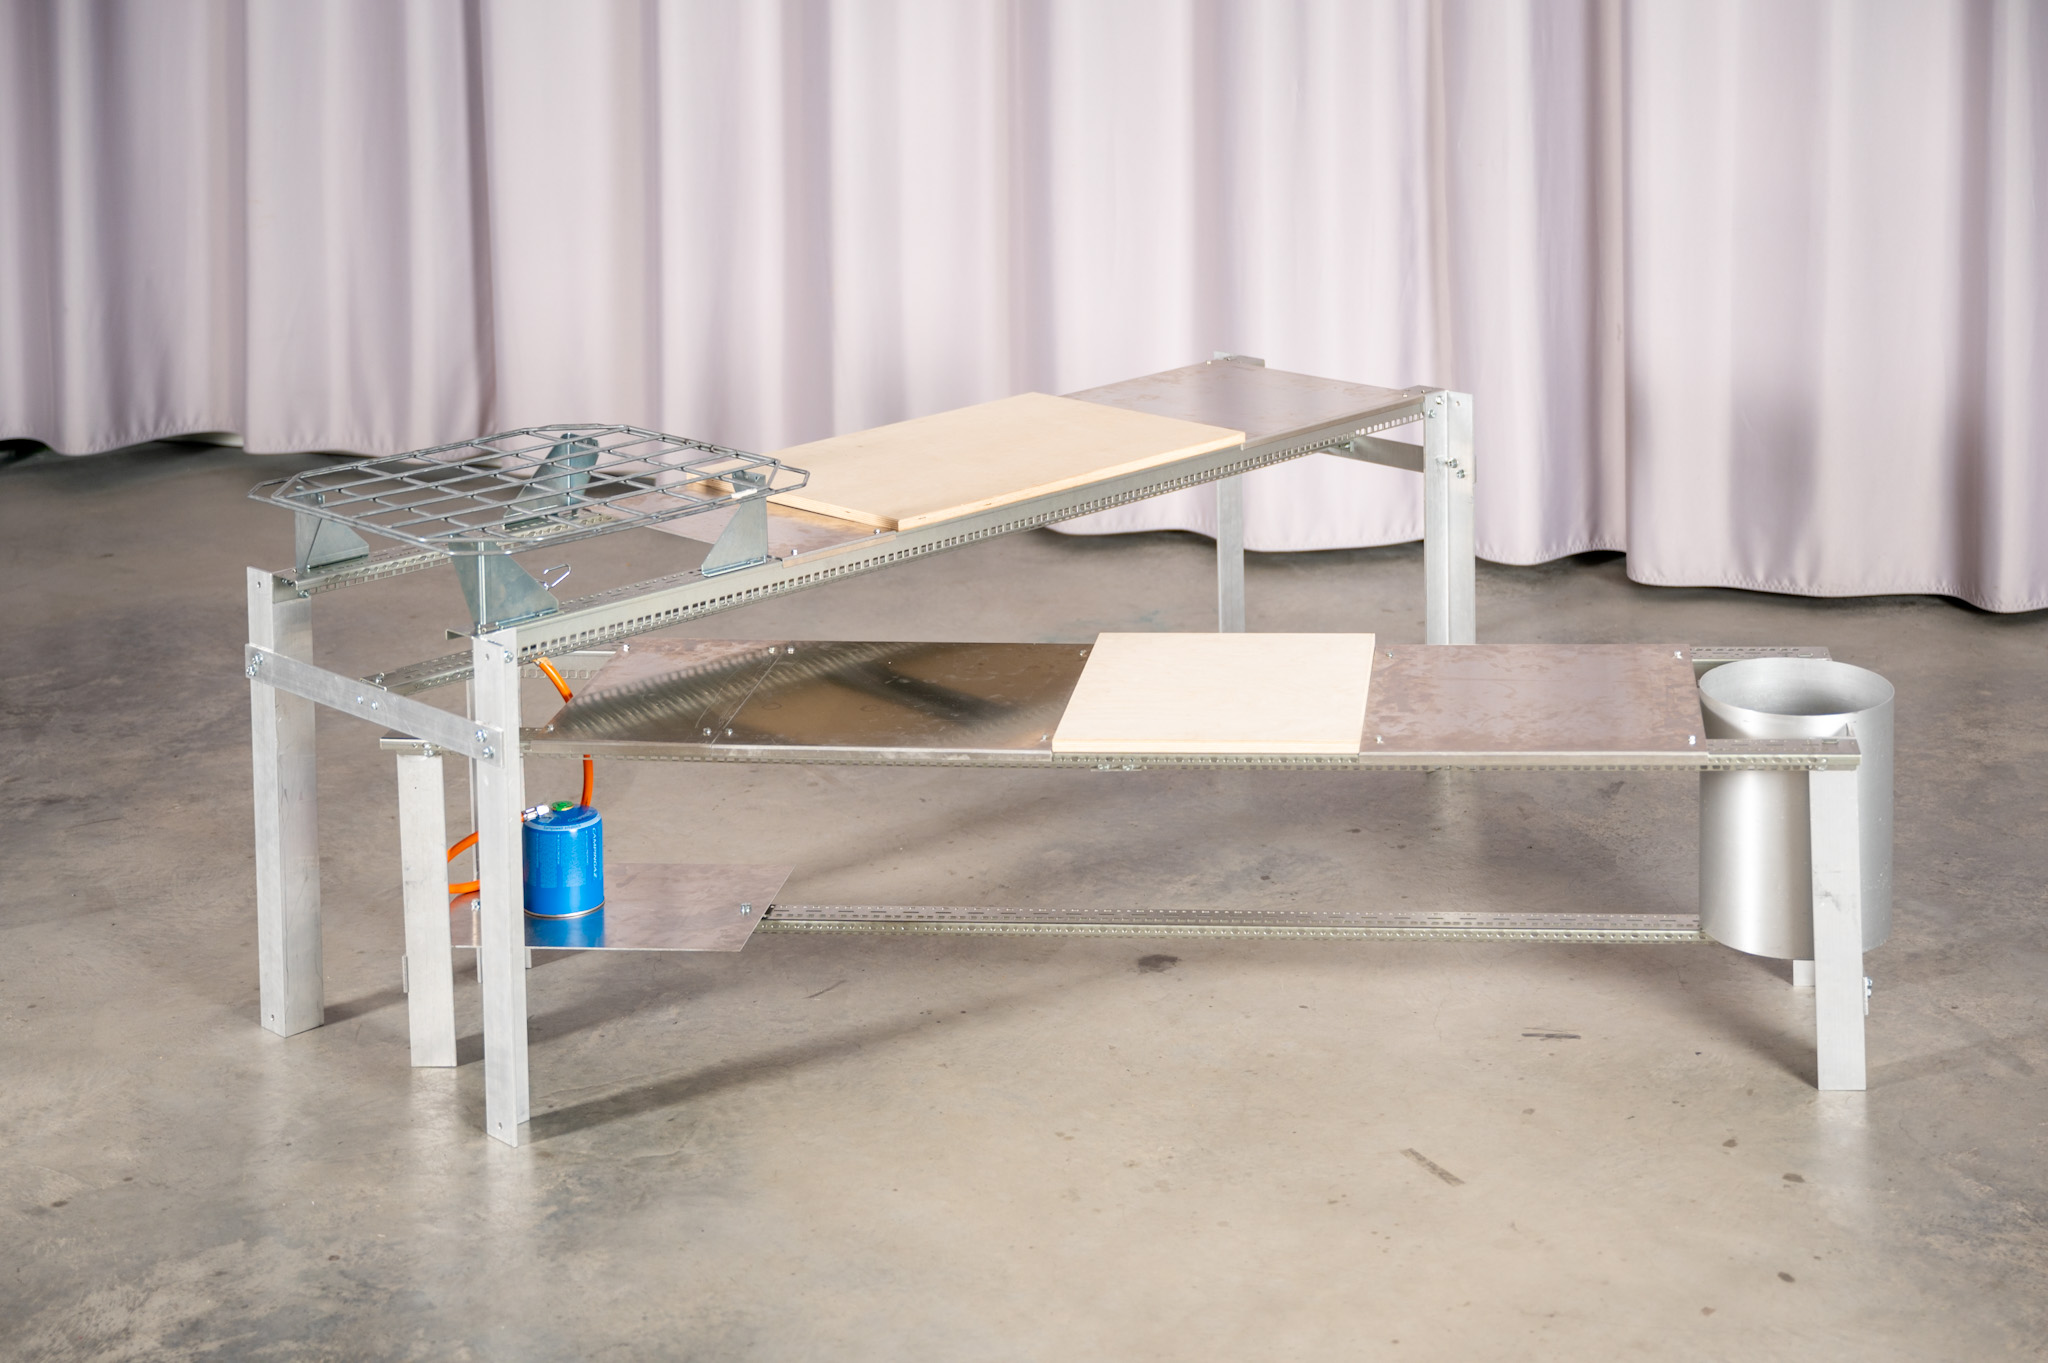
Kitchen-Bench
Eugènie Mazerand
Tommaso Delco @tommydelco
Alexej Rubin
Kiosk
Jakob Schaefermeyer
Viviane von Gunten
Constantin Ferst @_const.i
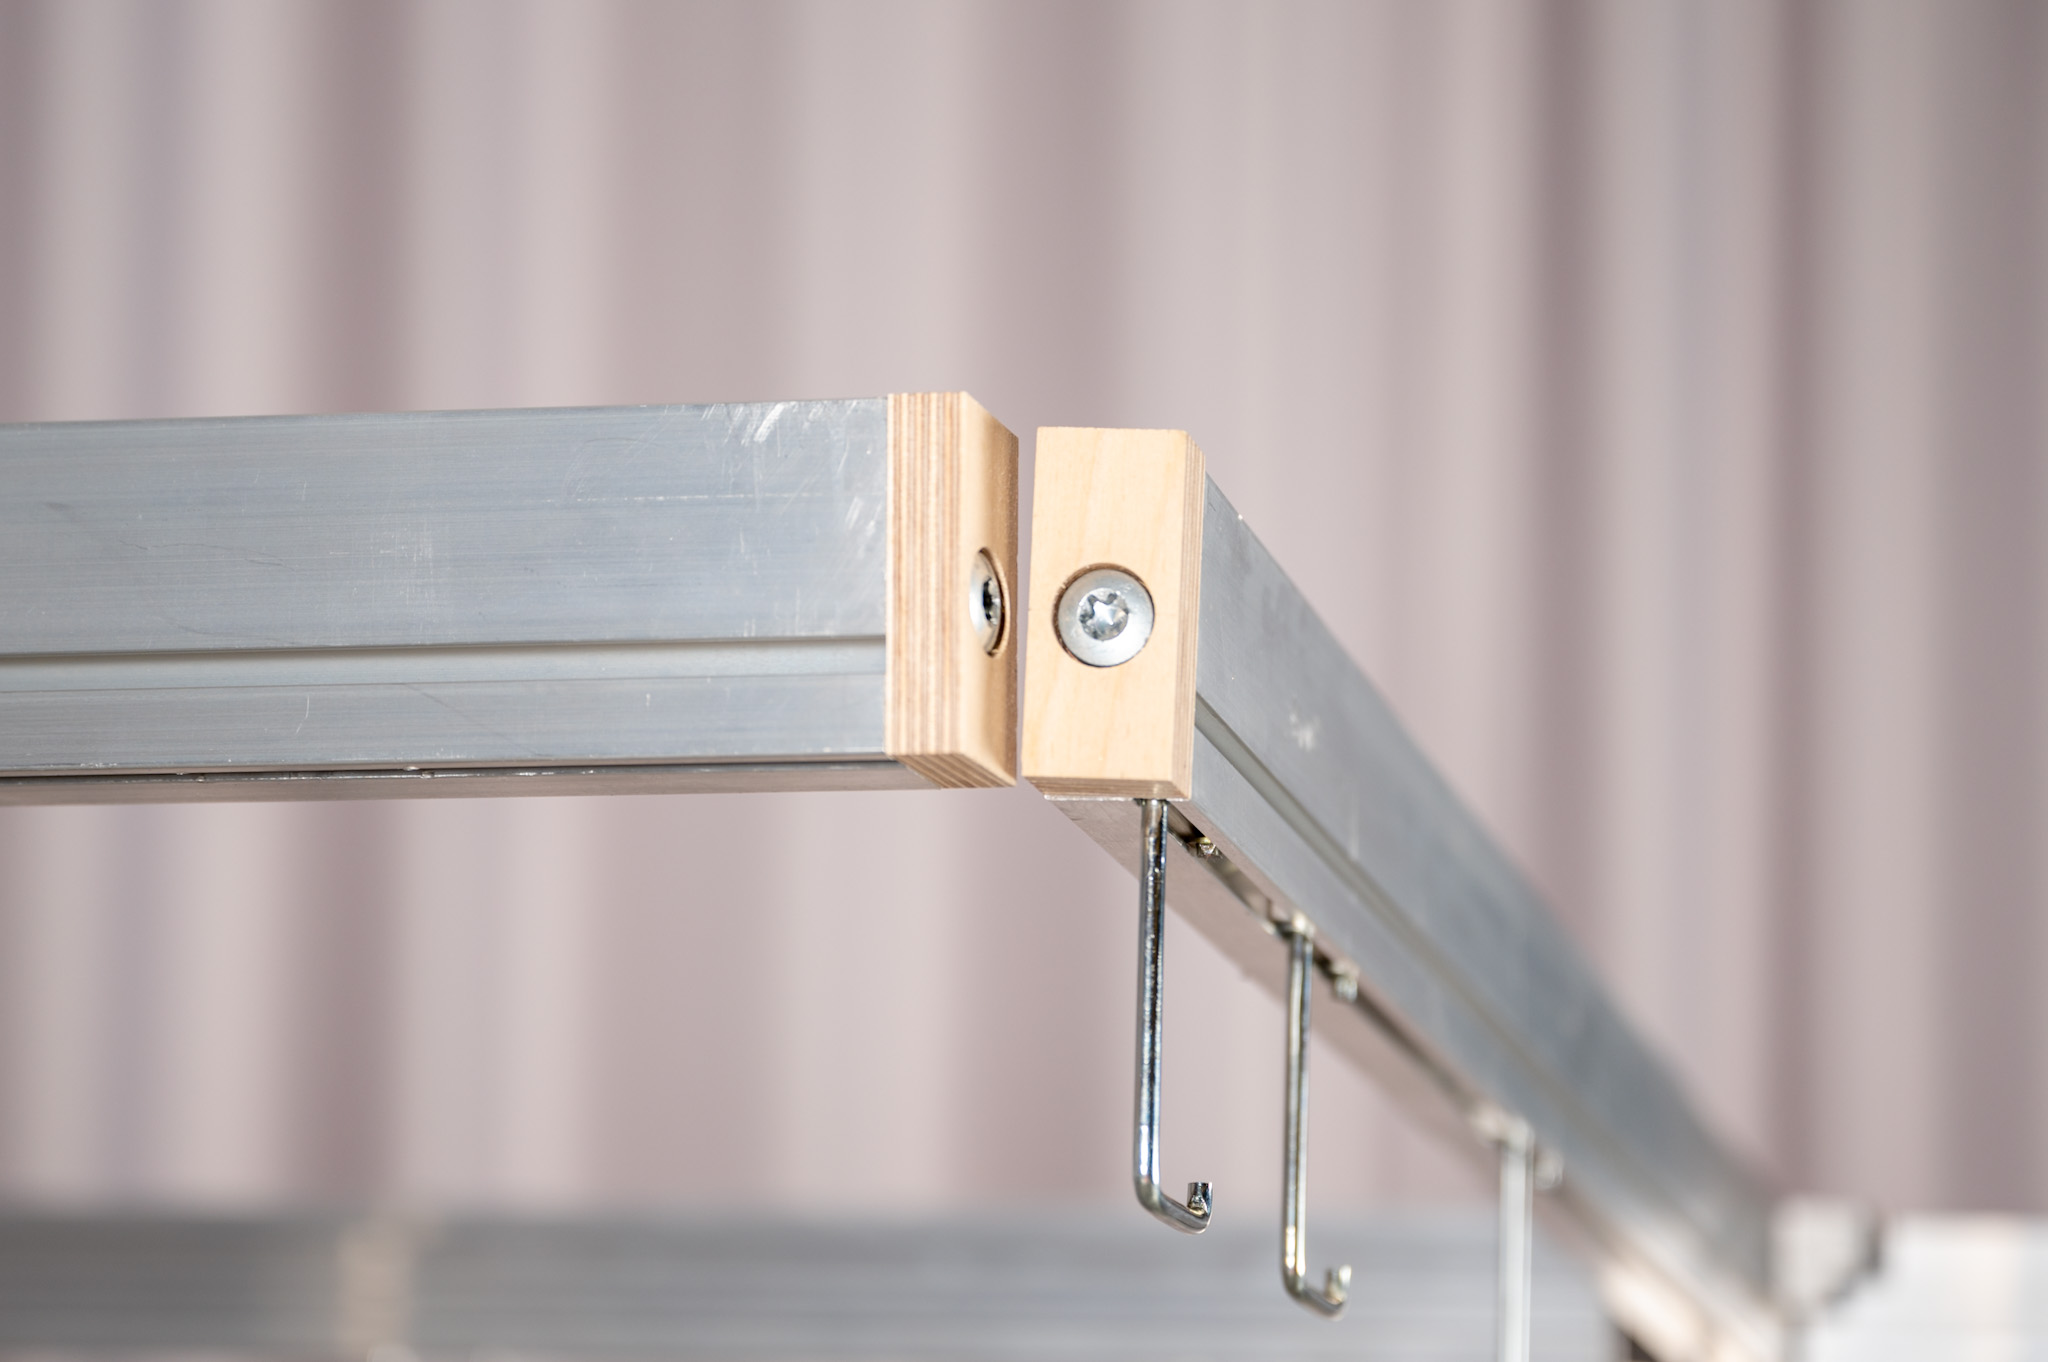
Coat hanger
Tejwani Aanchal @aanchal28t
Daniel Lopes
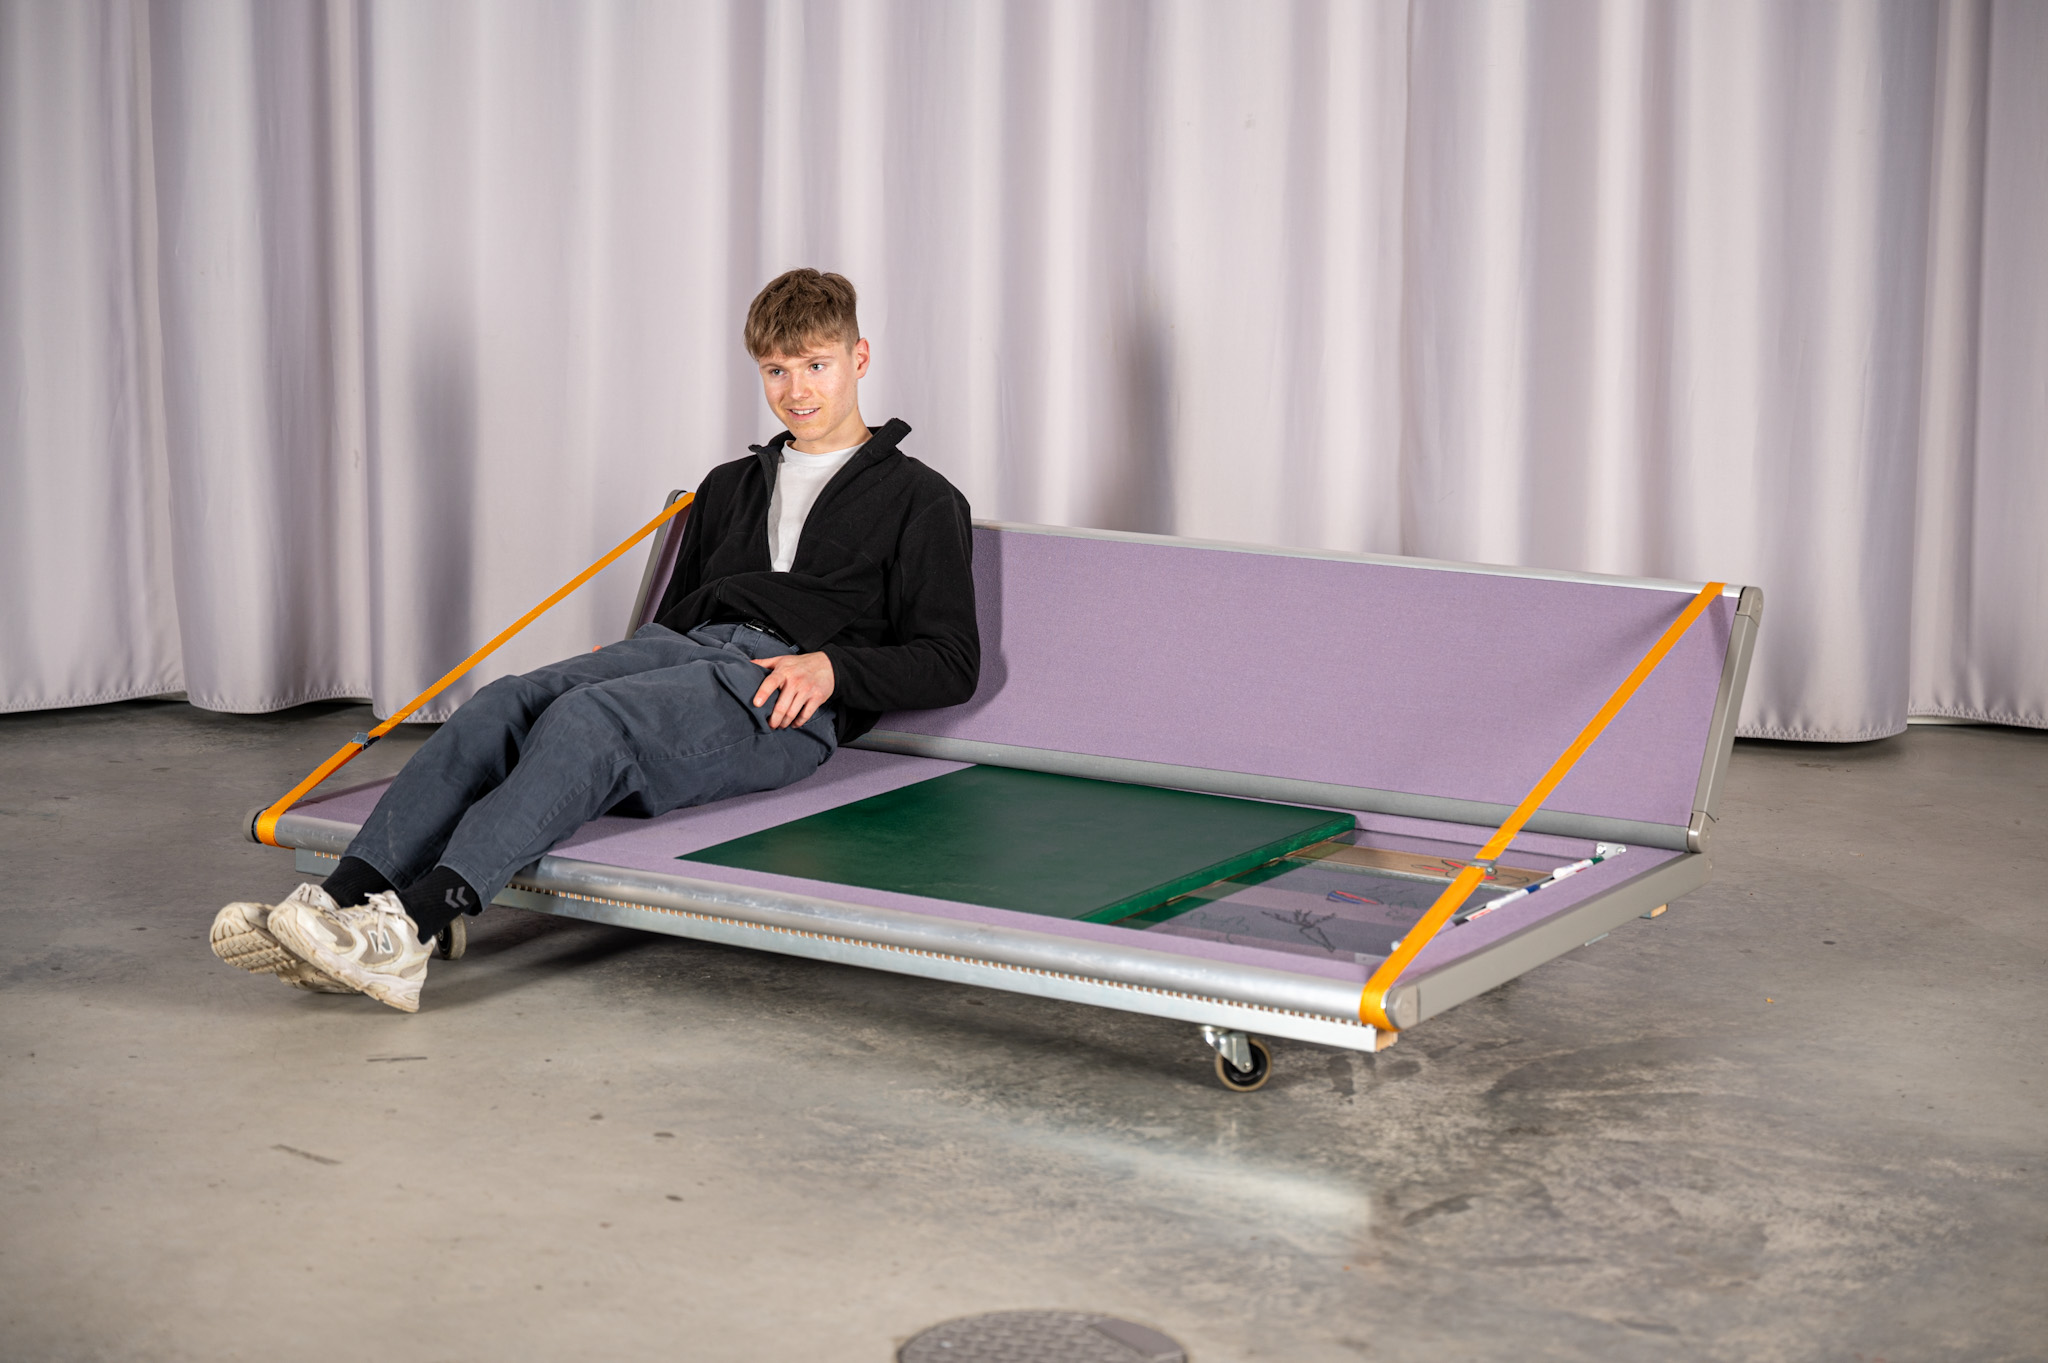
Sofa
Ayumi Unger
Elodie Dietz
Vivienne Weber


