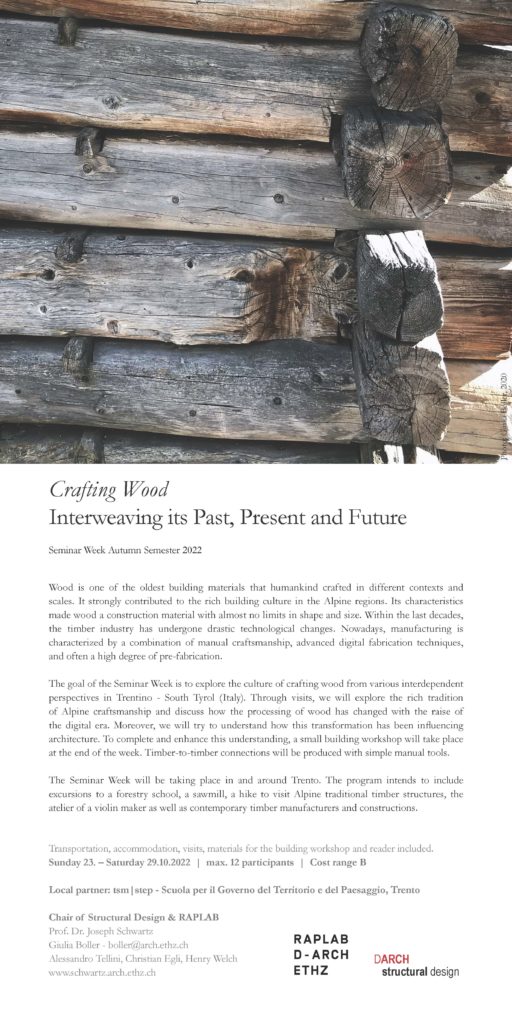
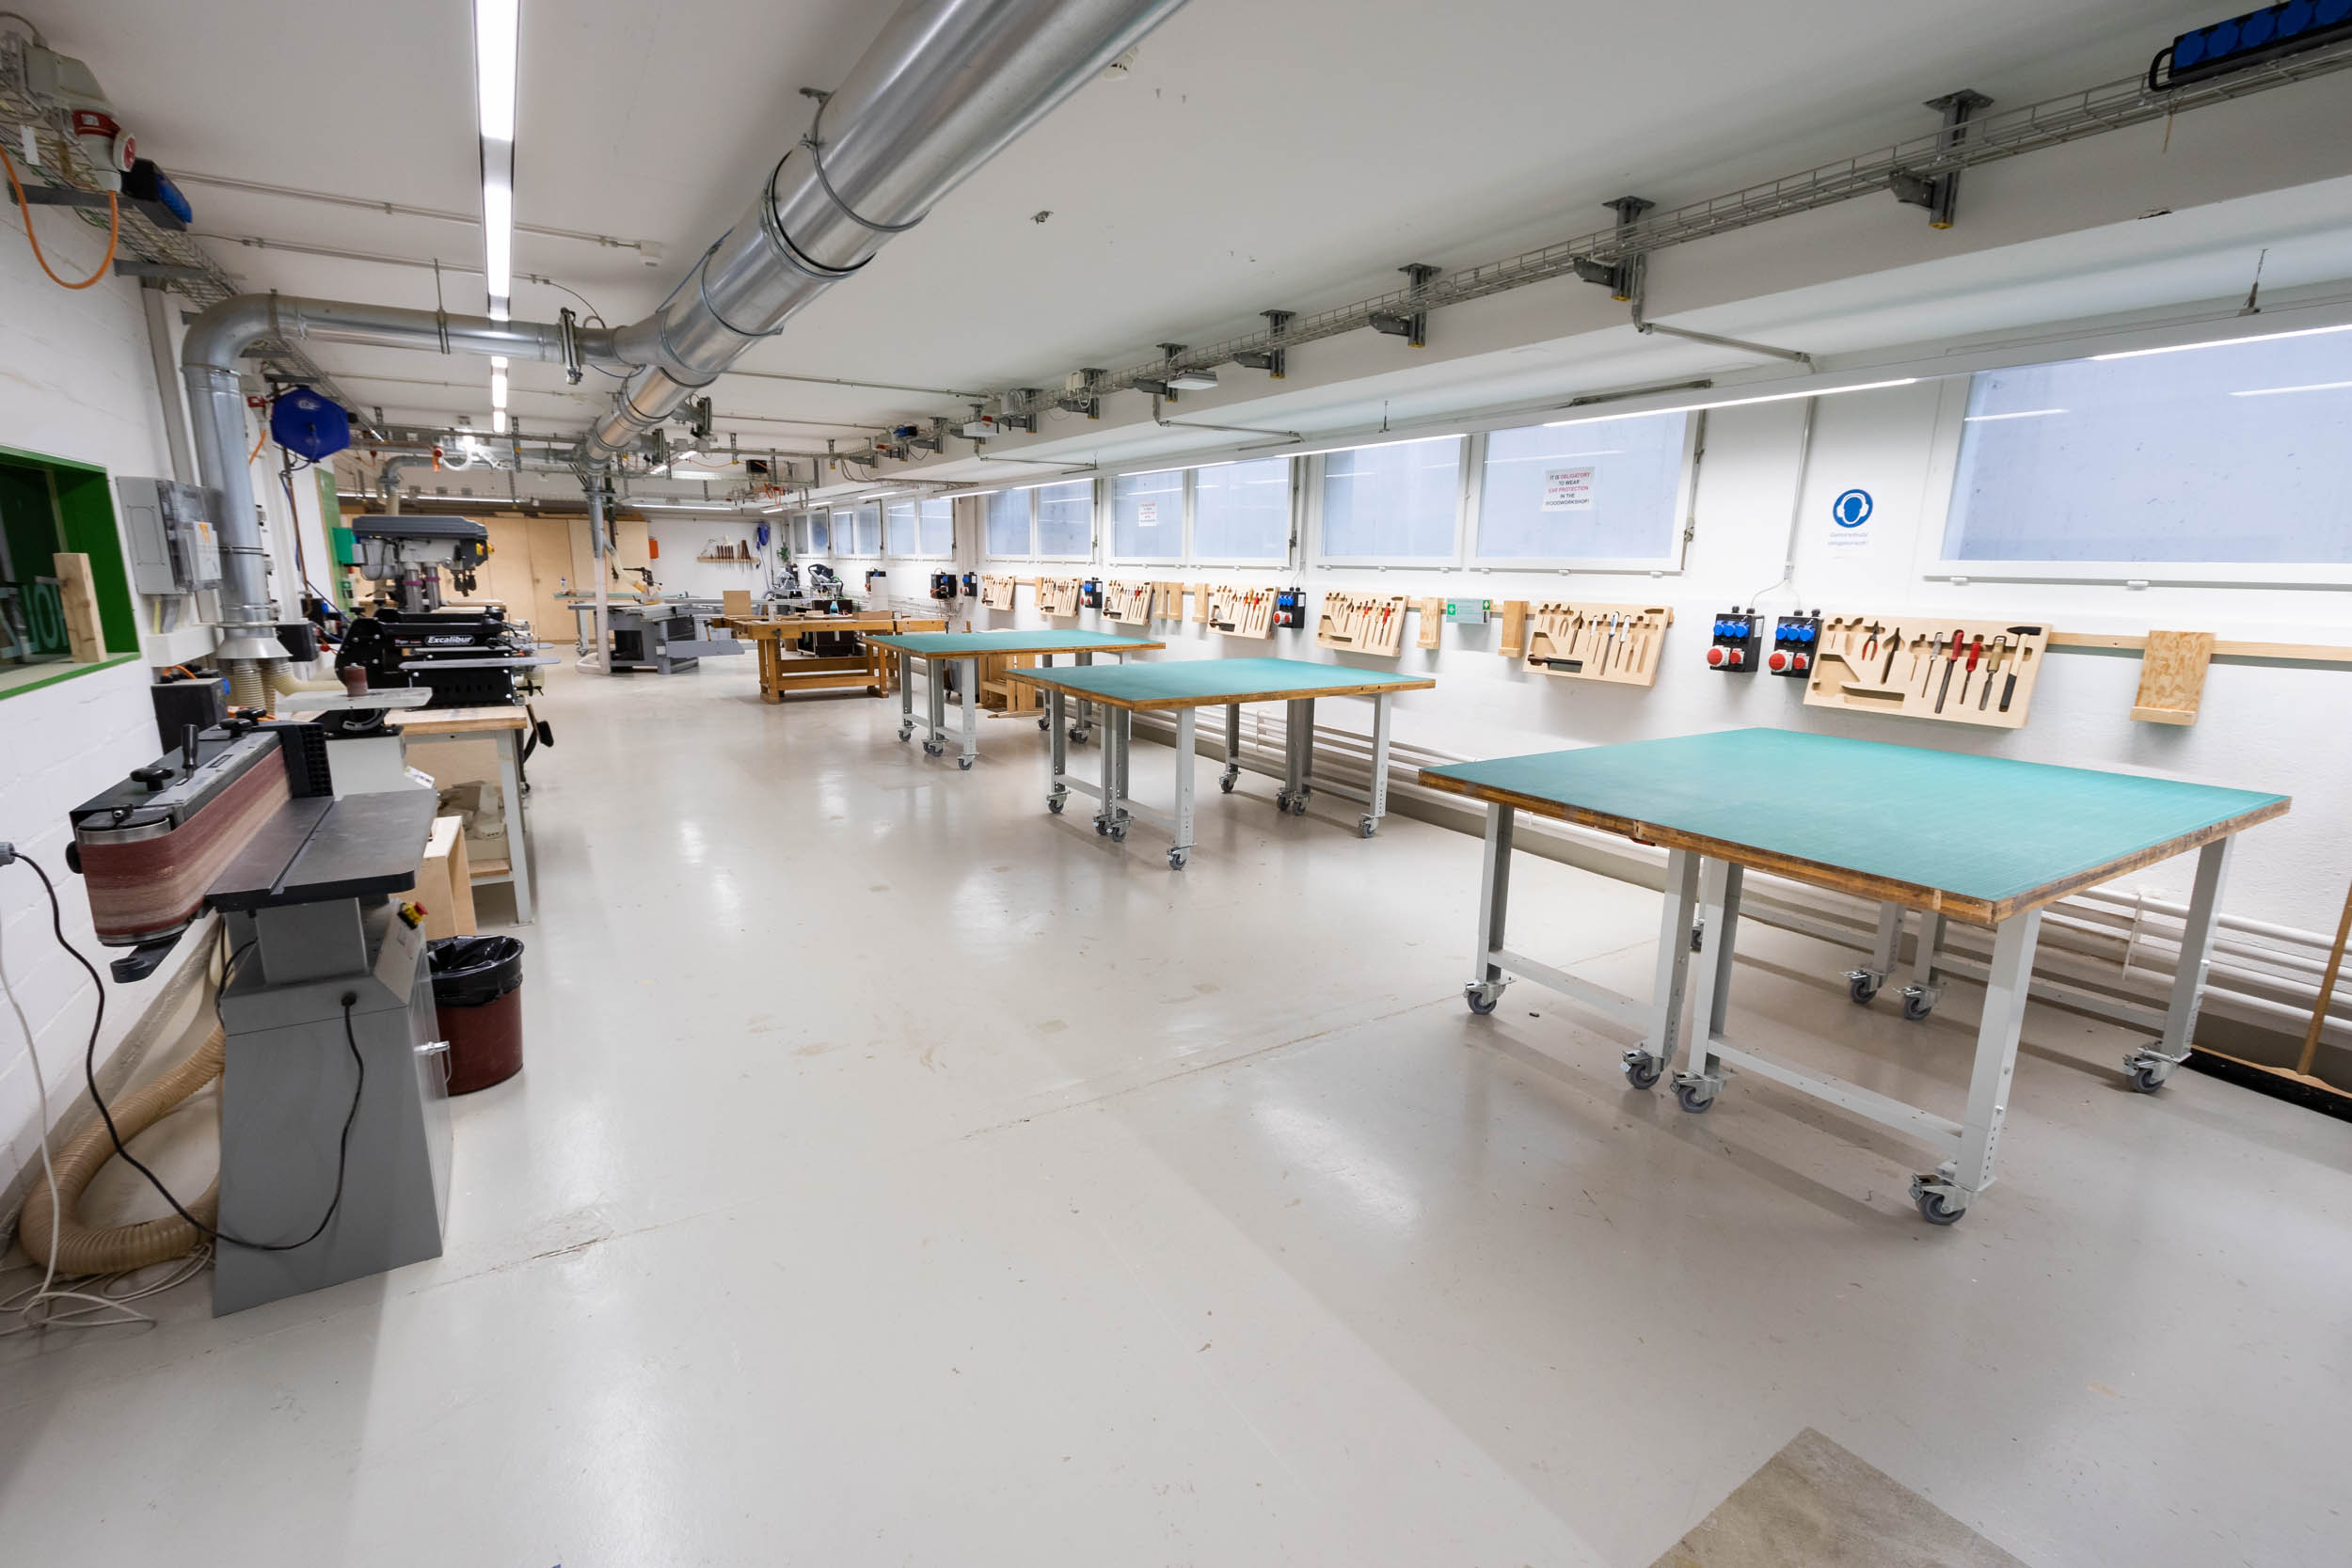
Digital Machines - A practical overview
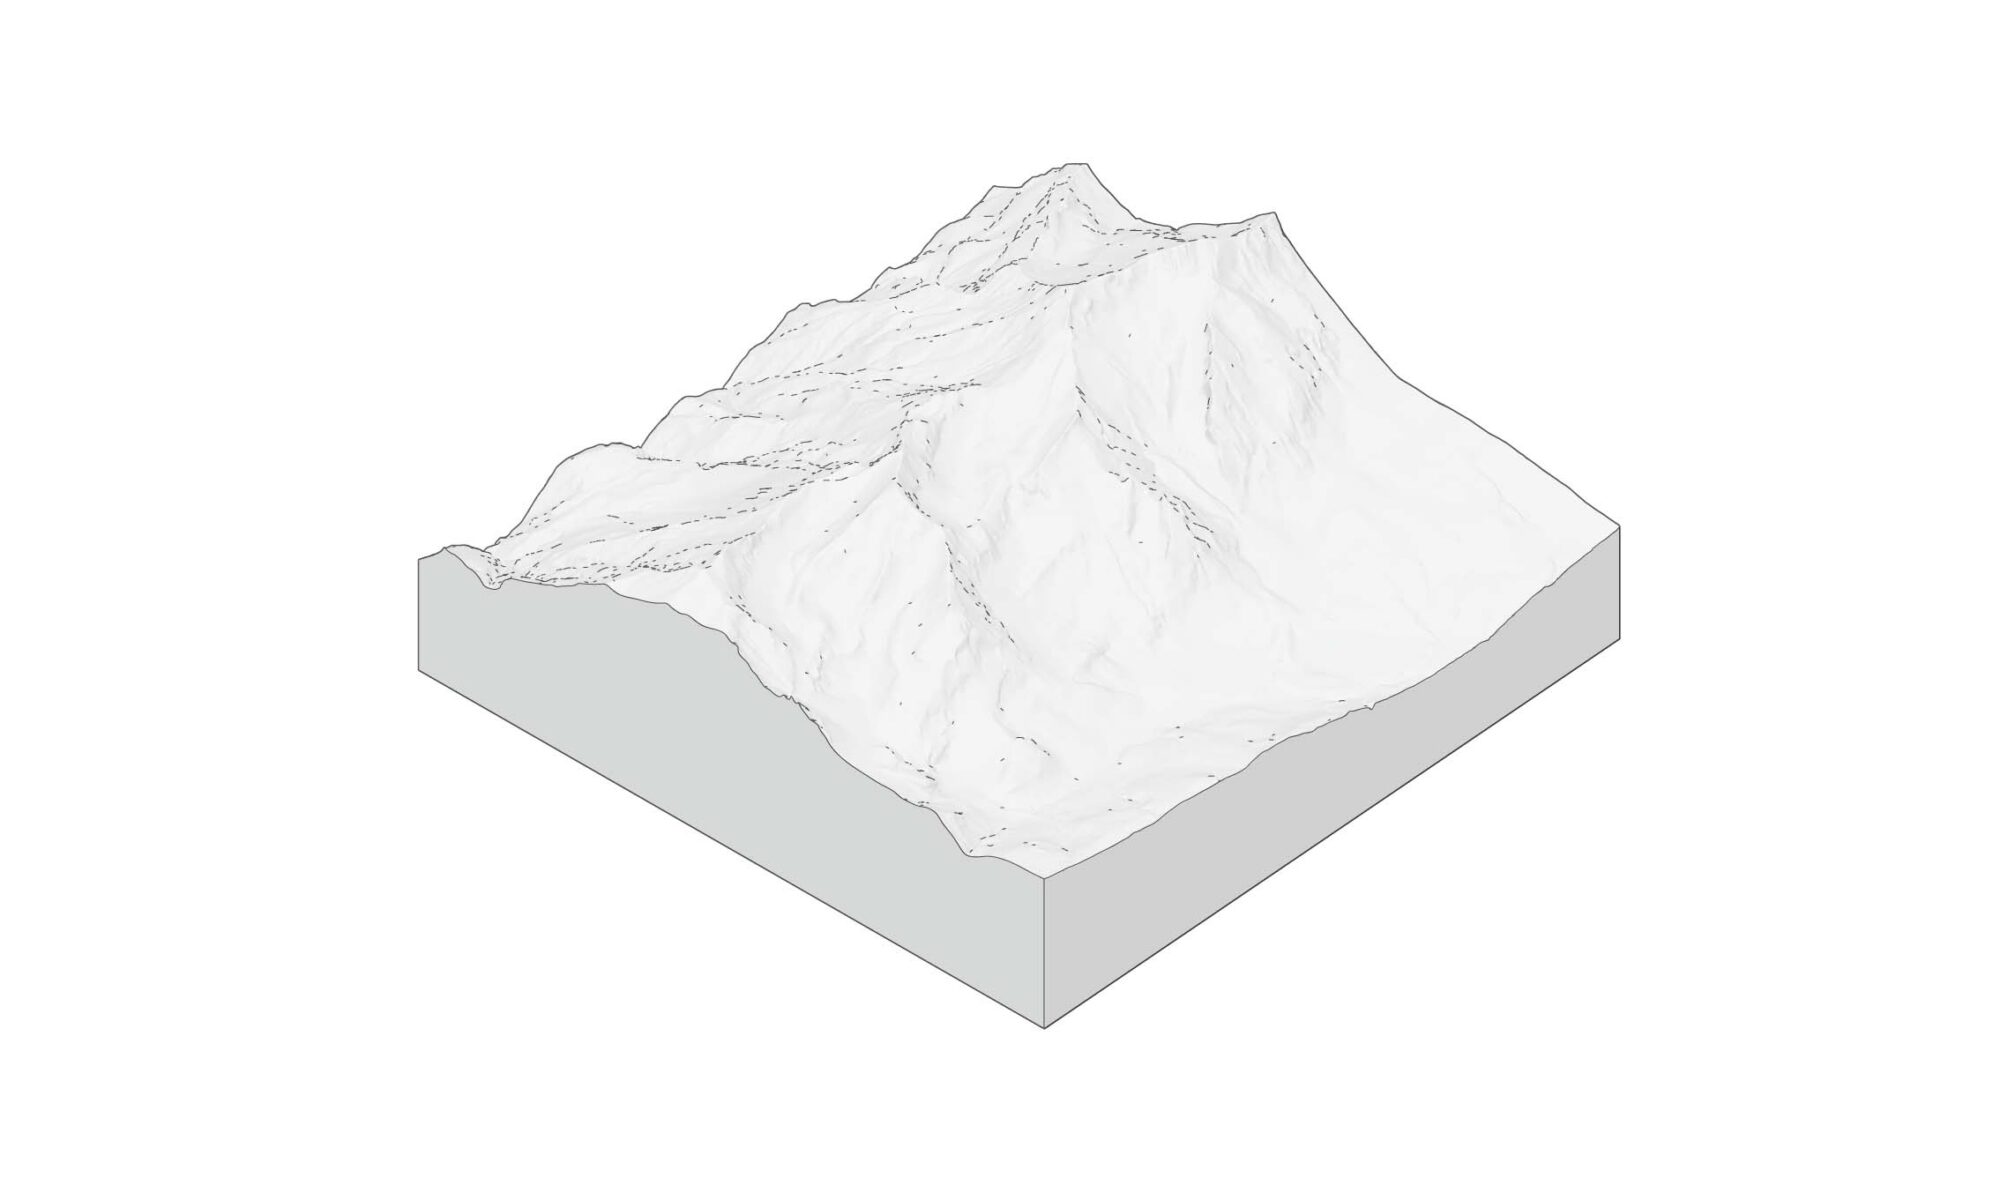
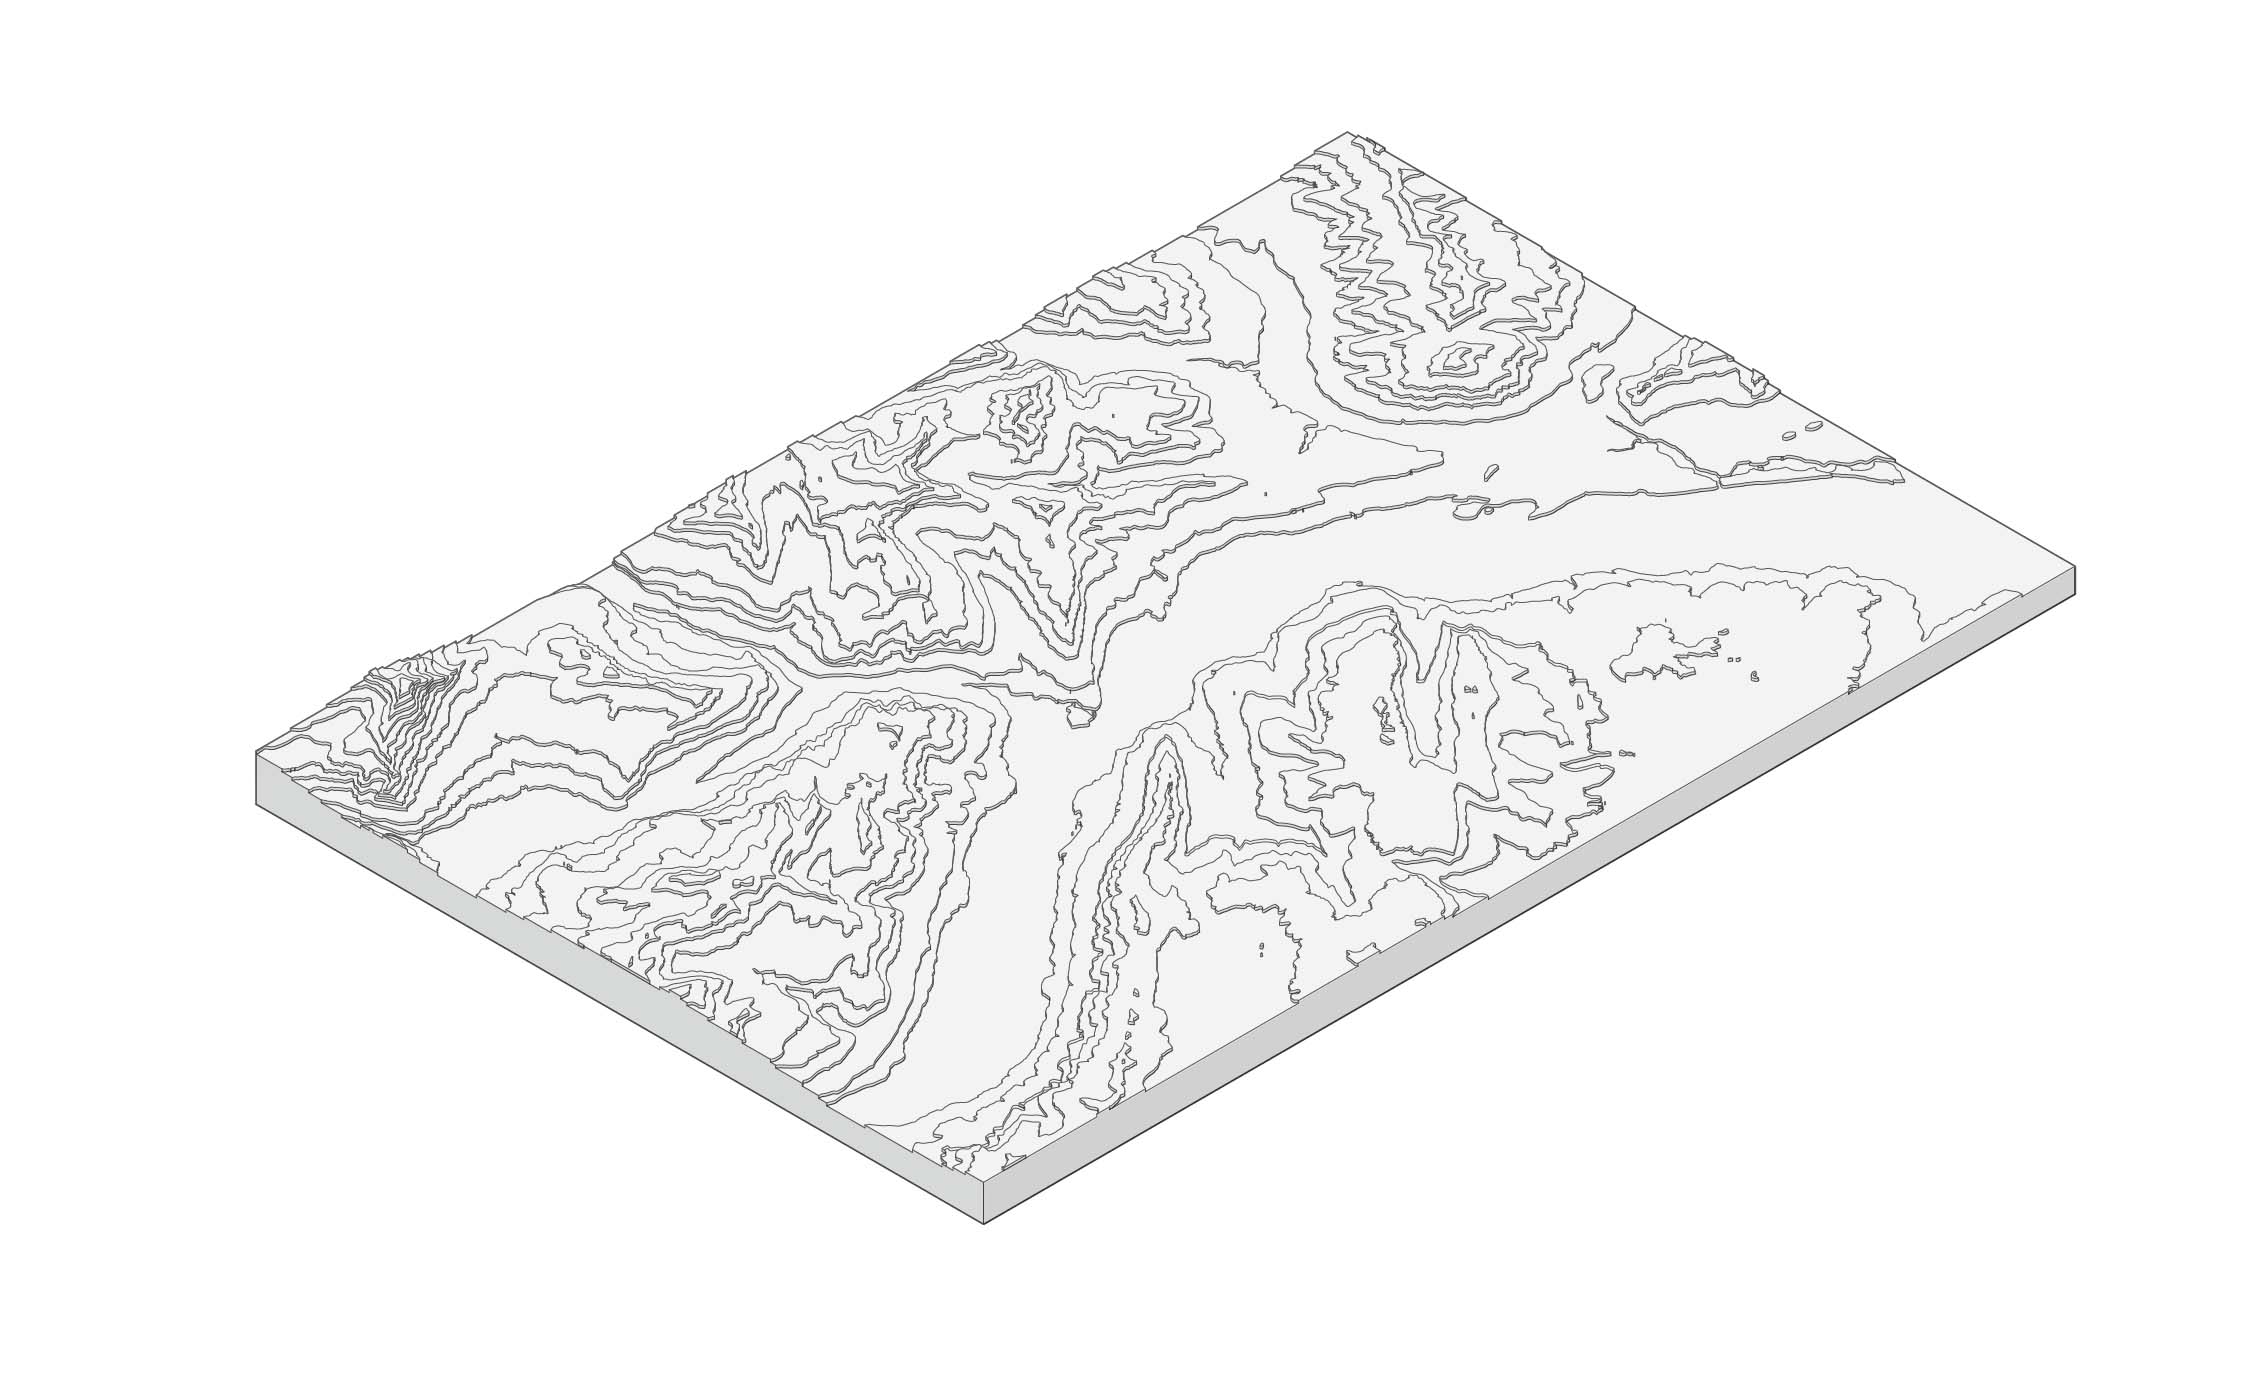
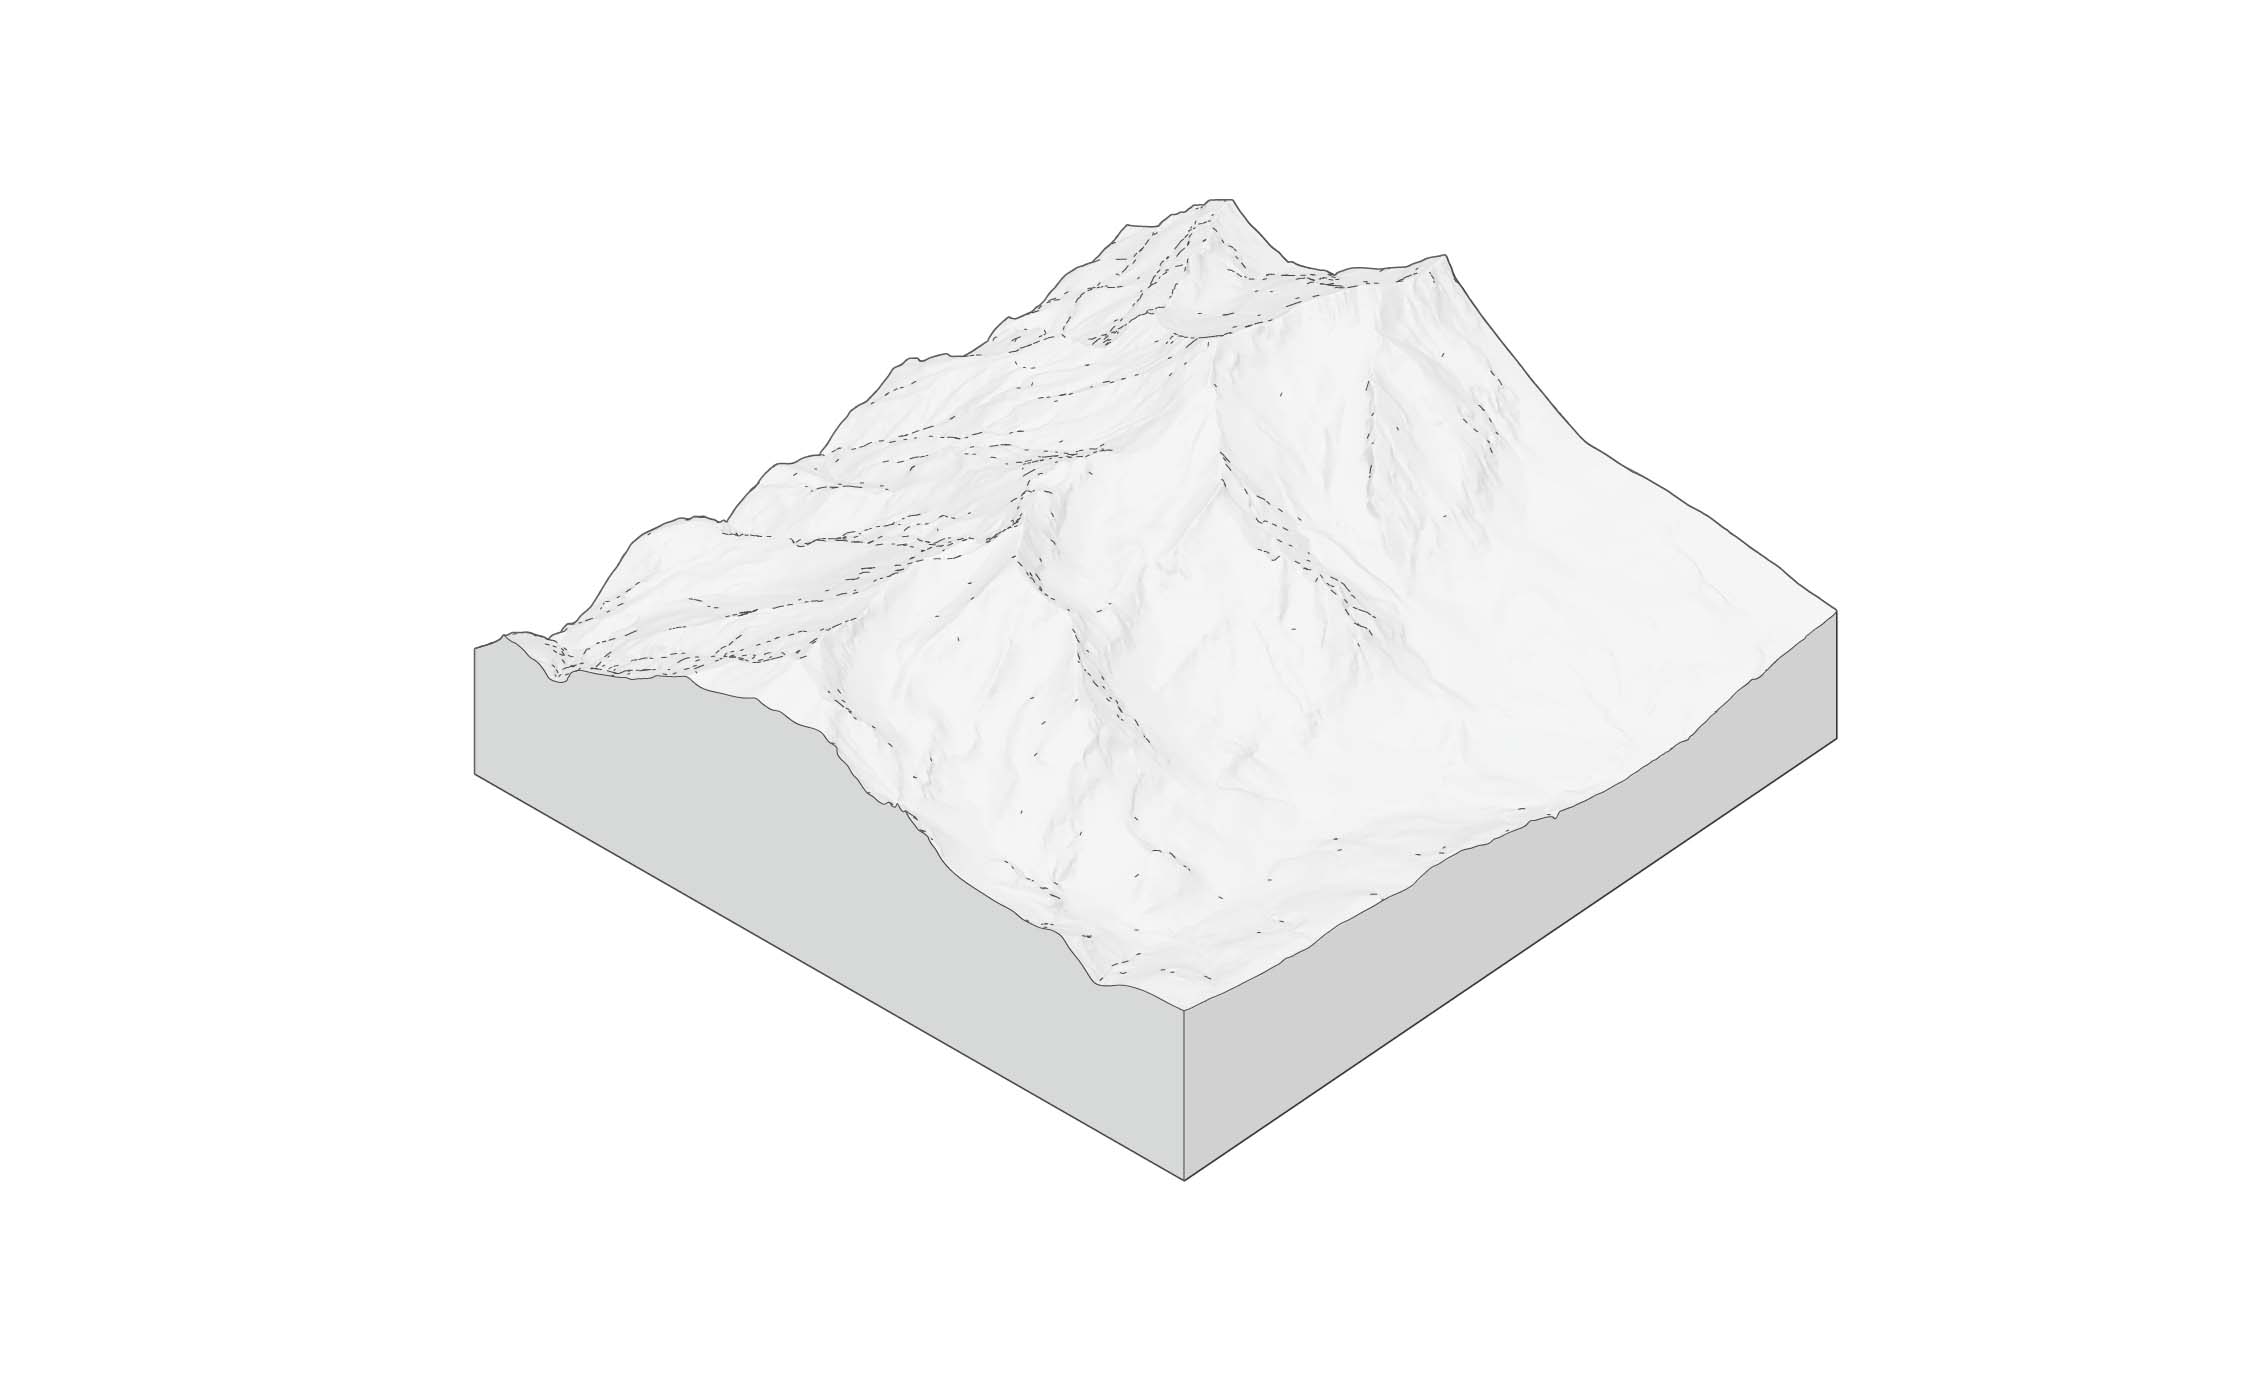
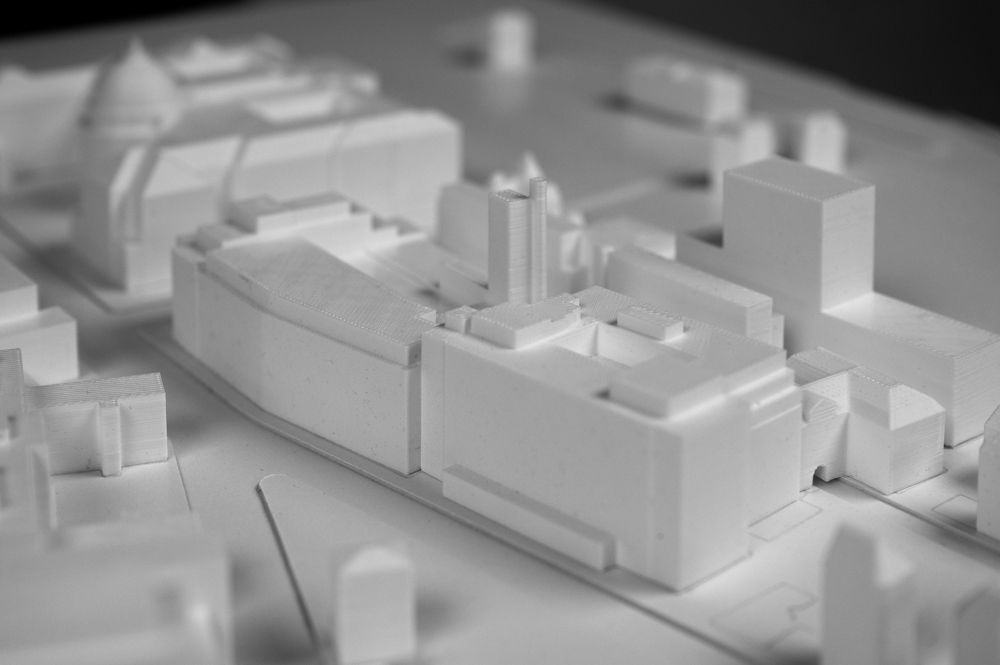
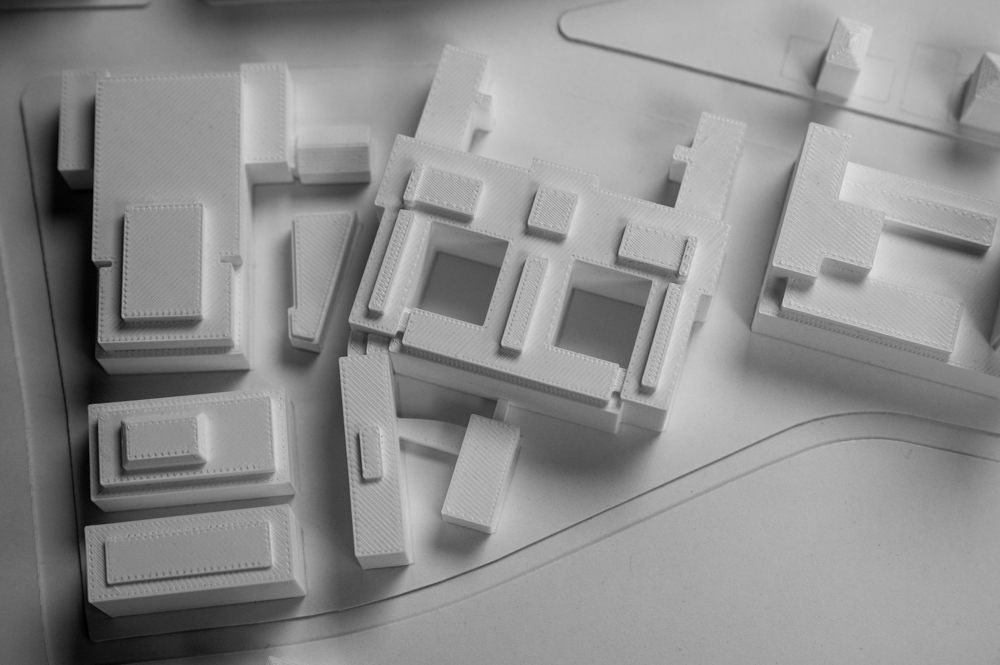
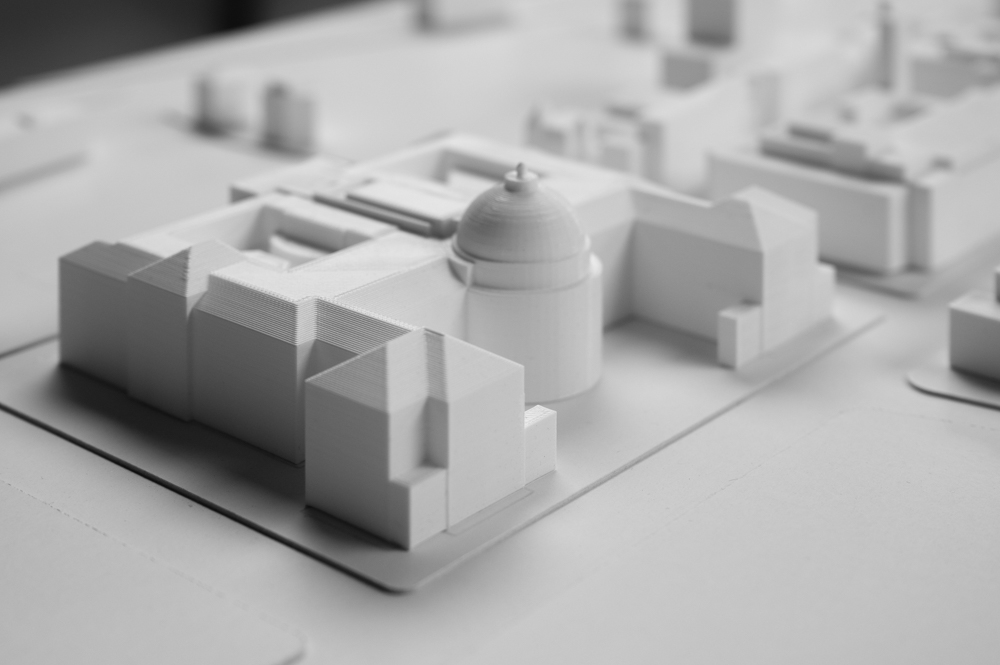
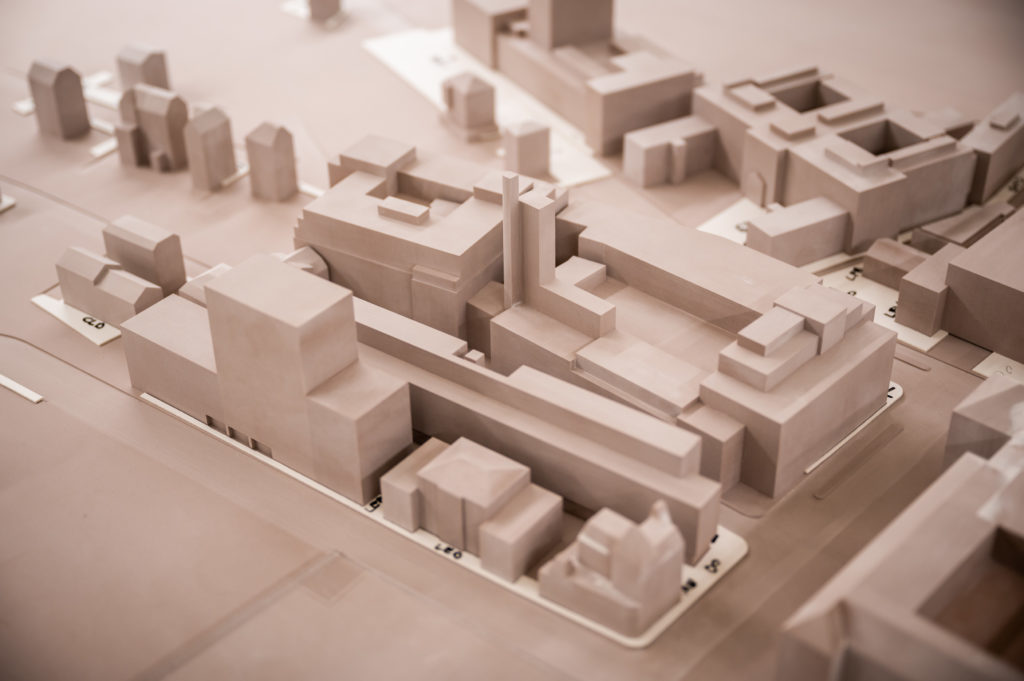
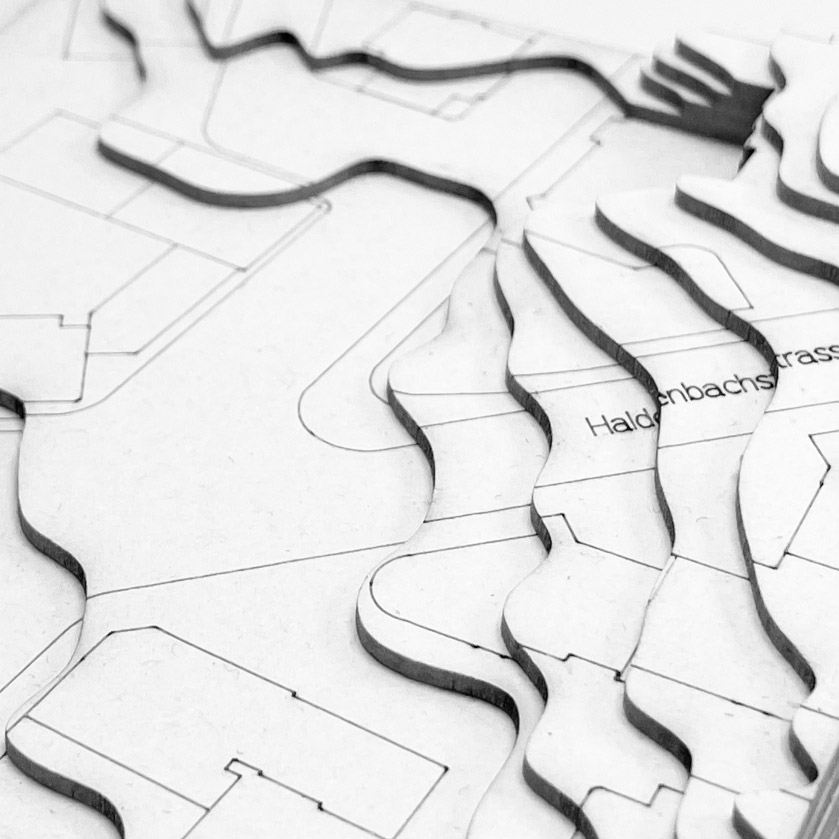
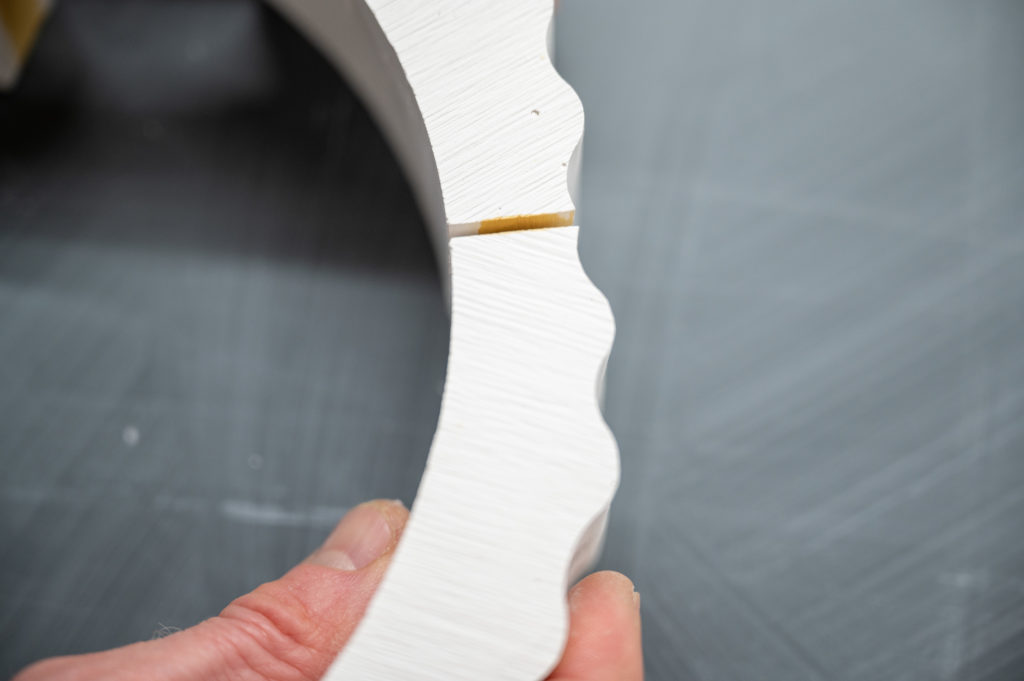
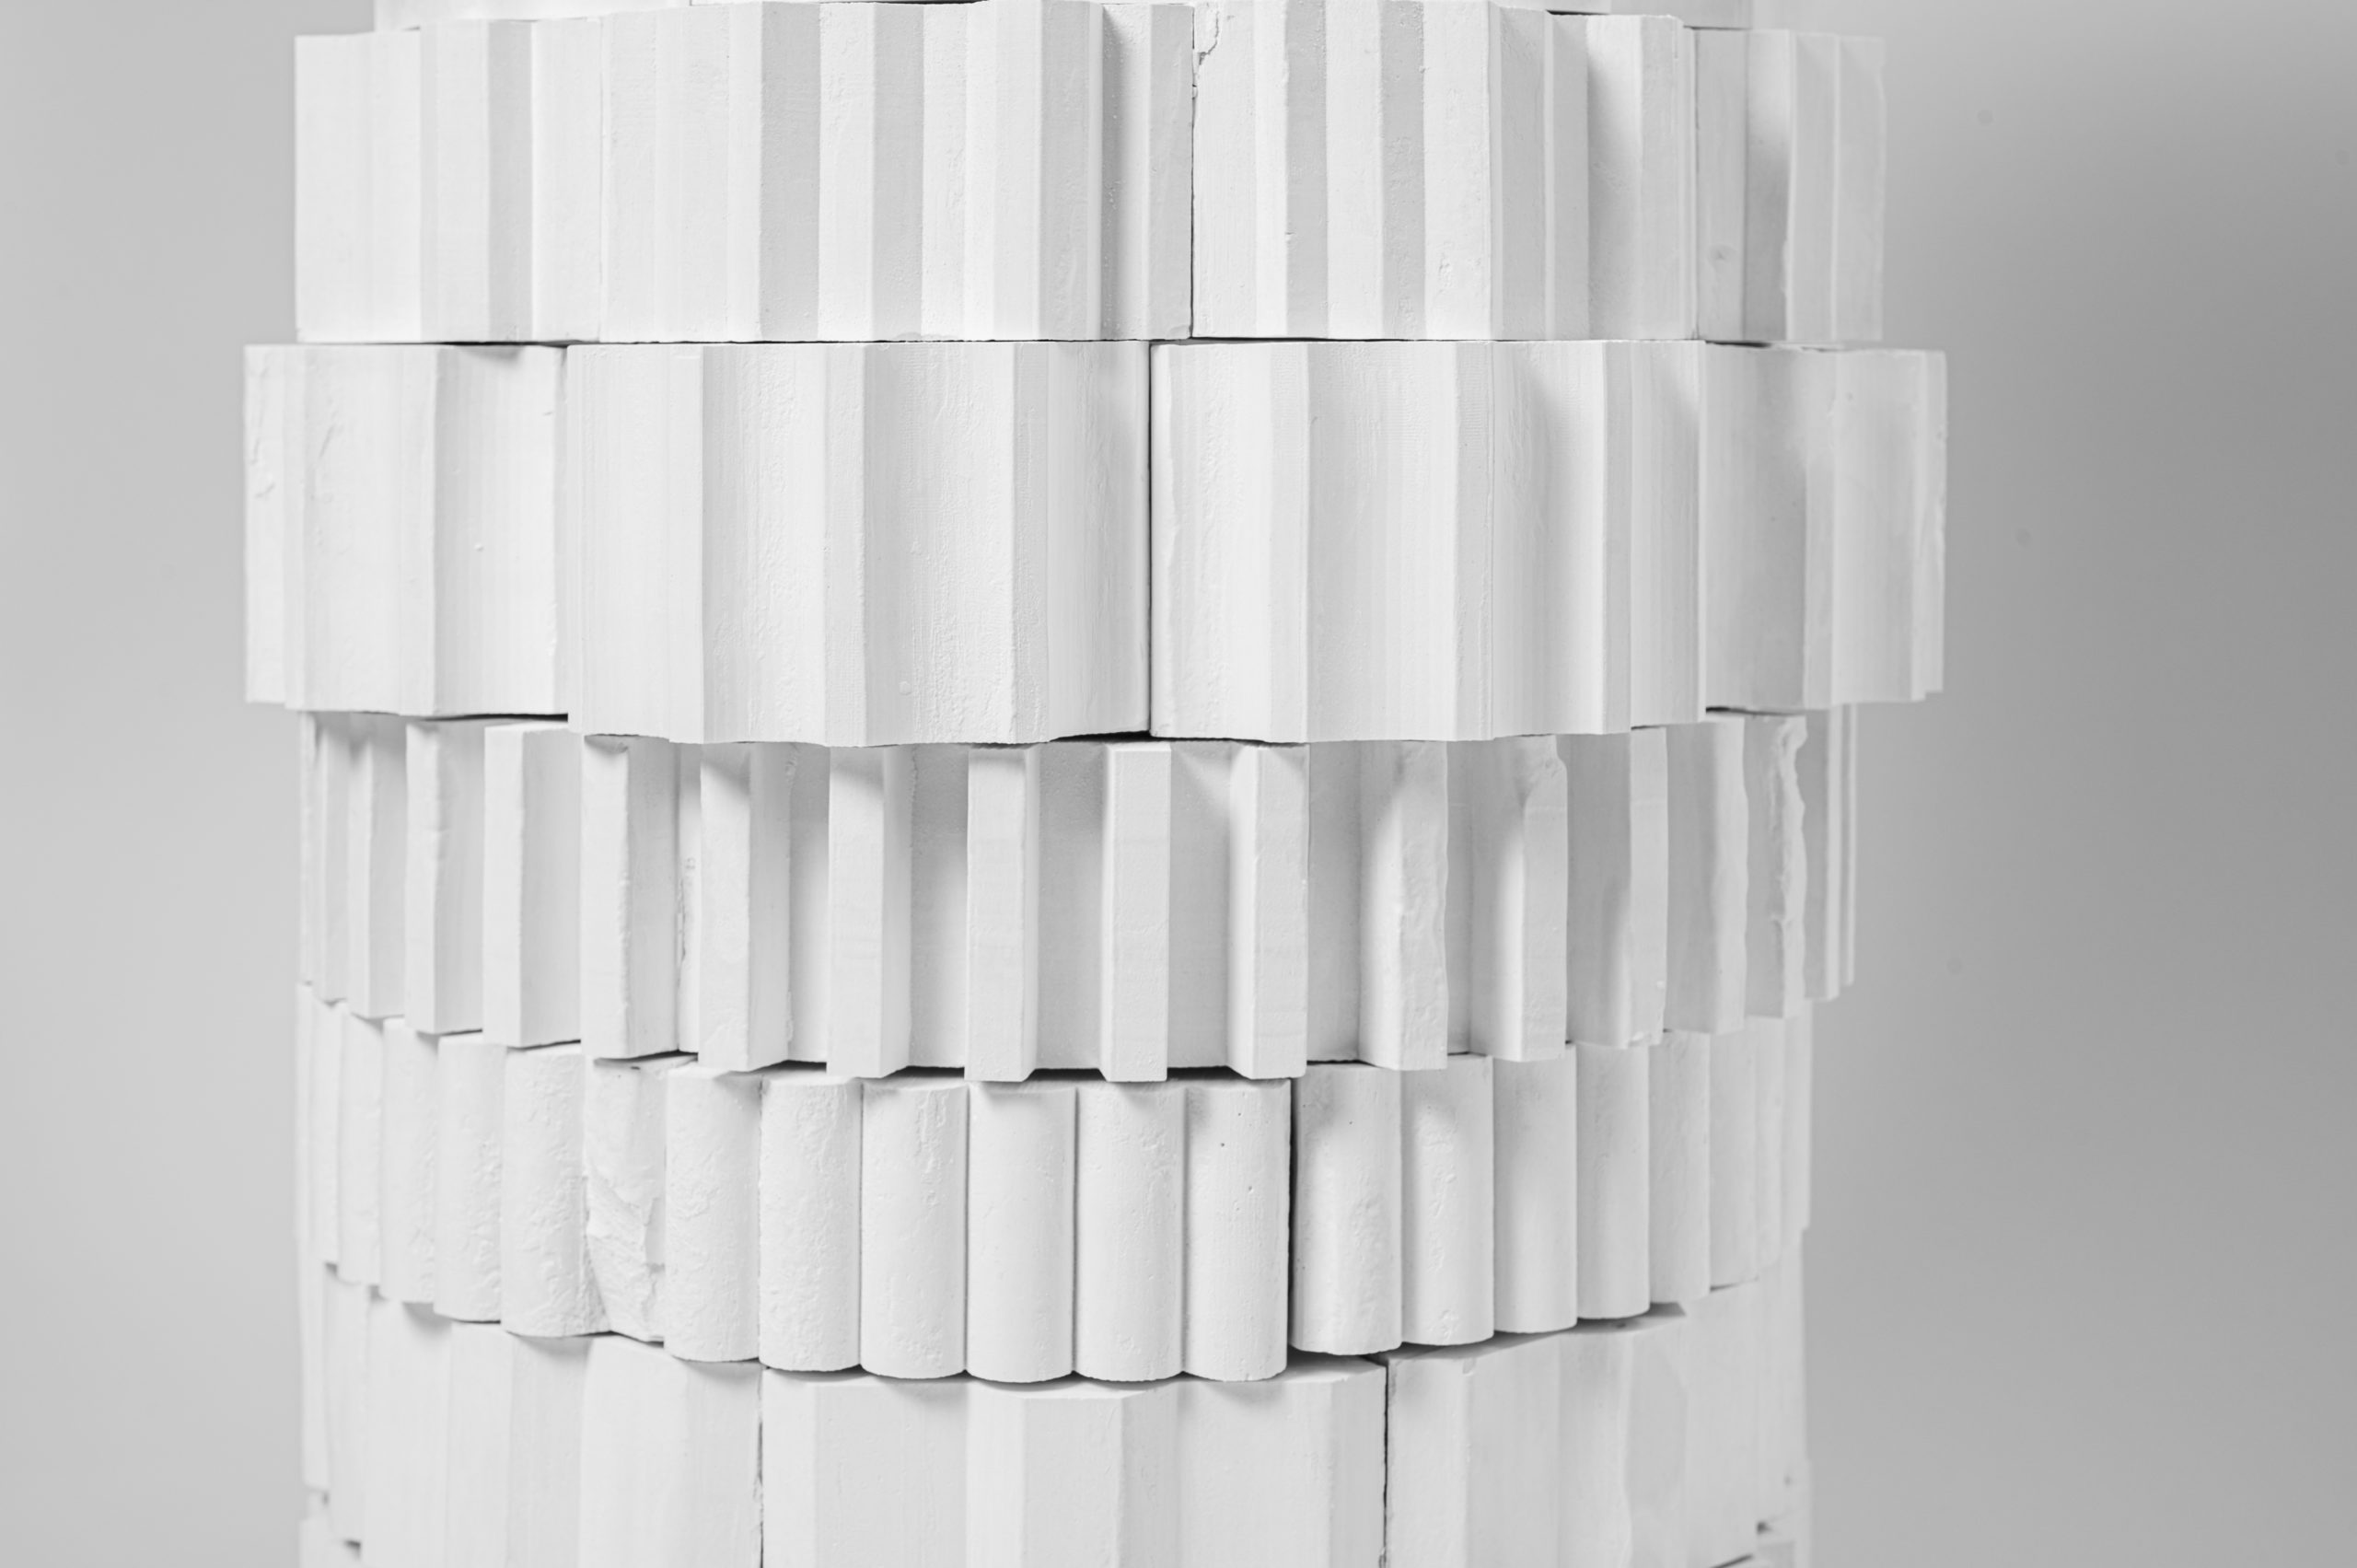
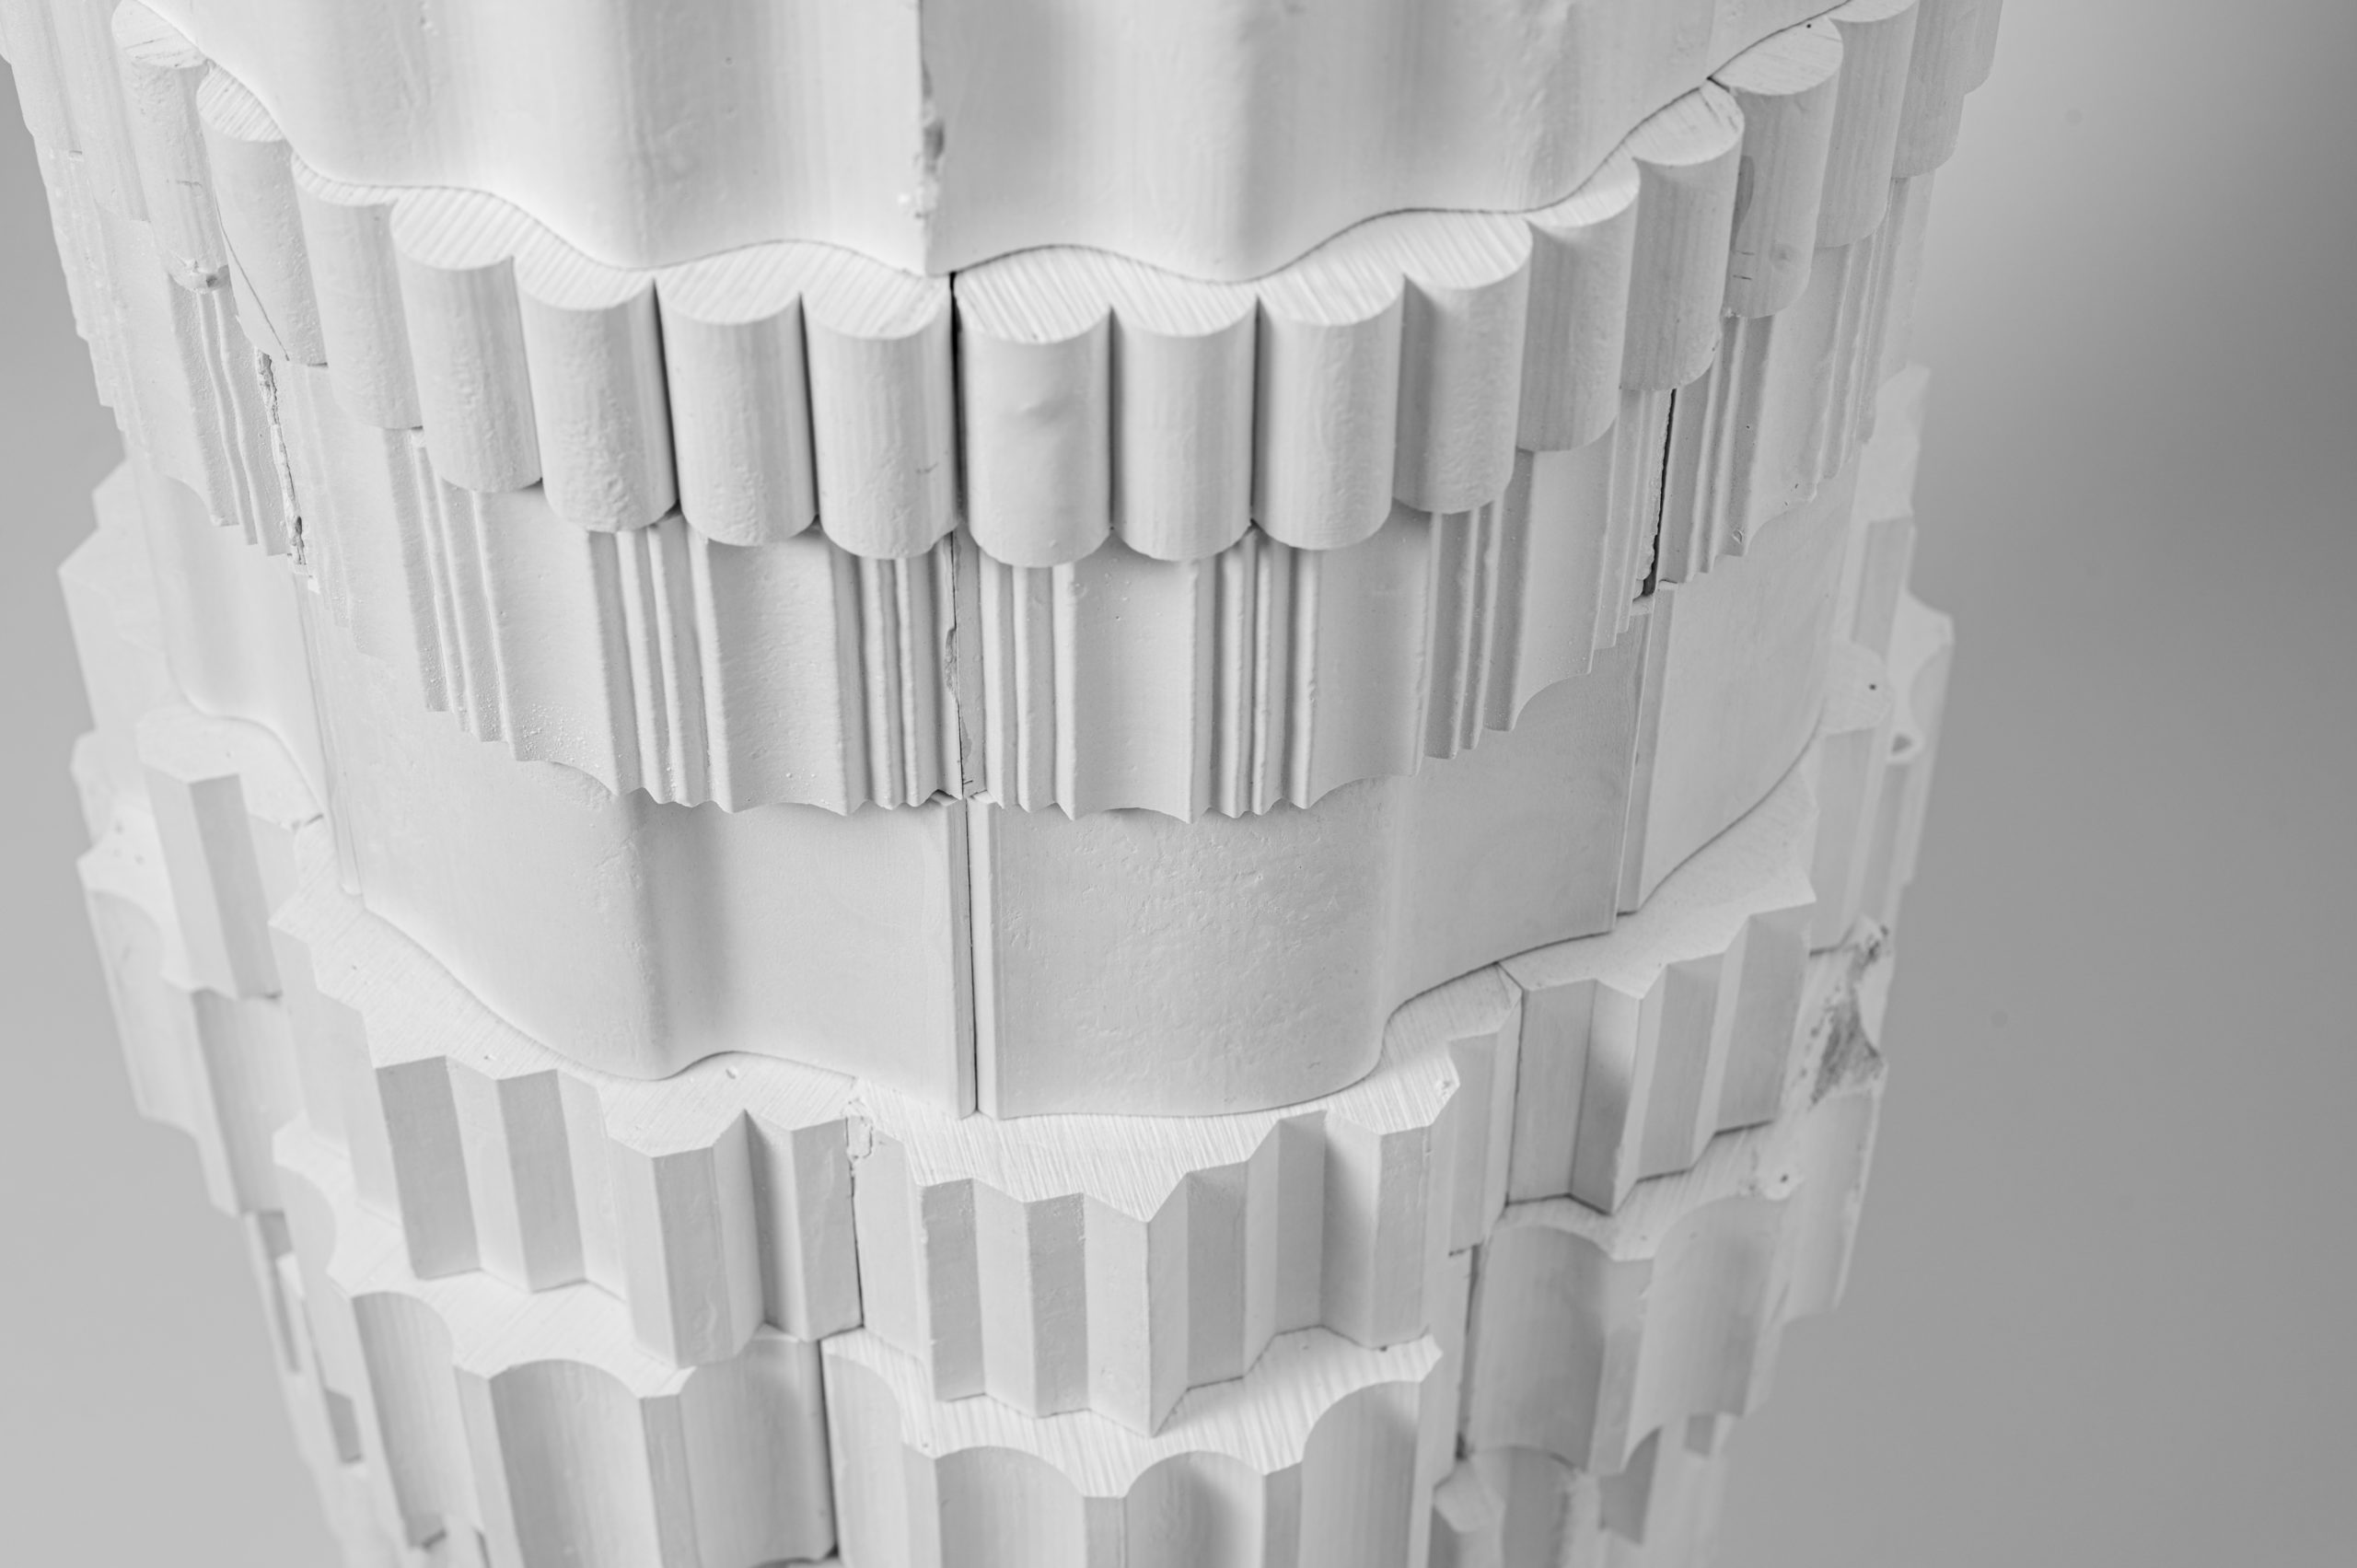
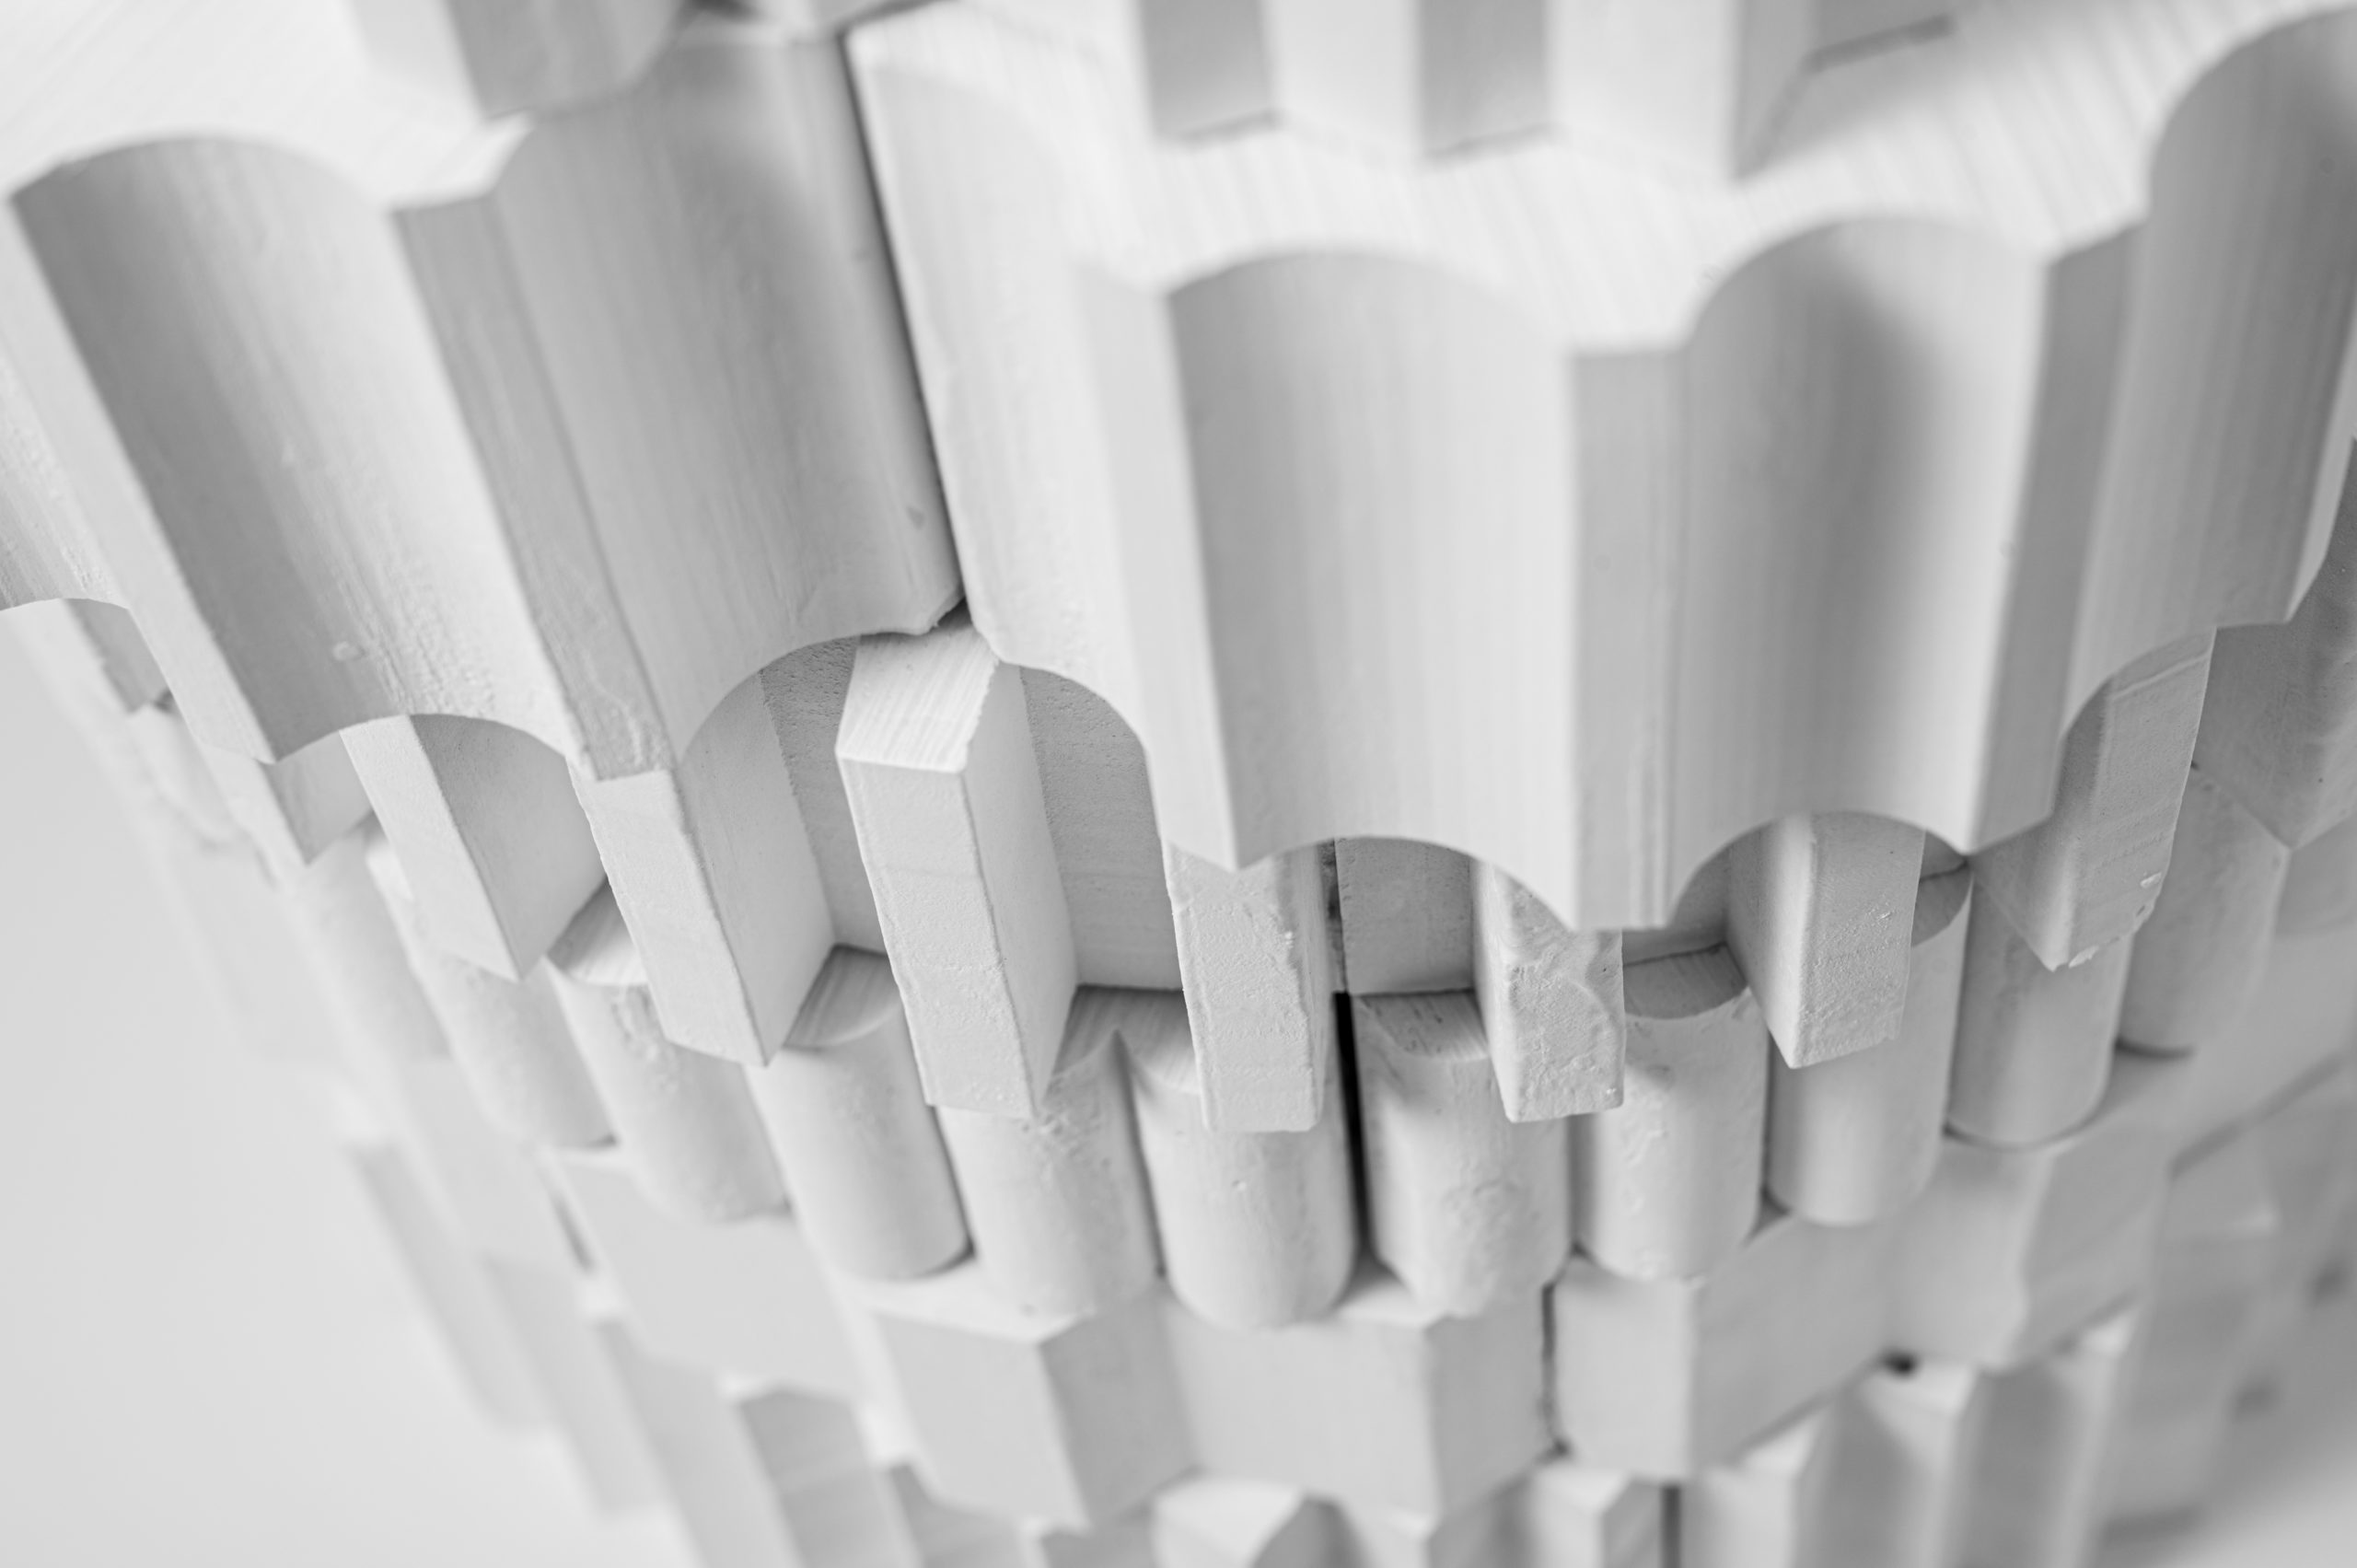
Contour model - 1:1000 - 900x600x50mm
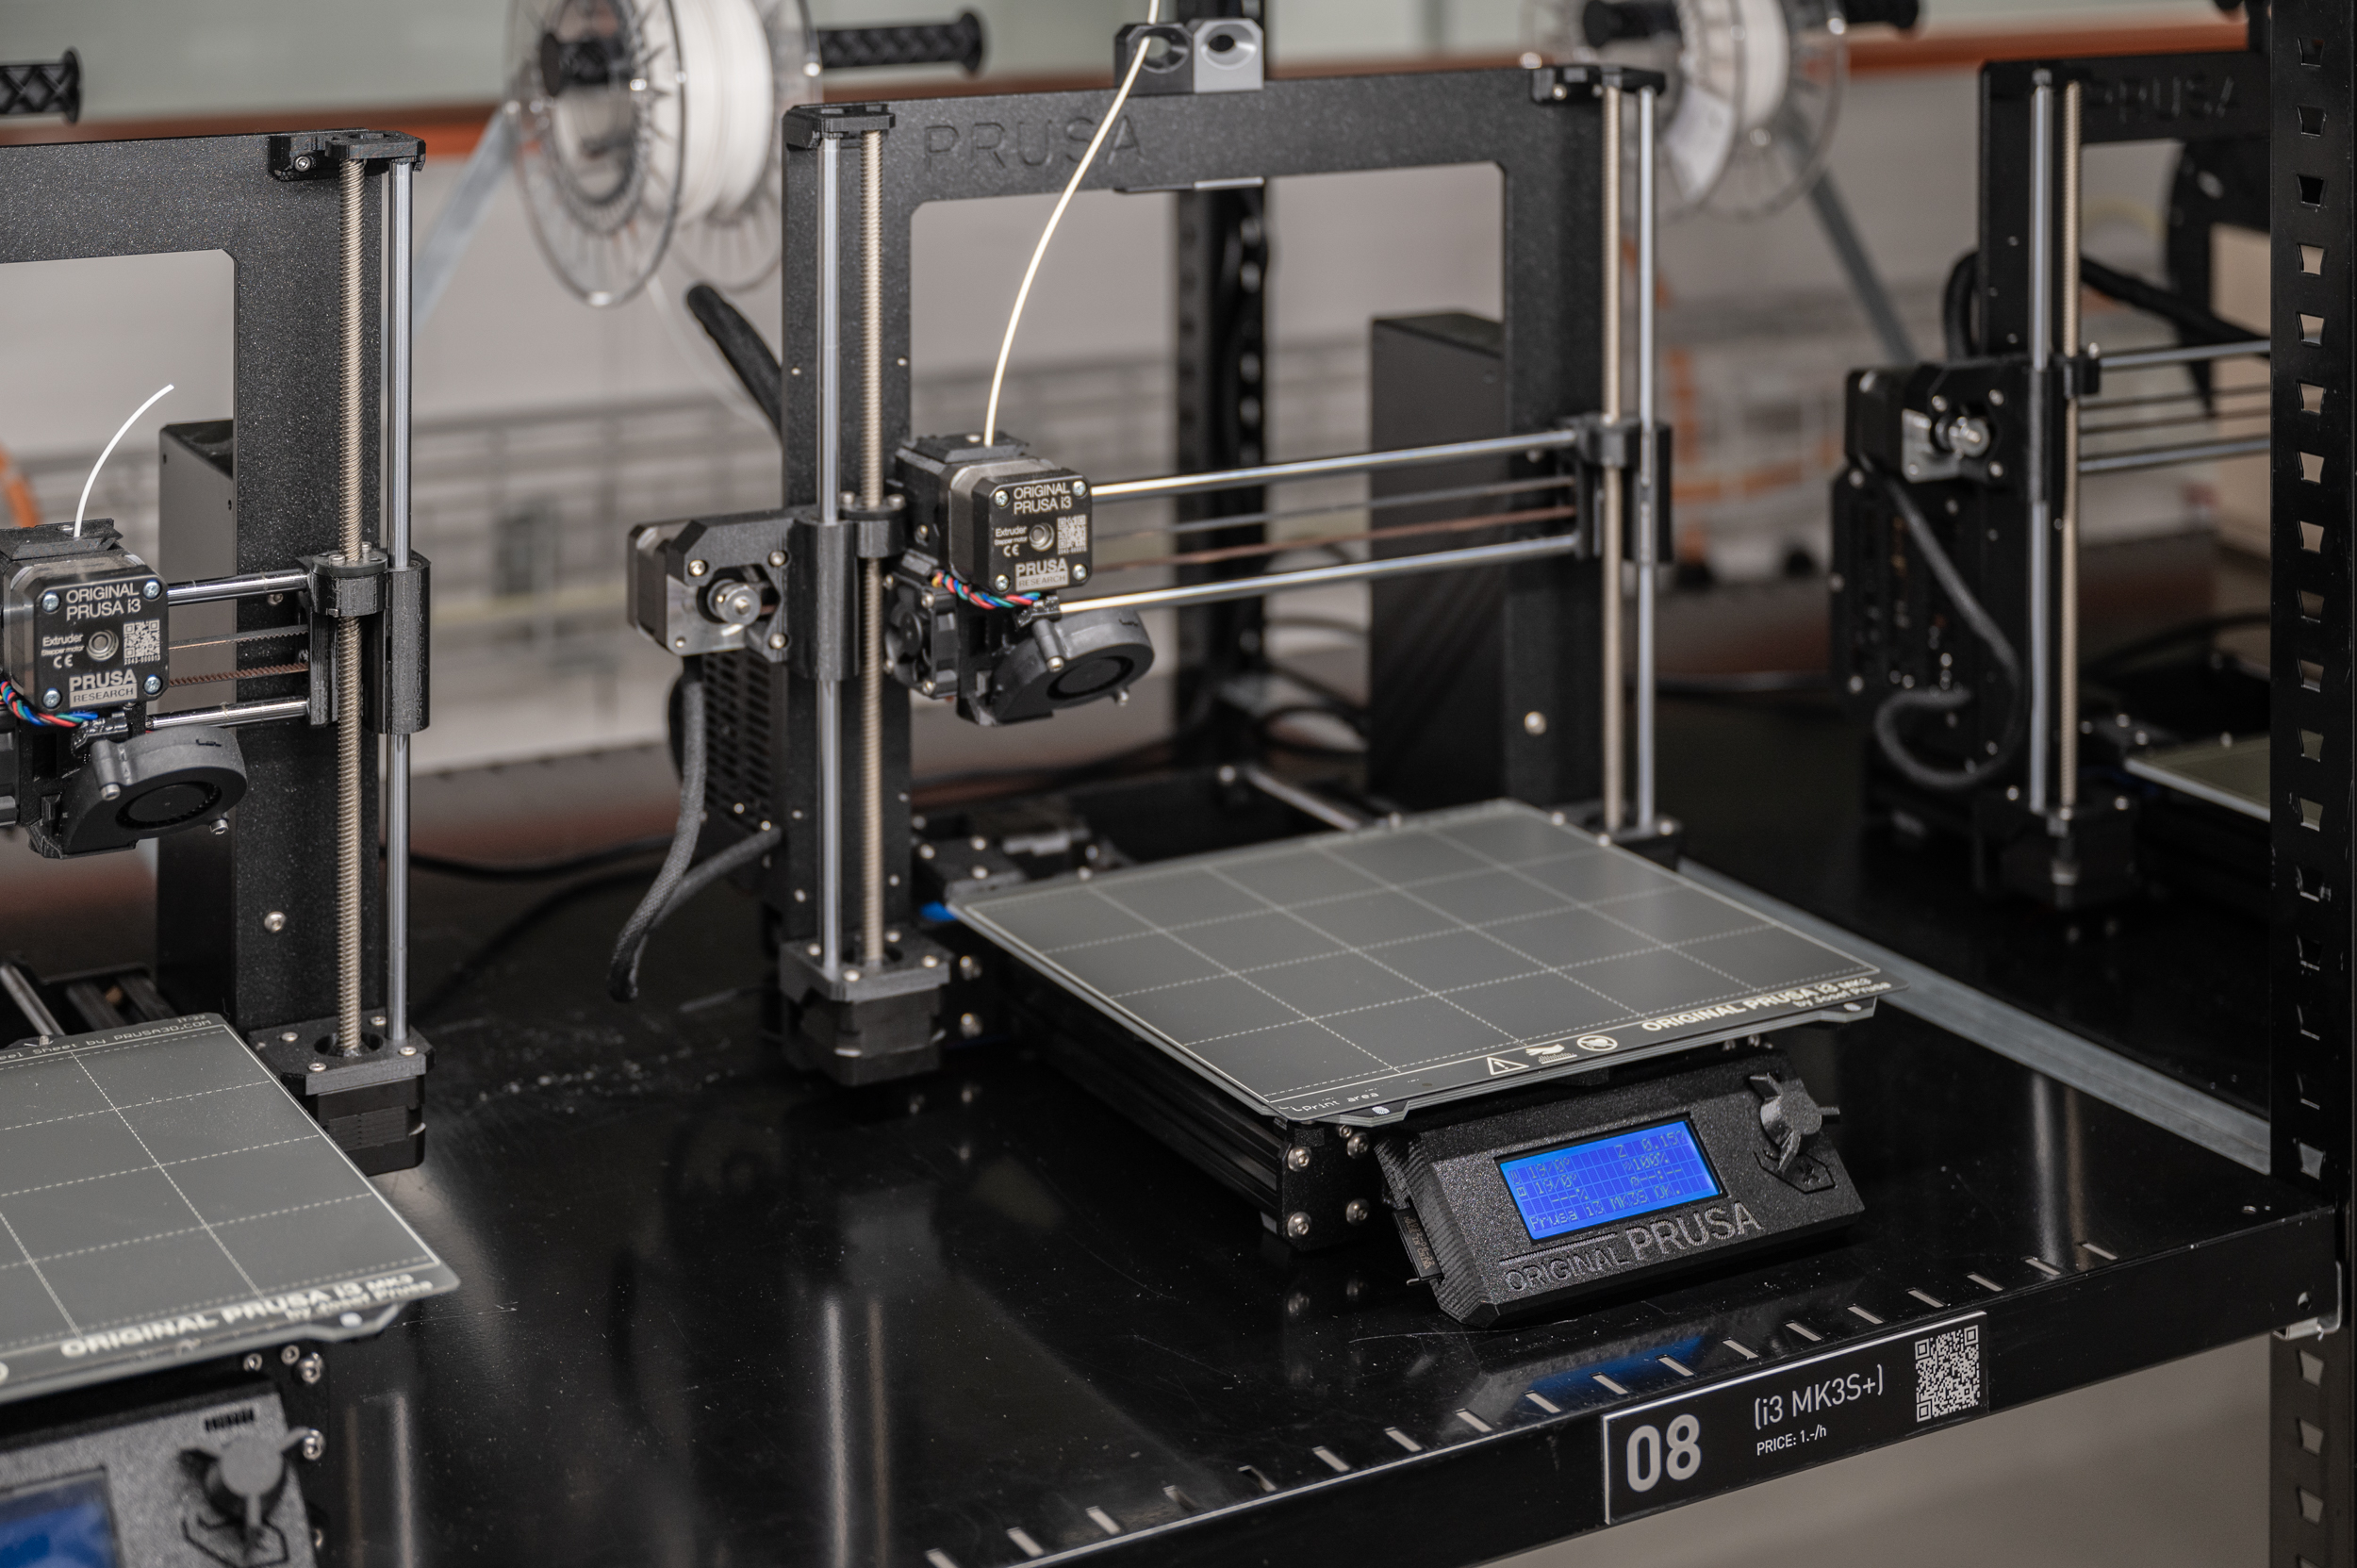
FDM printer ★
- It is a rather large model. It would have to be split into multiple parts
- There are many flat parts which can easily be represented with sheet material
- It would take a long time to print
- If one is working with a 2D file would have to be modelled in 3d in a modelling software
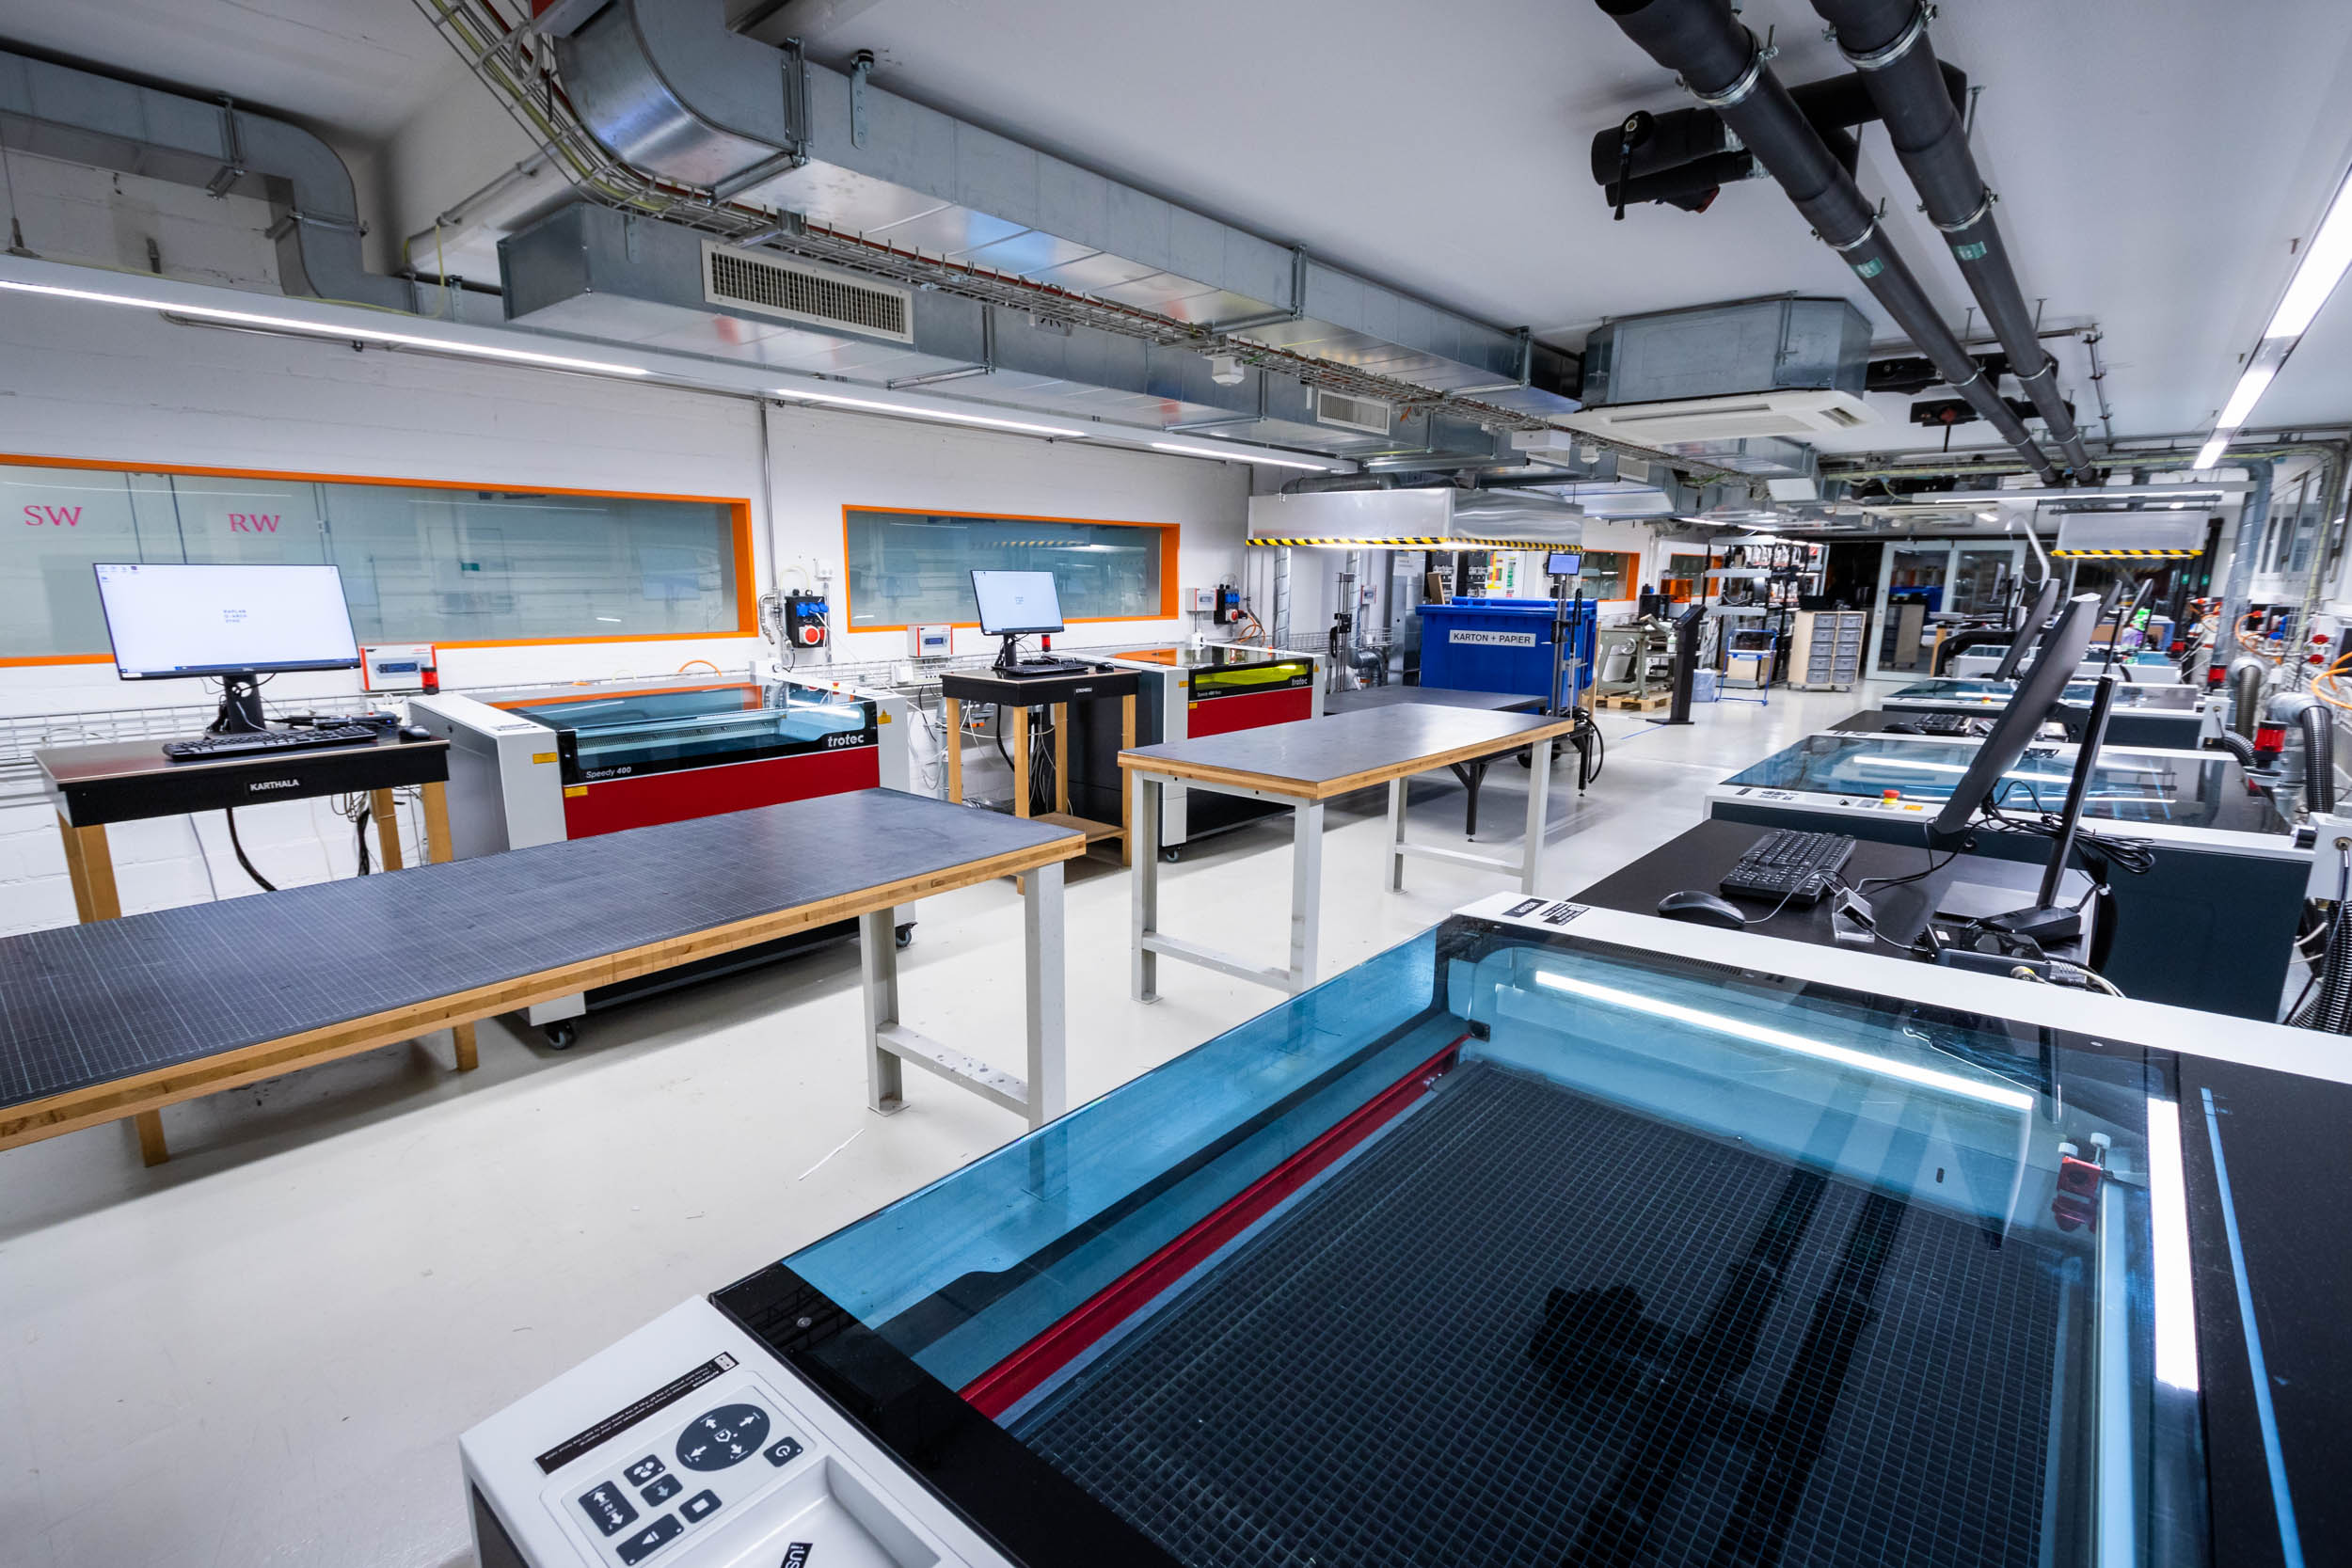
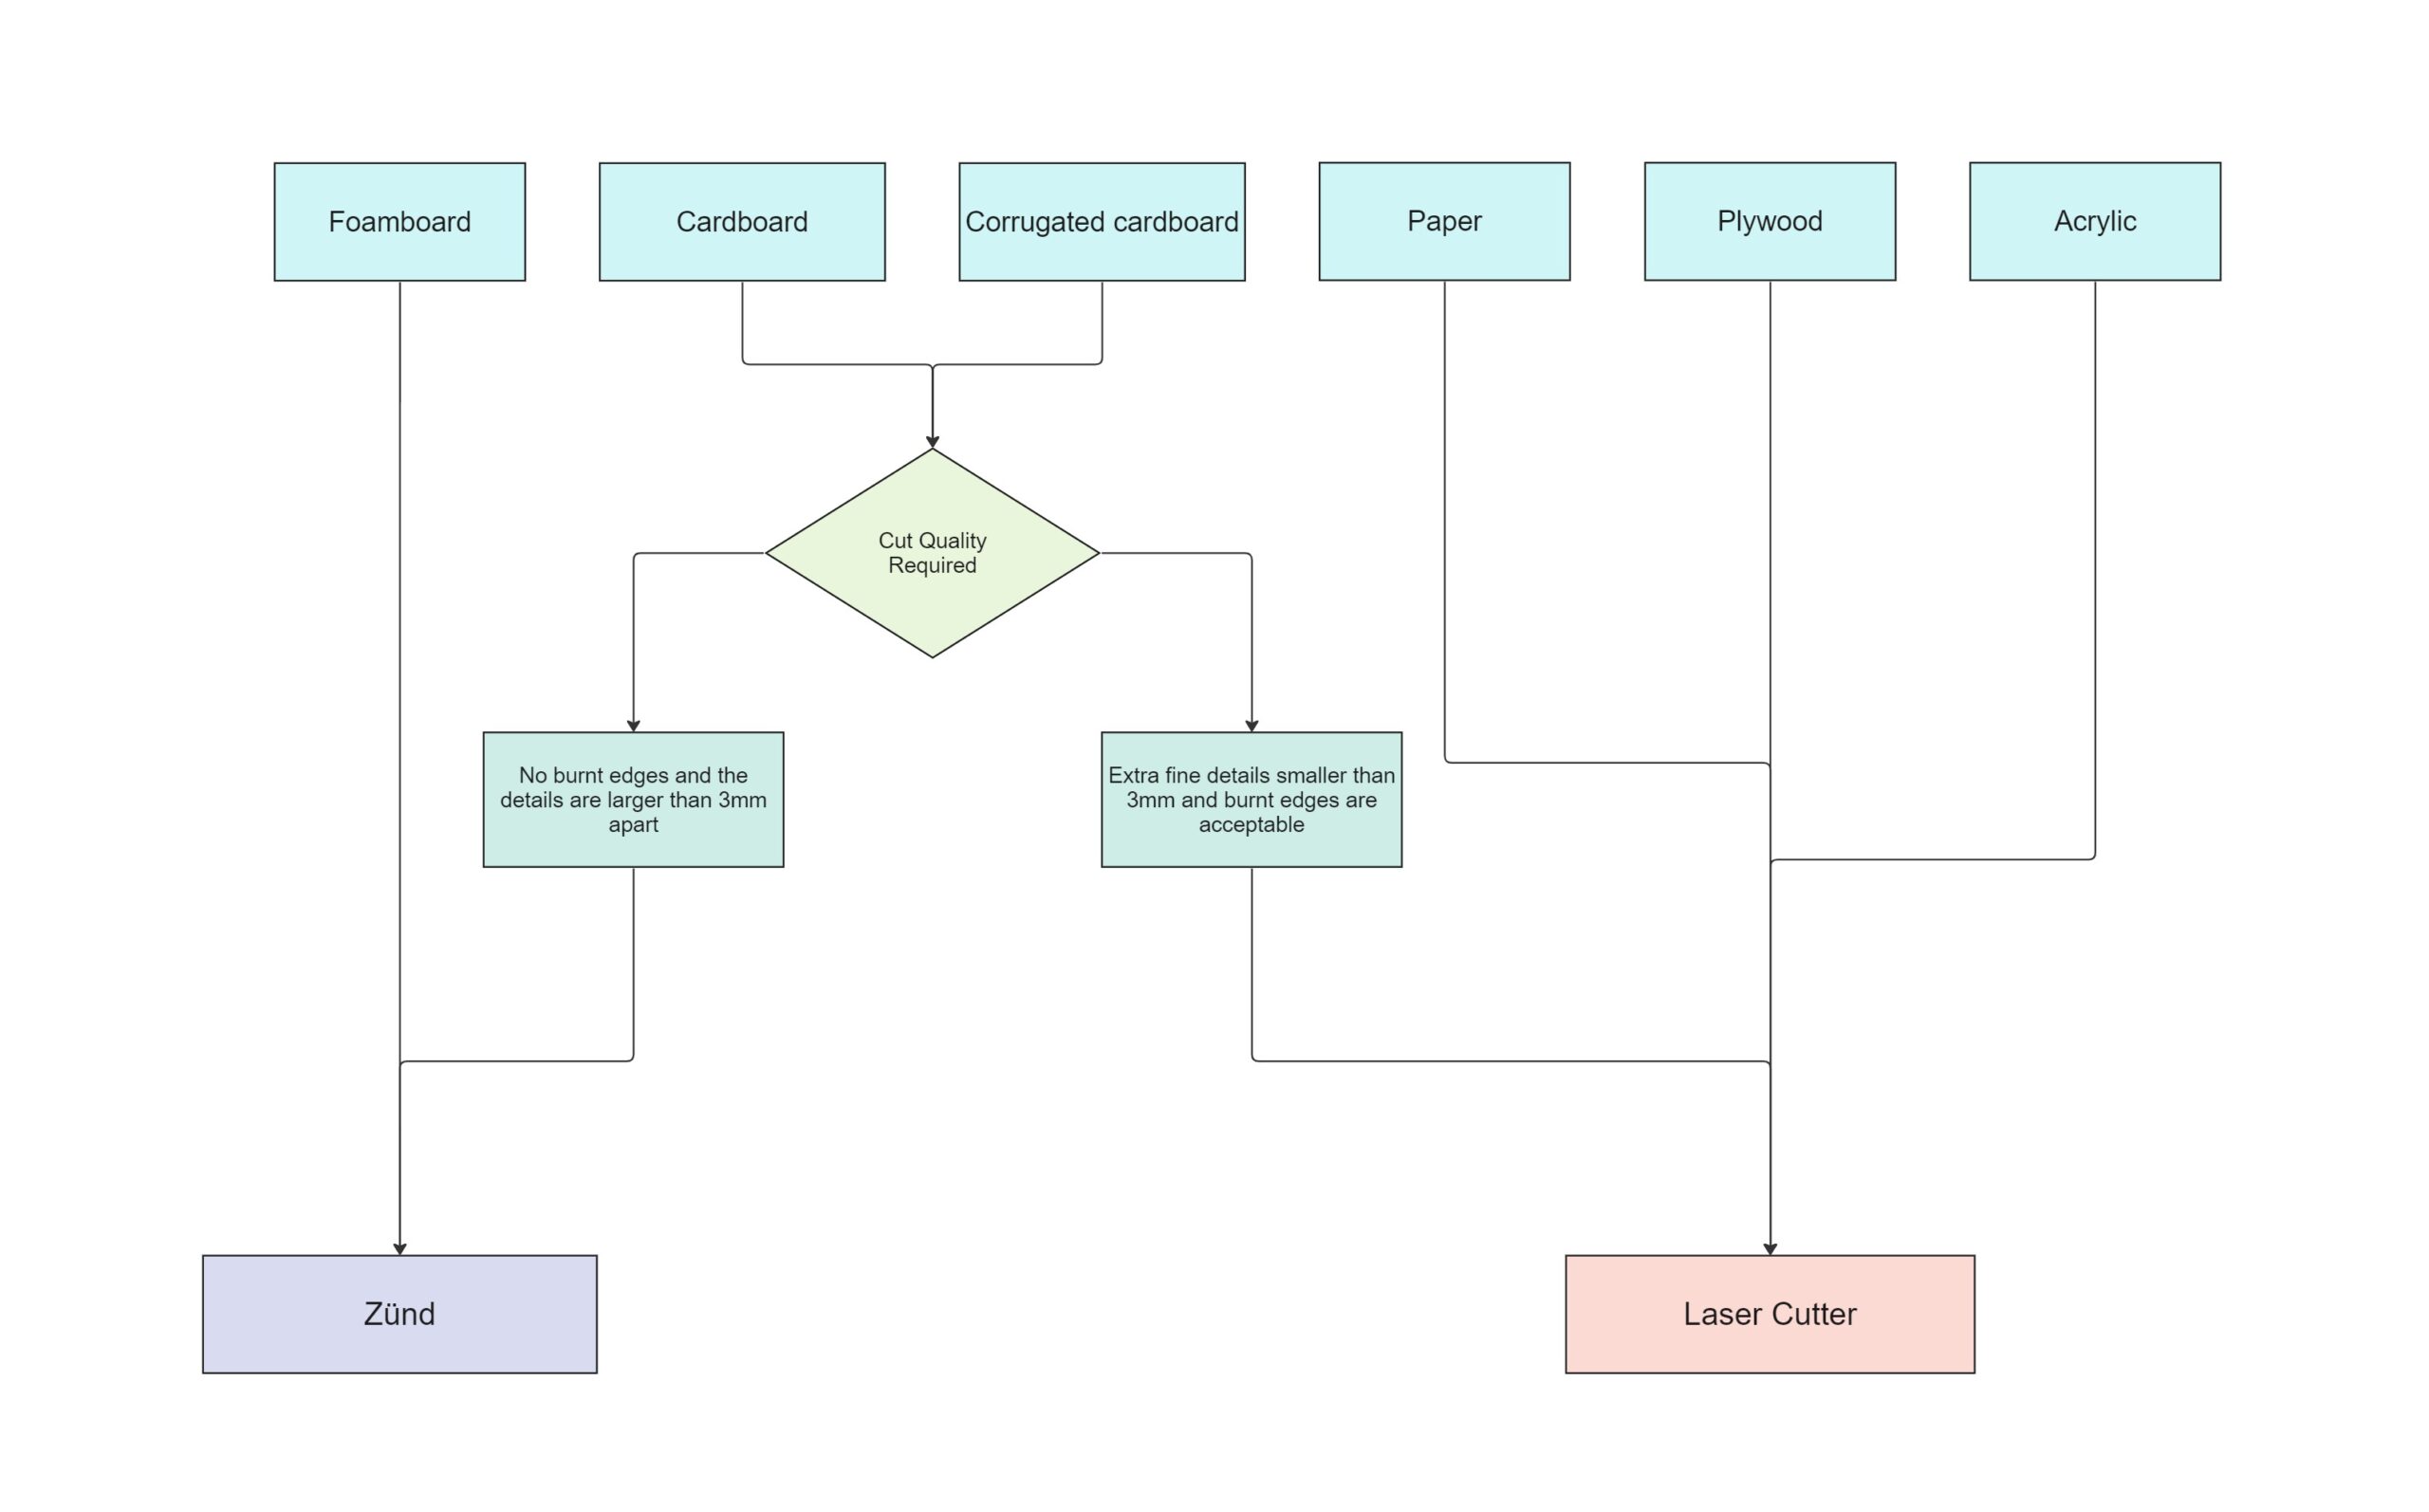
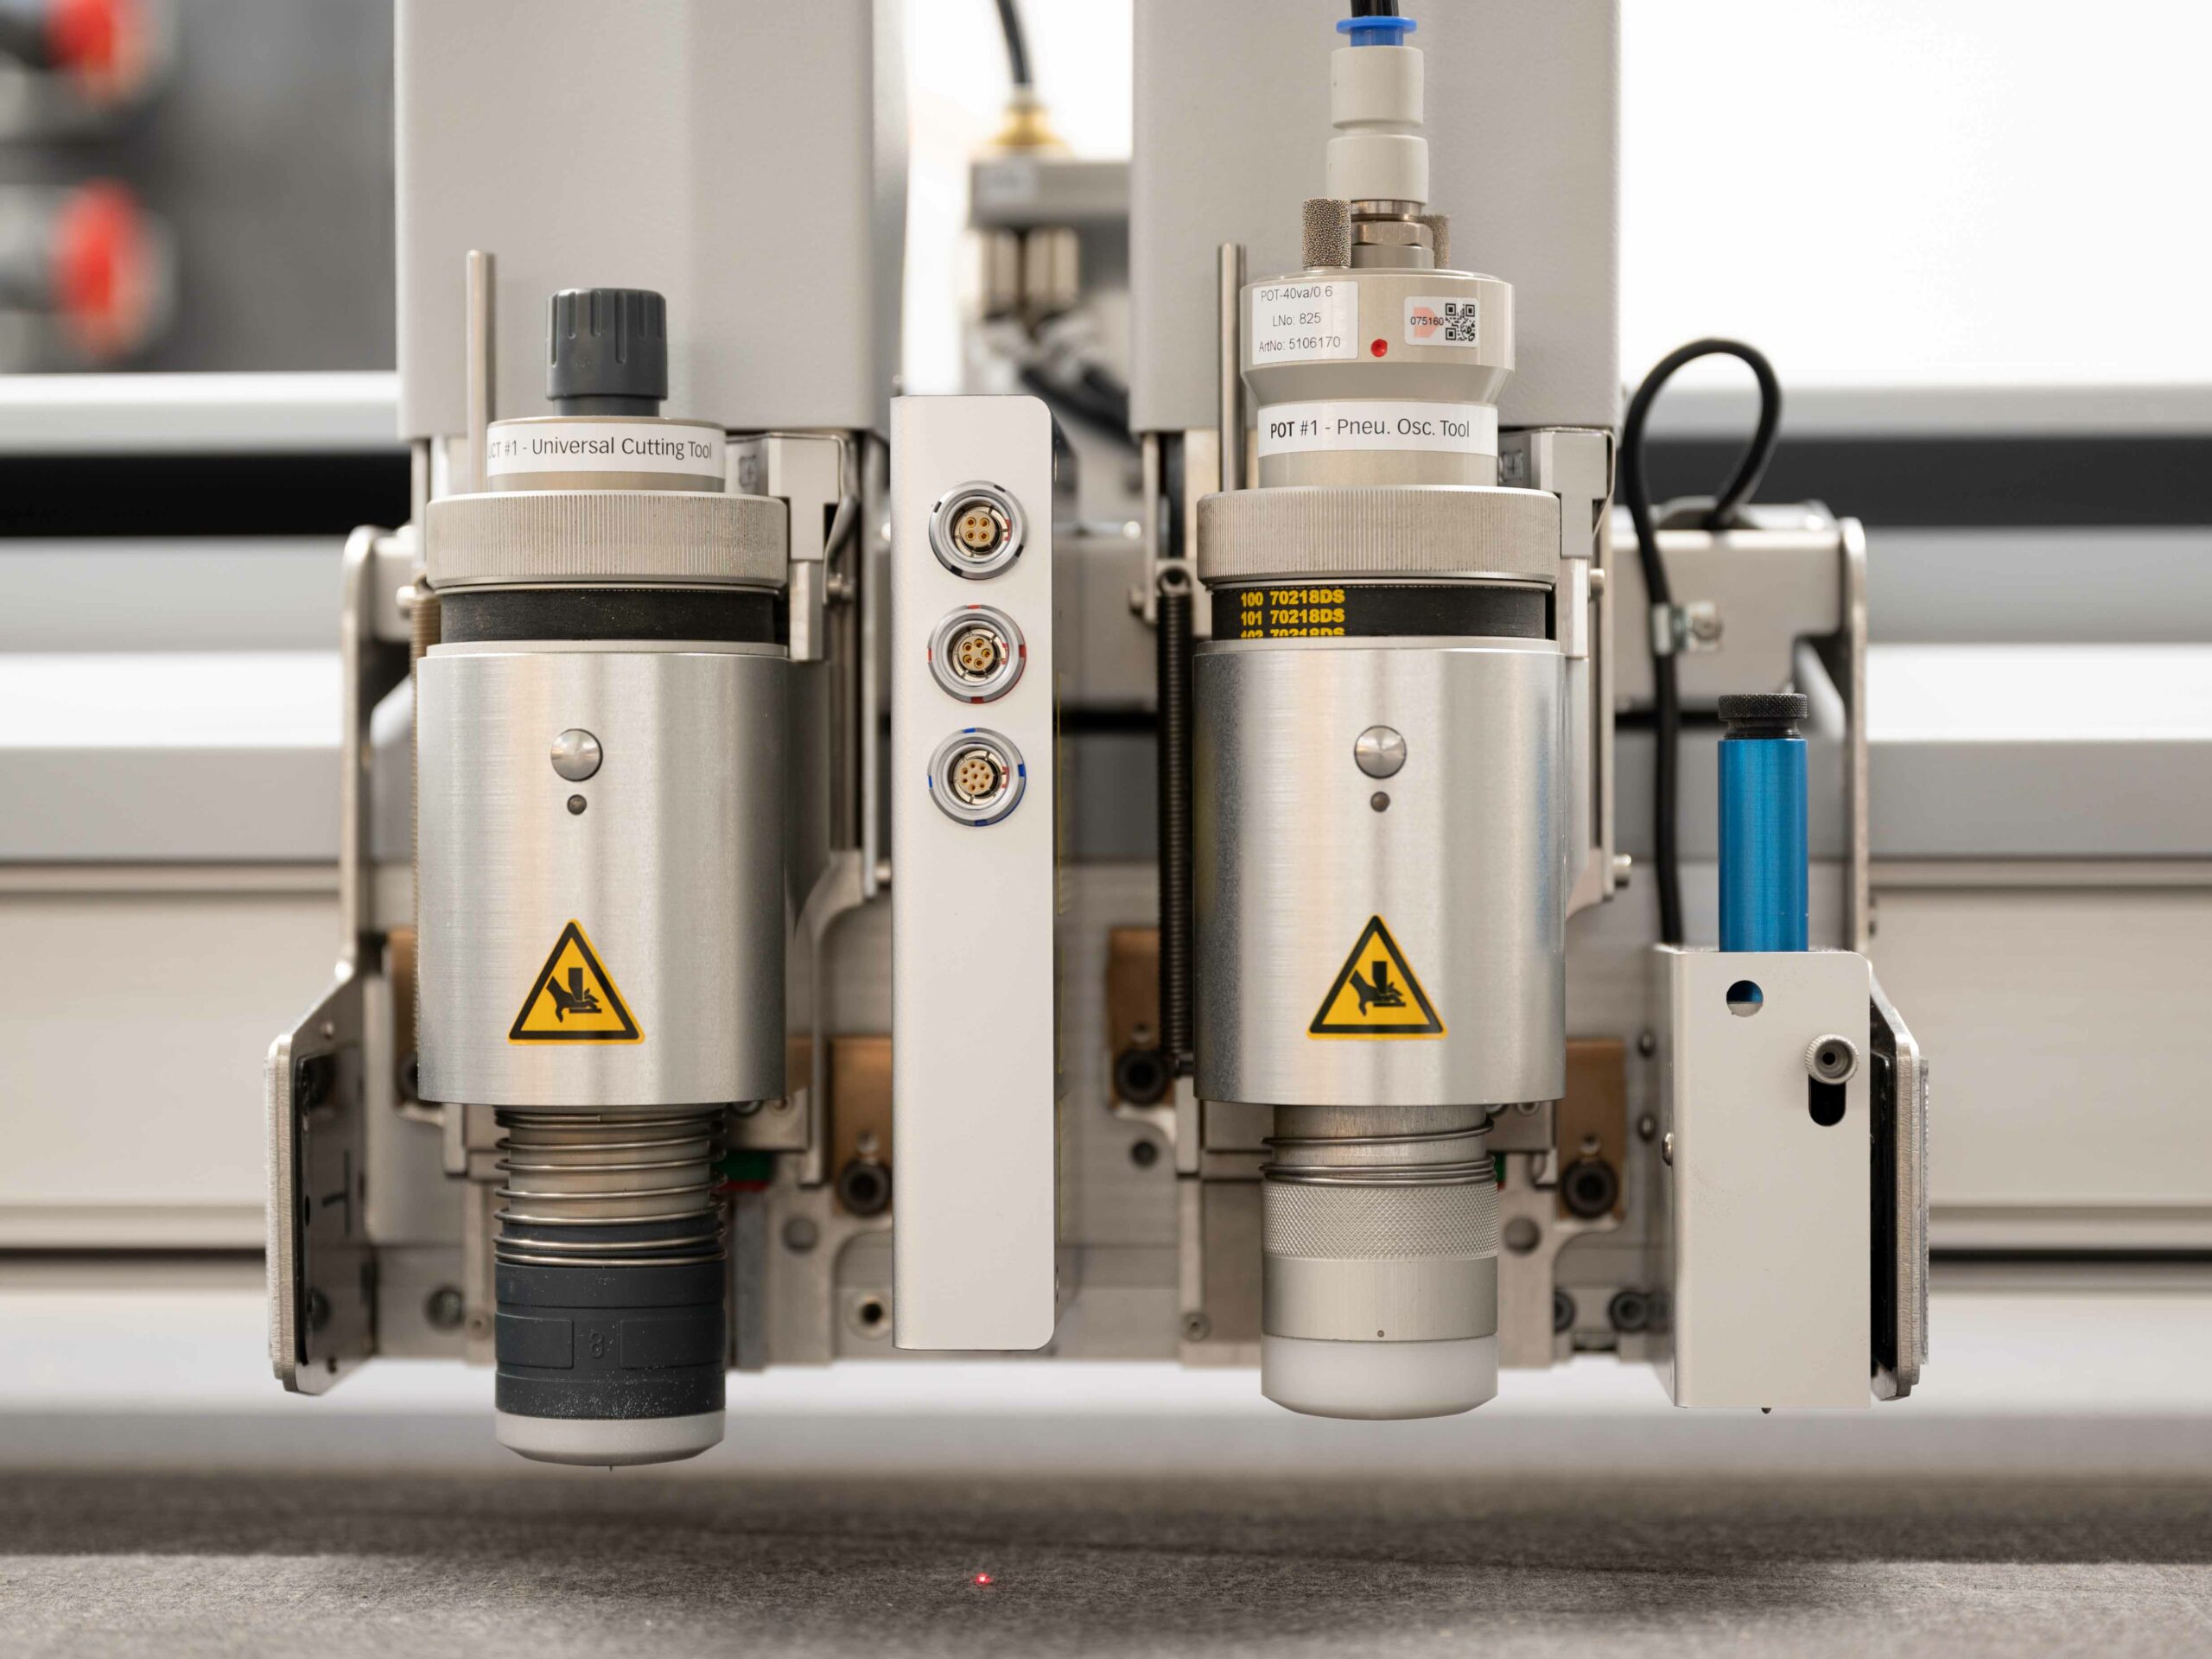
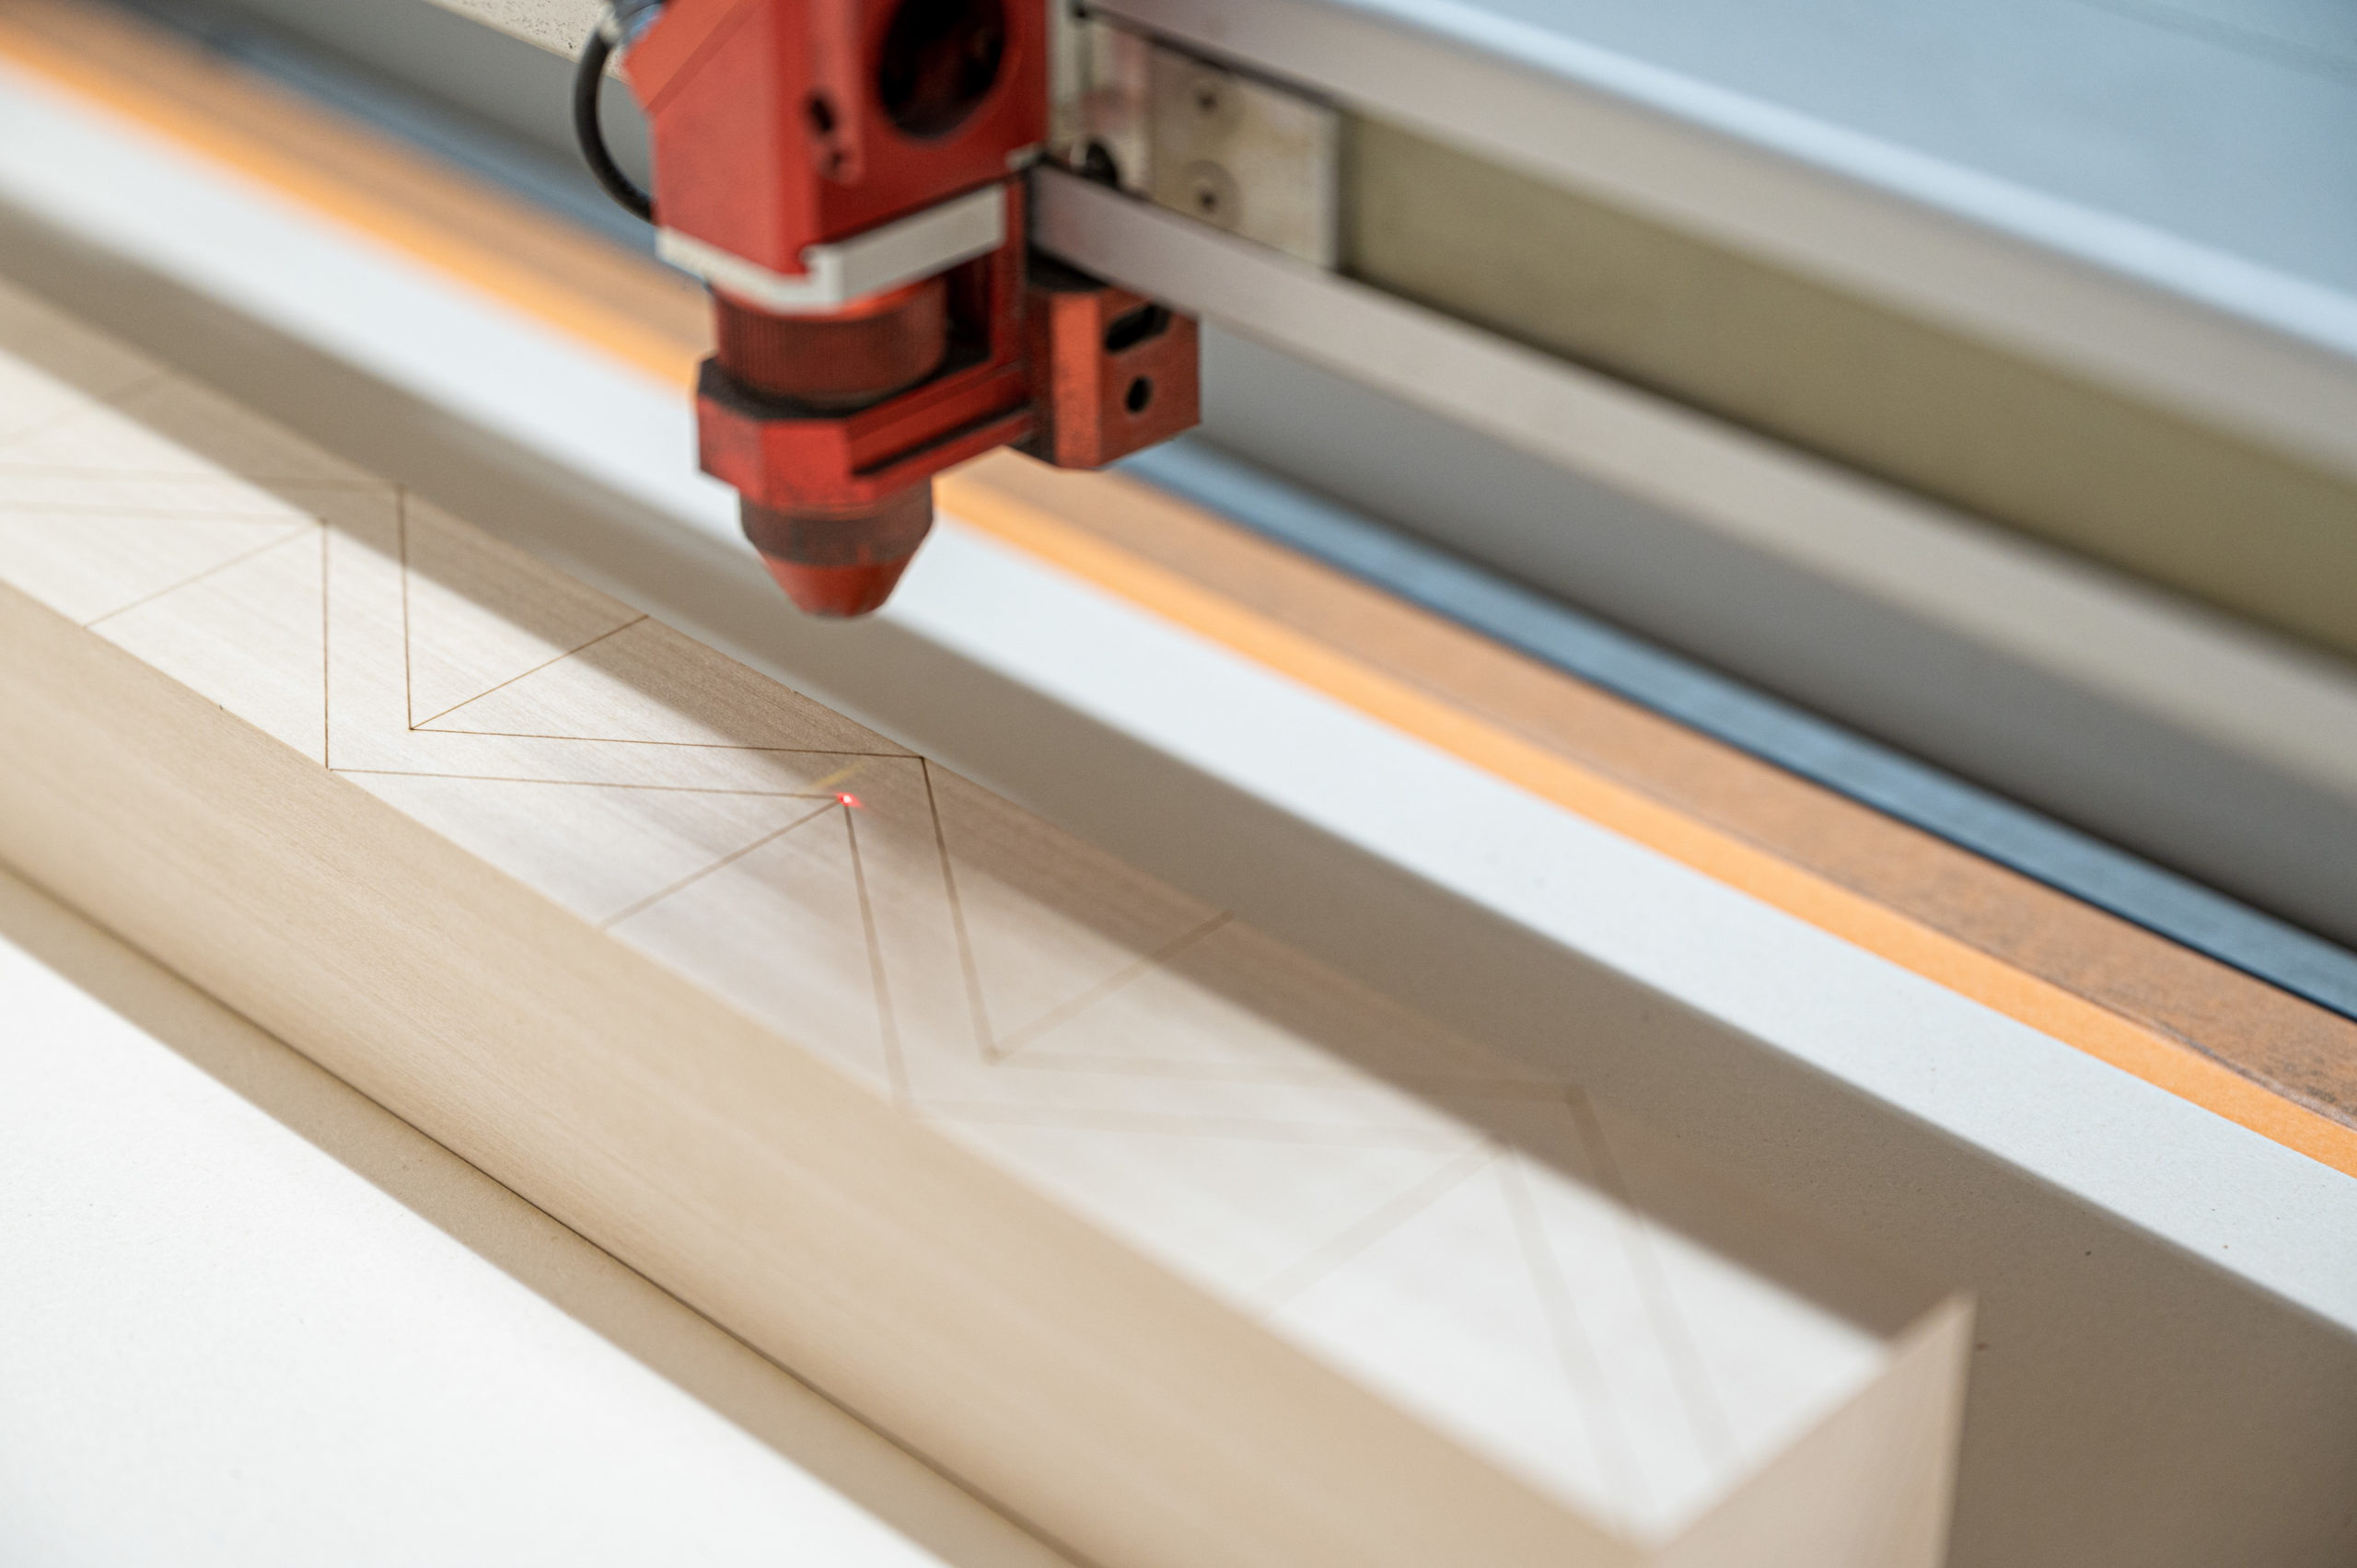
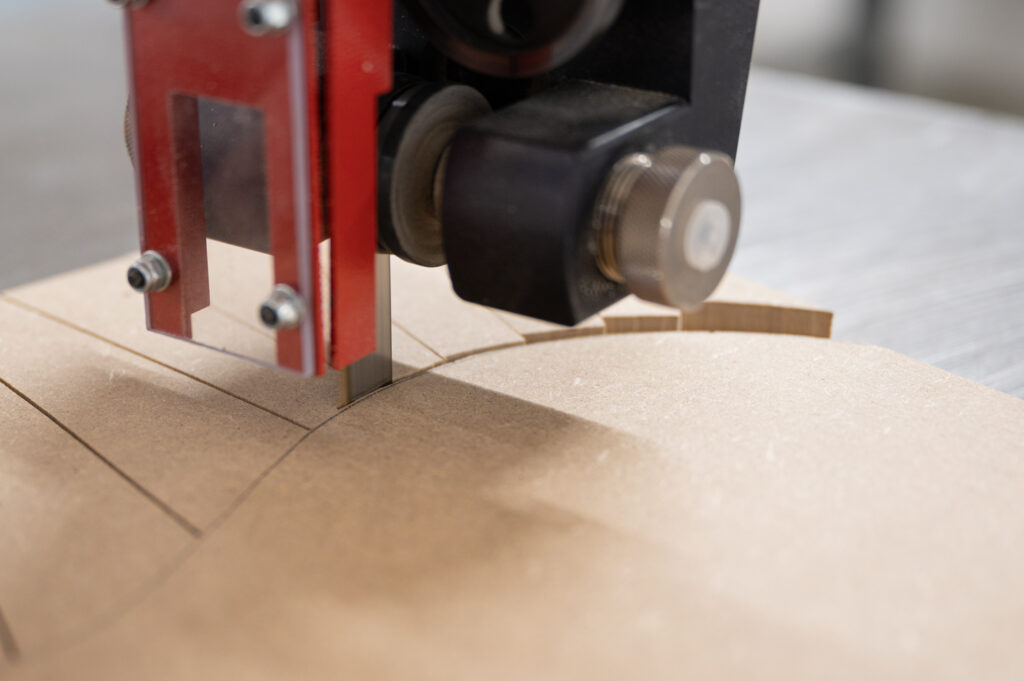
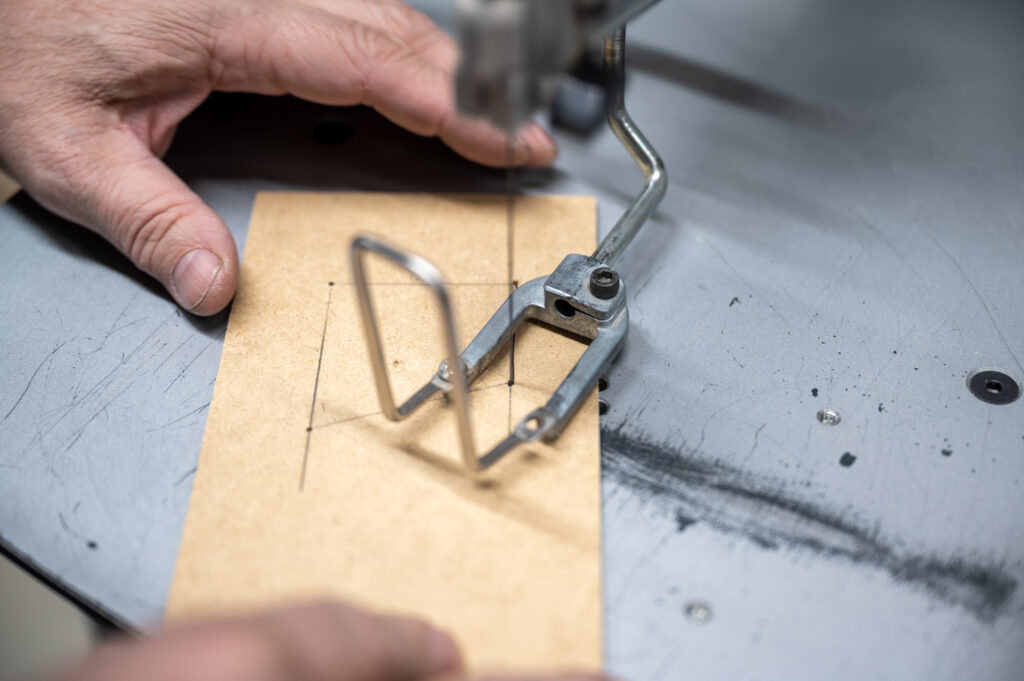
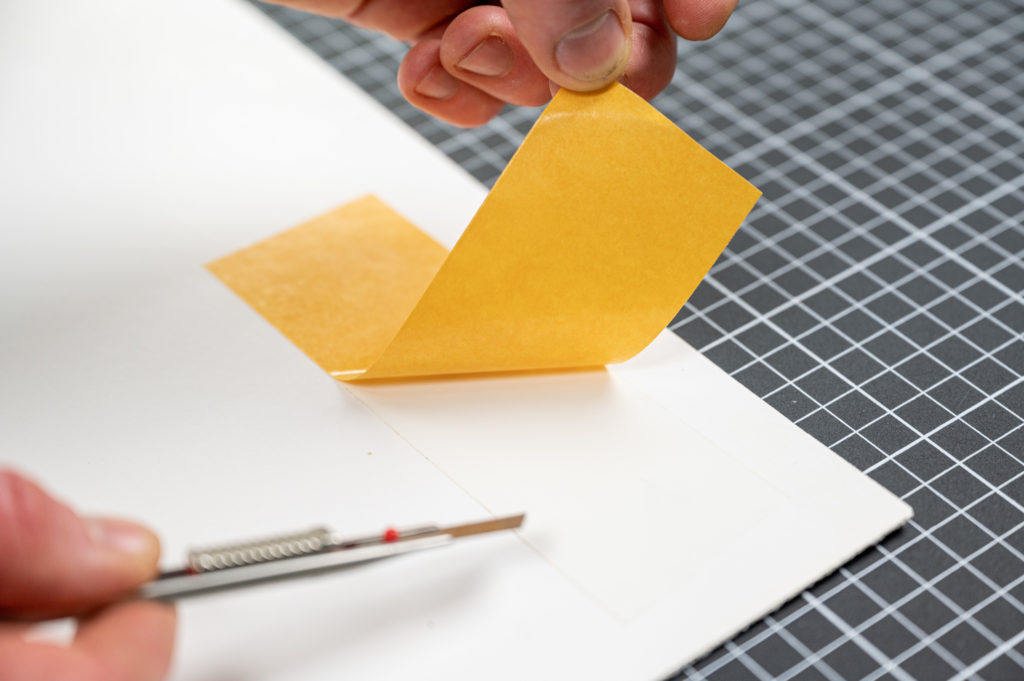
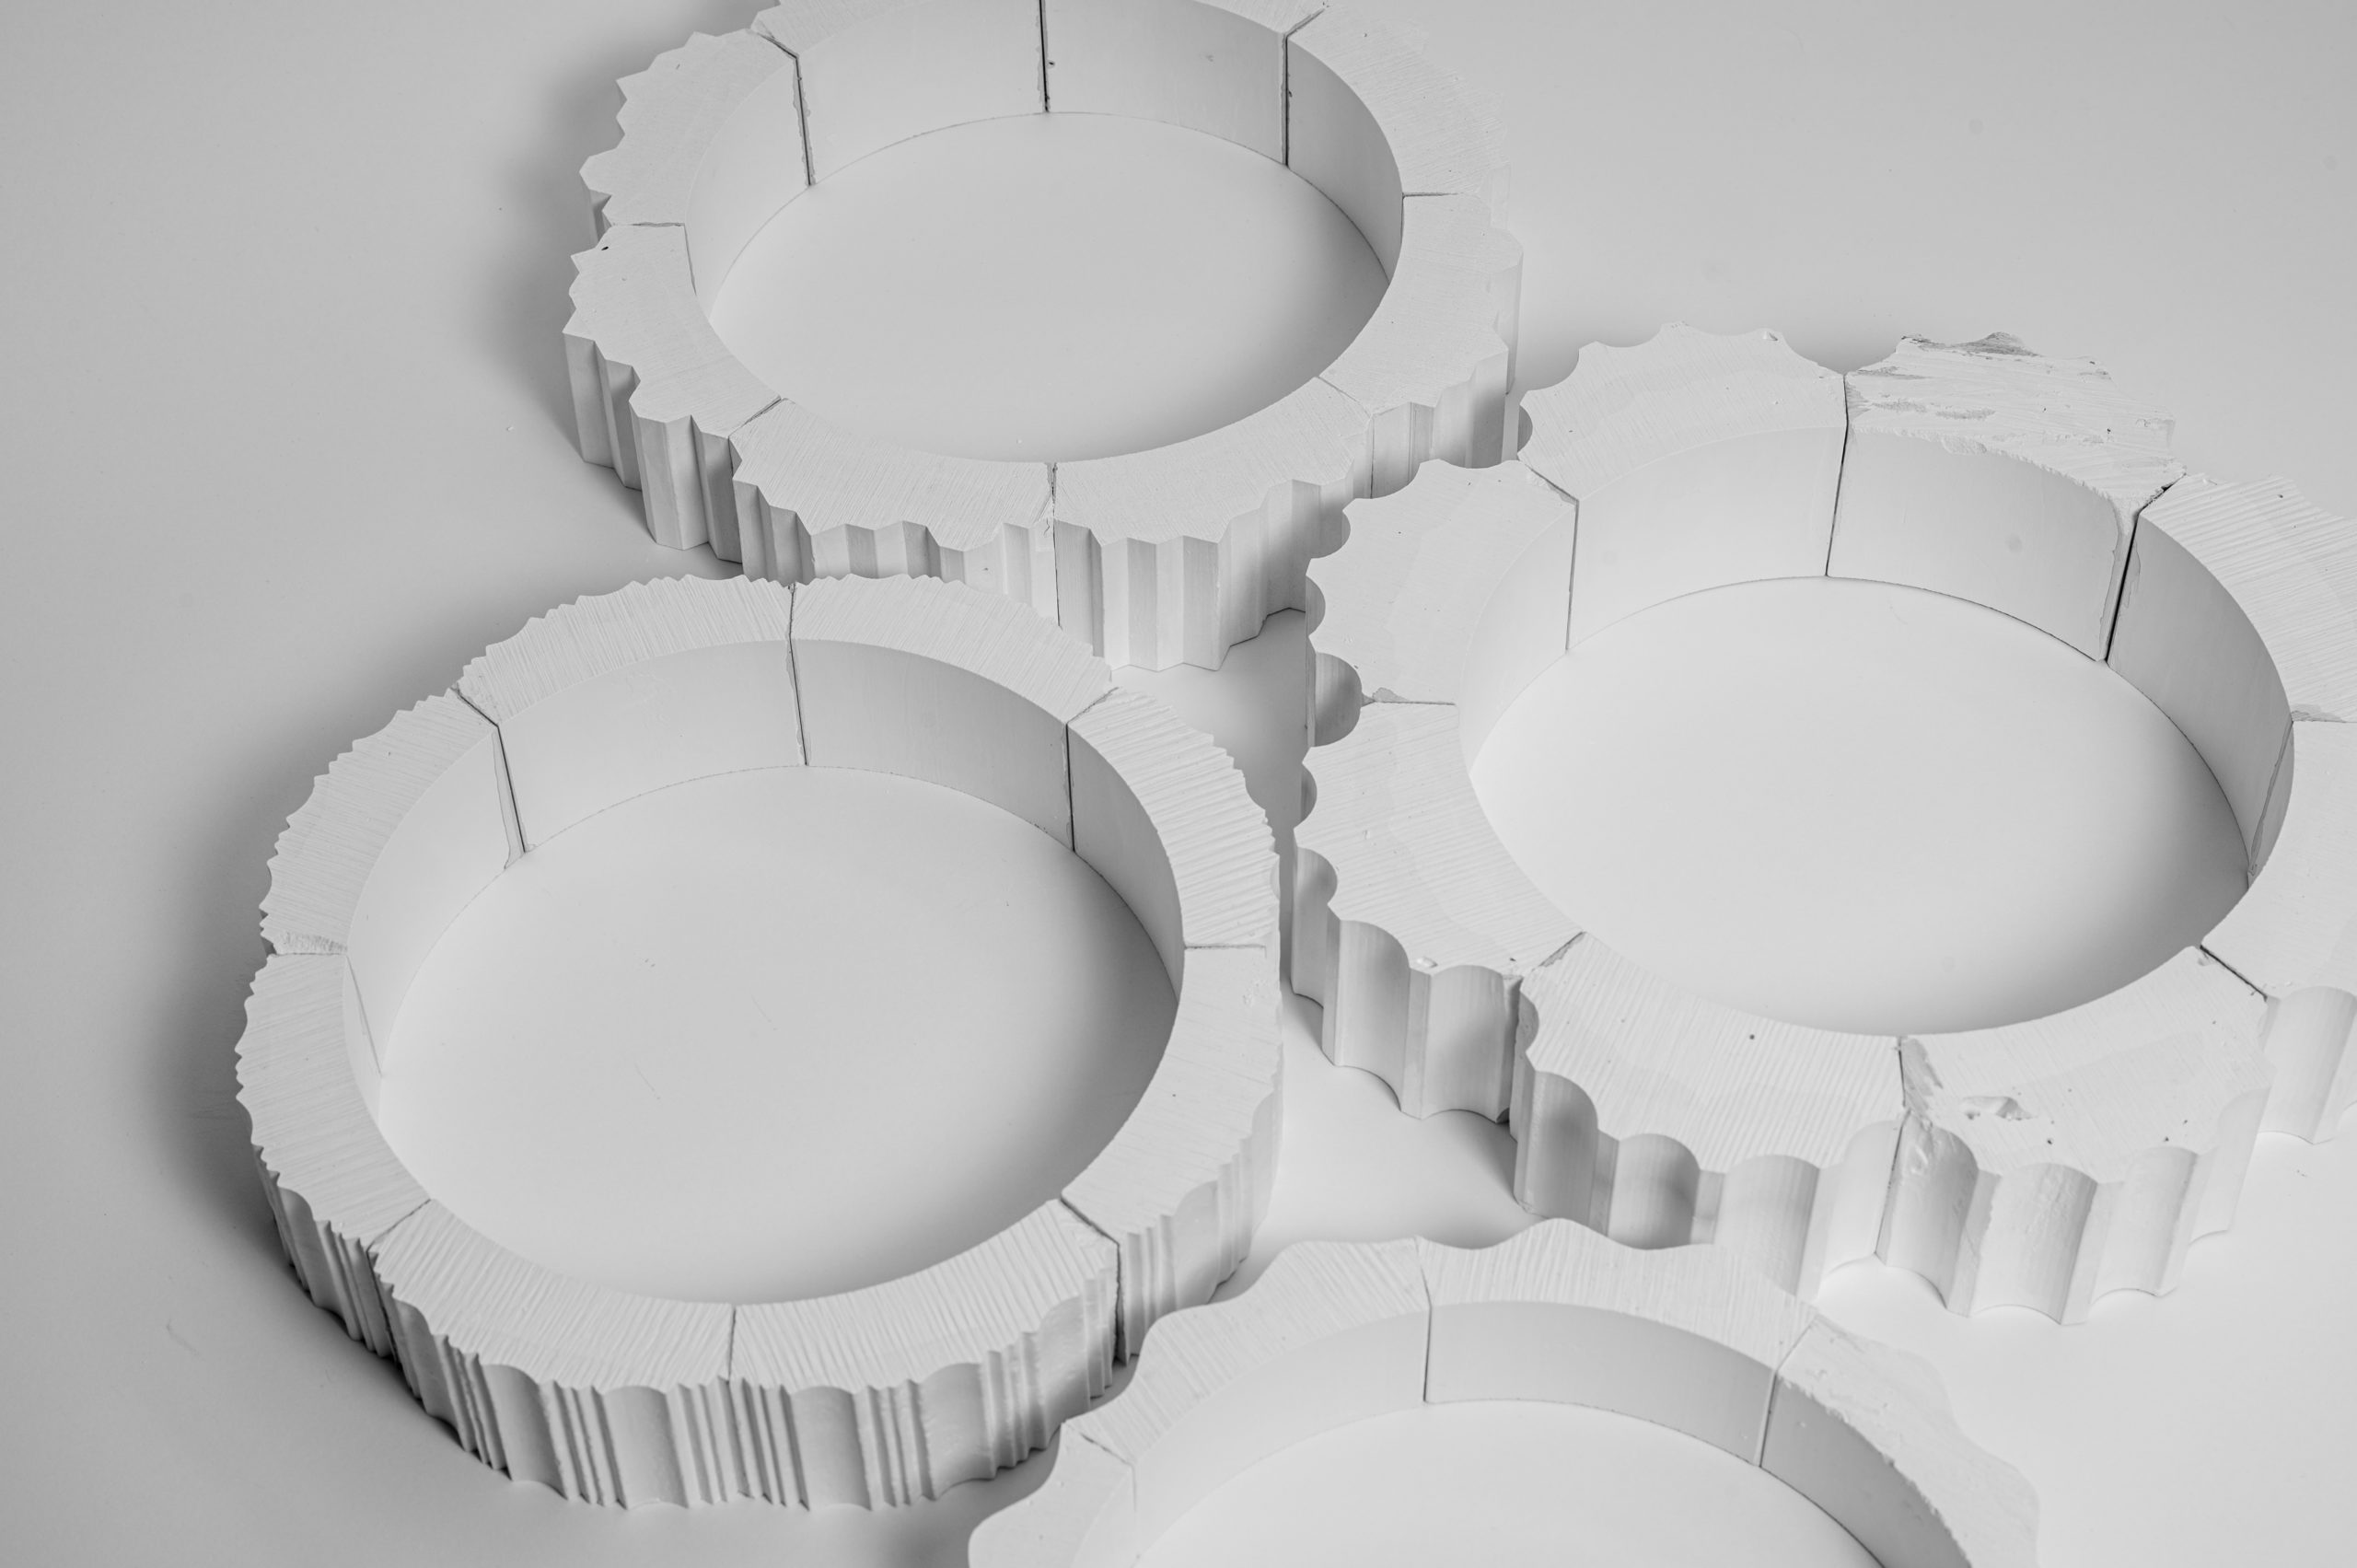
Zund Cutter ★★★★
- Layers could easily be produced from sheet material
- The file required for cutting can be produced in 2D
- No burn marks
- May struggles with some of the tight details
- Would have to be made from card
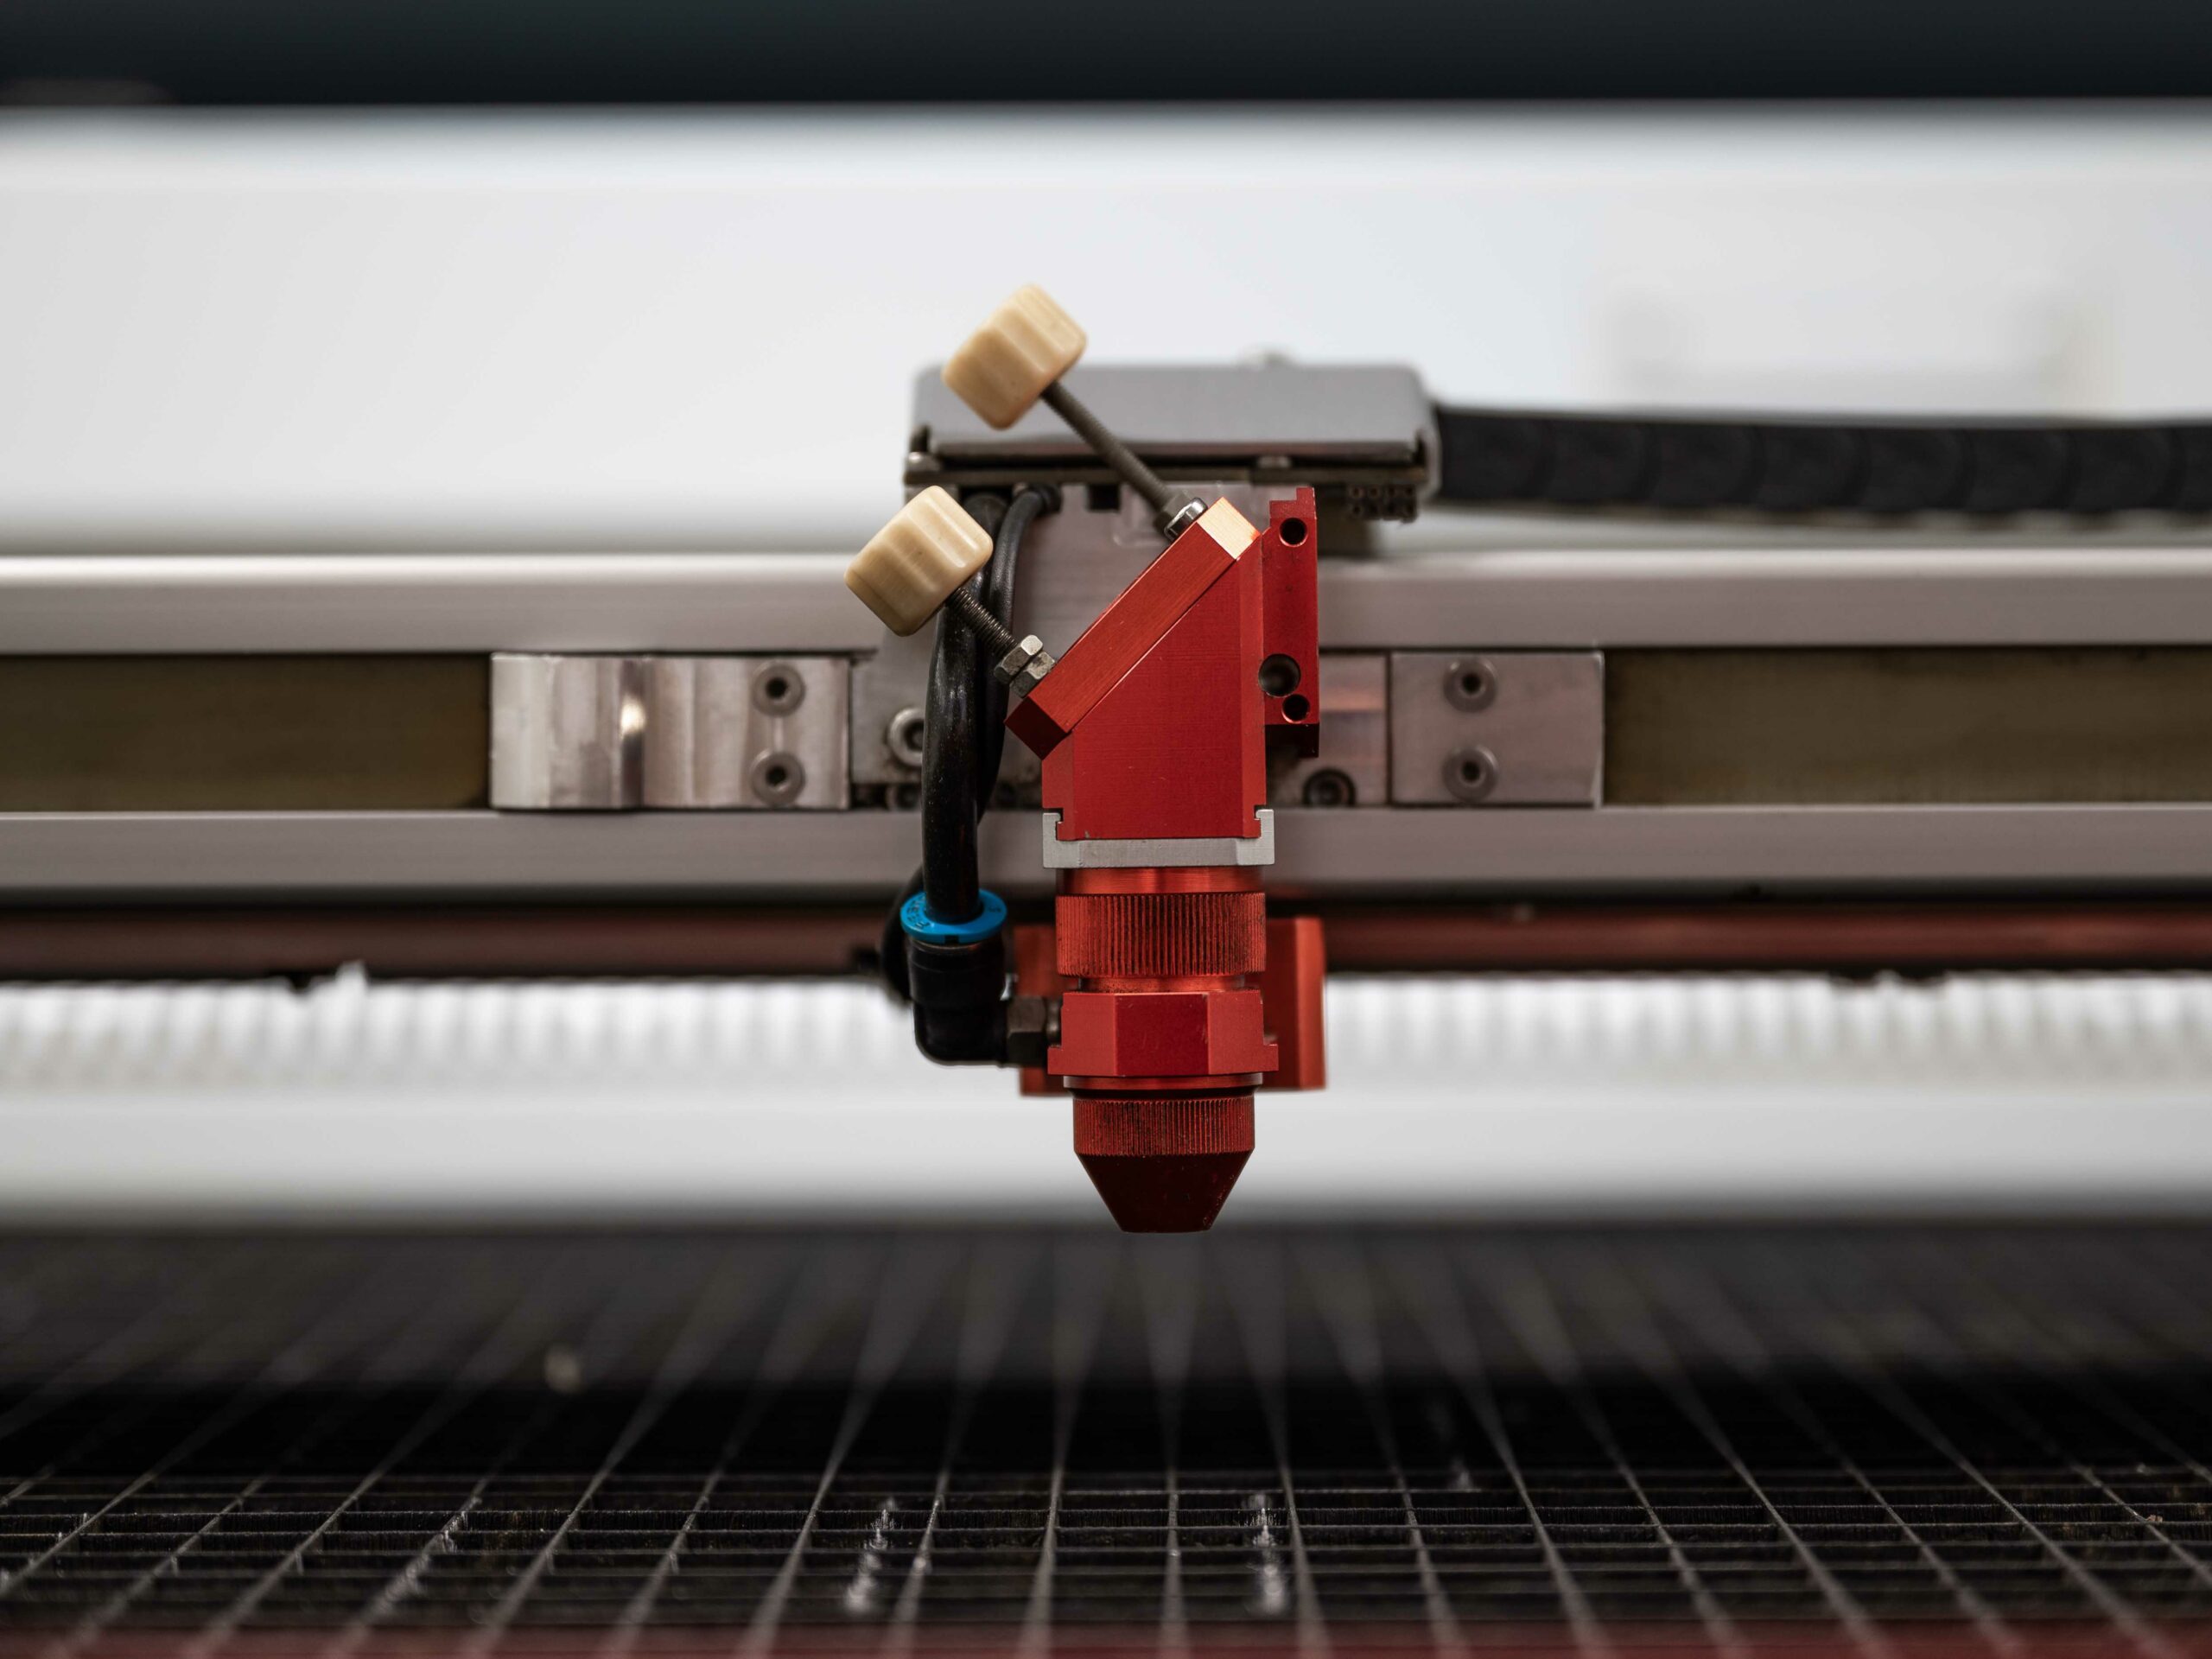
Laser Cutter ★★★★★
- Layers can easily be produced from sheet material
- One could easily work in 2d to produce the cut files
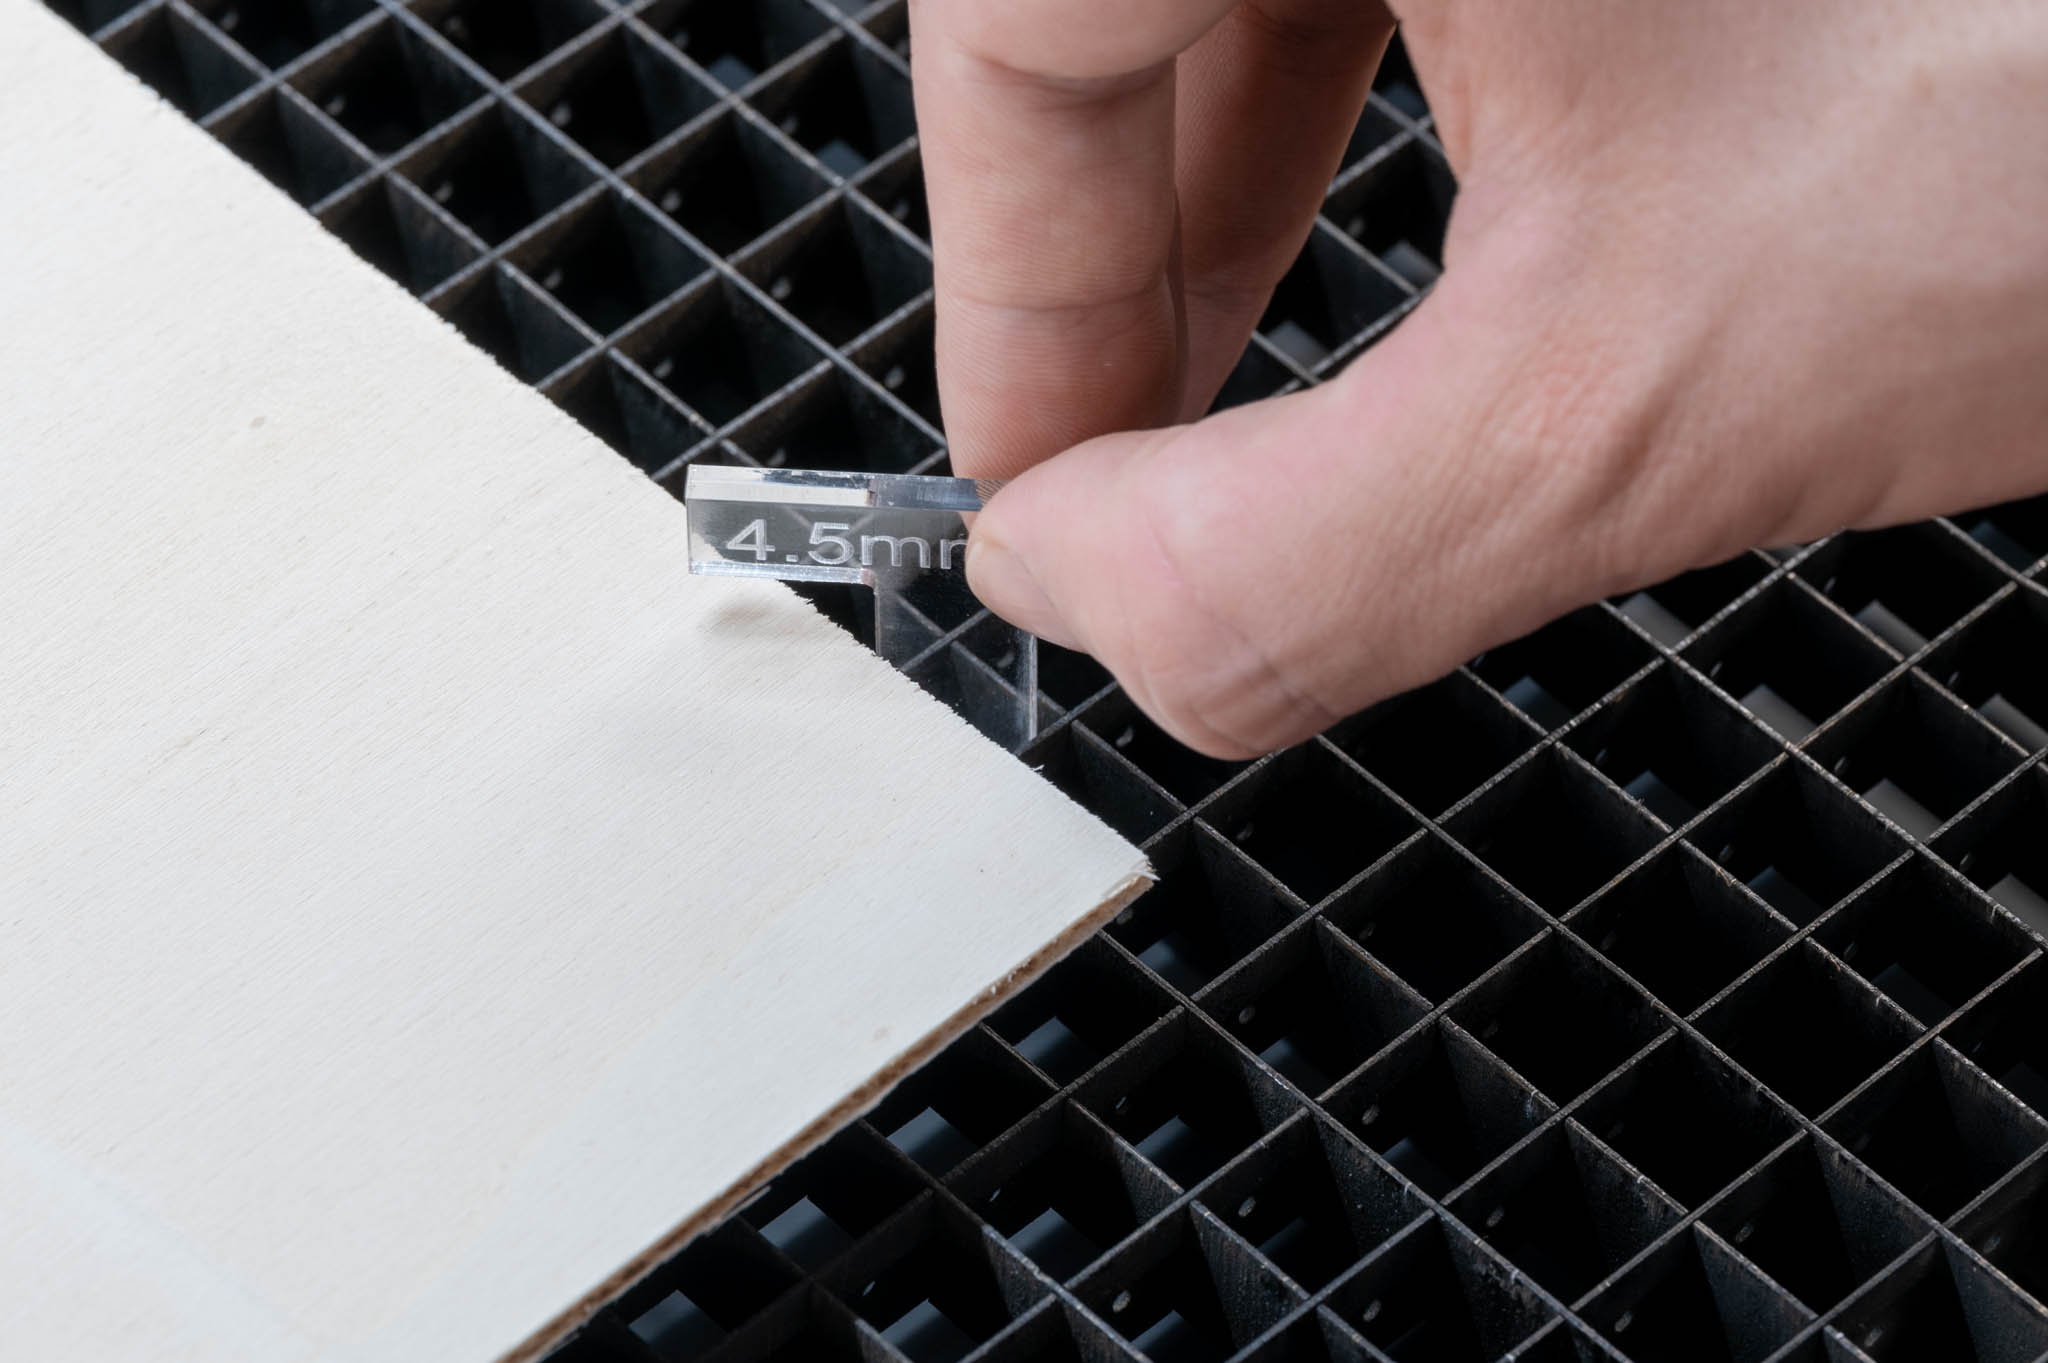
- Has burnt edges.
- Would be able to cut all of the tight corners and details
- Could be made from Card, Airplane ply, wood Veneer or Acrylic
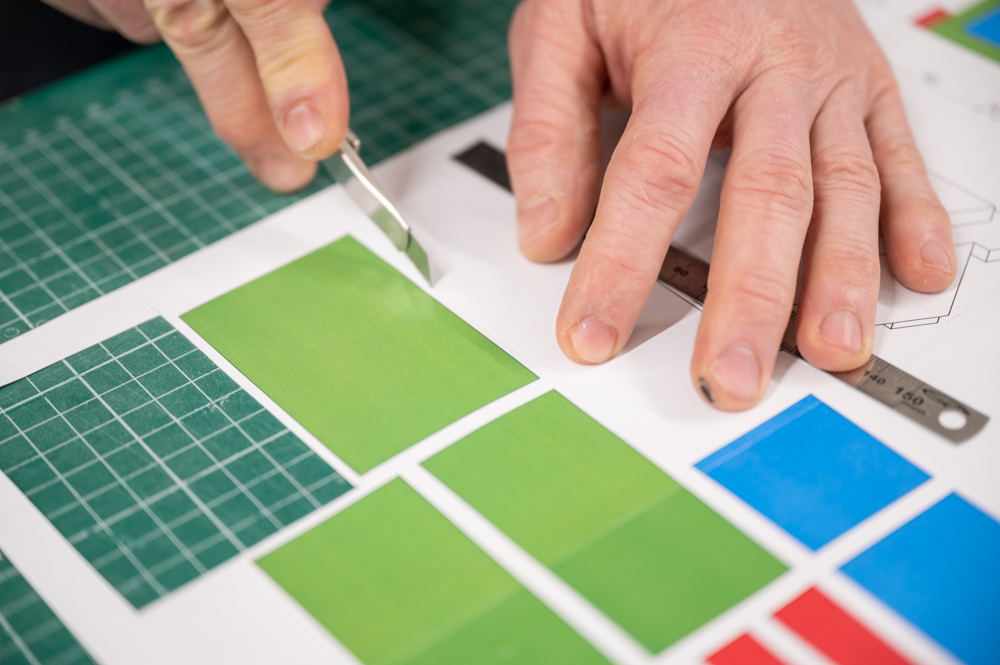
Manual Method (Cardboard and a knife) ★
- It would take an extremely long time to produce something of this complexity by hand
- Would require a massive amount of skill and patience.
- Is possible but not recommended if there are digital cutters available.
Landscape model 1:2000 - 350x350x130mm
FDM Printer ★★★★
- Some complex 3-dimensional geometry with double curvature, which makes sense to 3D print.
- The 3D model would have to be split in 4 pieces which could work. (Only 2 split lines)
- The ‘spiral vase’ method could be used to reduce time
Zünd Cutter ★
- The form is too organic and is made up of mostly double curved surfaces. Would be make very little sense to produce this on the Zünd.
- Would only make sense to use the cut pieces to assist with another manual method in clay by creating templates or an internal armature.
Laser Cutter ★
- The form is too organic and is made up of mostly double curved surfaces. Would be make very little sense to produce this on the laser.
- Would only make sense to use the cut pieces to assist with another manual method in clay by creating templates or an internal armature.
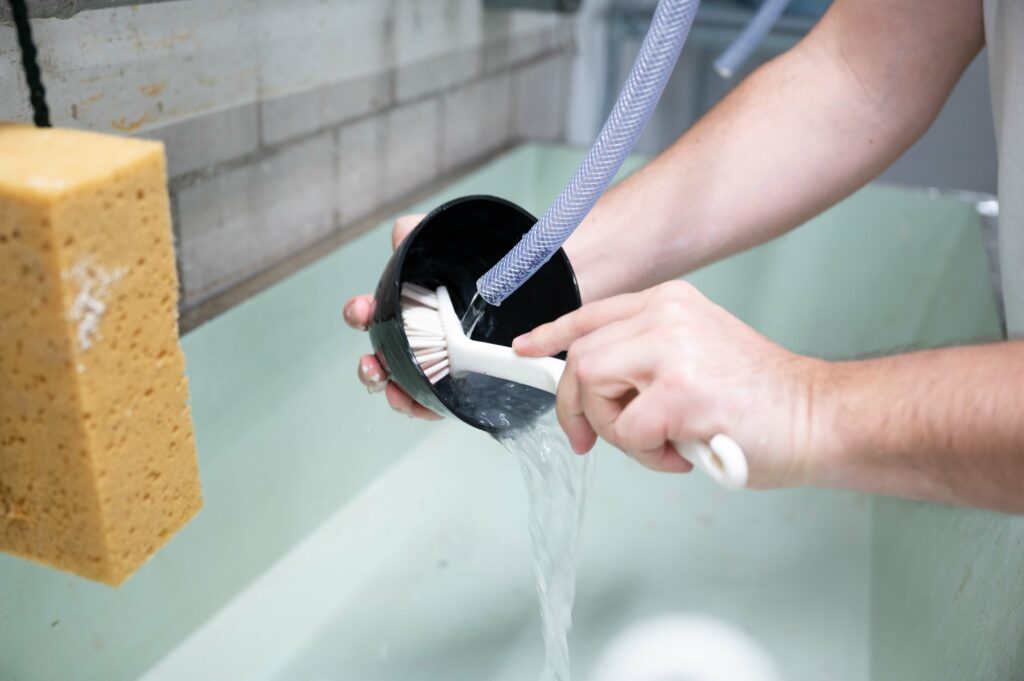
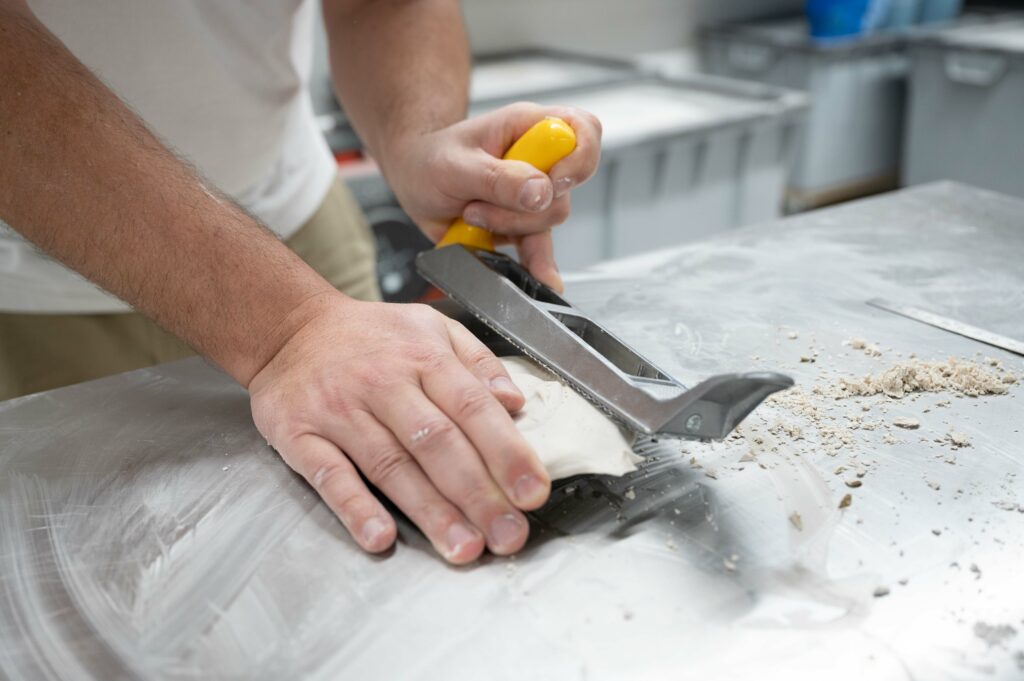
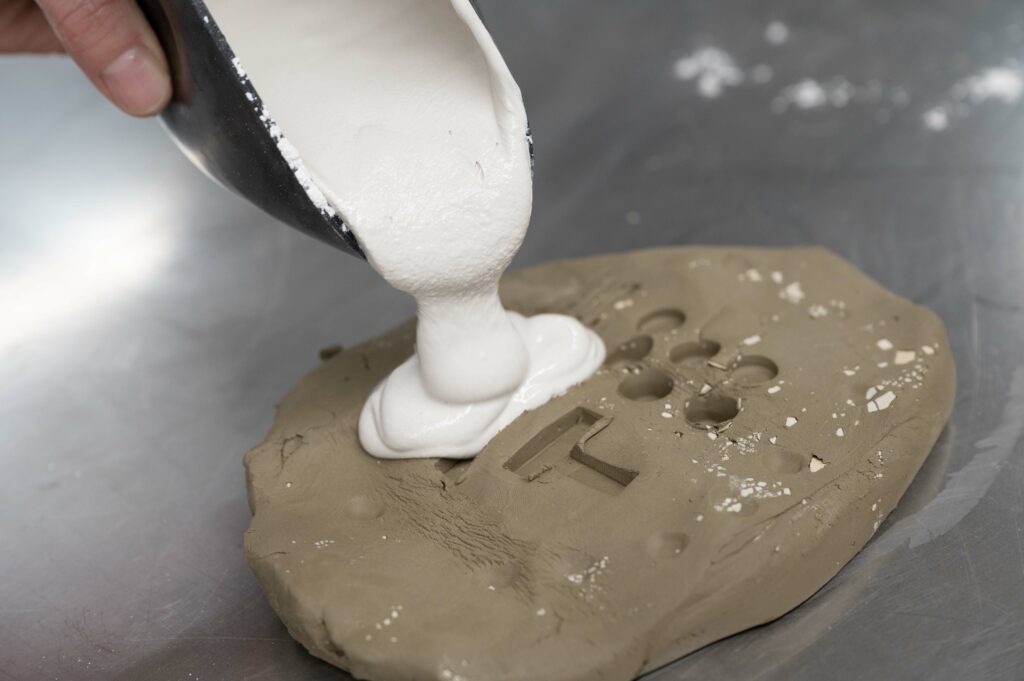
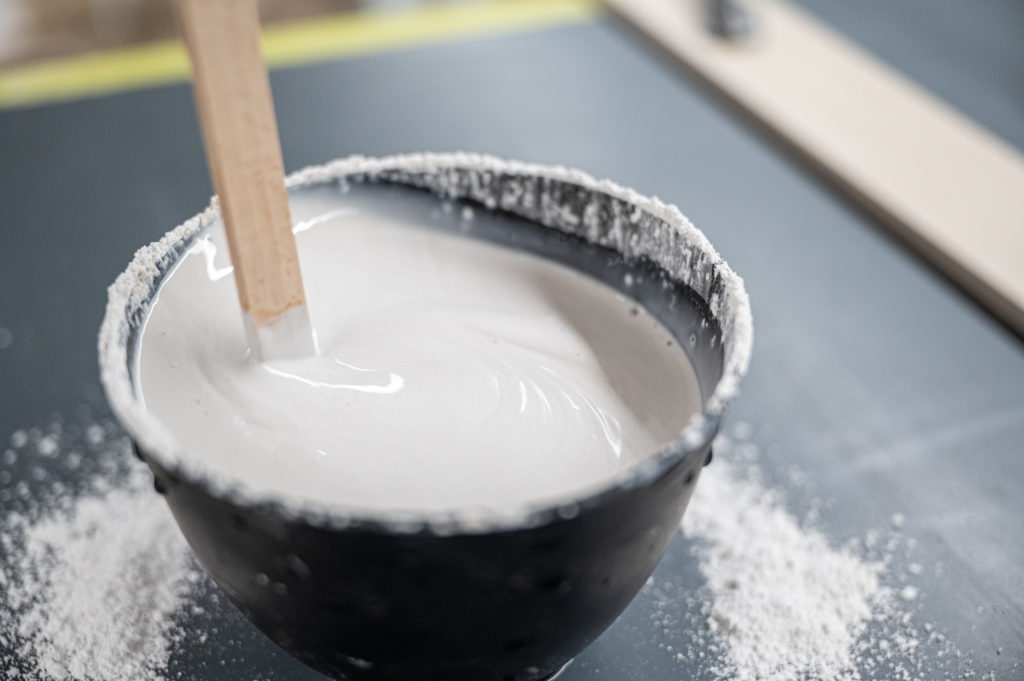
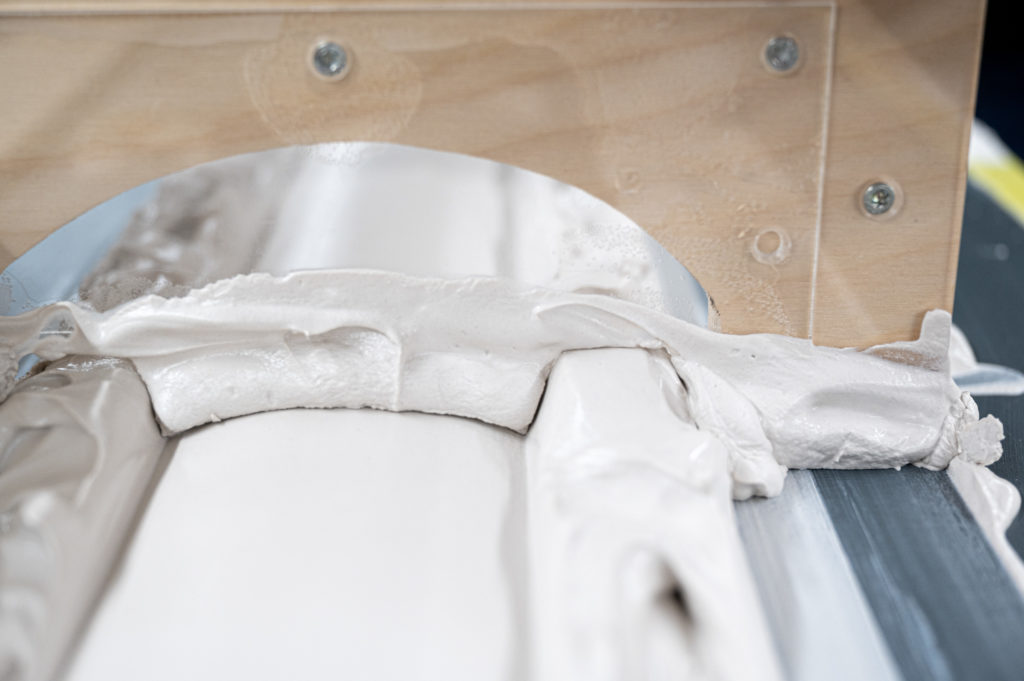
Manual Method (Clay sculpting) ★★★
- If perfect precision and accuracy isn’t of high importance, then this could be a very quick and effective solution.
- Some templates or internal structure could be used to help by giving some more accuracy to the model.
- A nice idea would be to produce the negative and pour in plaster for a more permanent model.
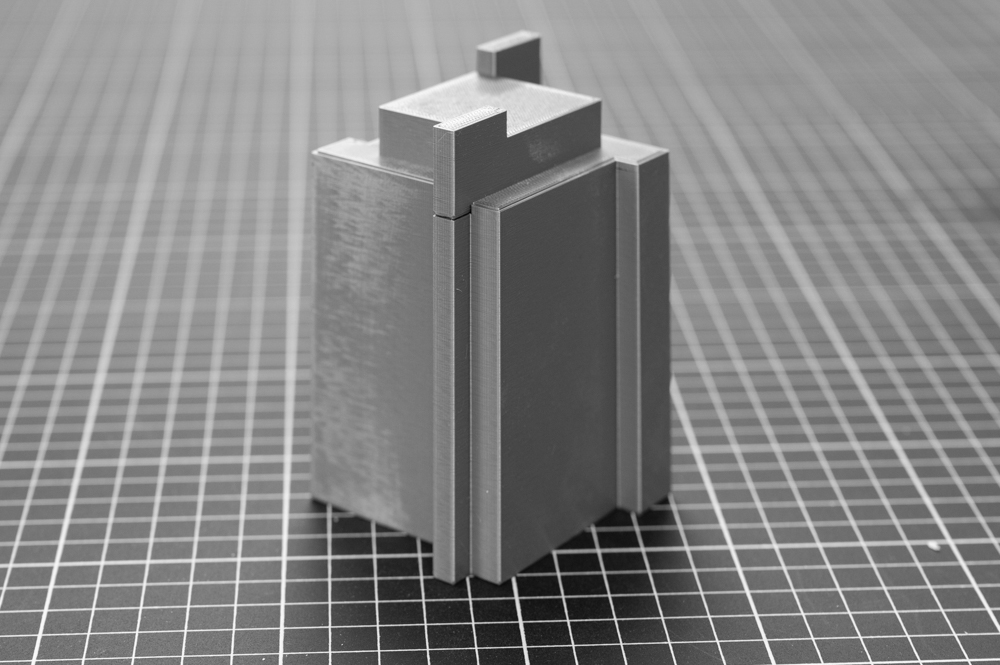
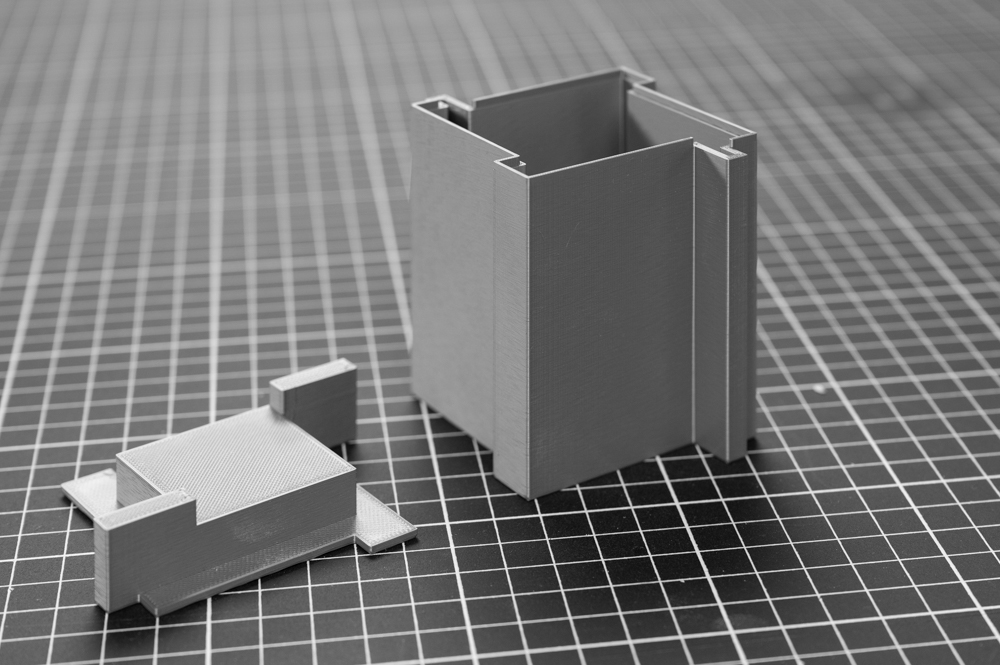
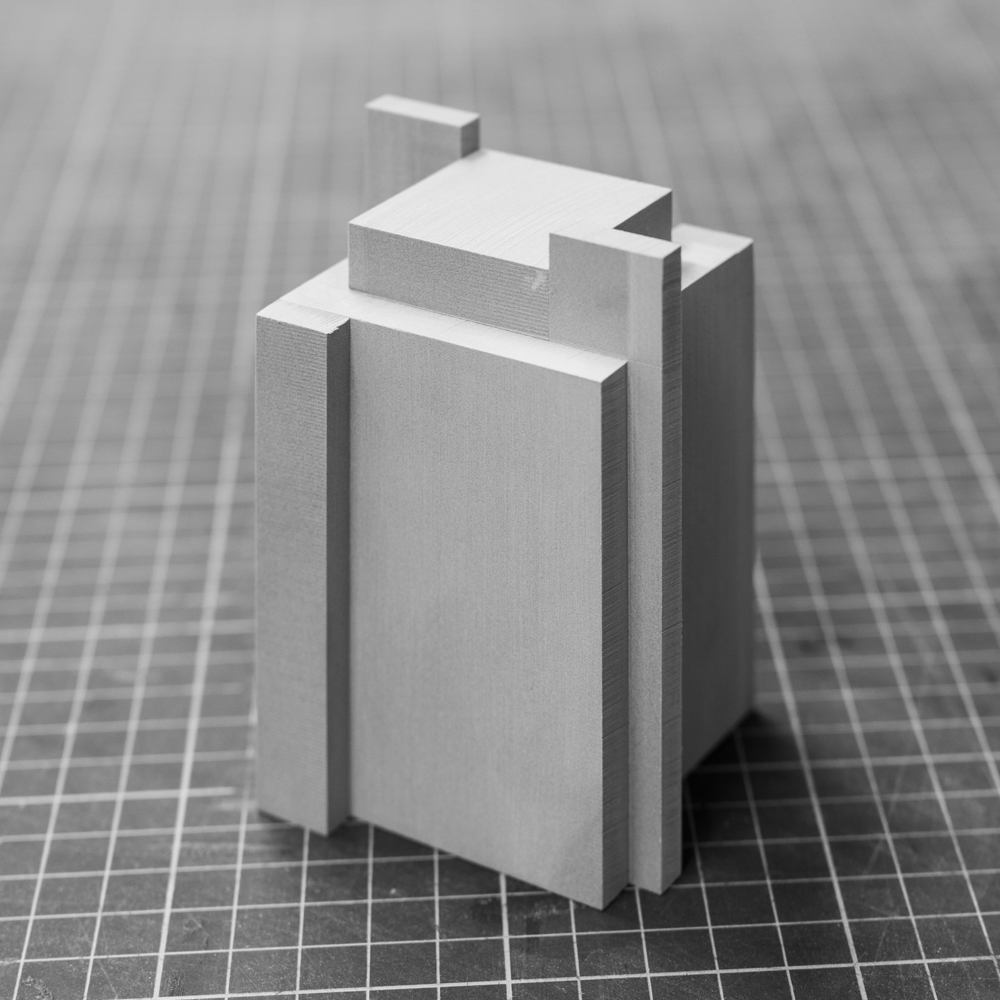
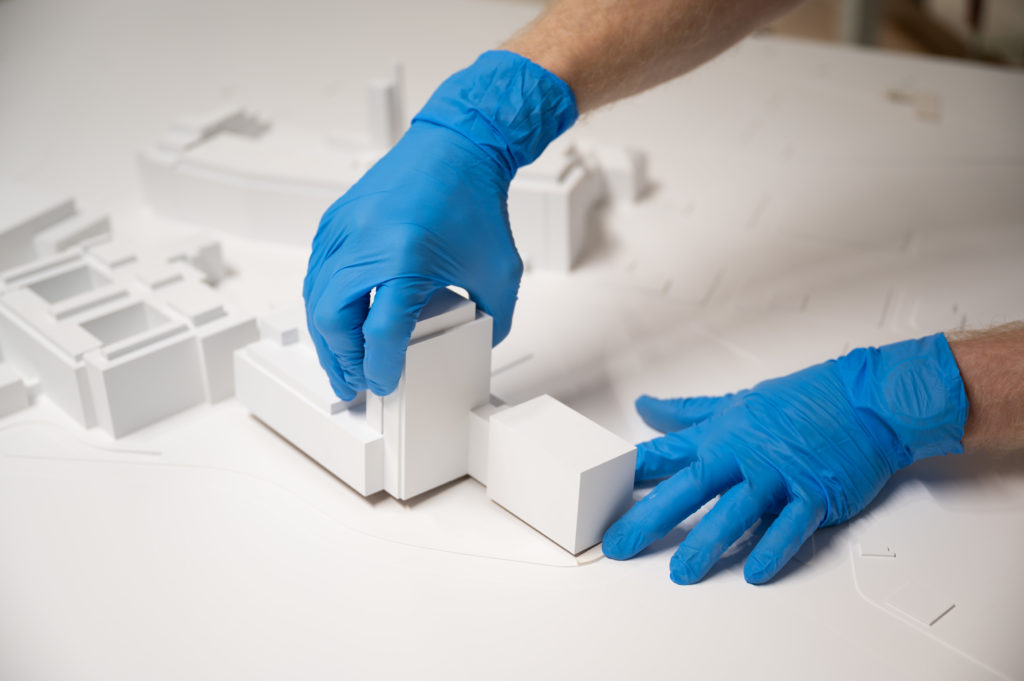
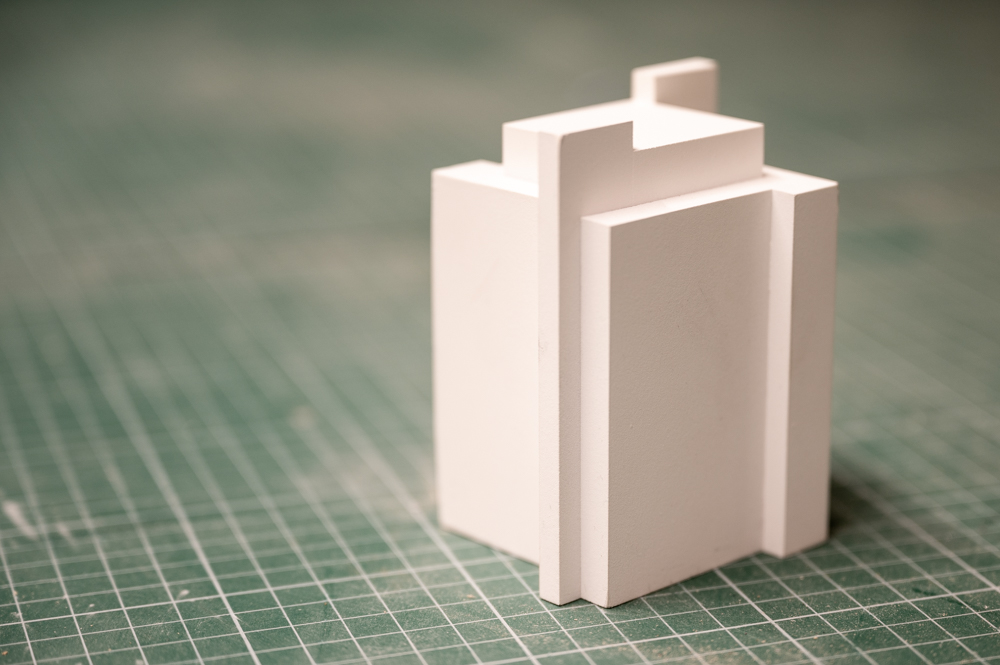
Small Context building 1:500 - 192x118x48mm
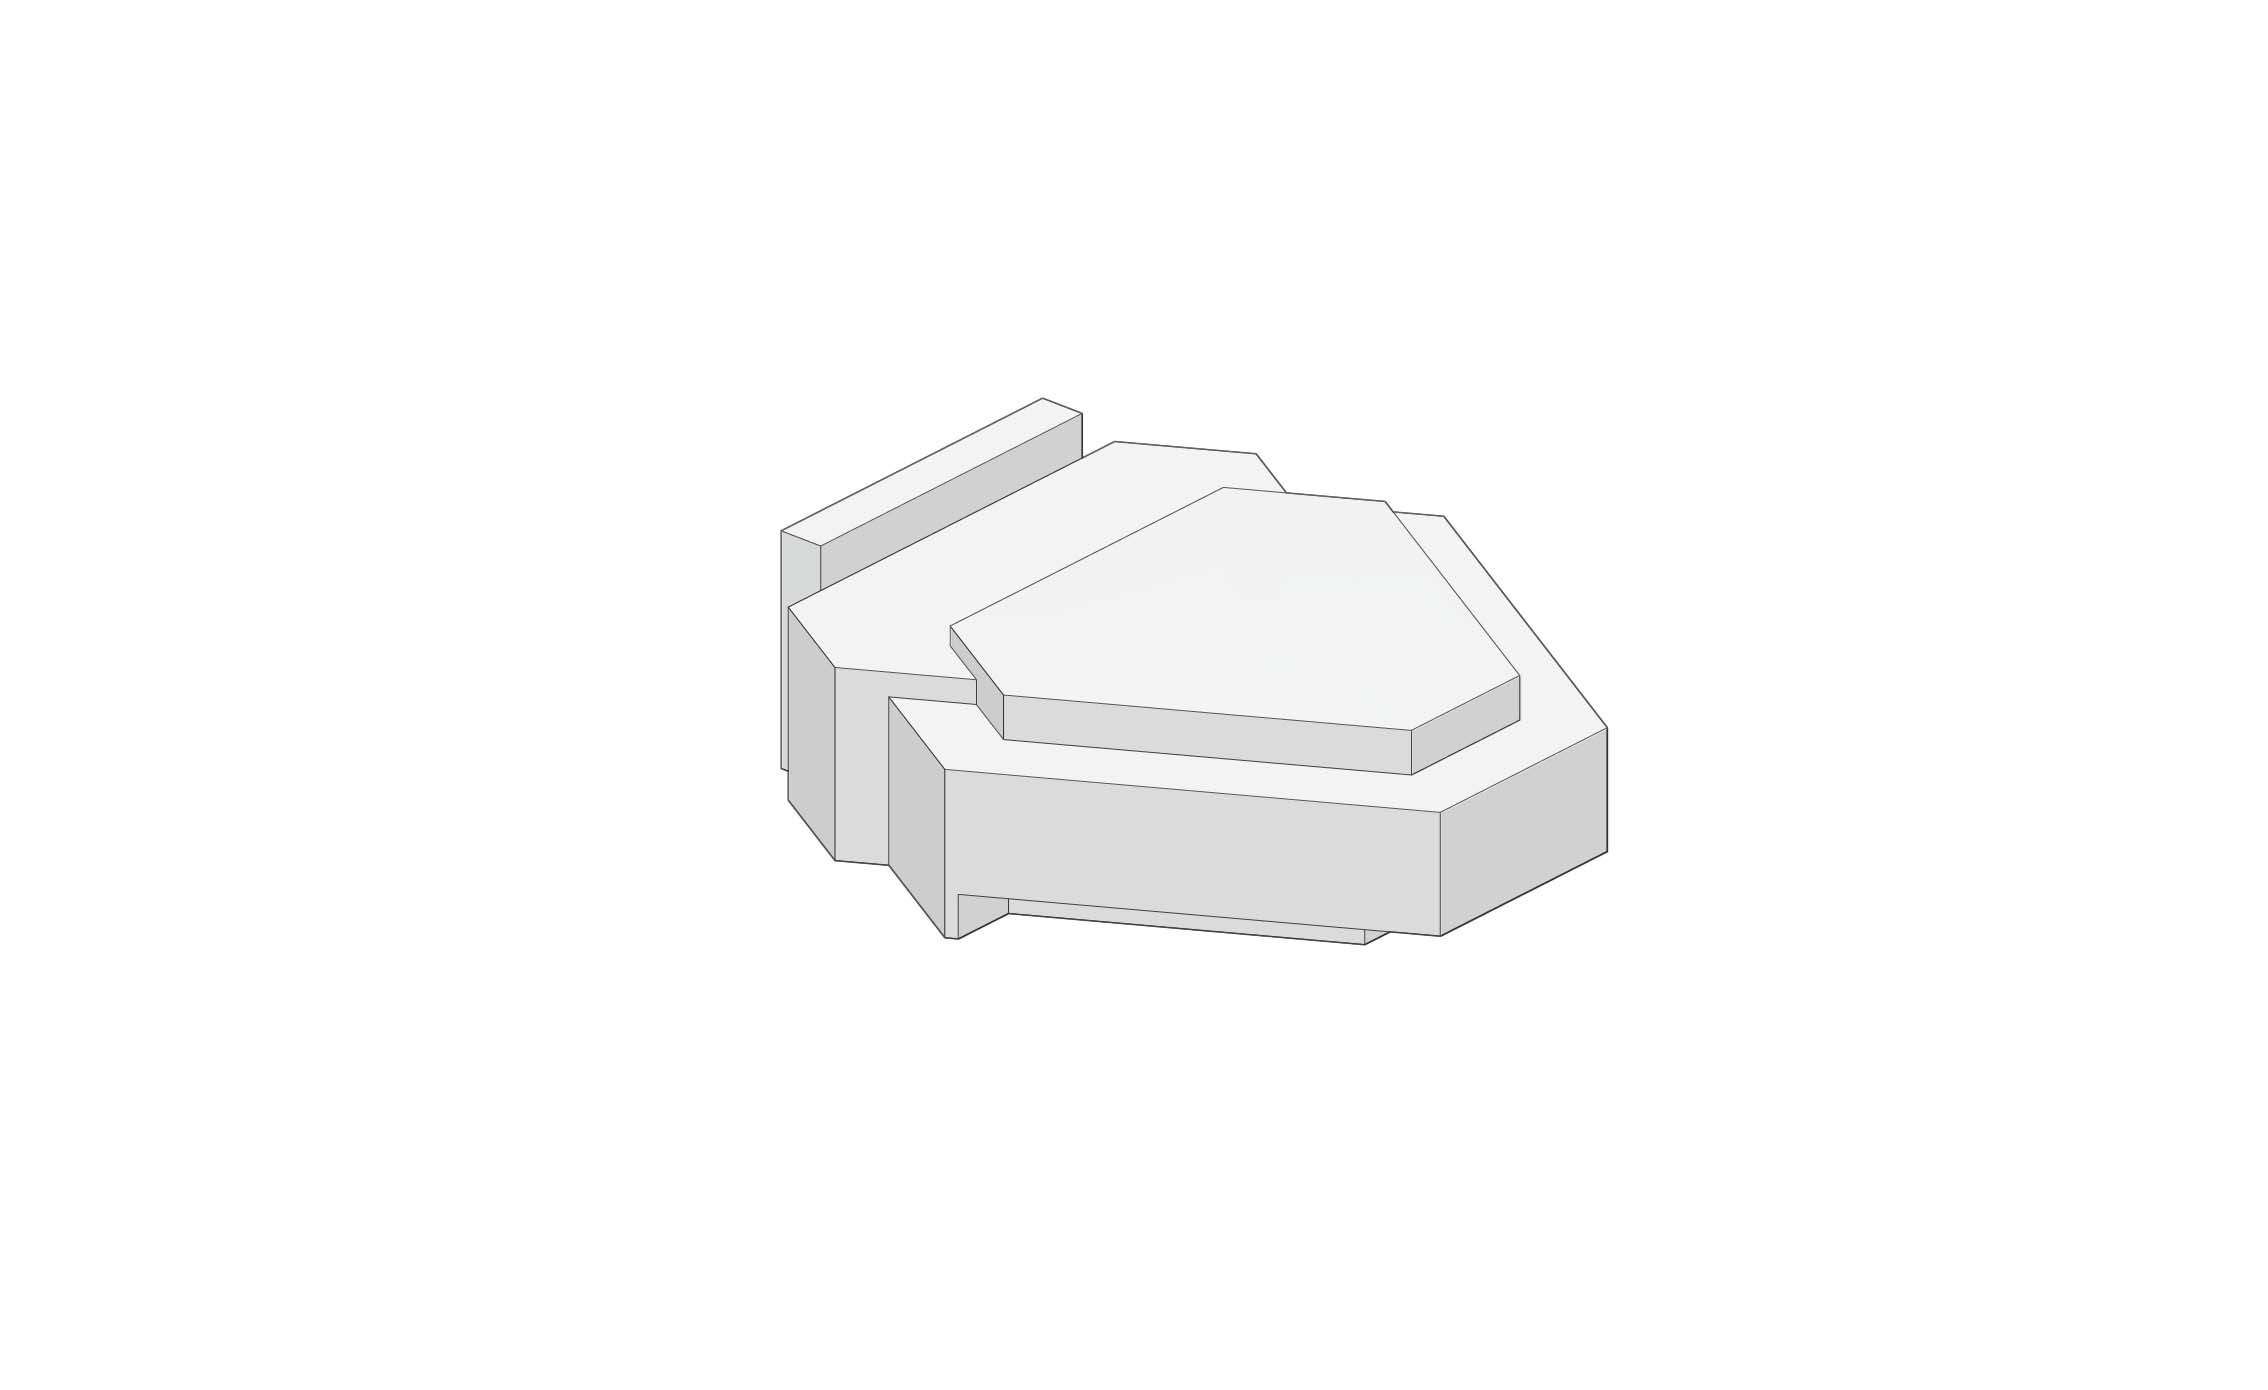
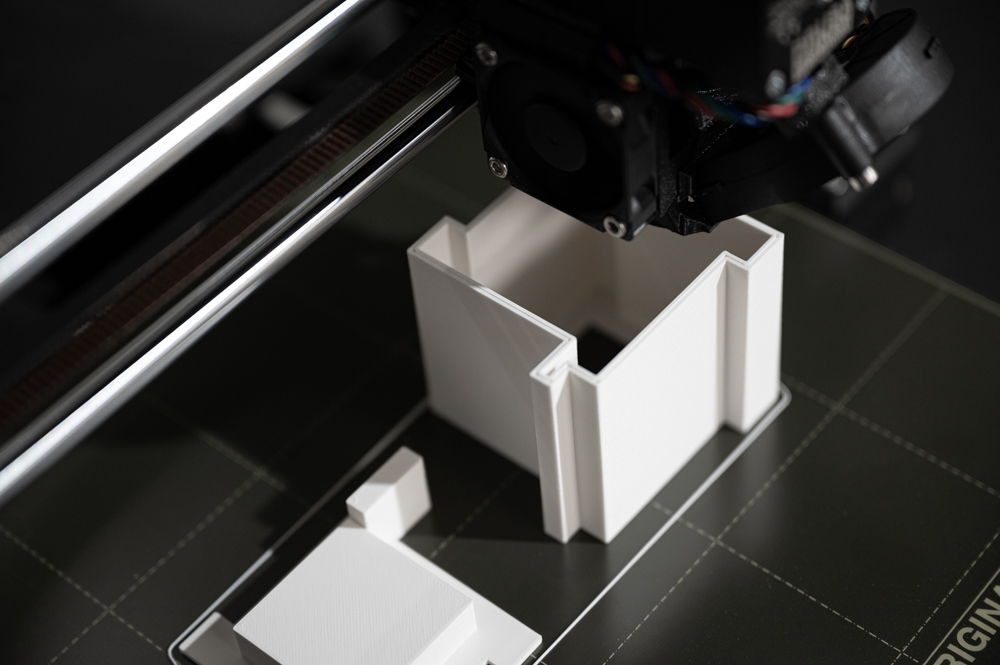
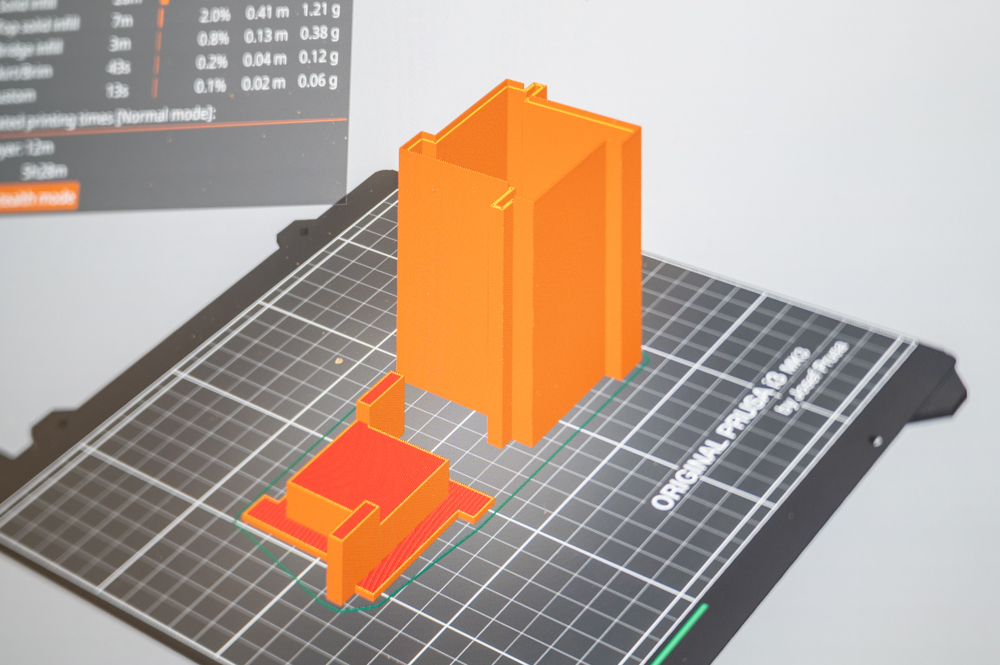
FDM printer ★★★★
- FDM printers perform rather well producing small box like shapes
- I would take a couple of hours to pint but a rather minimal amount of setup time
- Could be clad in a thin material afterward or spray finished
Zund Cutter ★★
- Would have to consider the construction method and redraw in 2D before cutting.
- Requires some assembly
Laser Cutter ★★
- Would have to consider the construction method and redraw in 2D before cutting.
- Requires some assembly
- Would have burnt edges
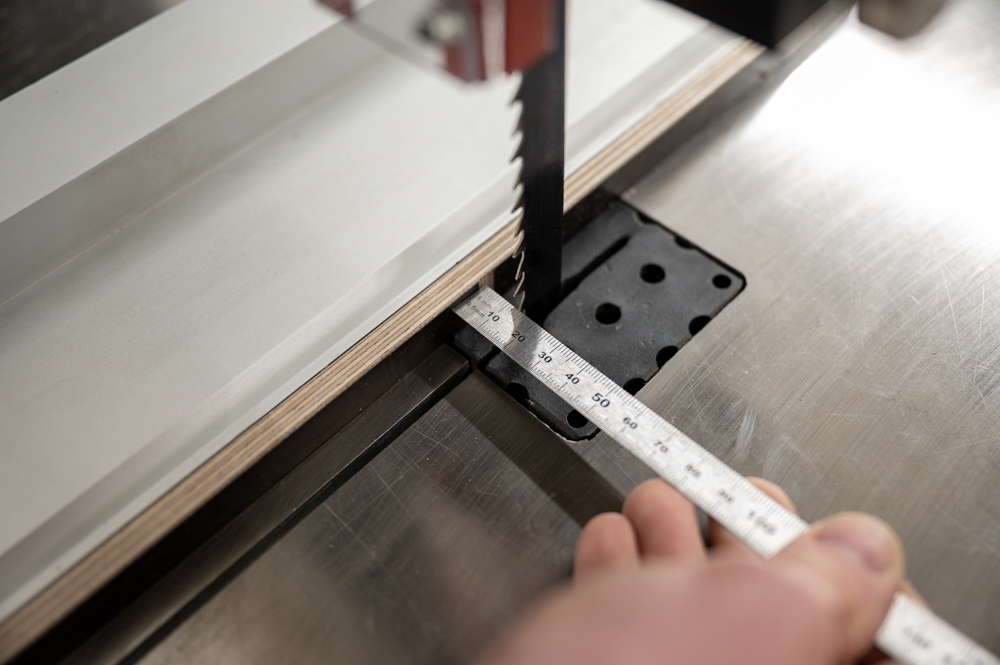
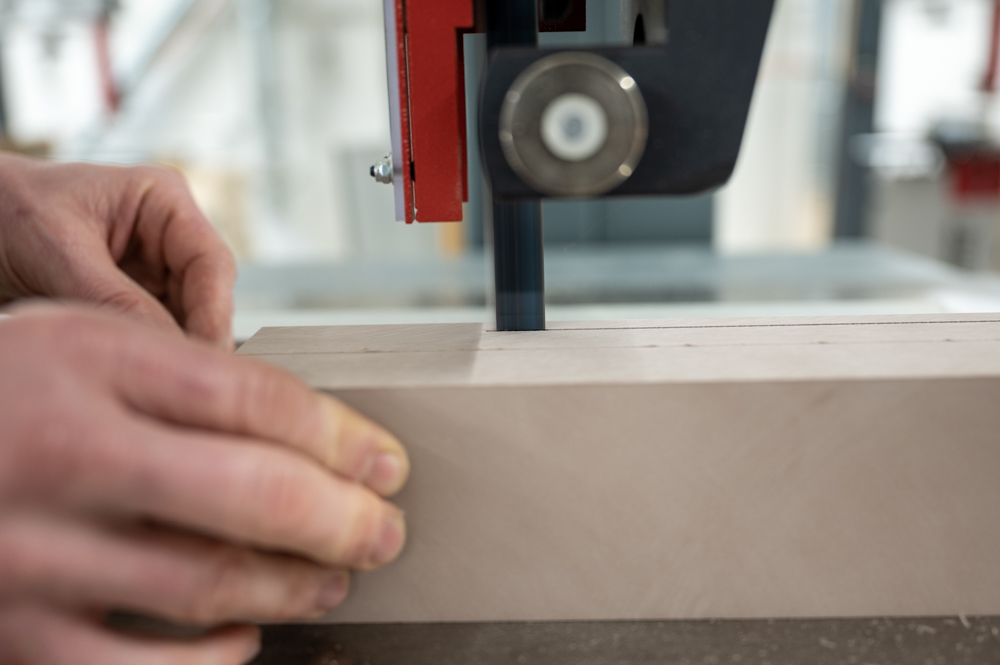
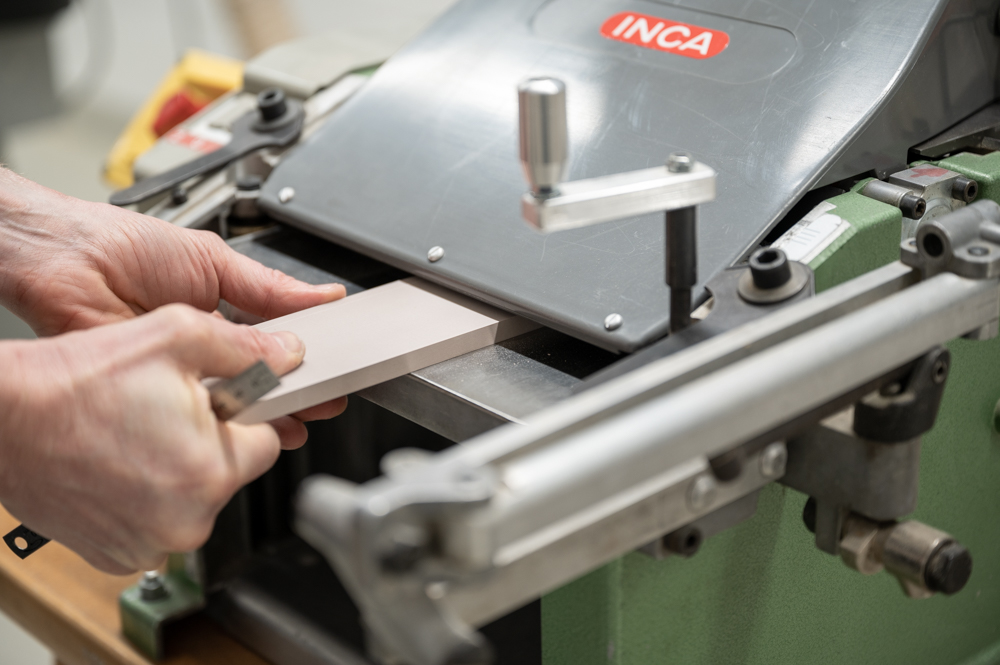
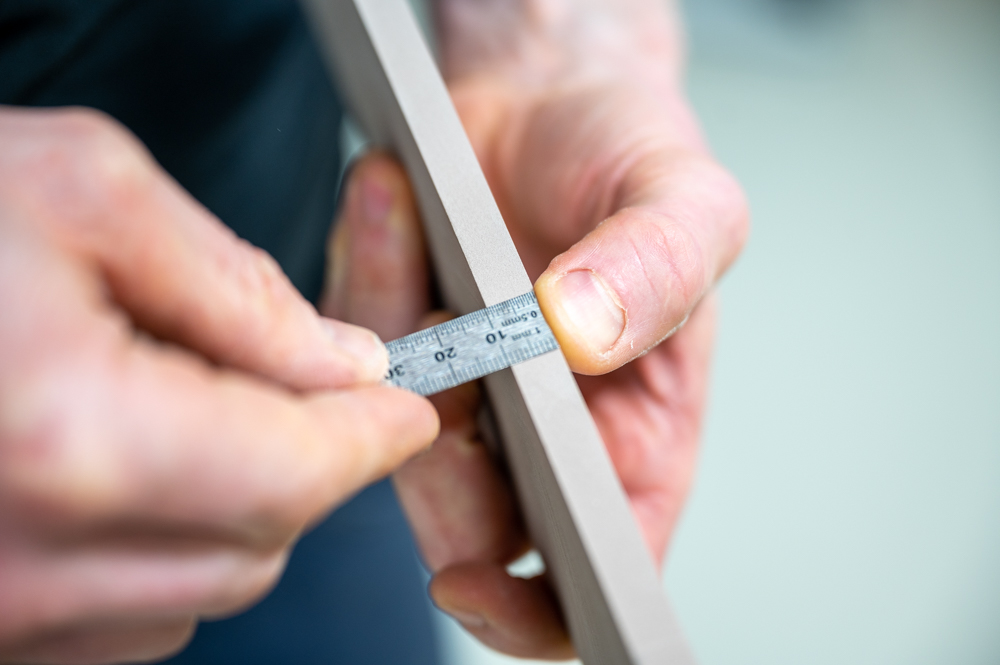
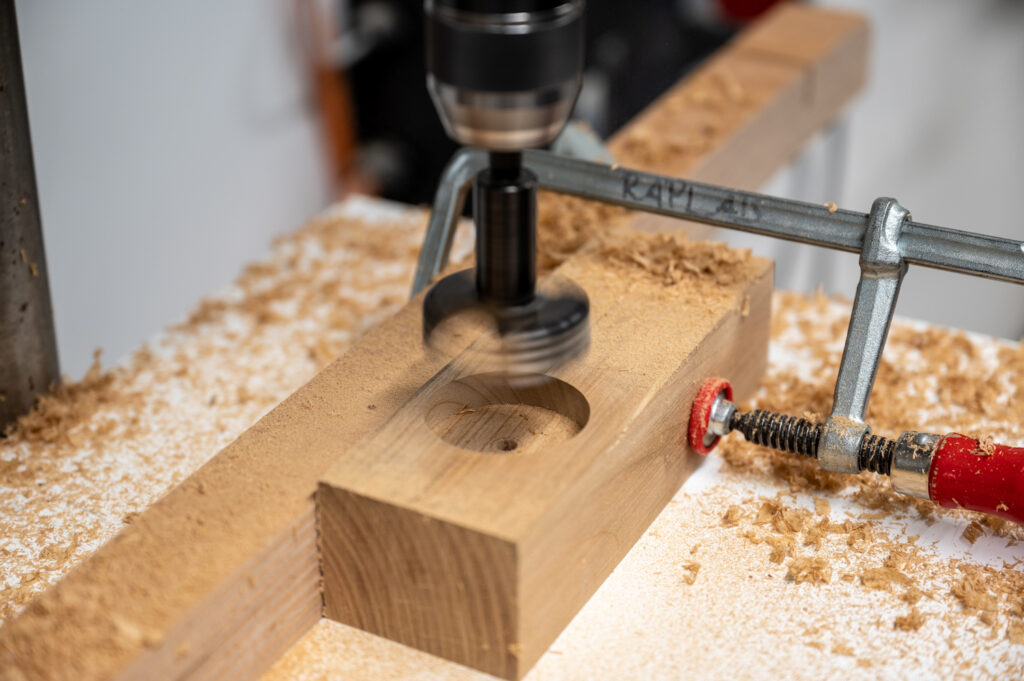
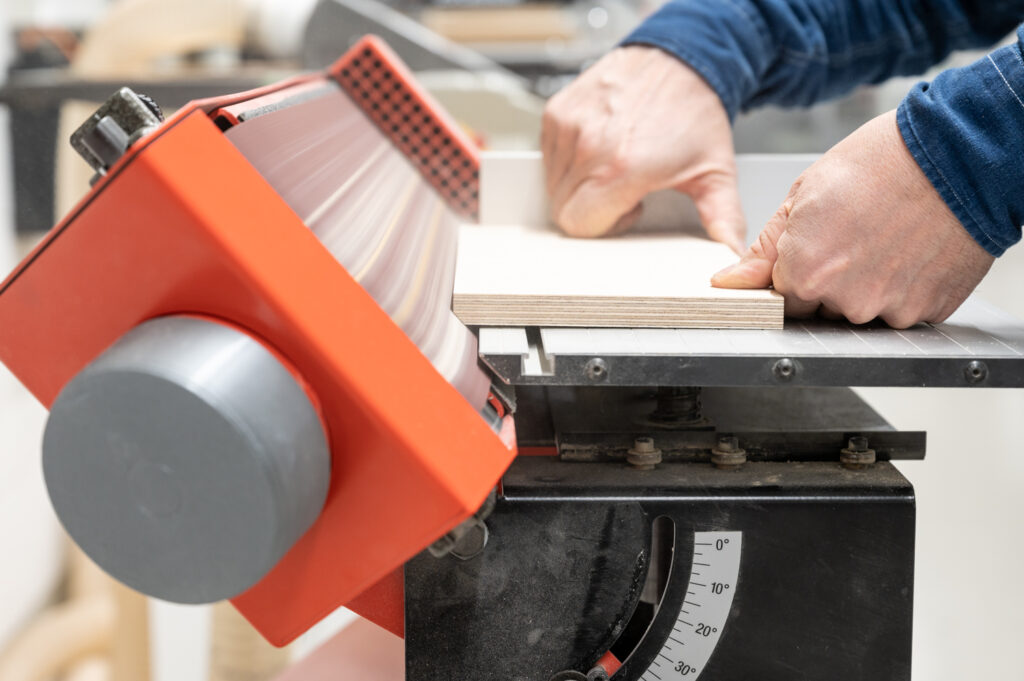
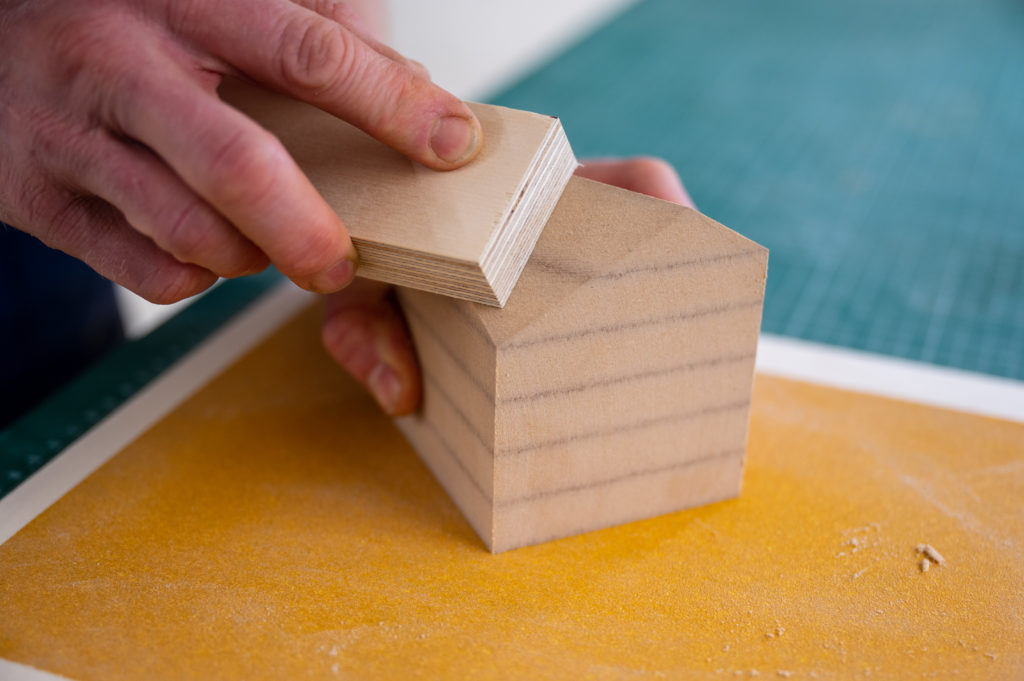
Manual method (Bandsaw and Disc sander) ★★★★
- Most material options
- Easier to sand the individual pieces before assembly. Would be able to achieve a very high-quality finish
- Could be clad in paper or card afterwards.
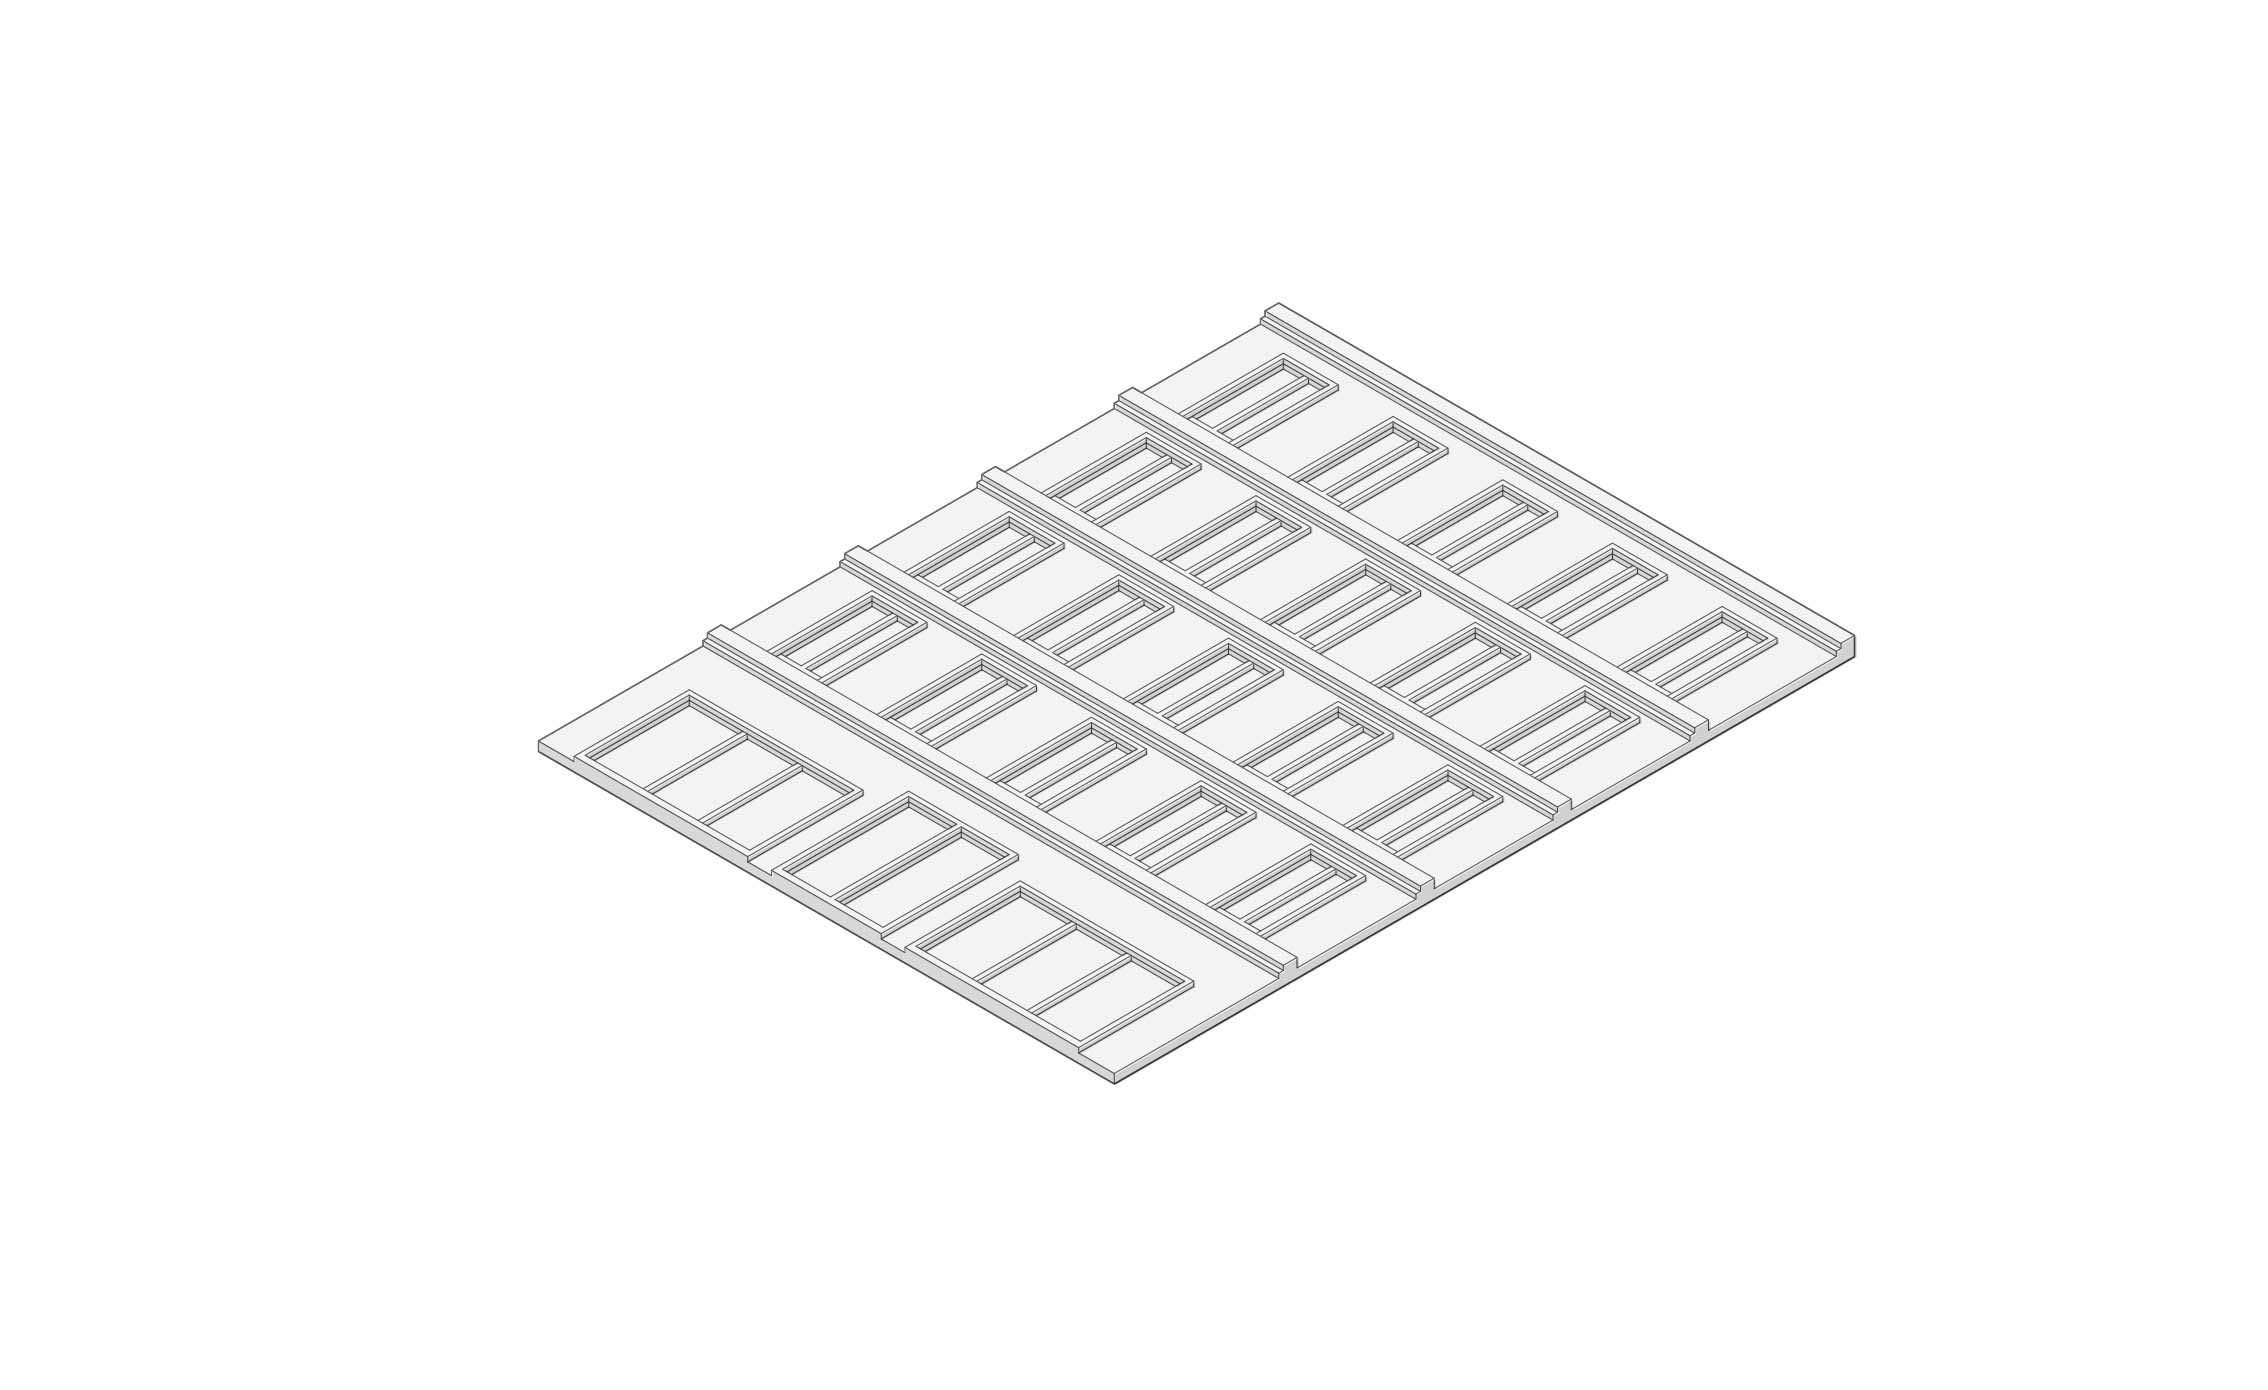
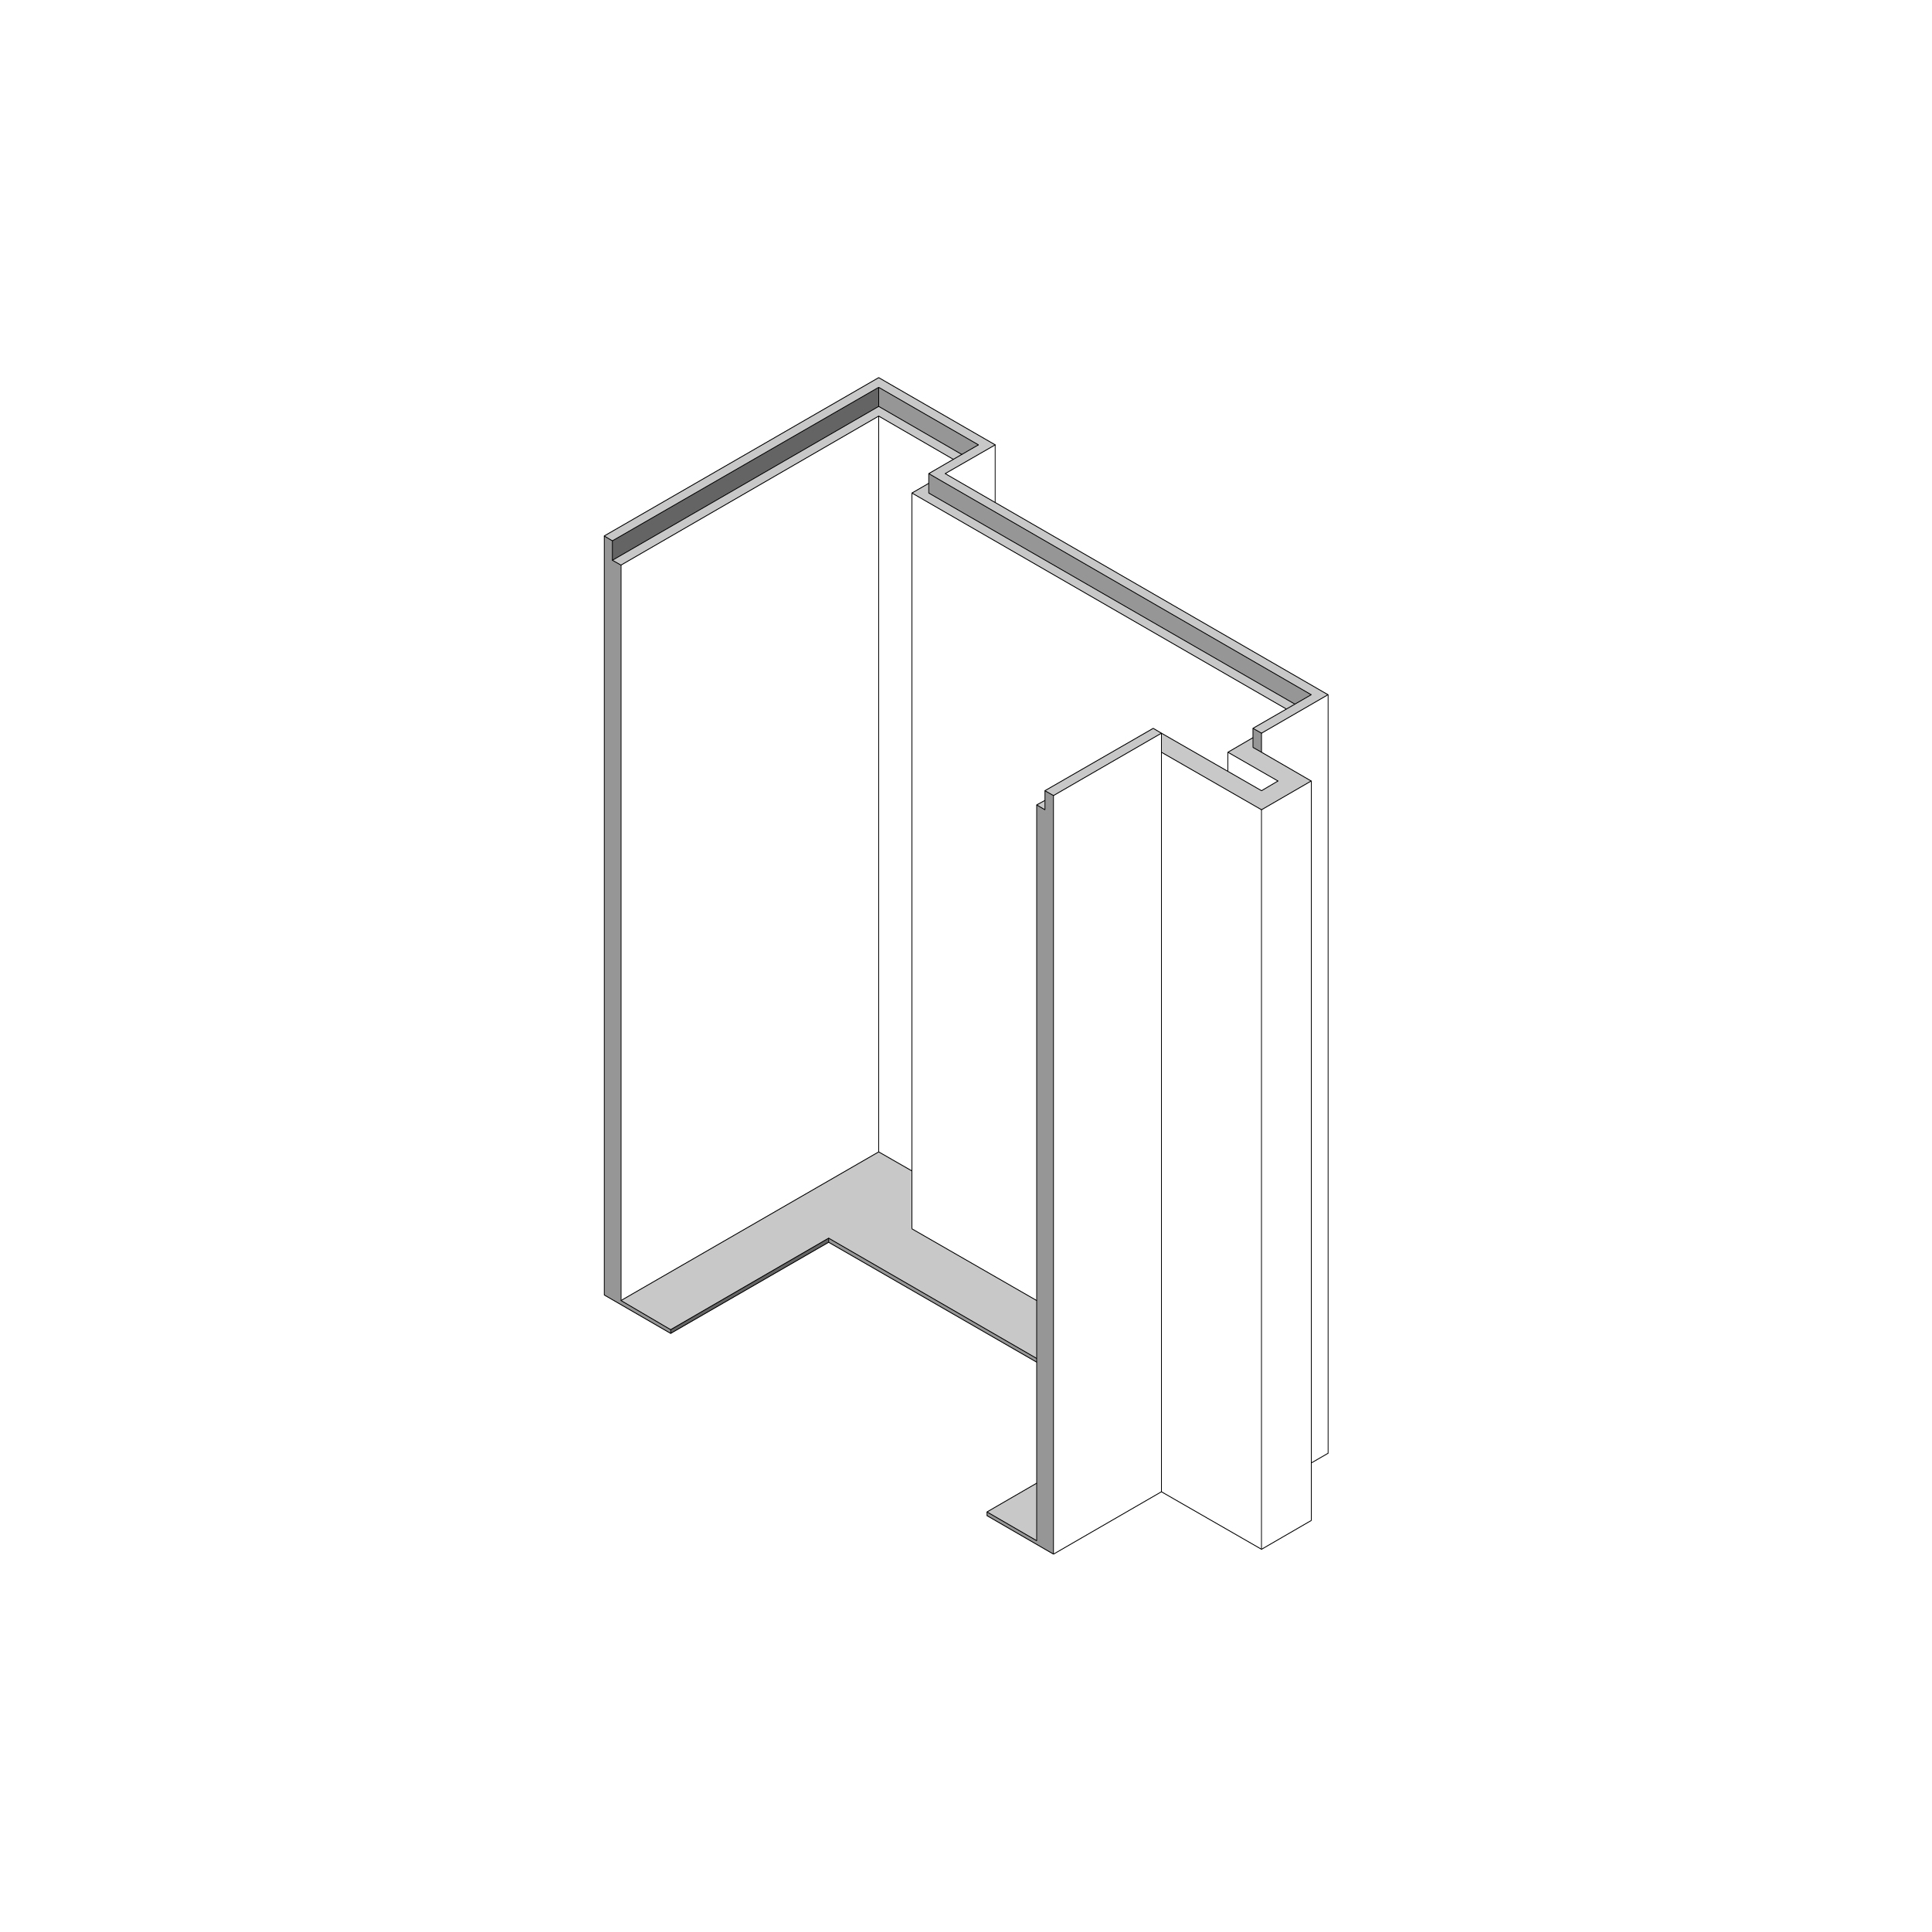
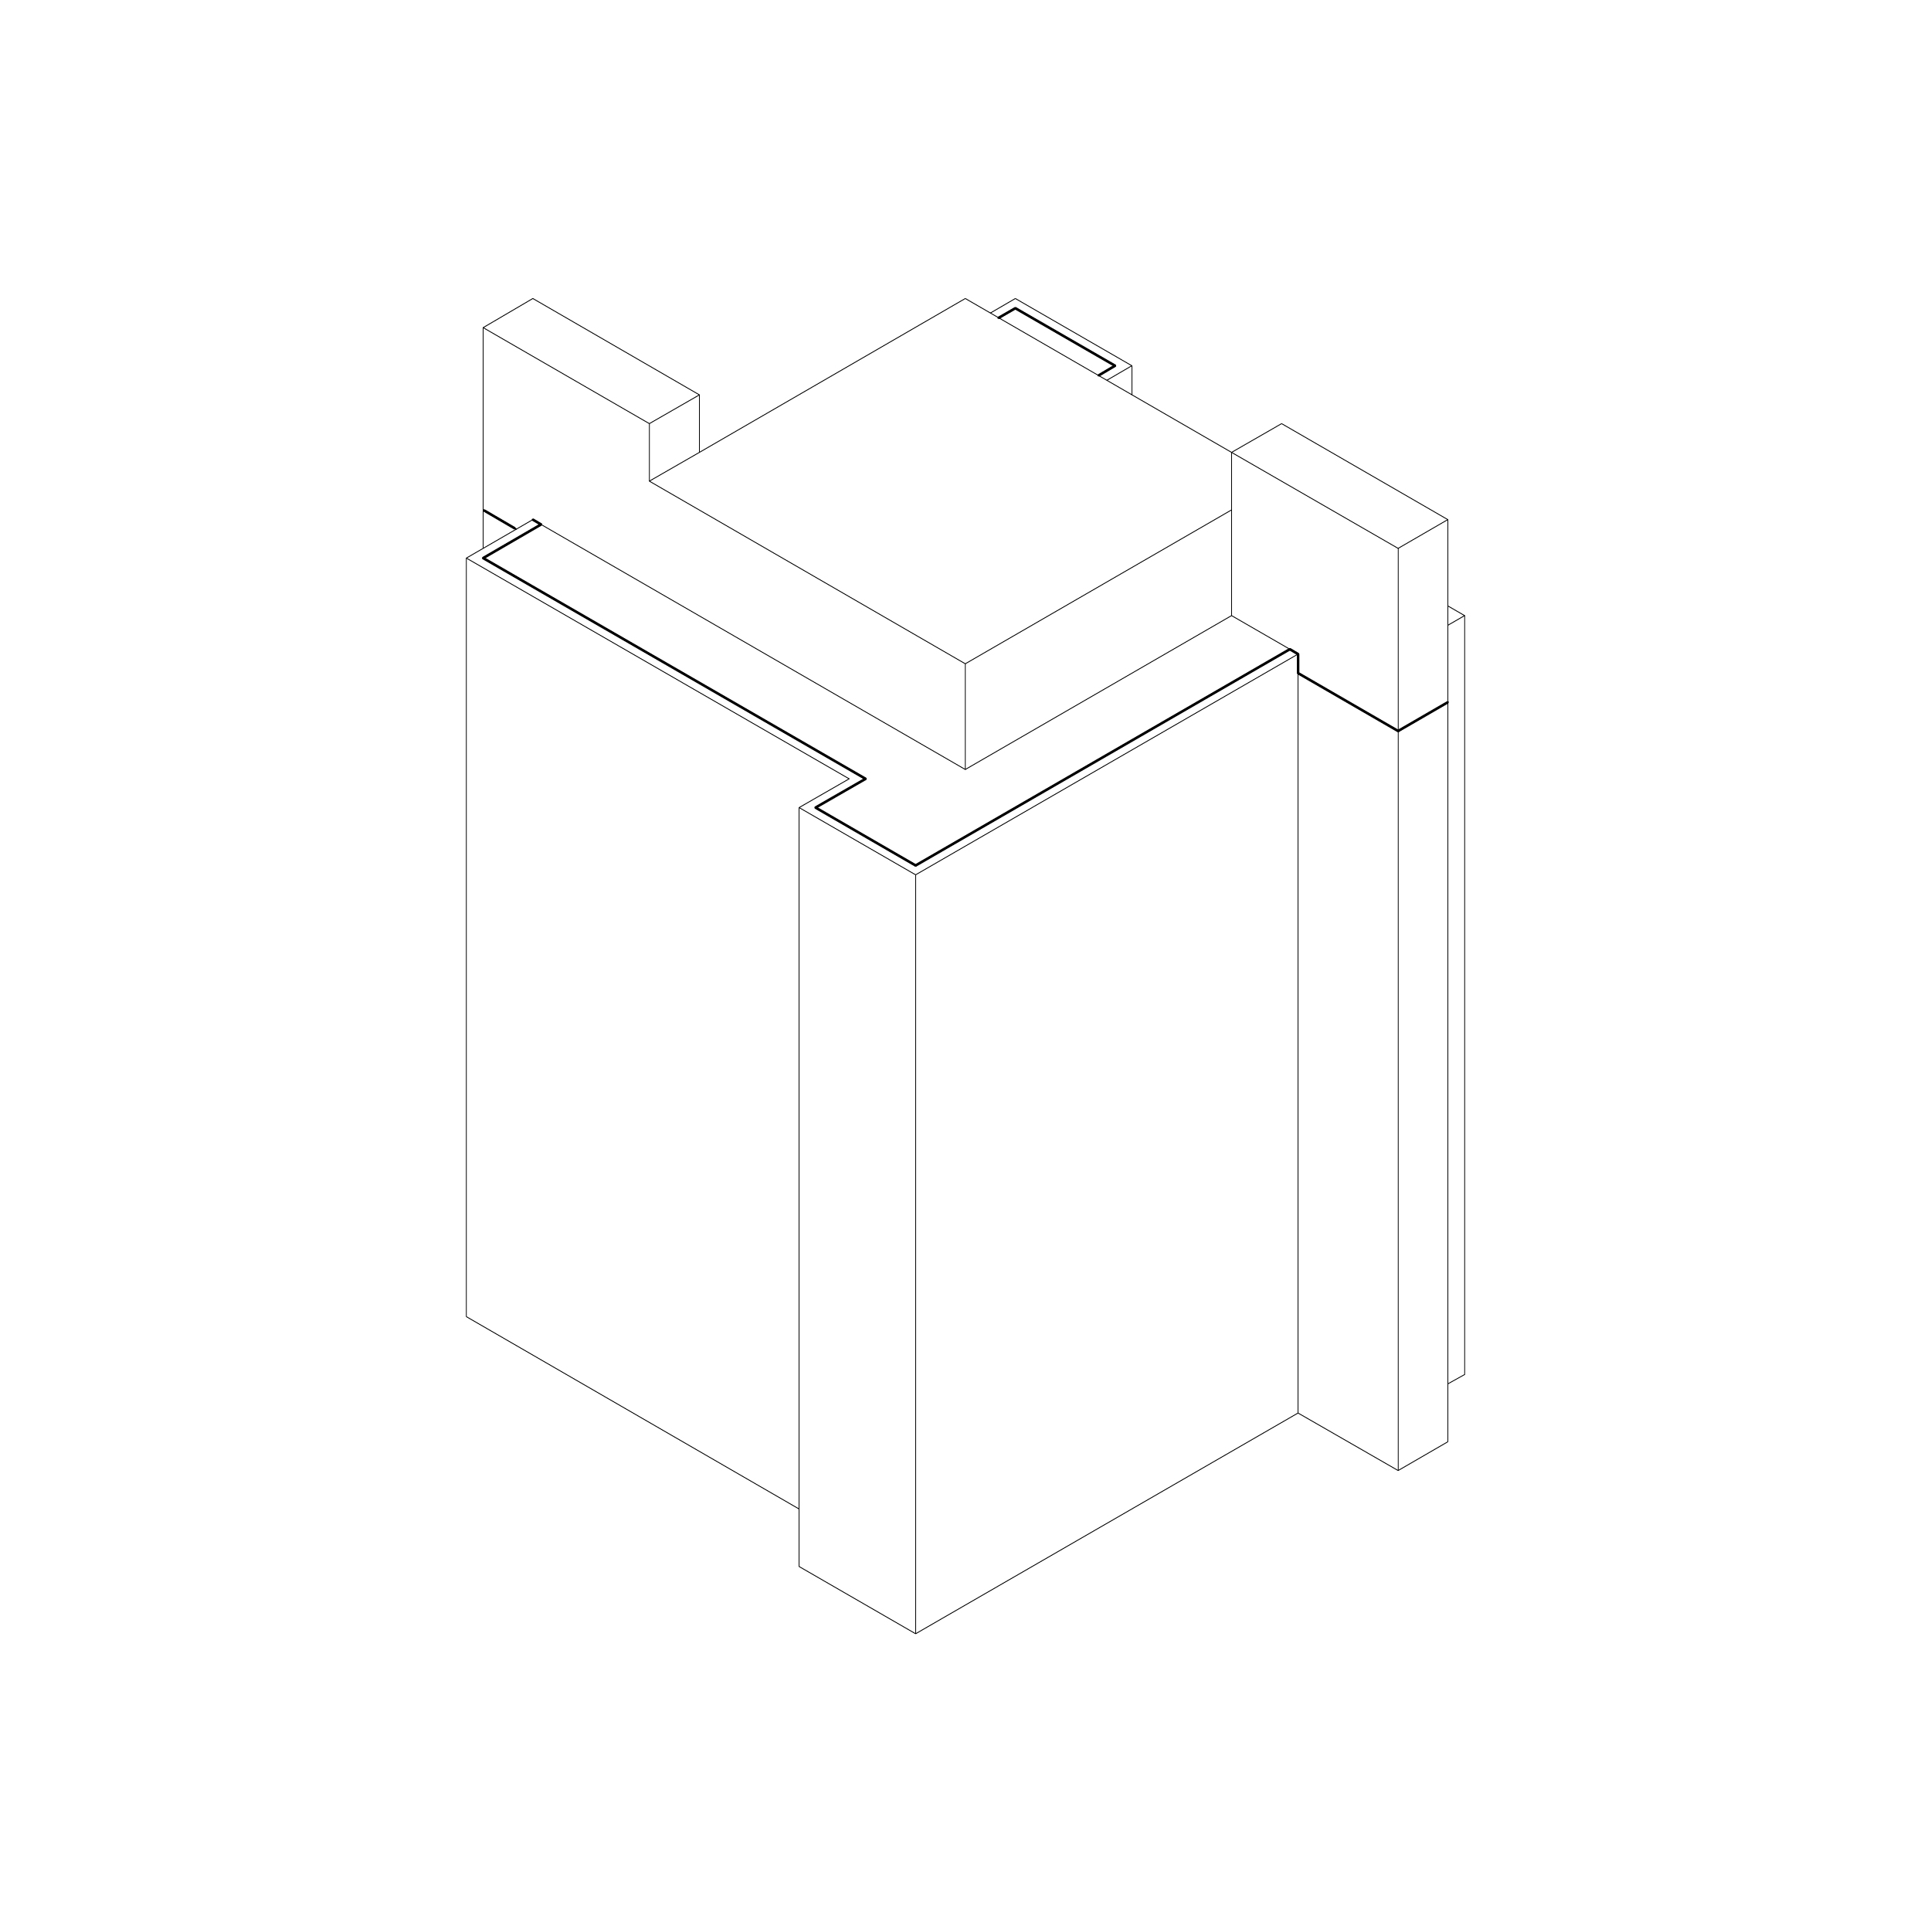
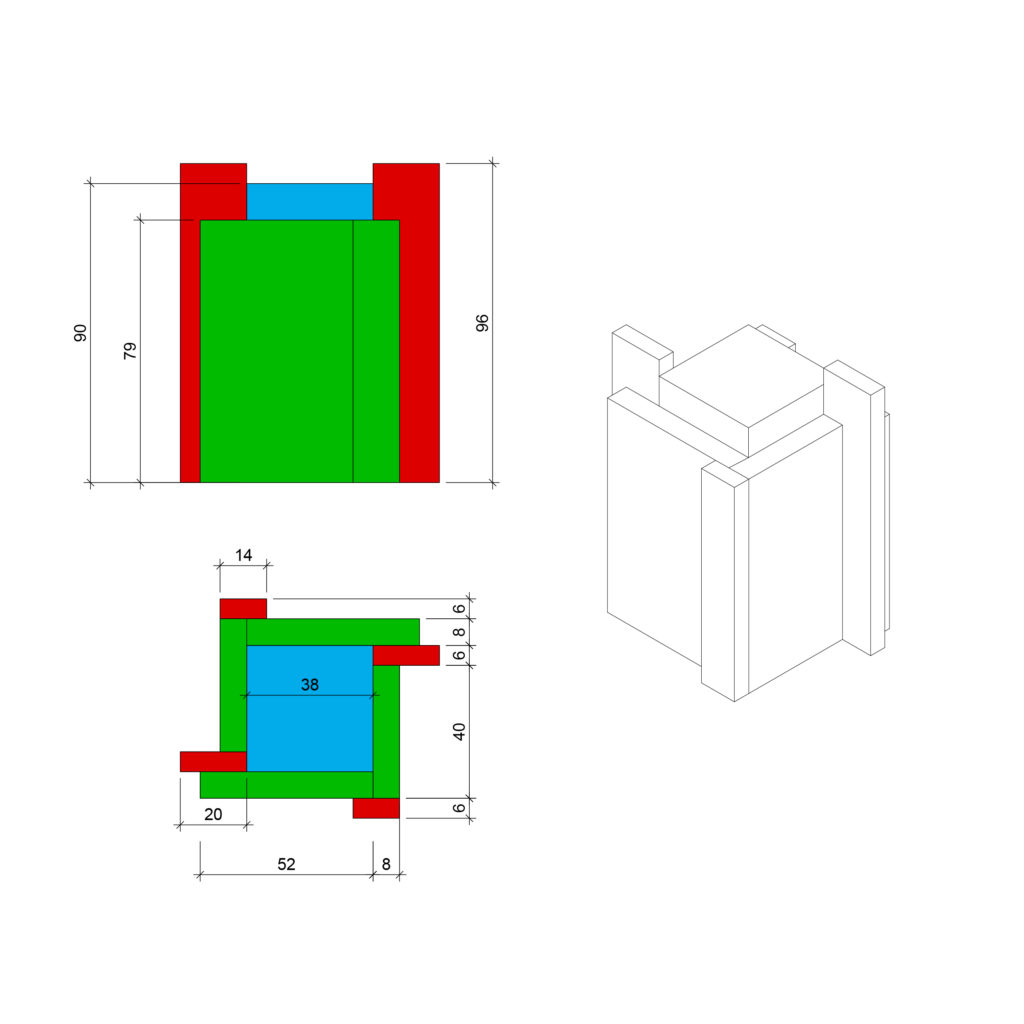
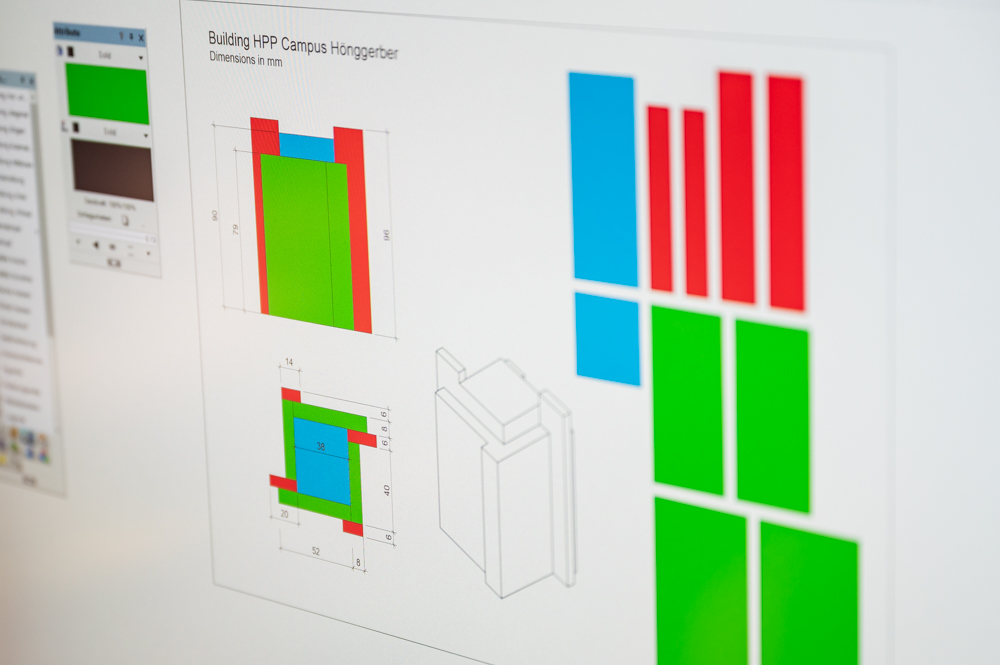
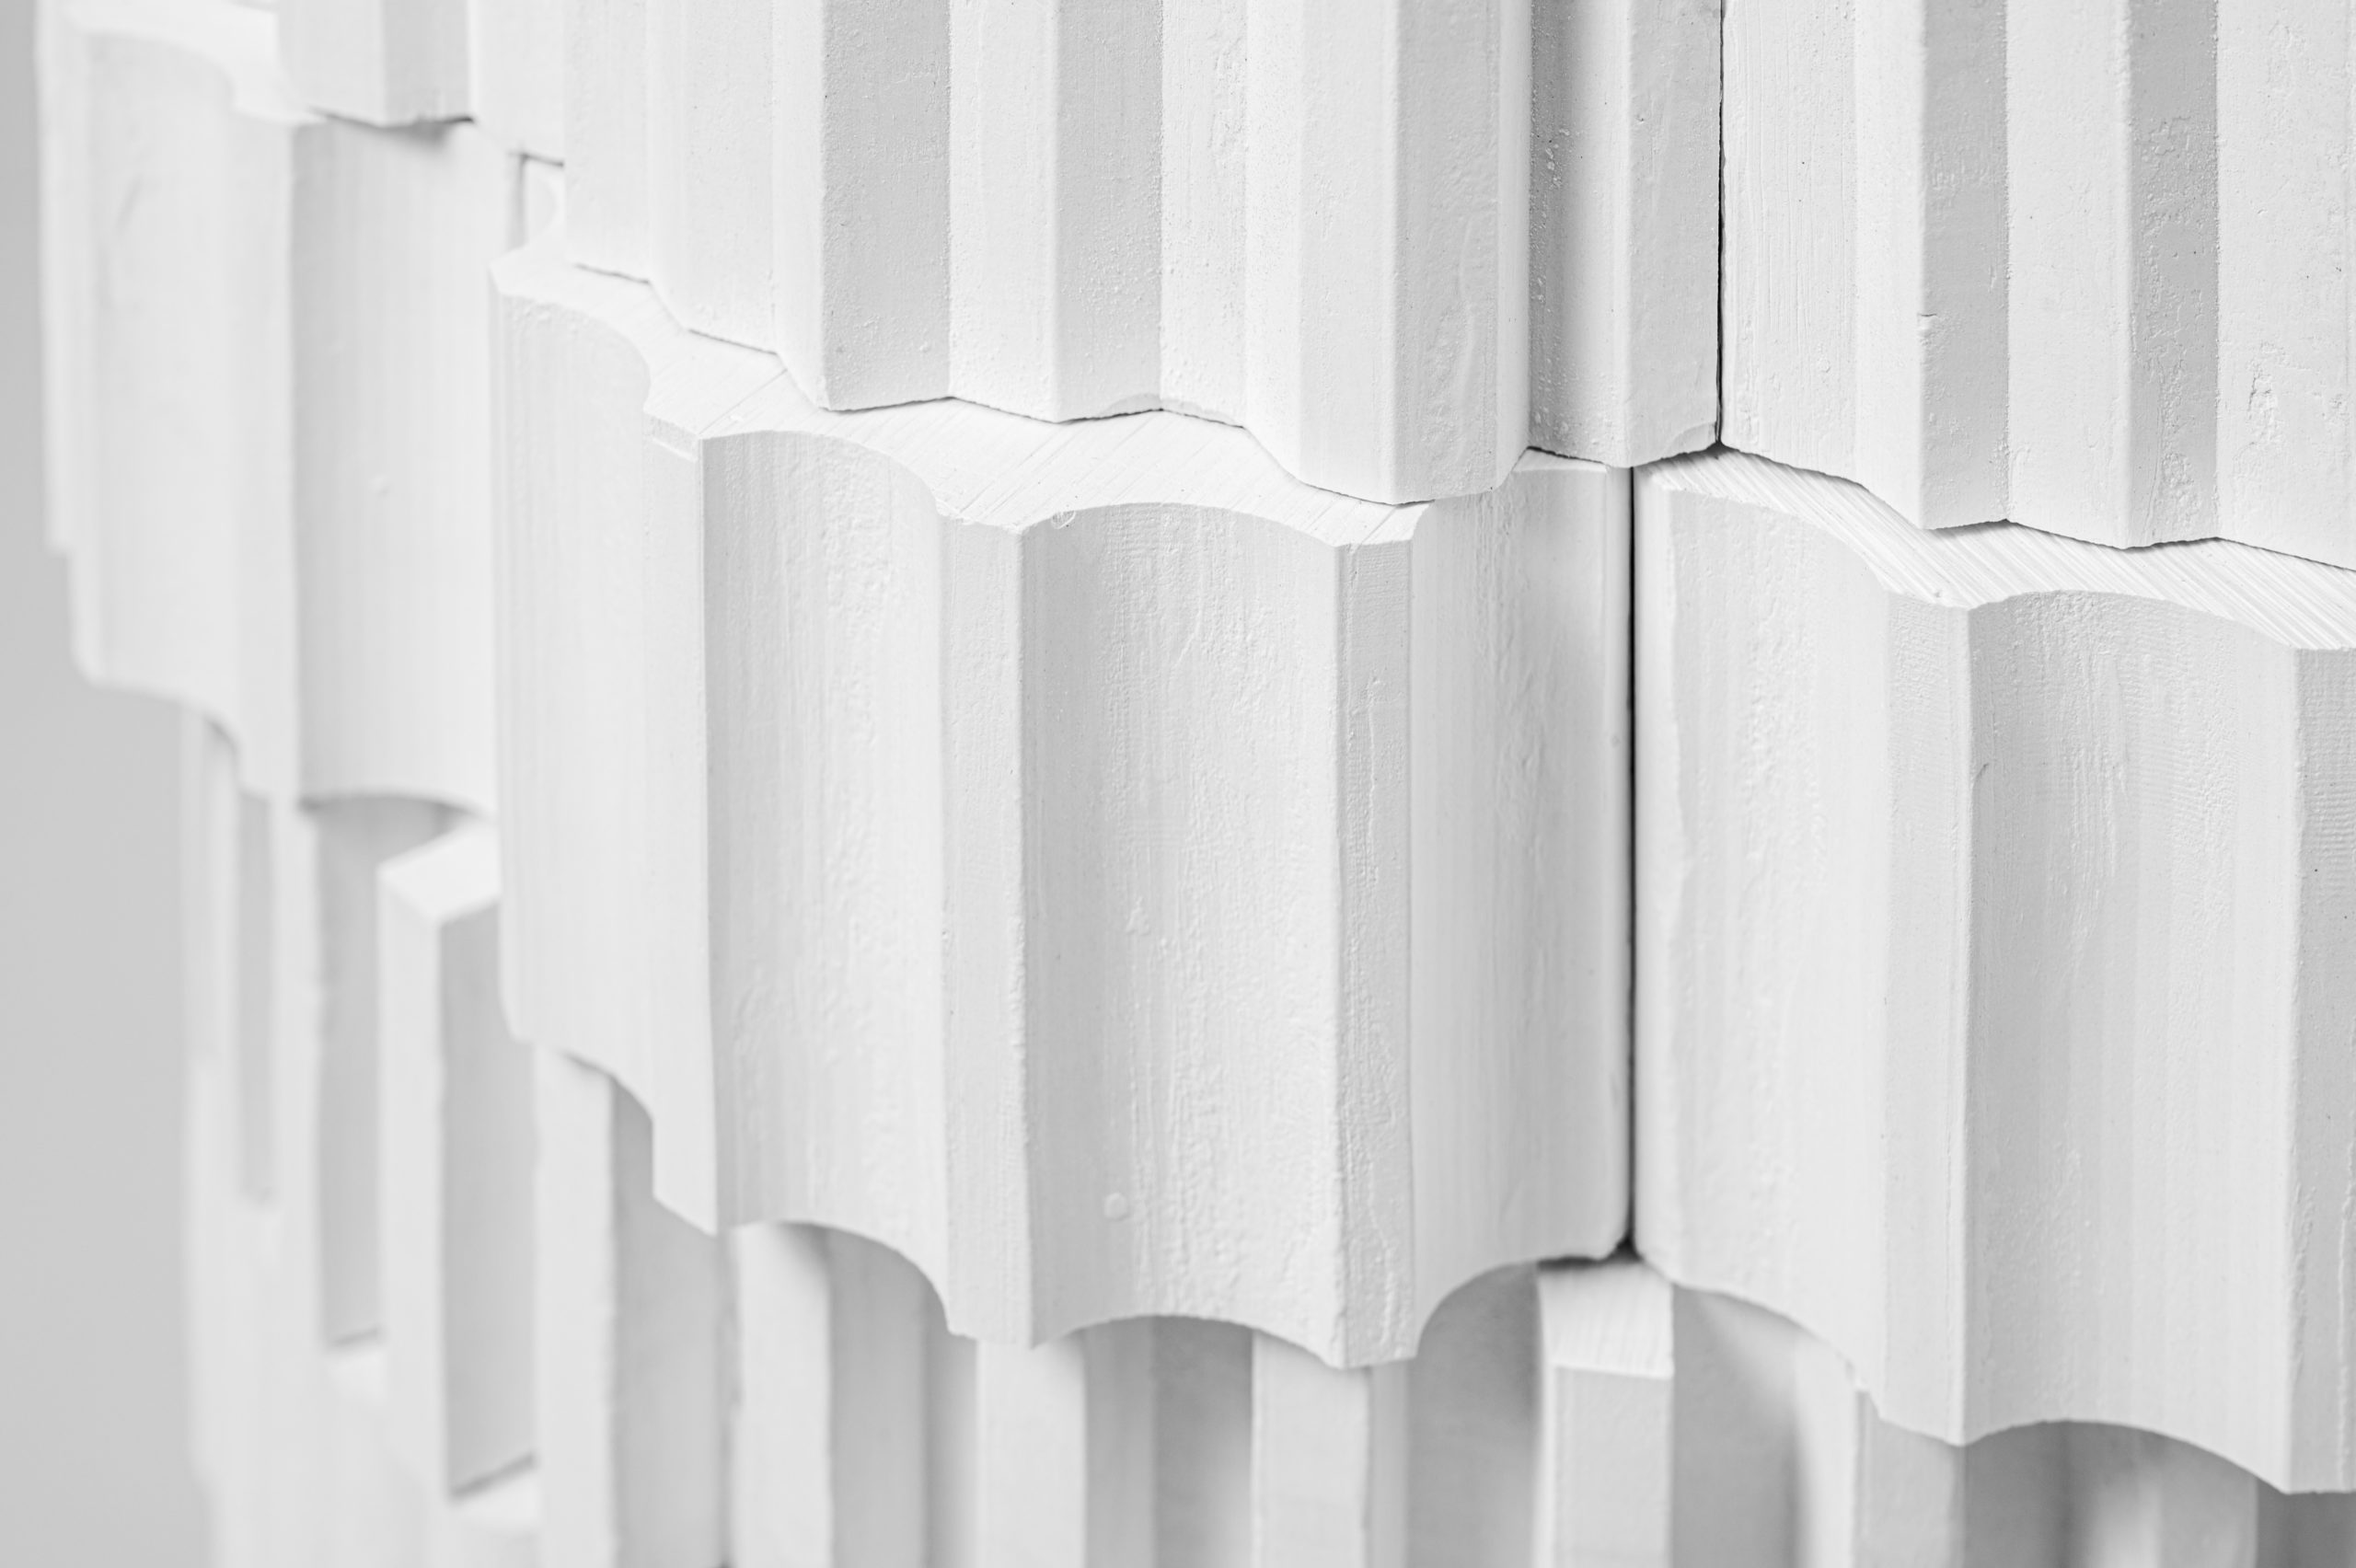
Facade 1:50 - 252x324x8mm
FDM-Printer ★
- Not ideal for large flat pieces as it’s prone to warping.
- Not the nicest quality finish for something of that size.
- Too large for the printer to be printed in one piece.
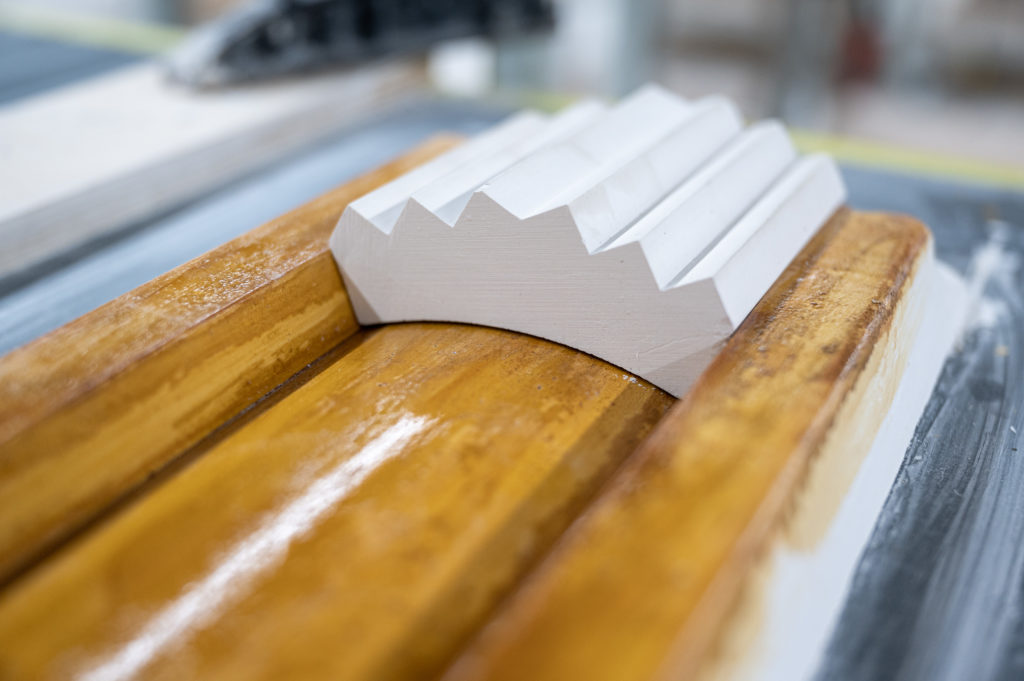
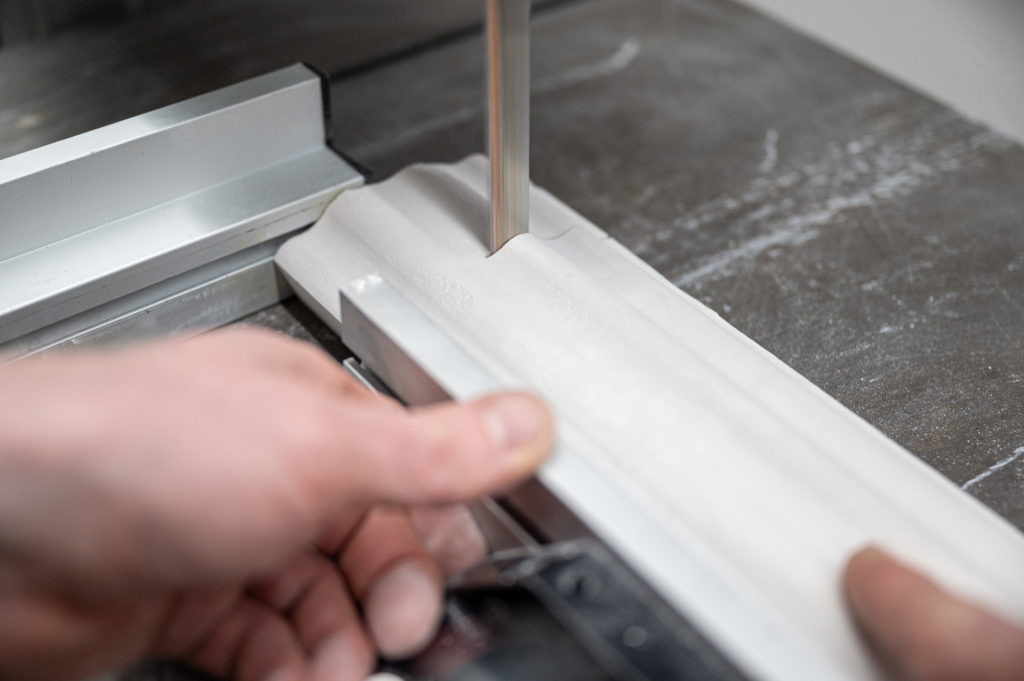
Zünd Cutter ★★★★★
- Would work very well as the elements could be broken down into layers and stacked.
Laser Cutter ★★★★★
- Would work very well as the elements could be broken down into layers and stacked.
Manual method (cardboard and Knife) ★★
- Would take rather a lot of time
- If one has access to a digital cutter, it makes little sense to do this by hand and there are parts with internal cut-outs for the windows.
- The strips under the windows however could quite easily be produced on the guillotine.
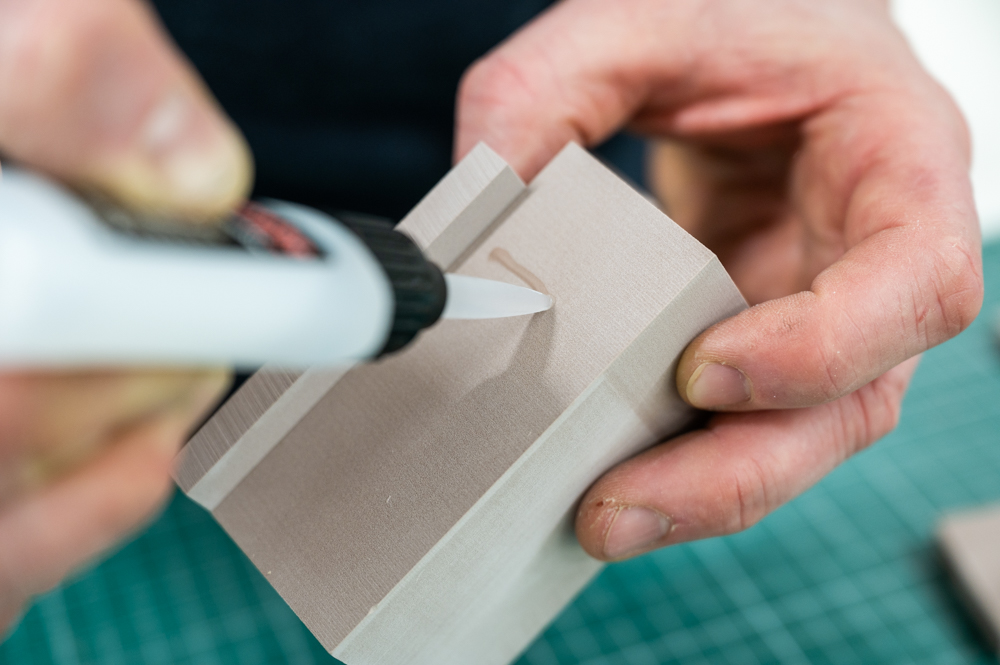
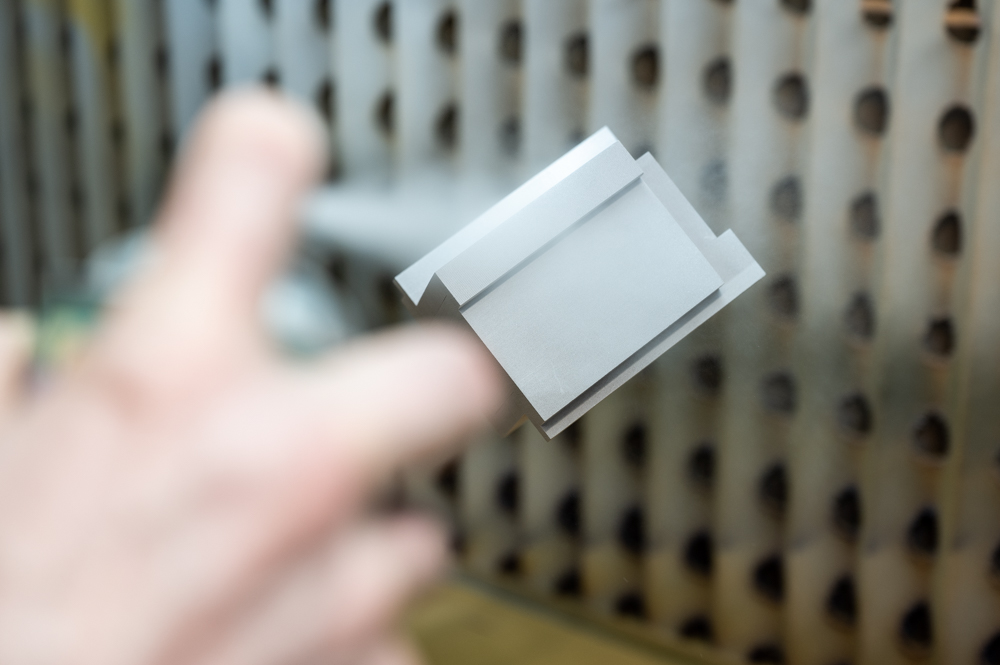
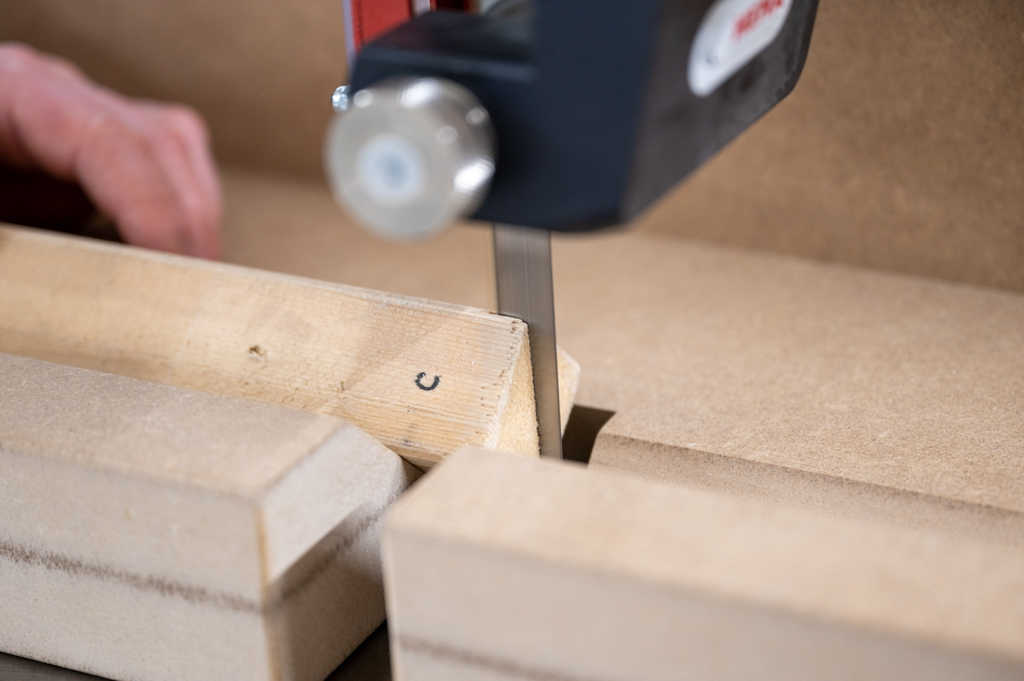
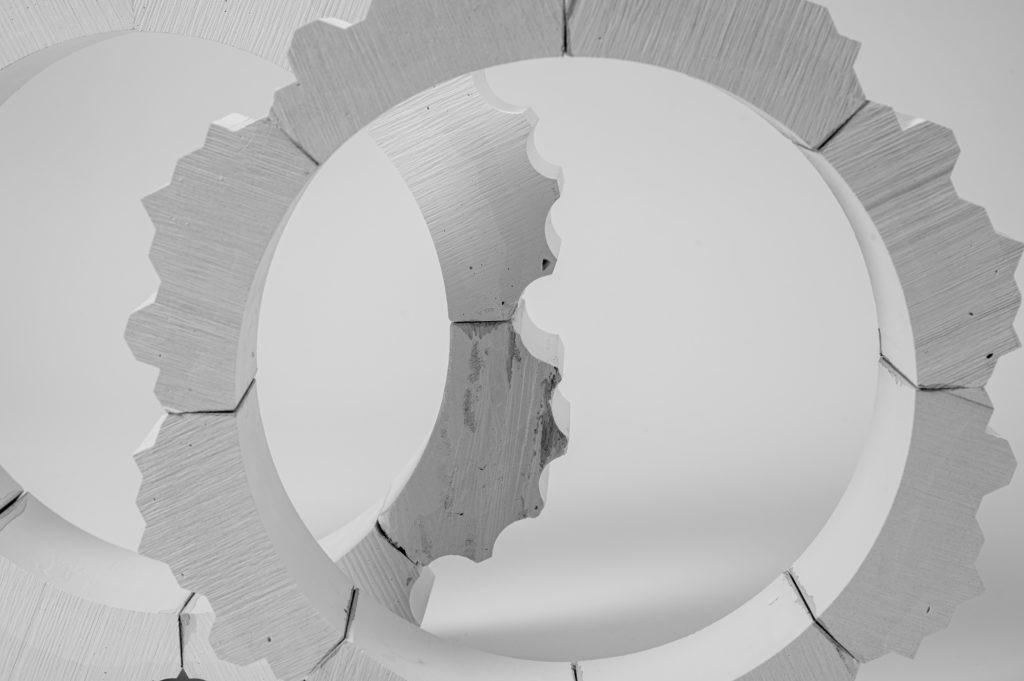
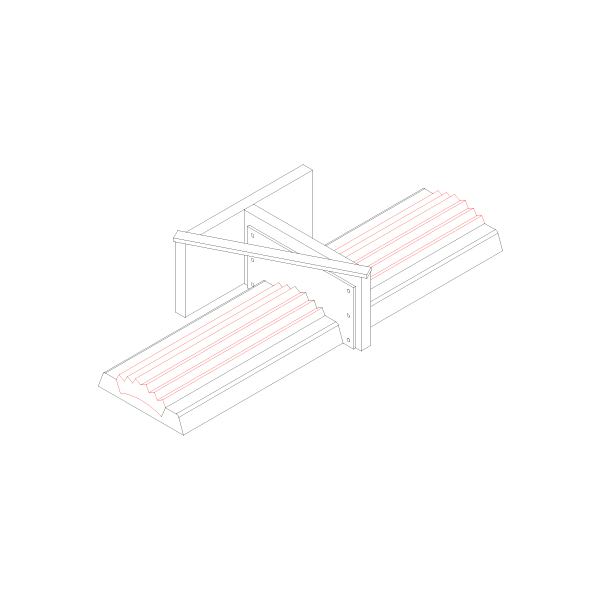
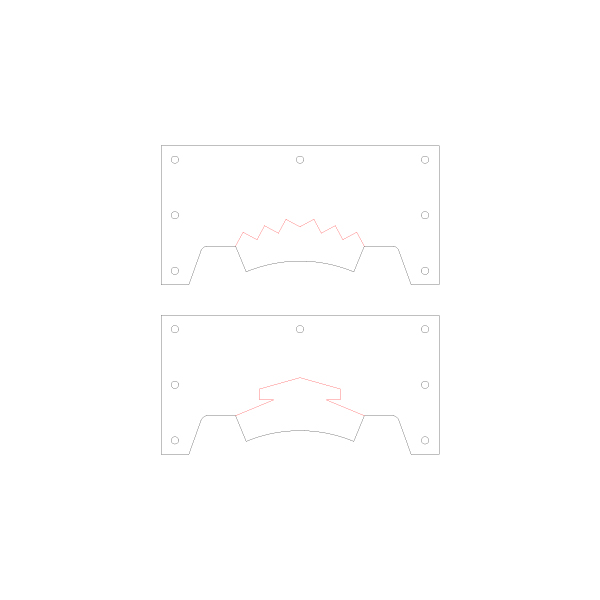
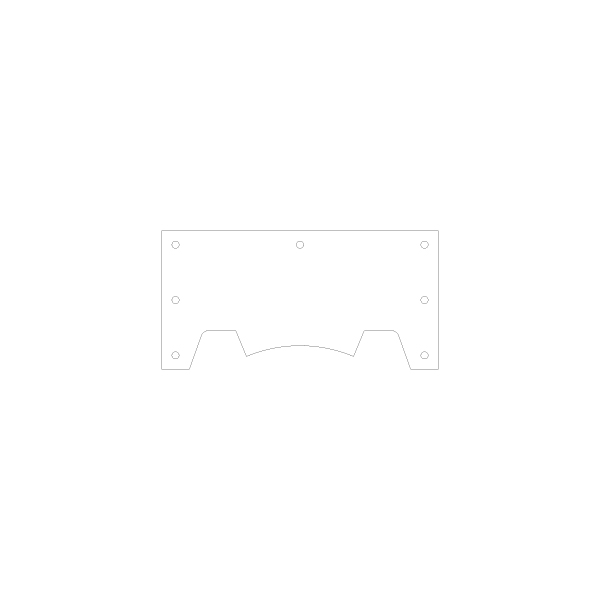
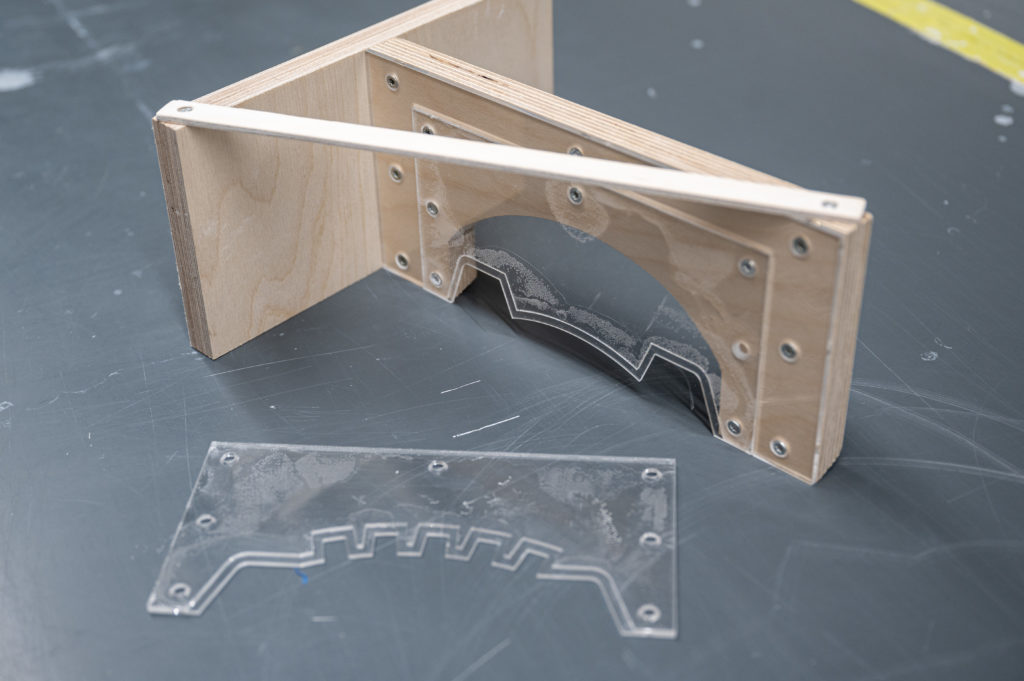
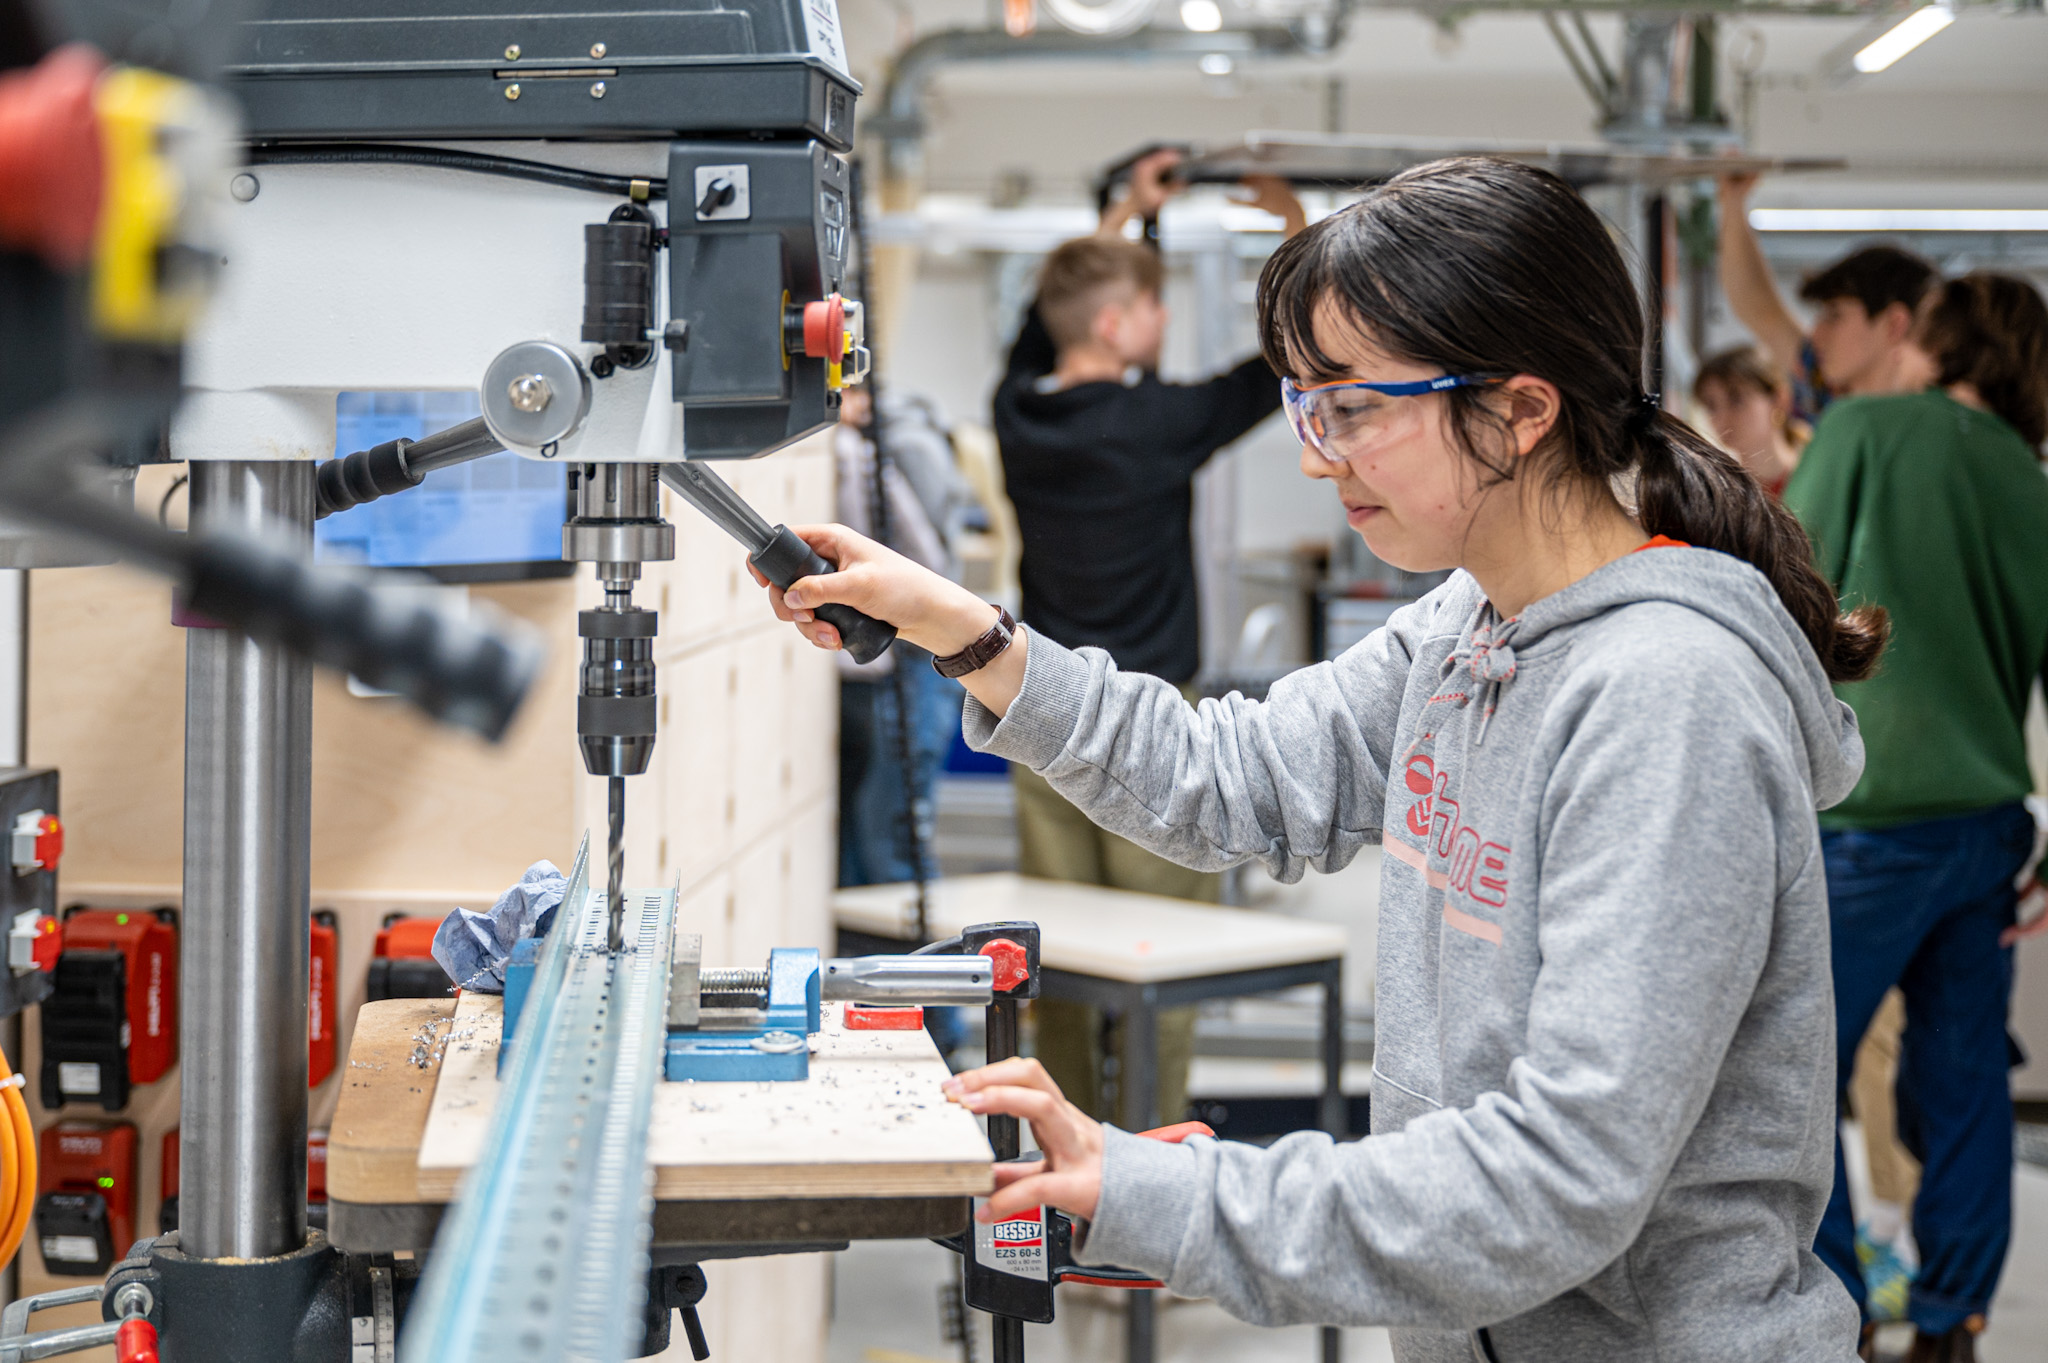
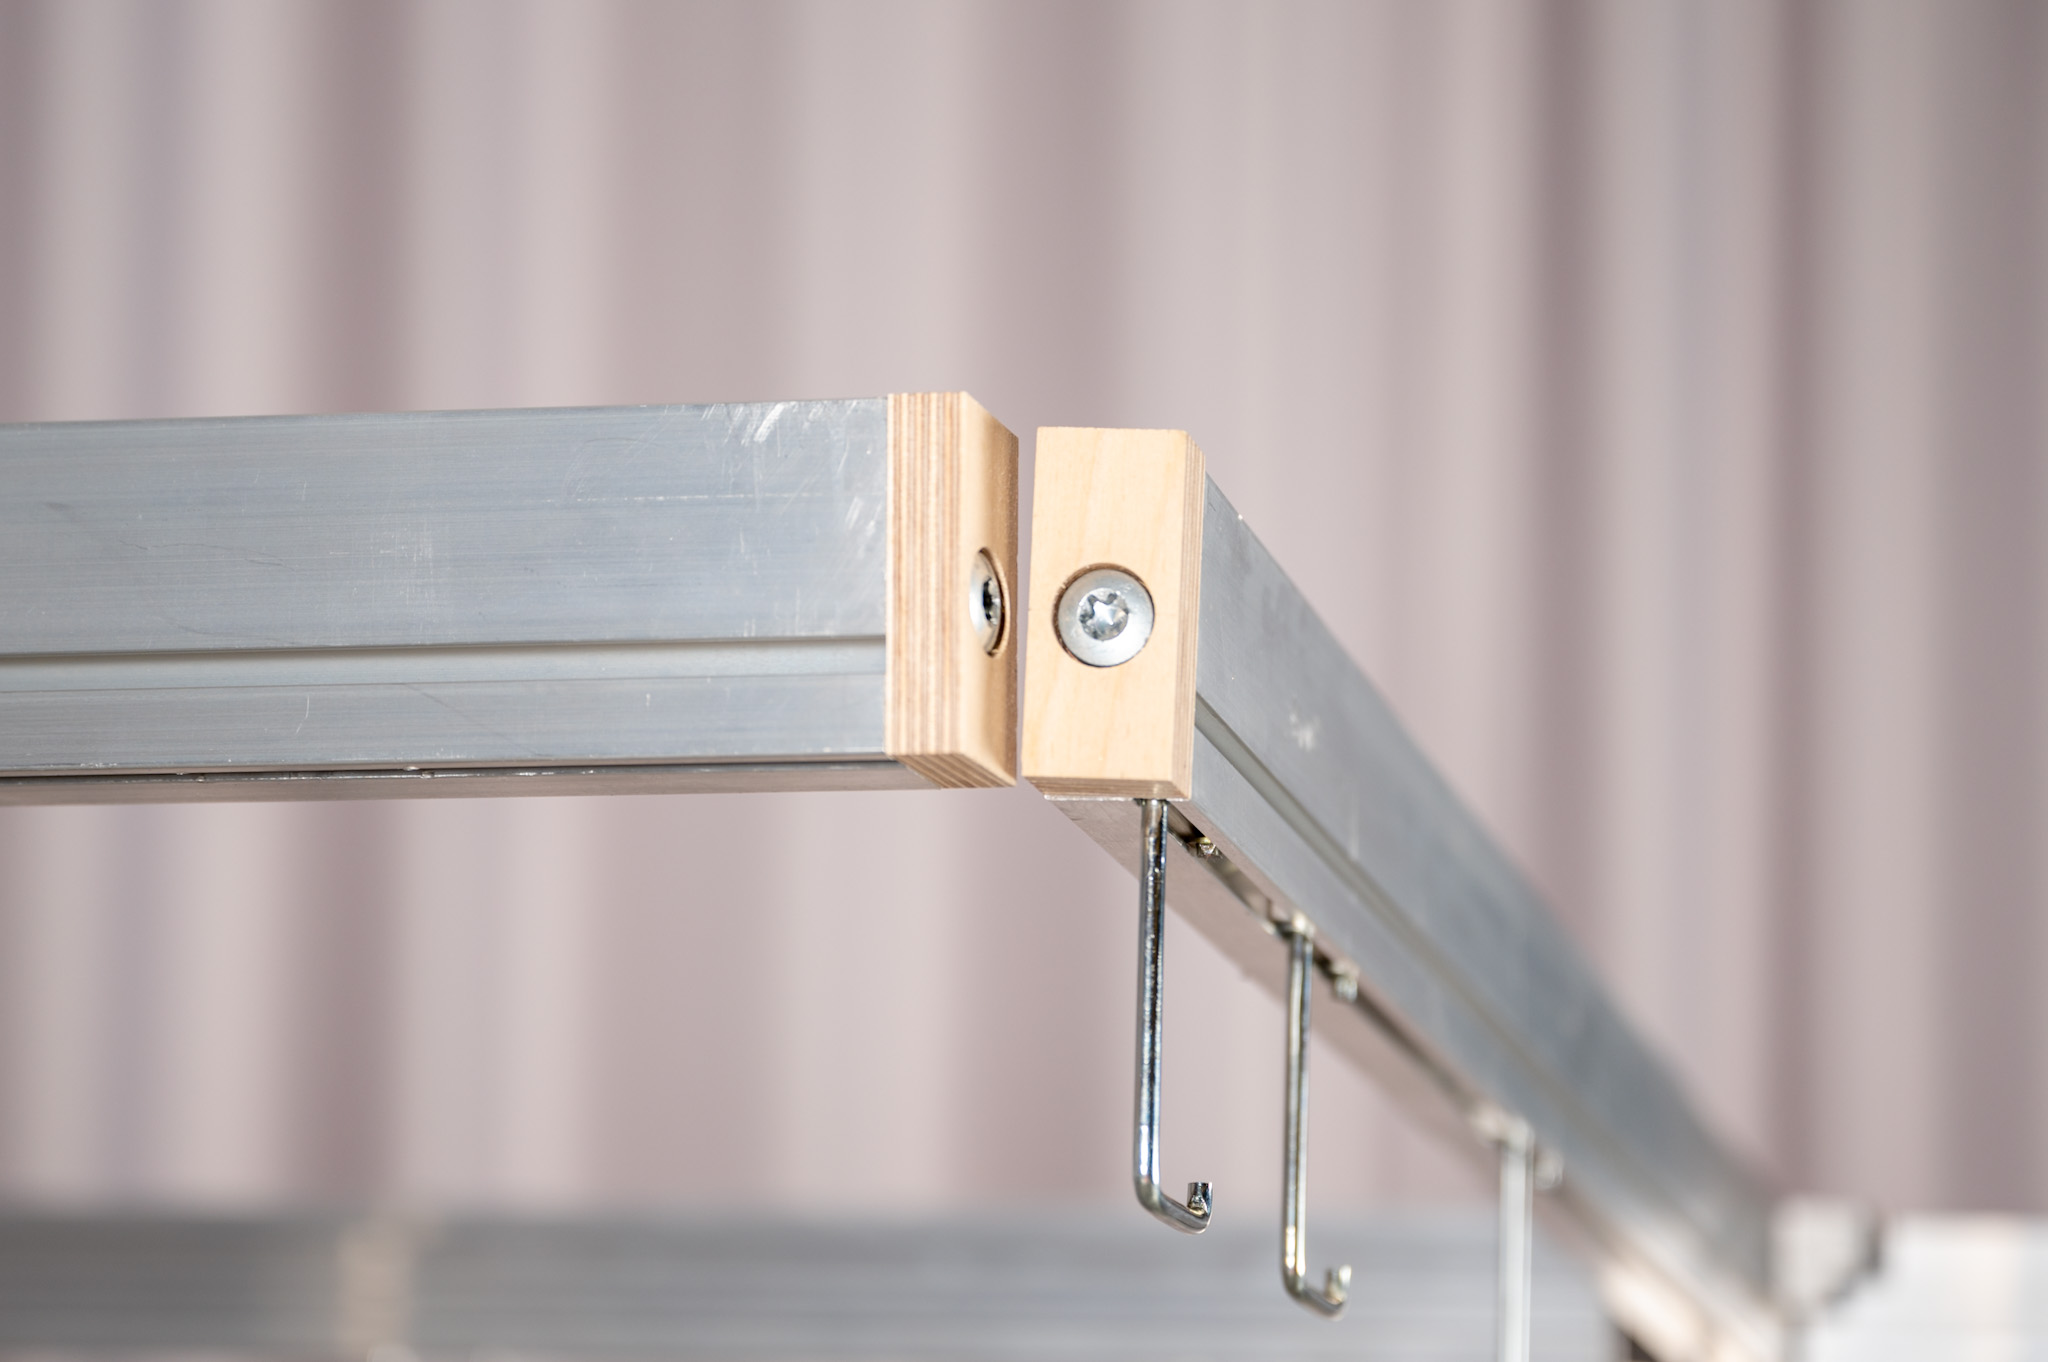
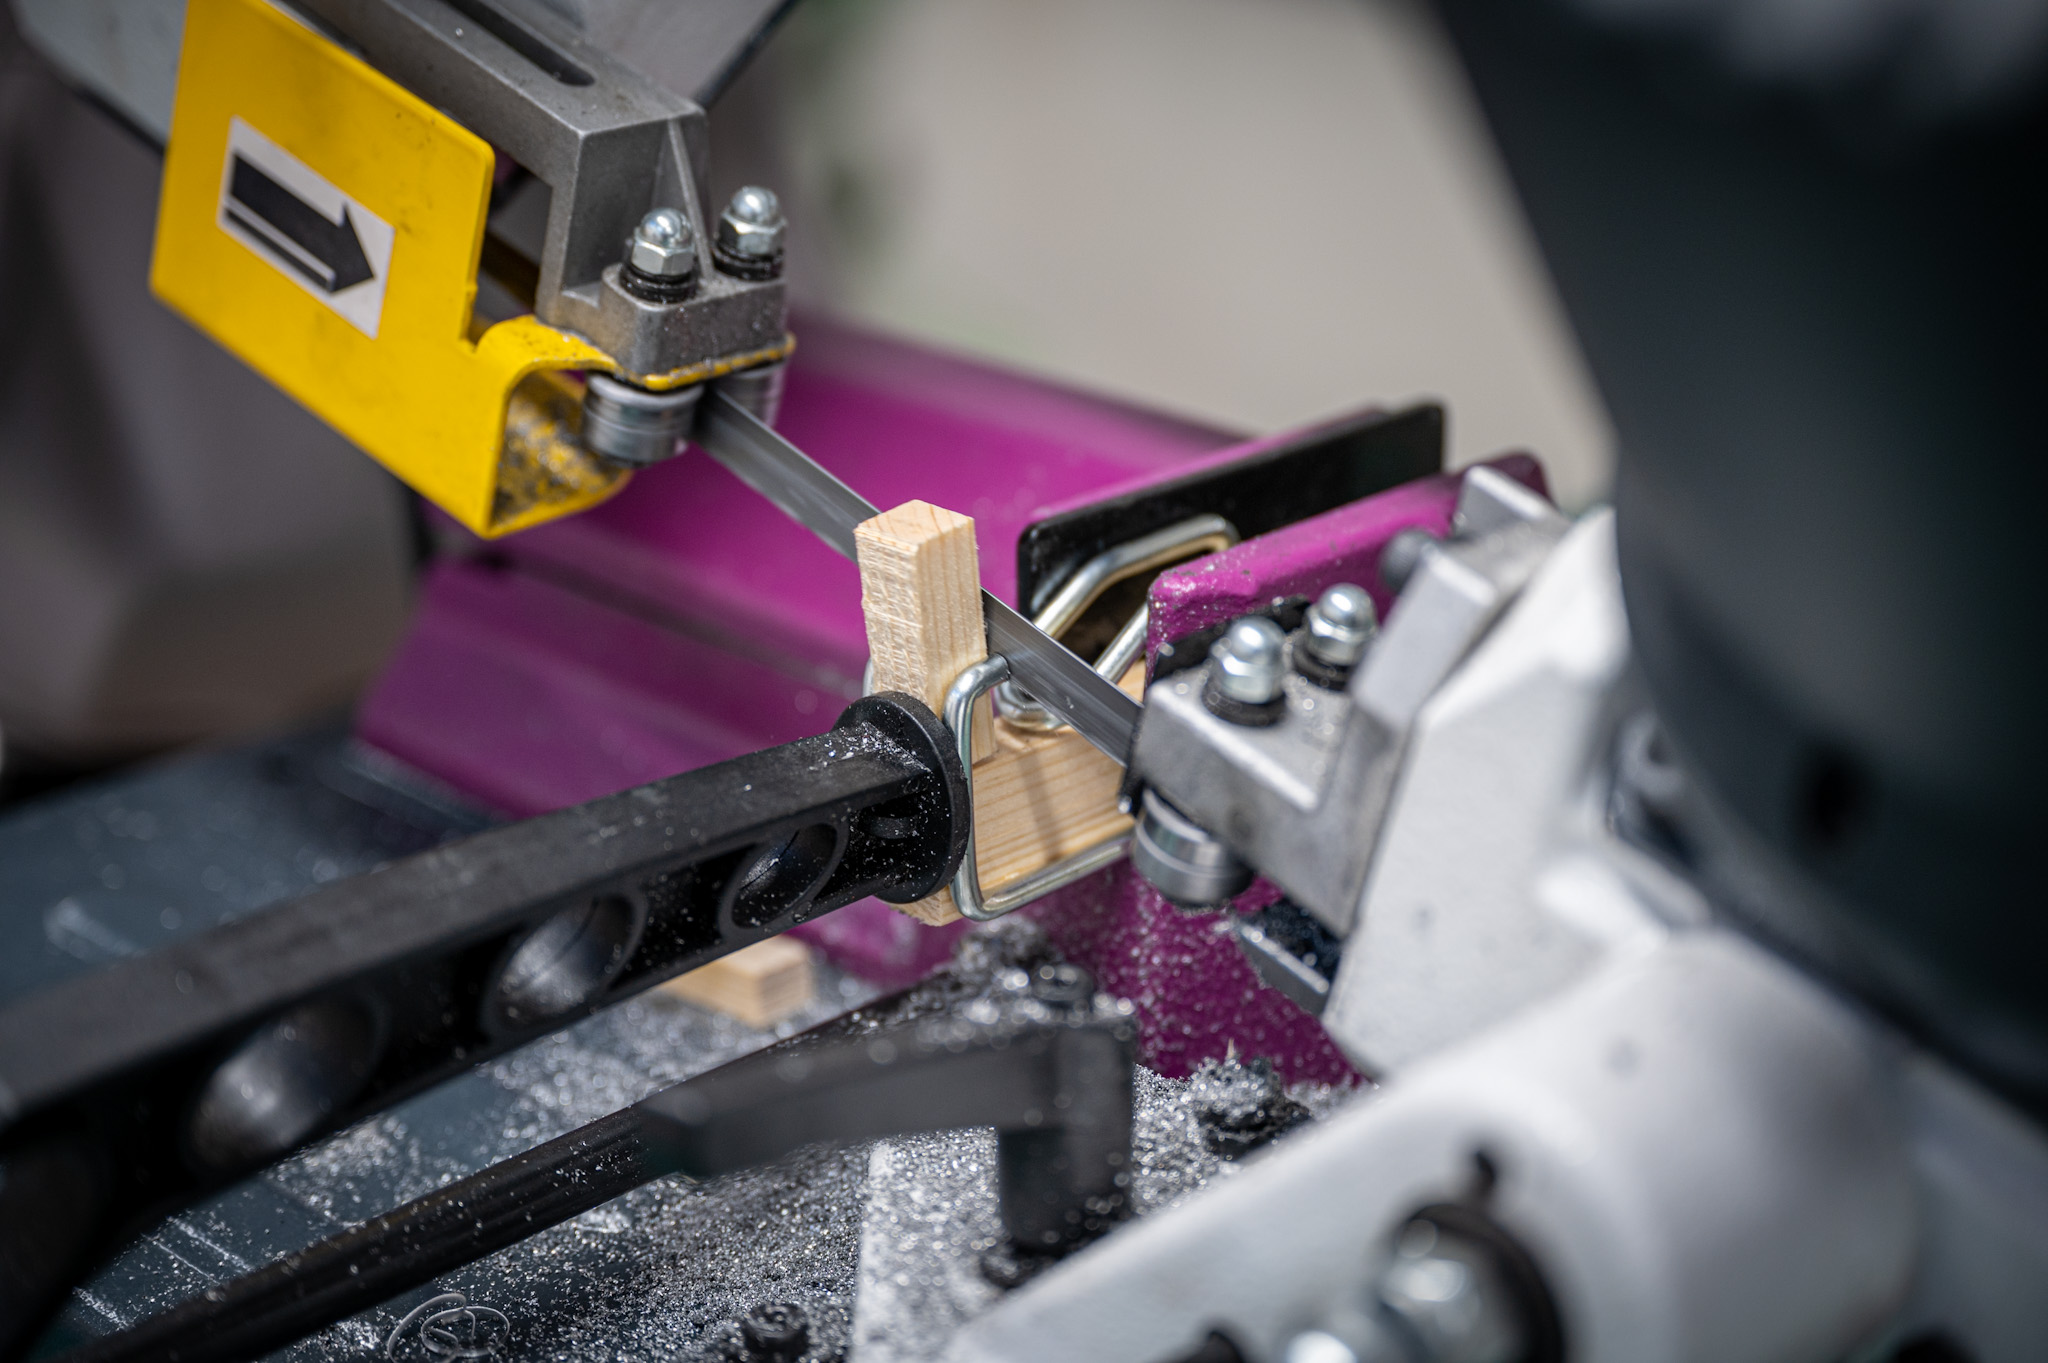
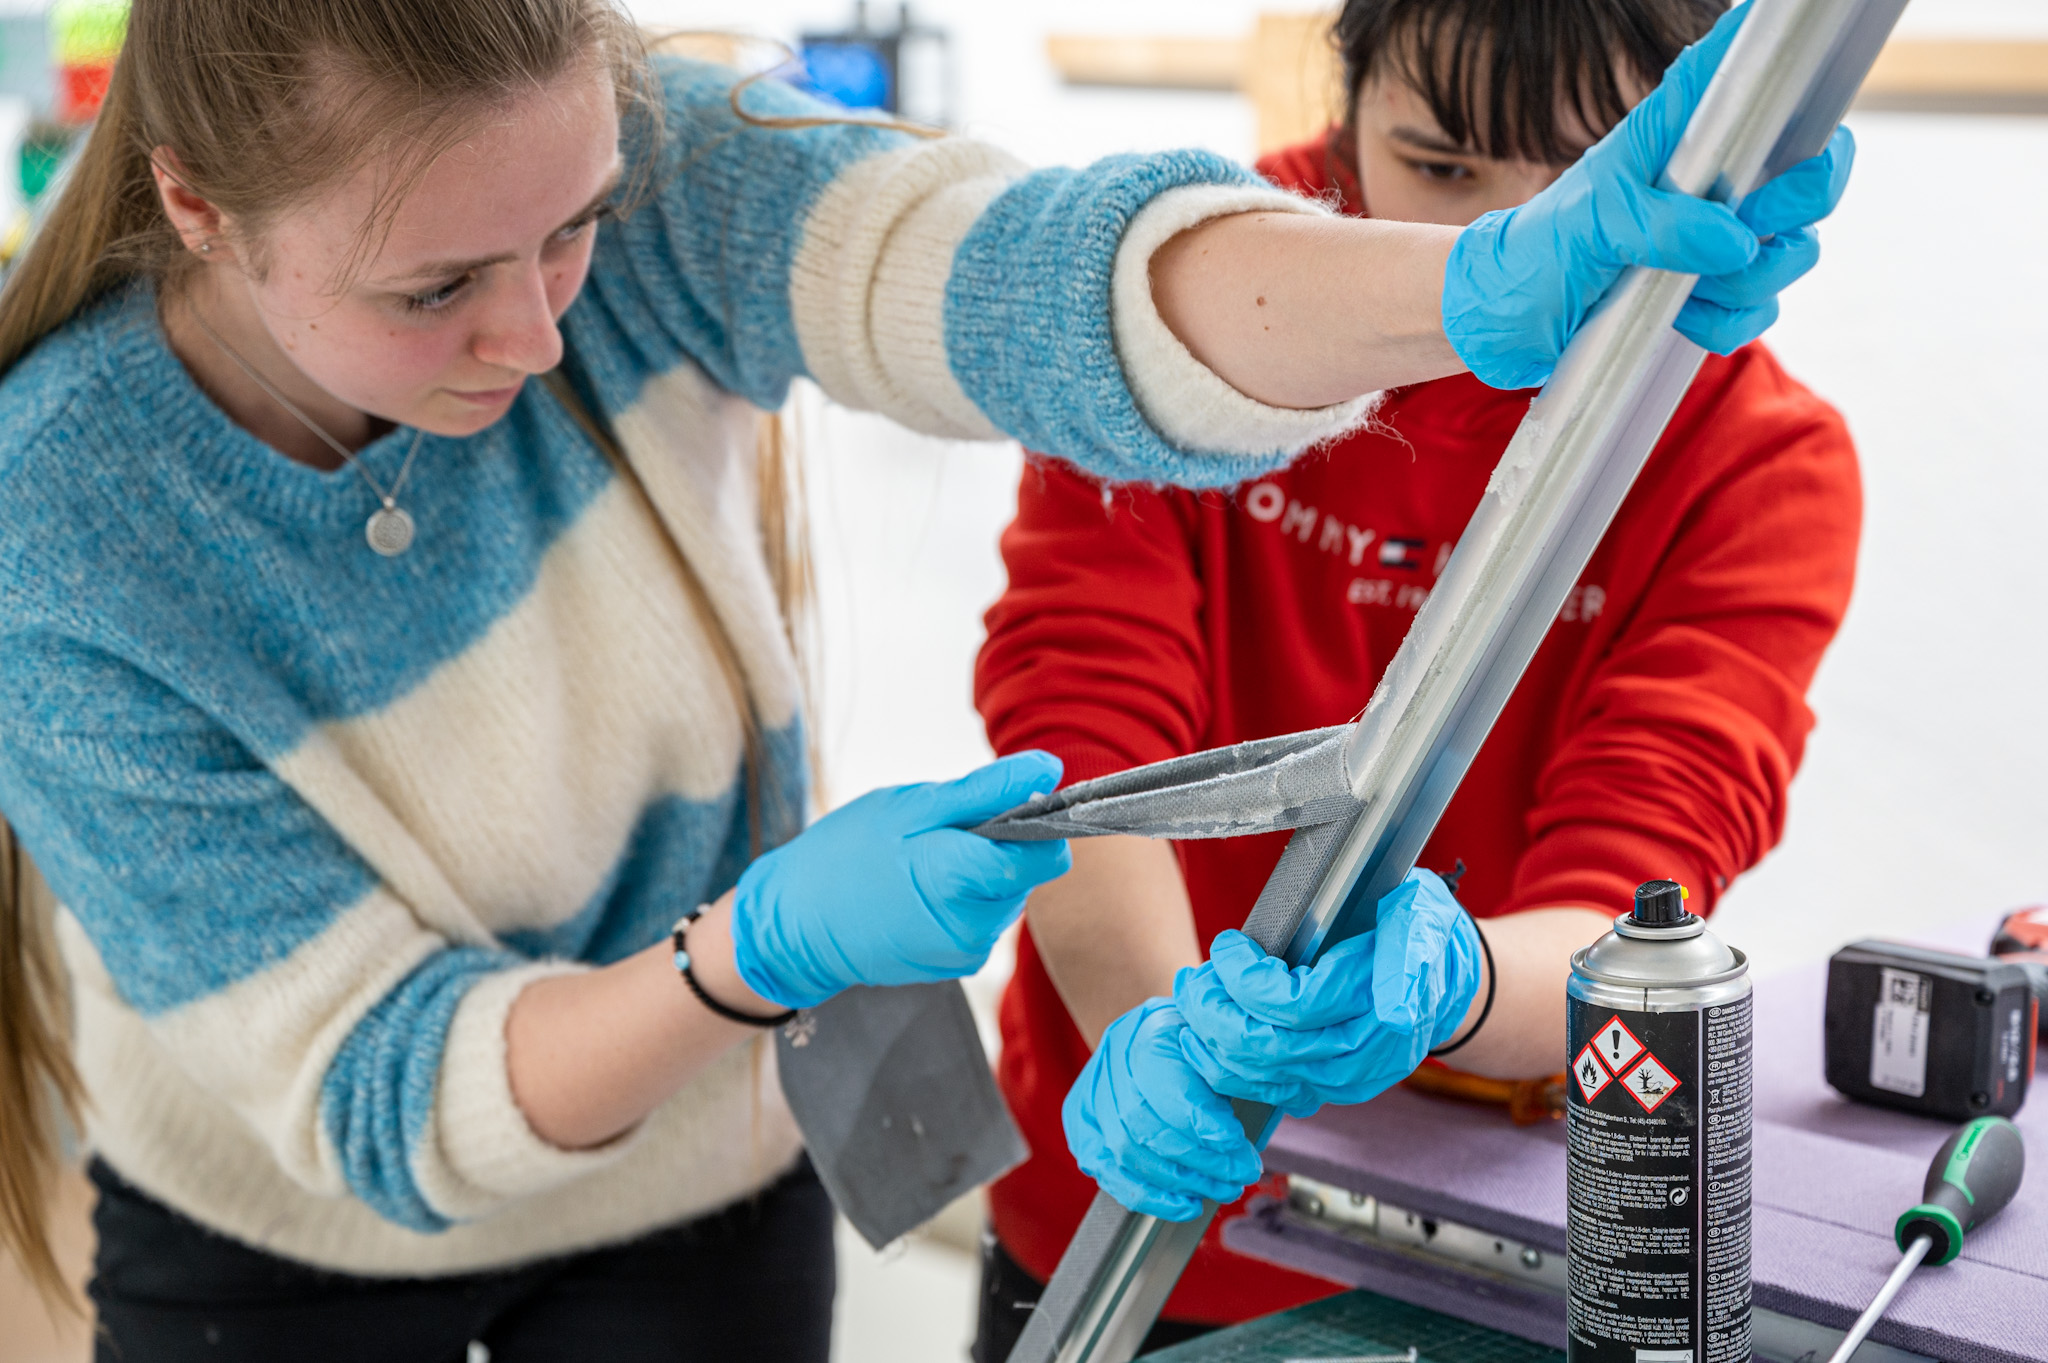
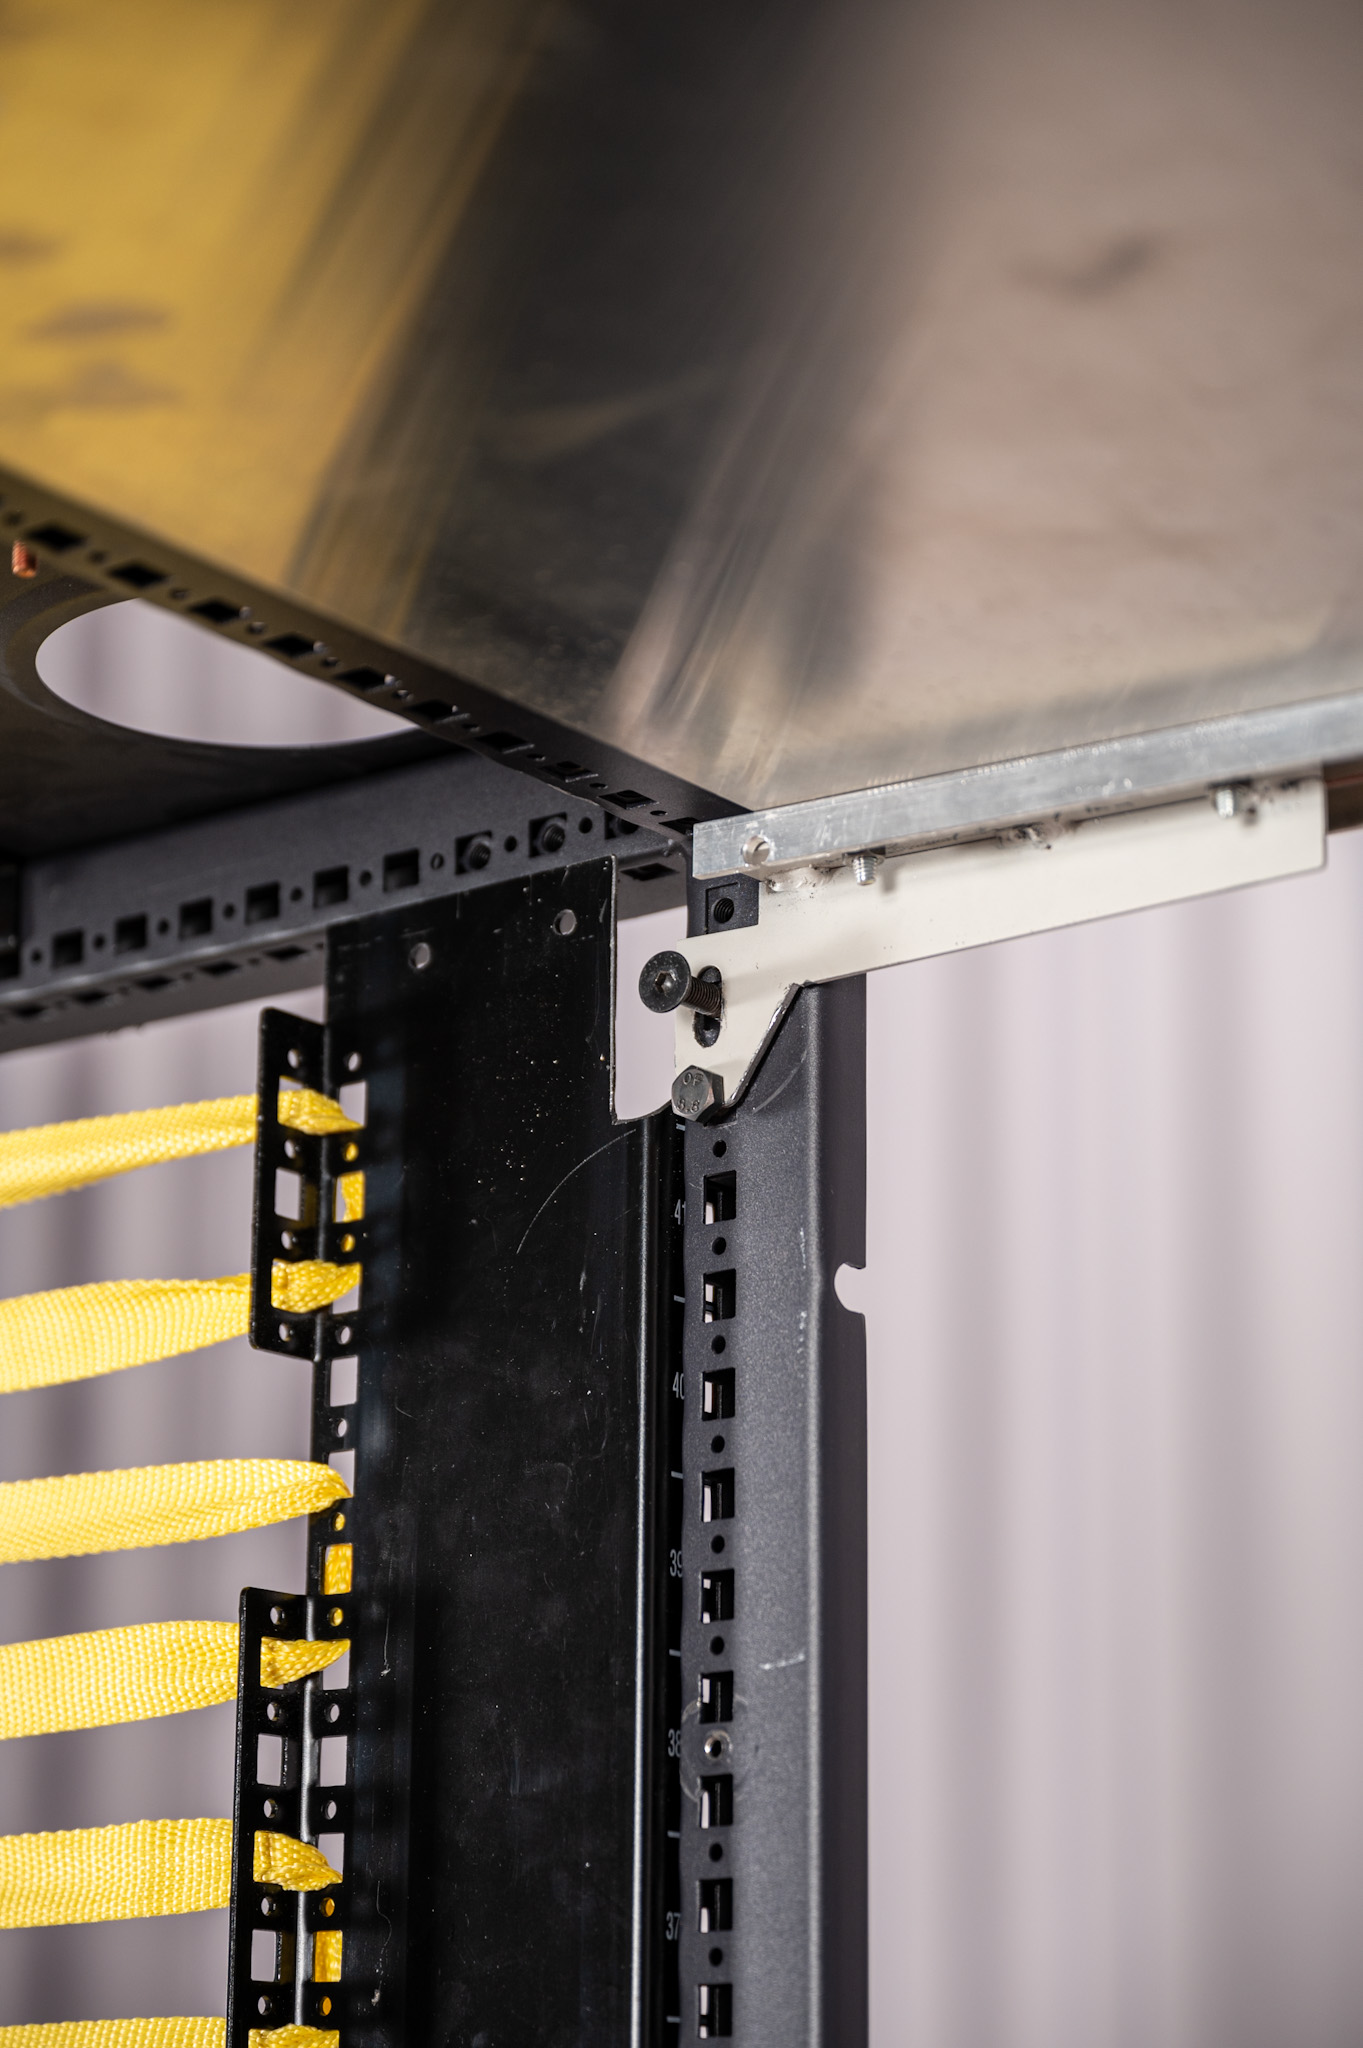
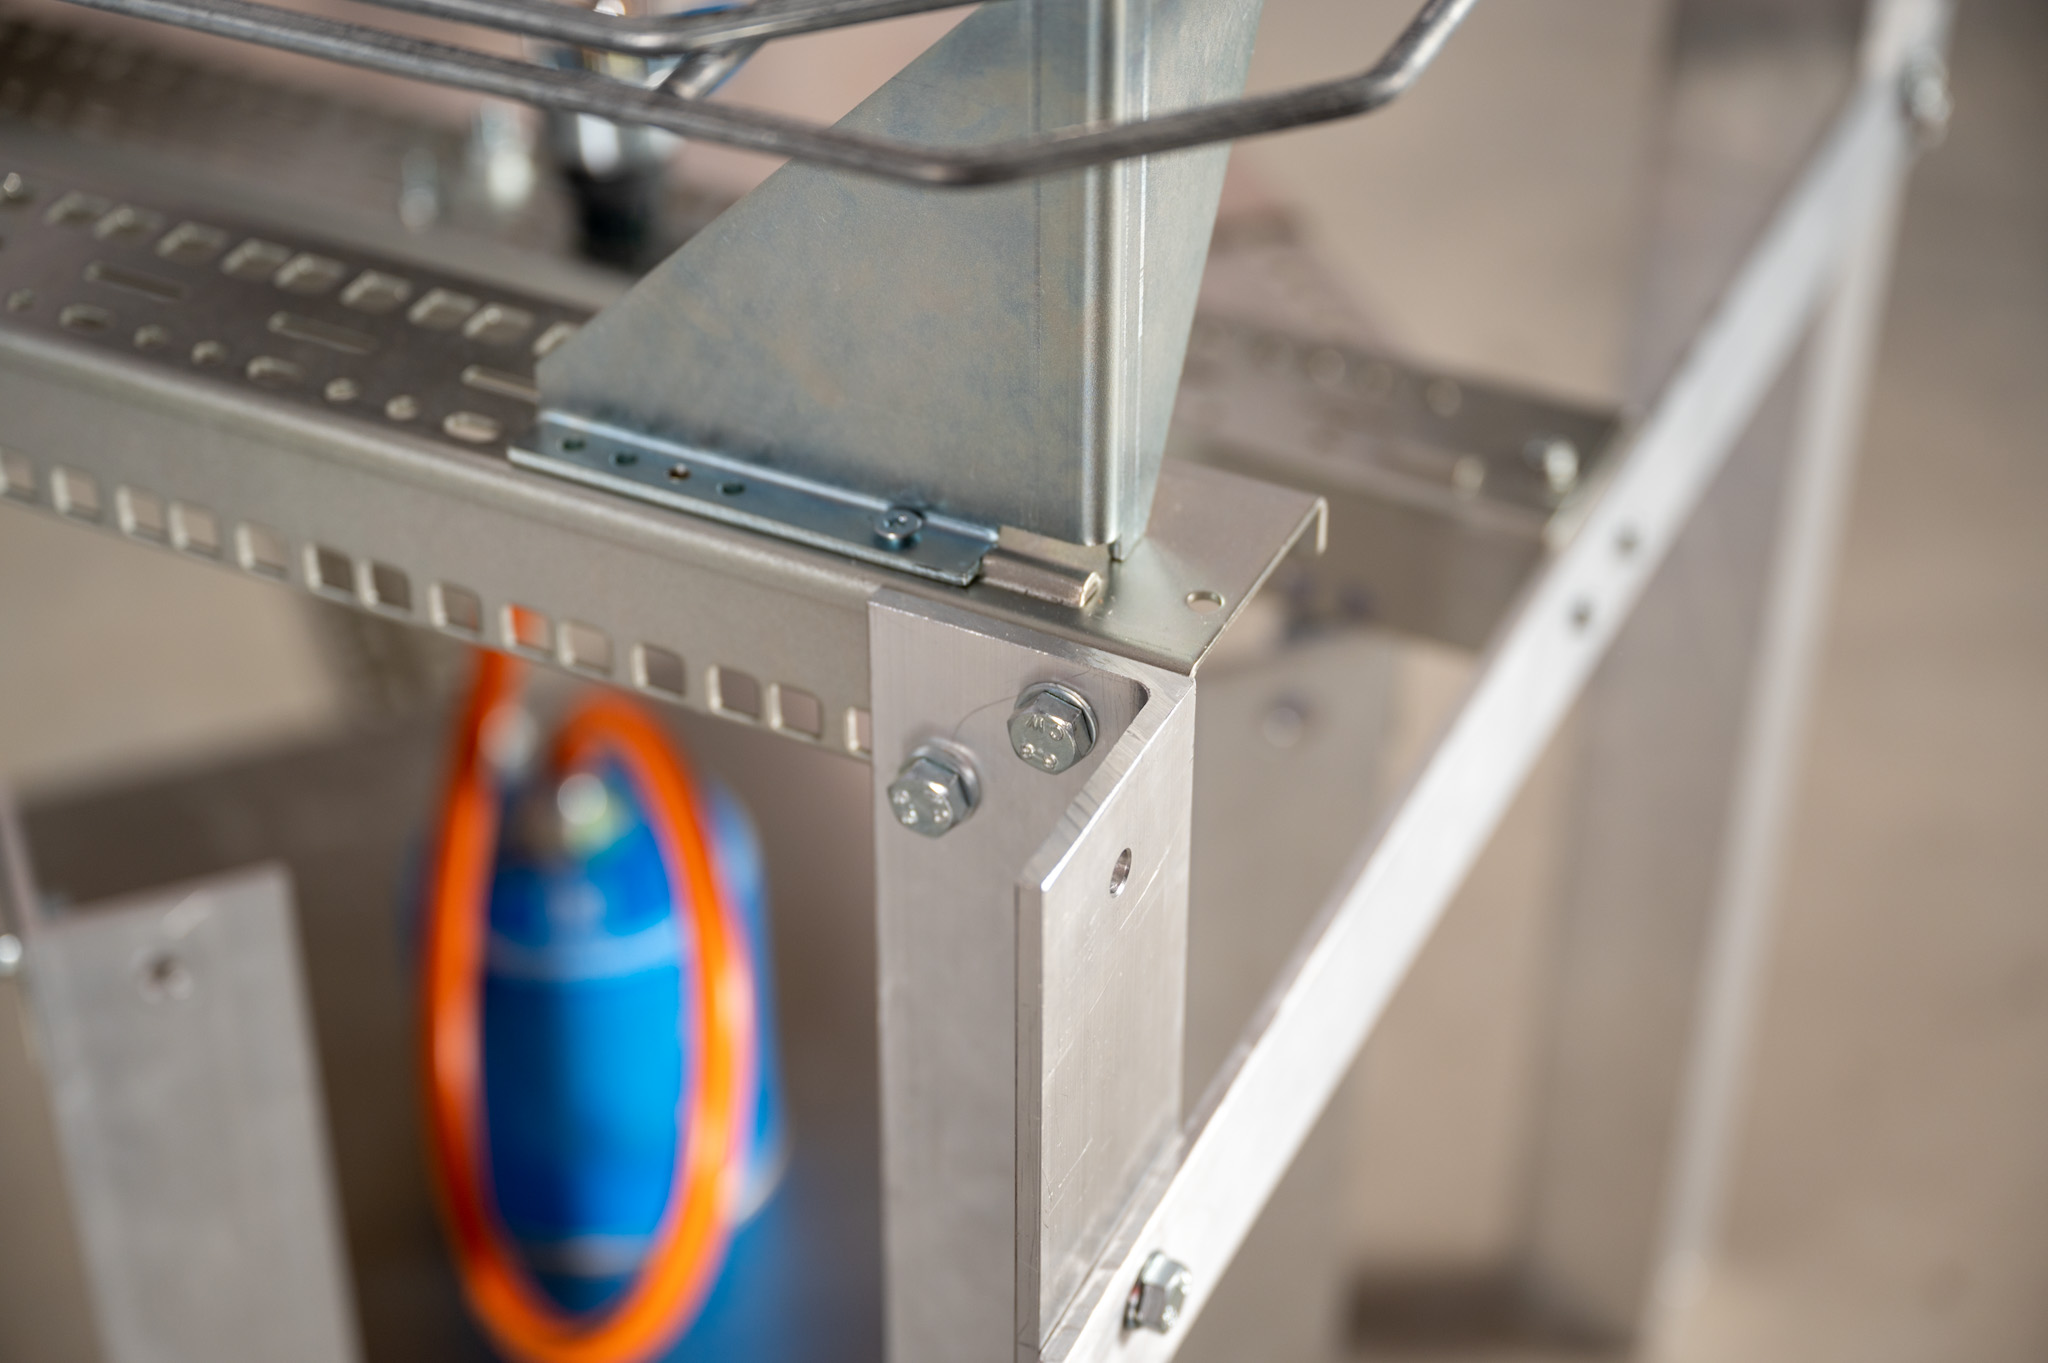
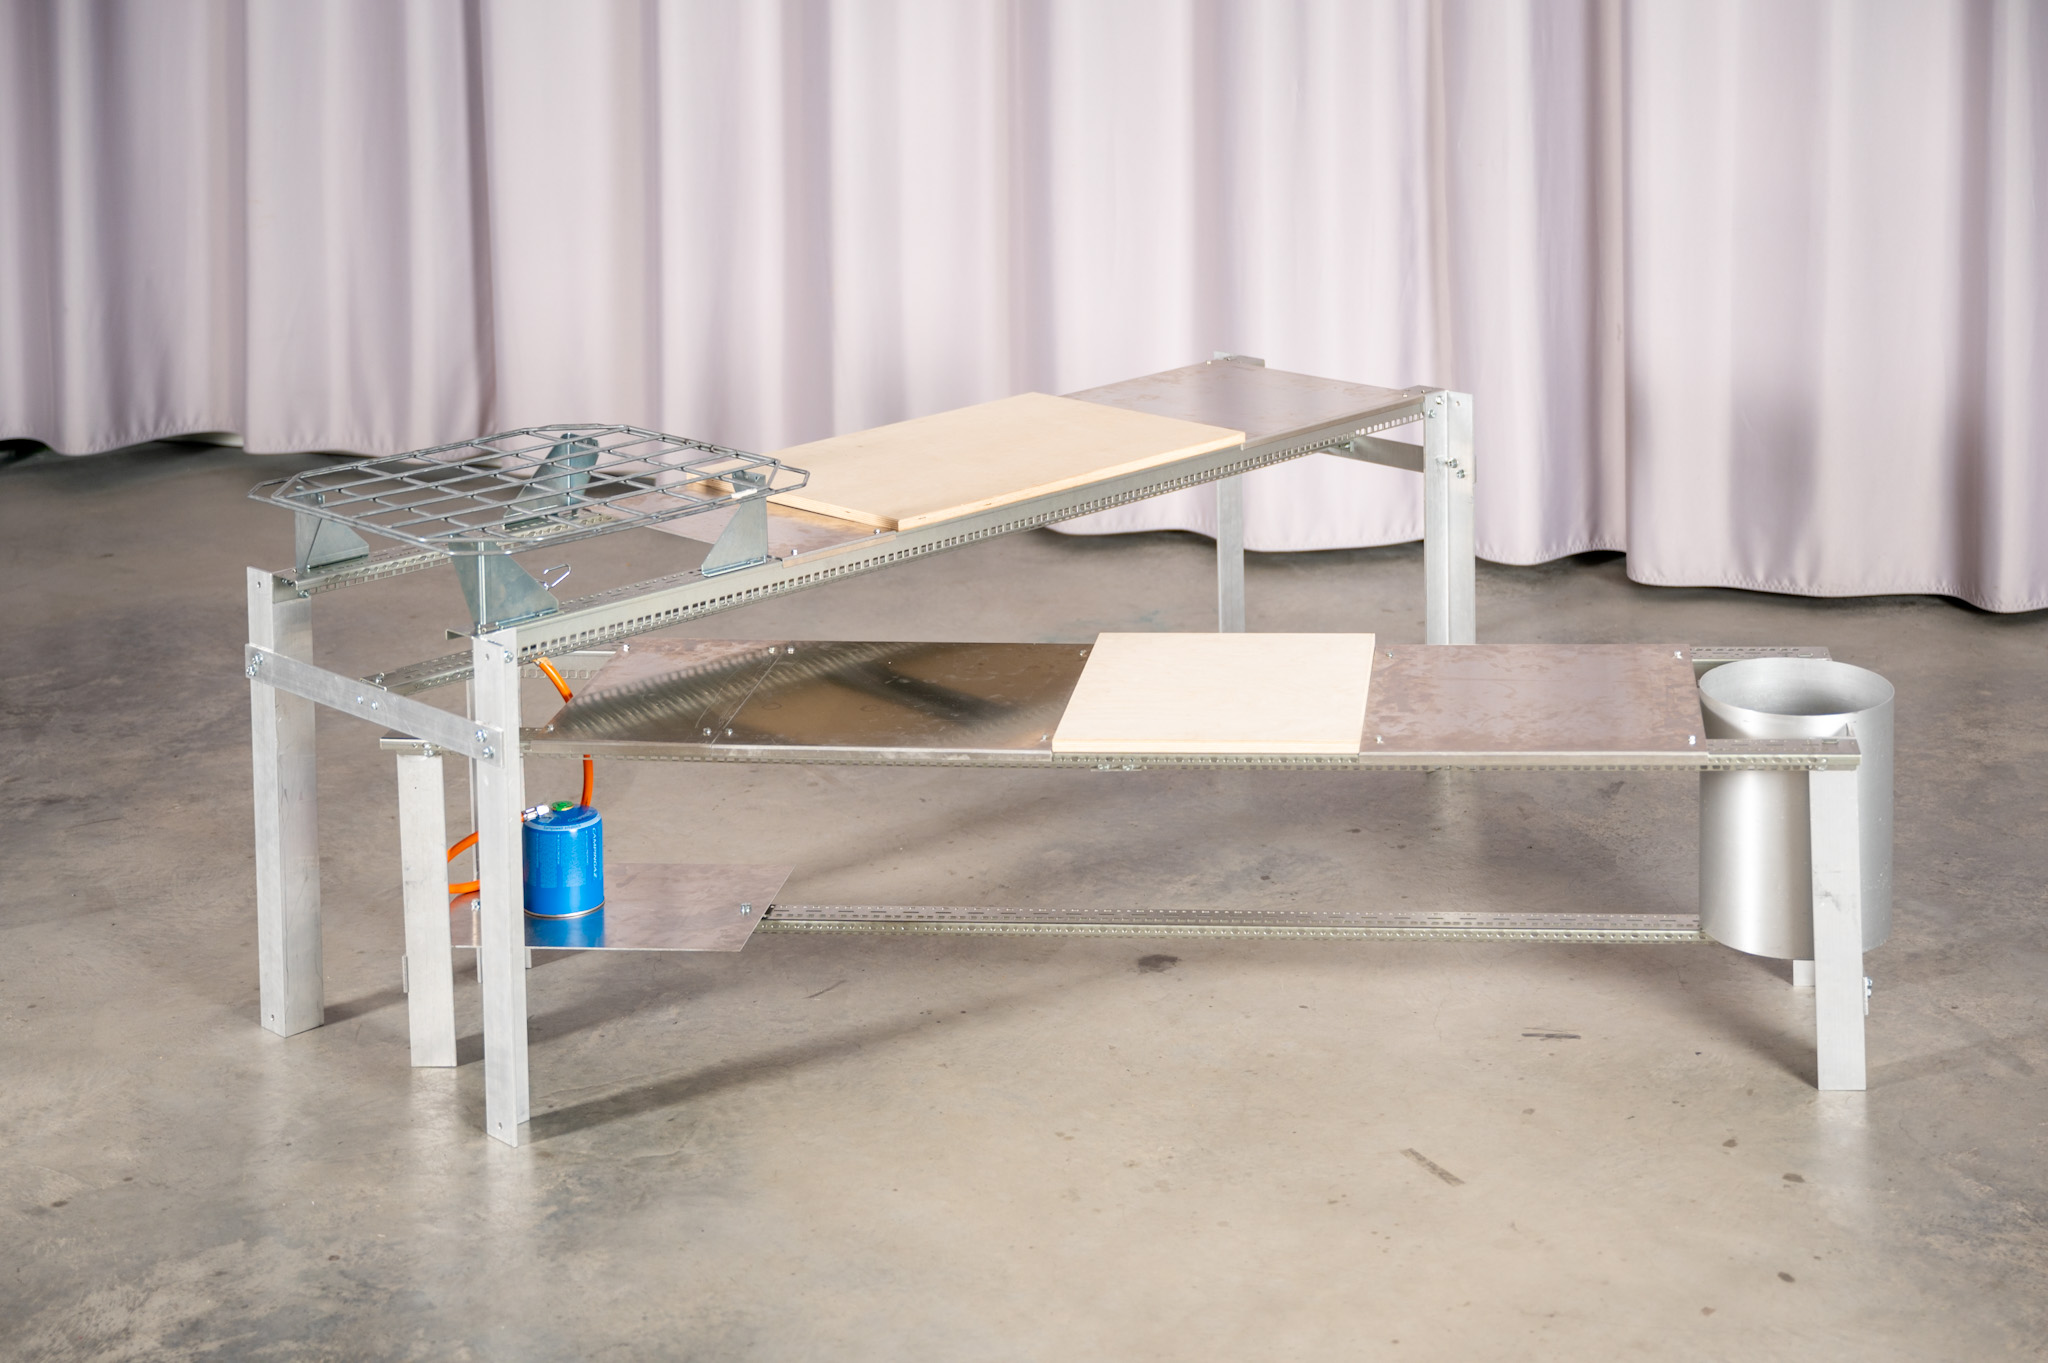
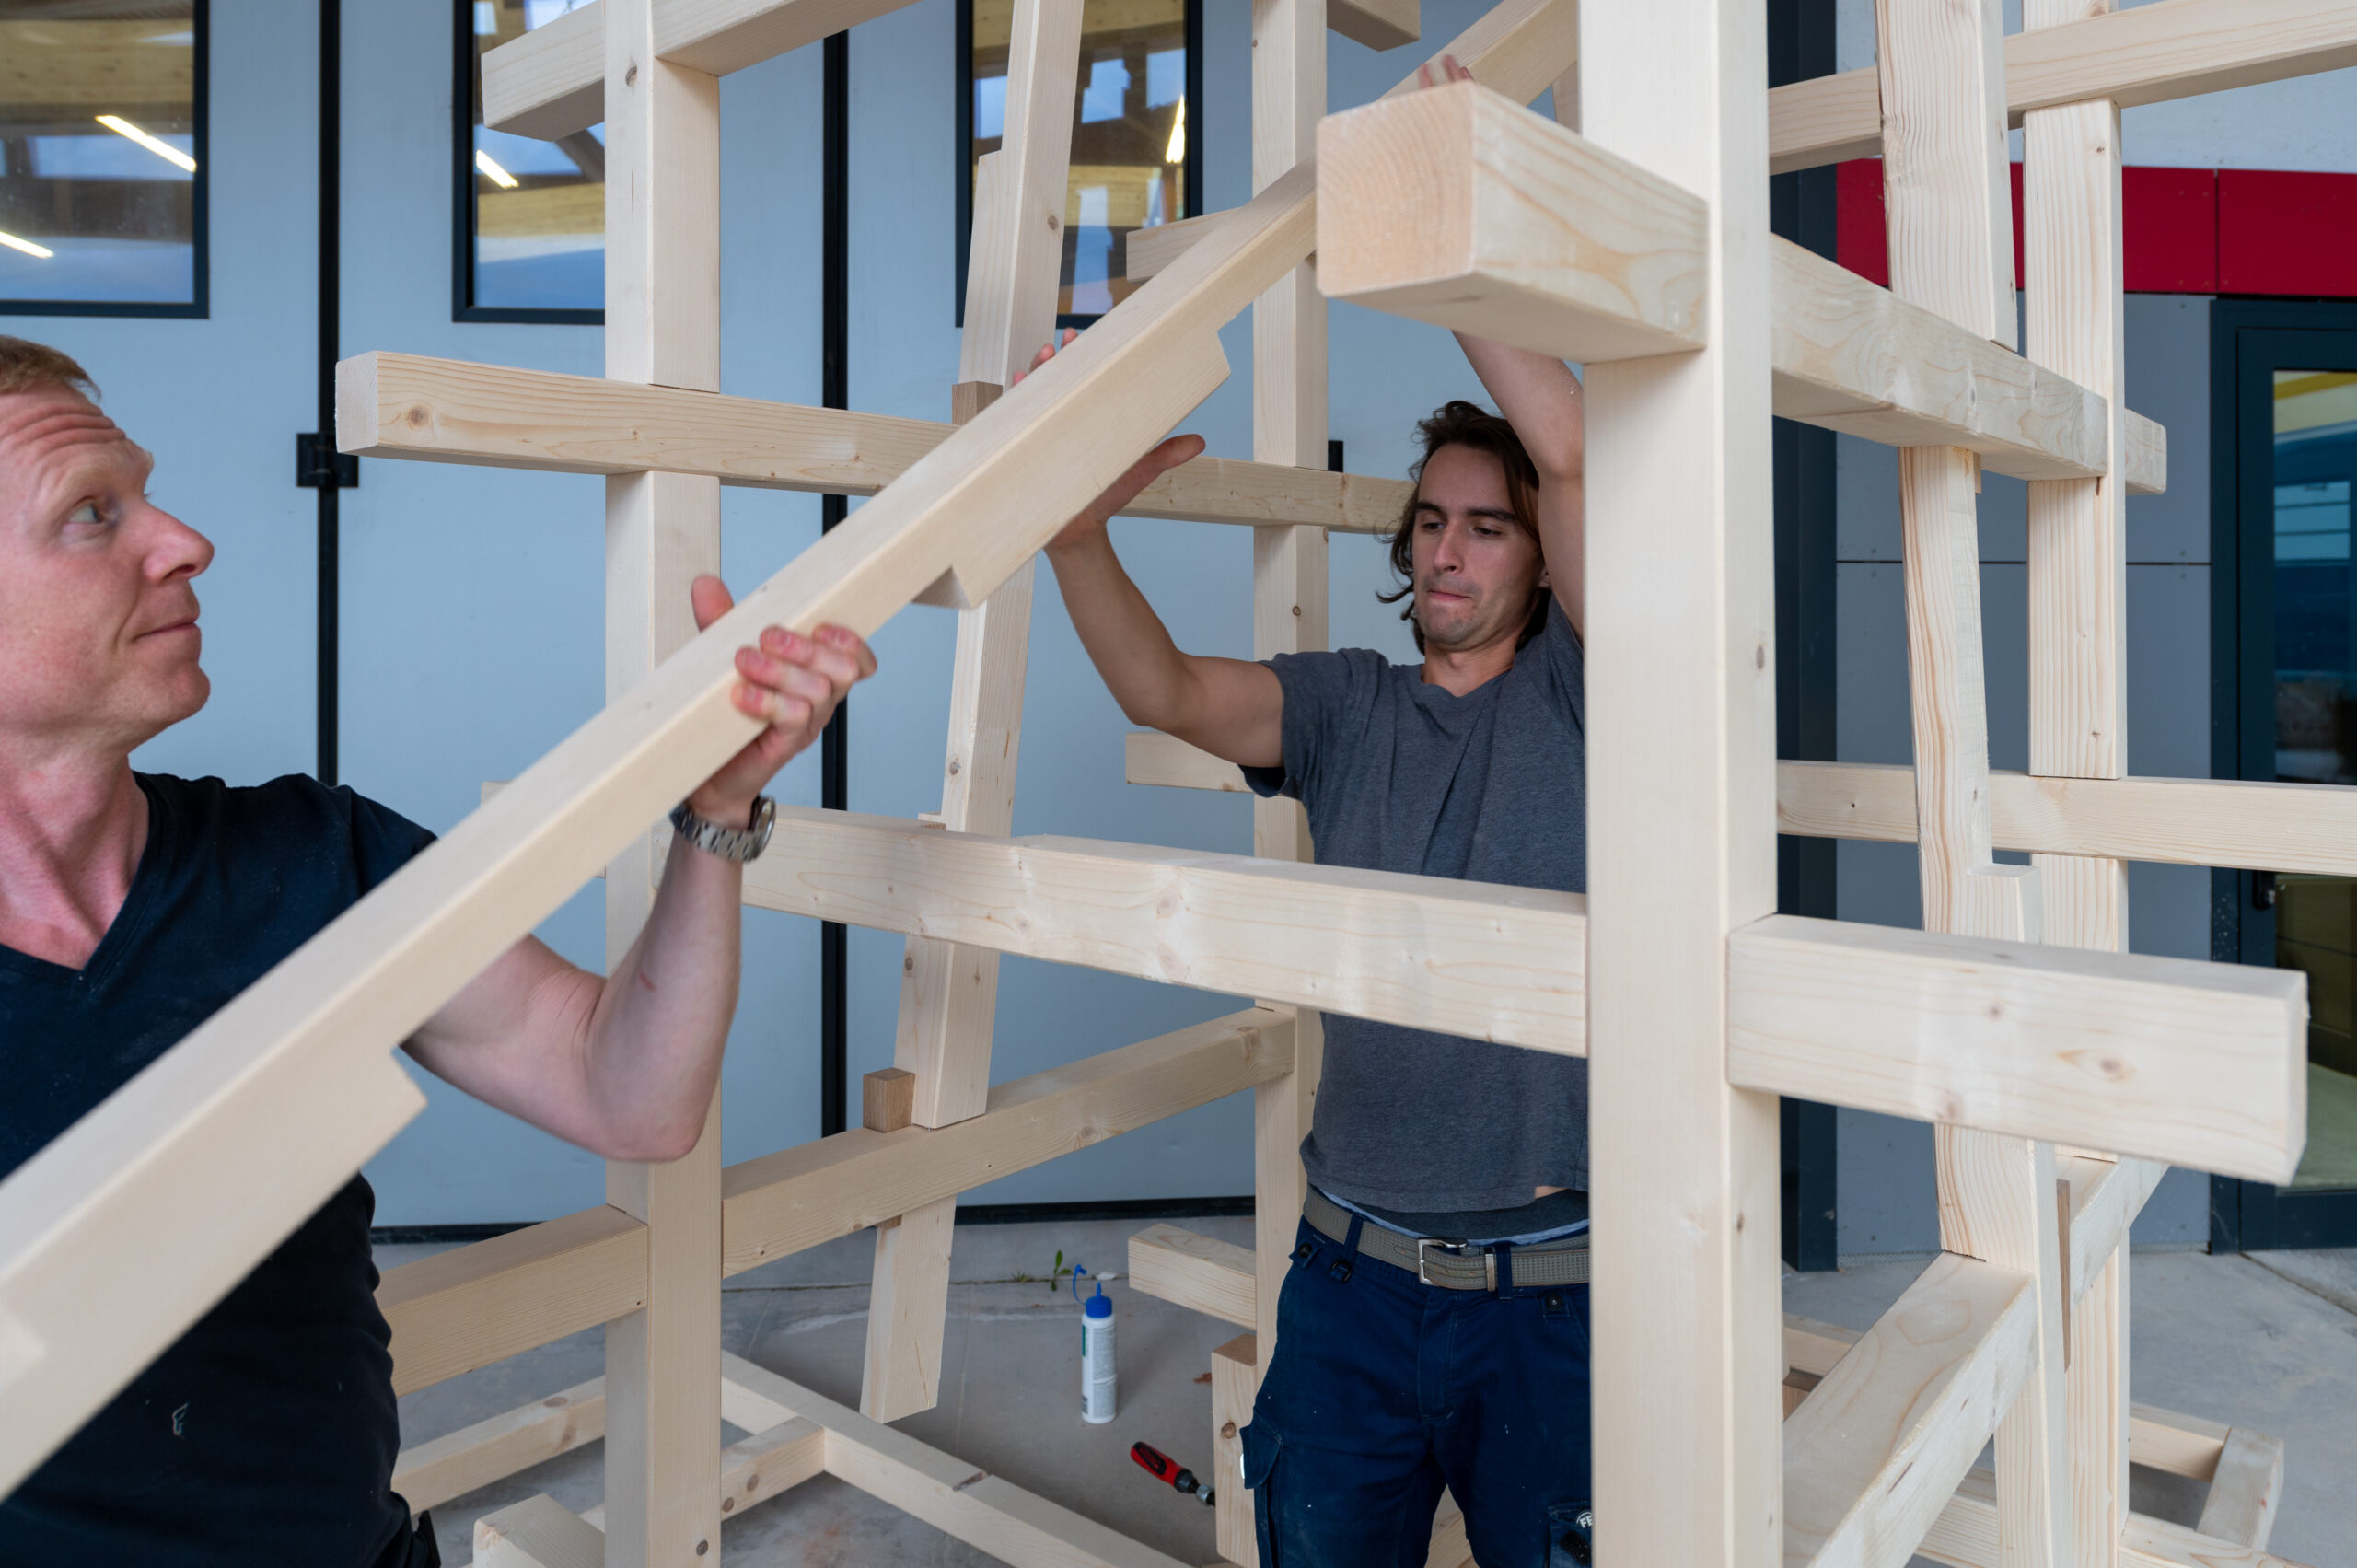
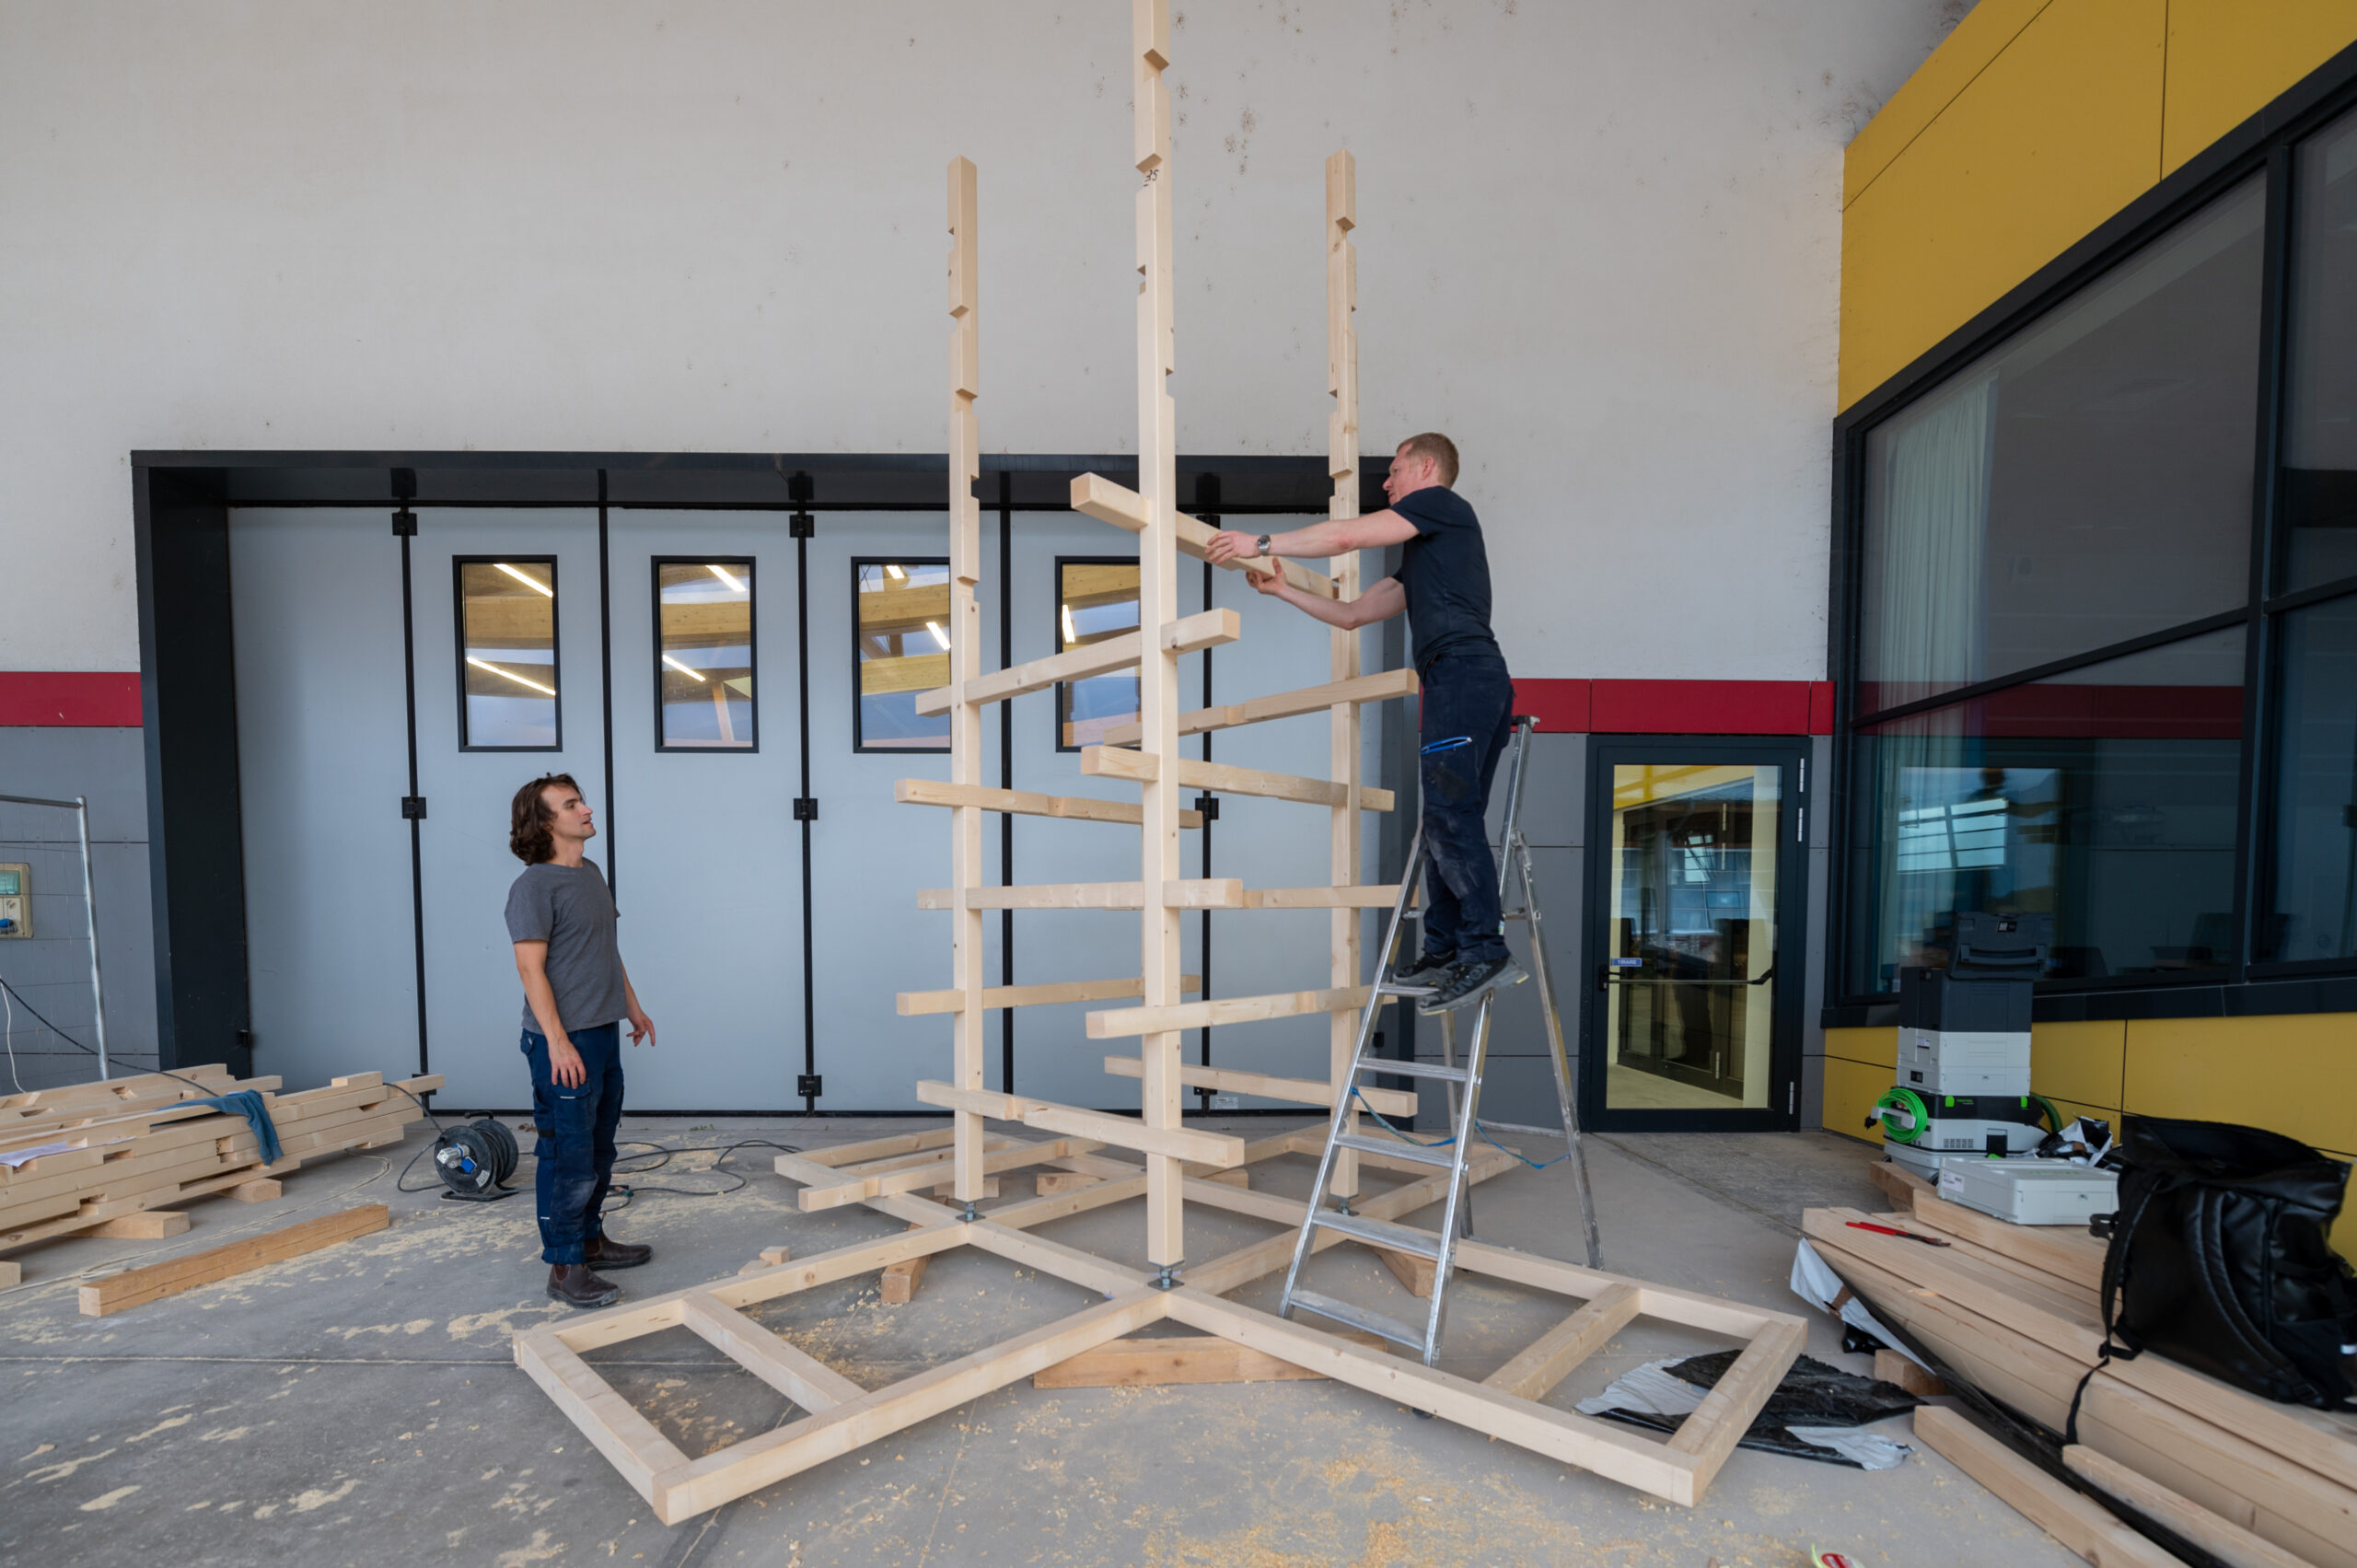
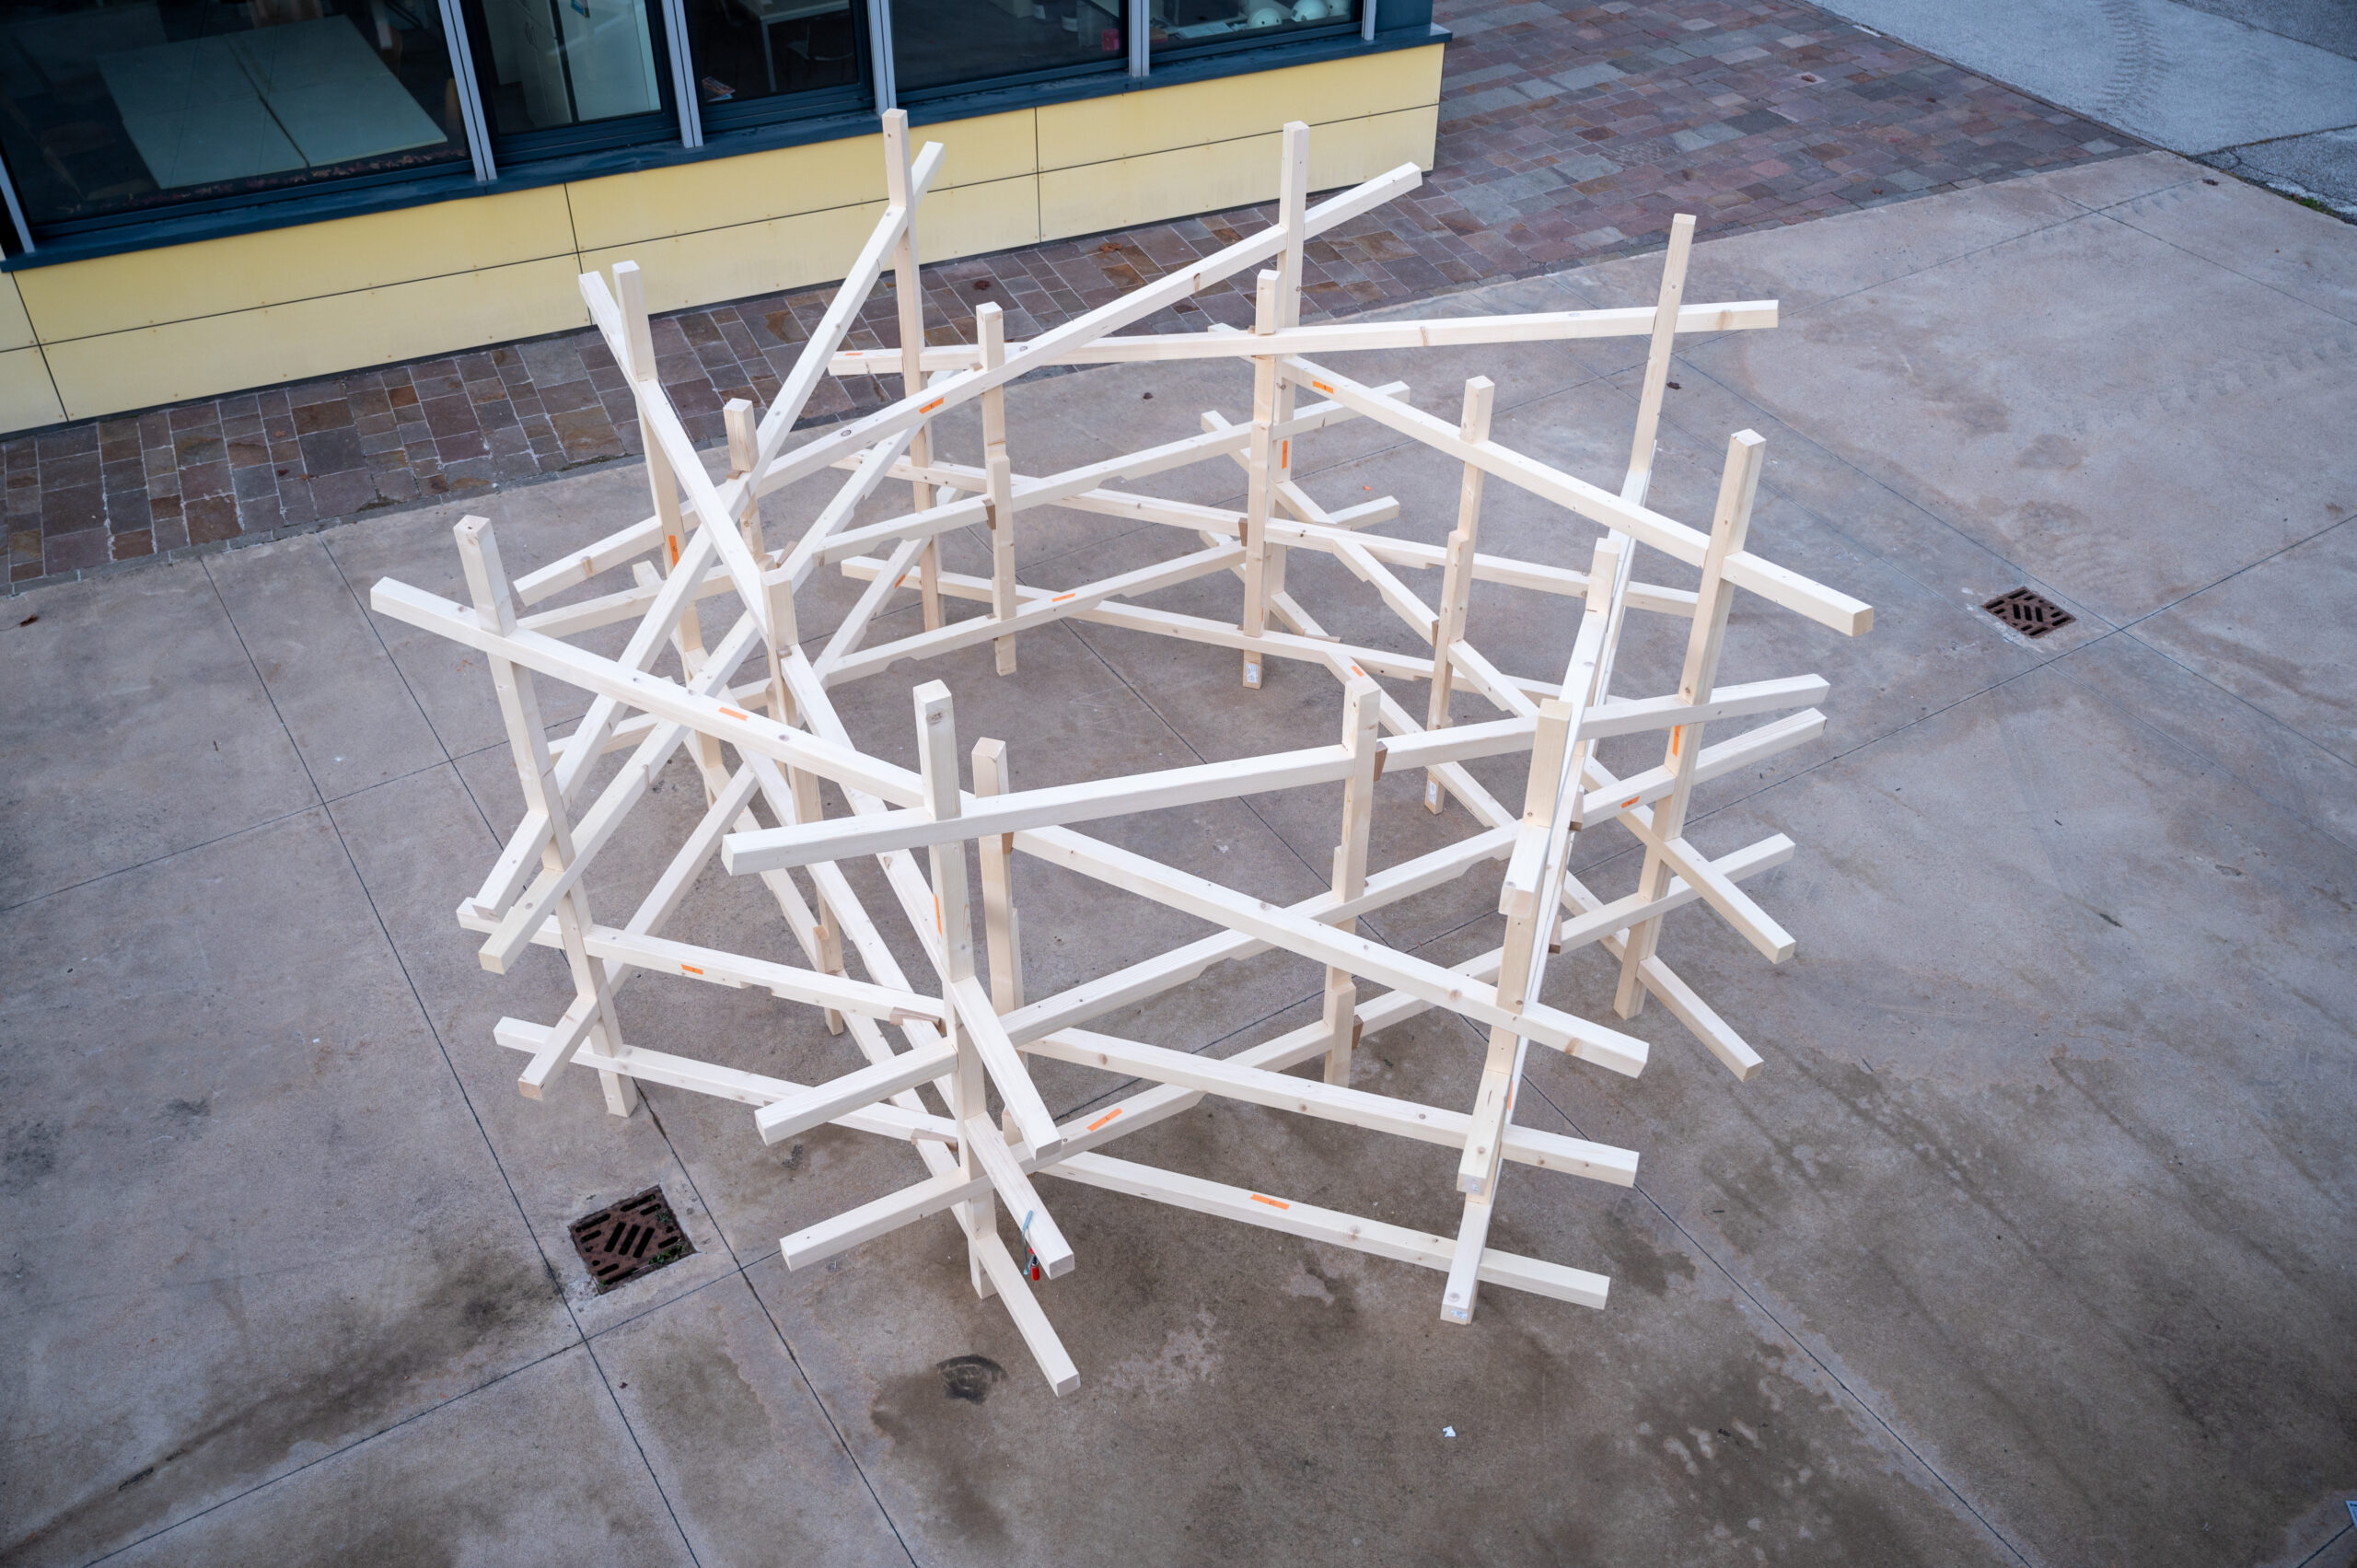
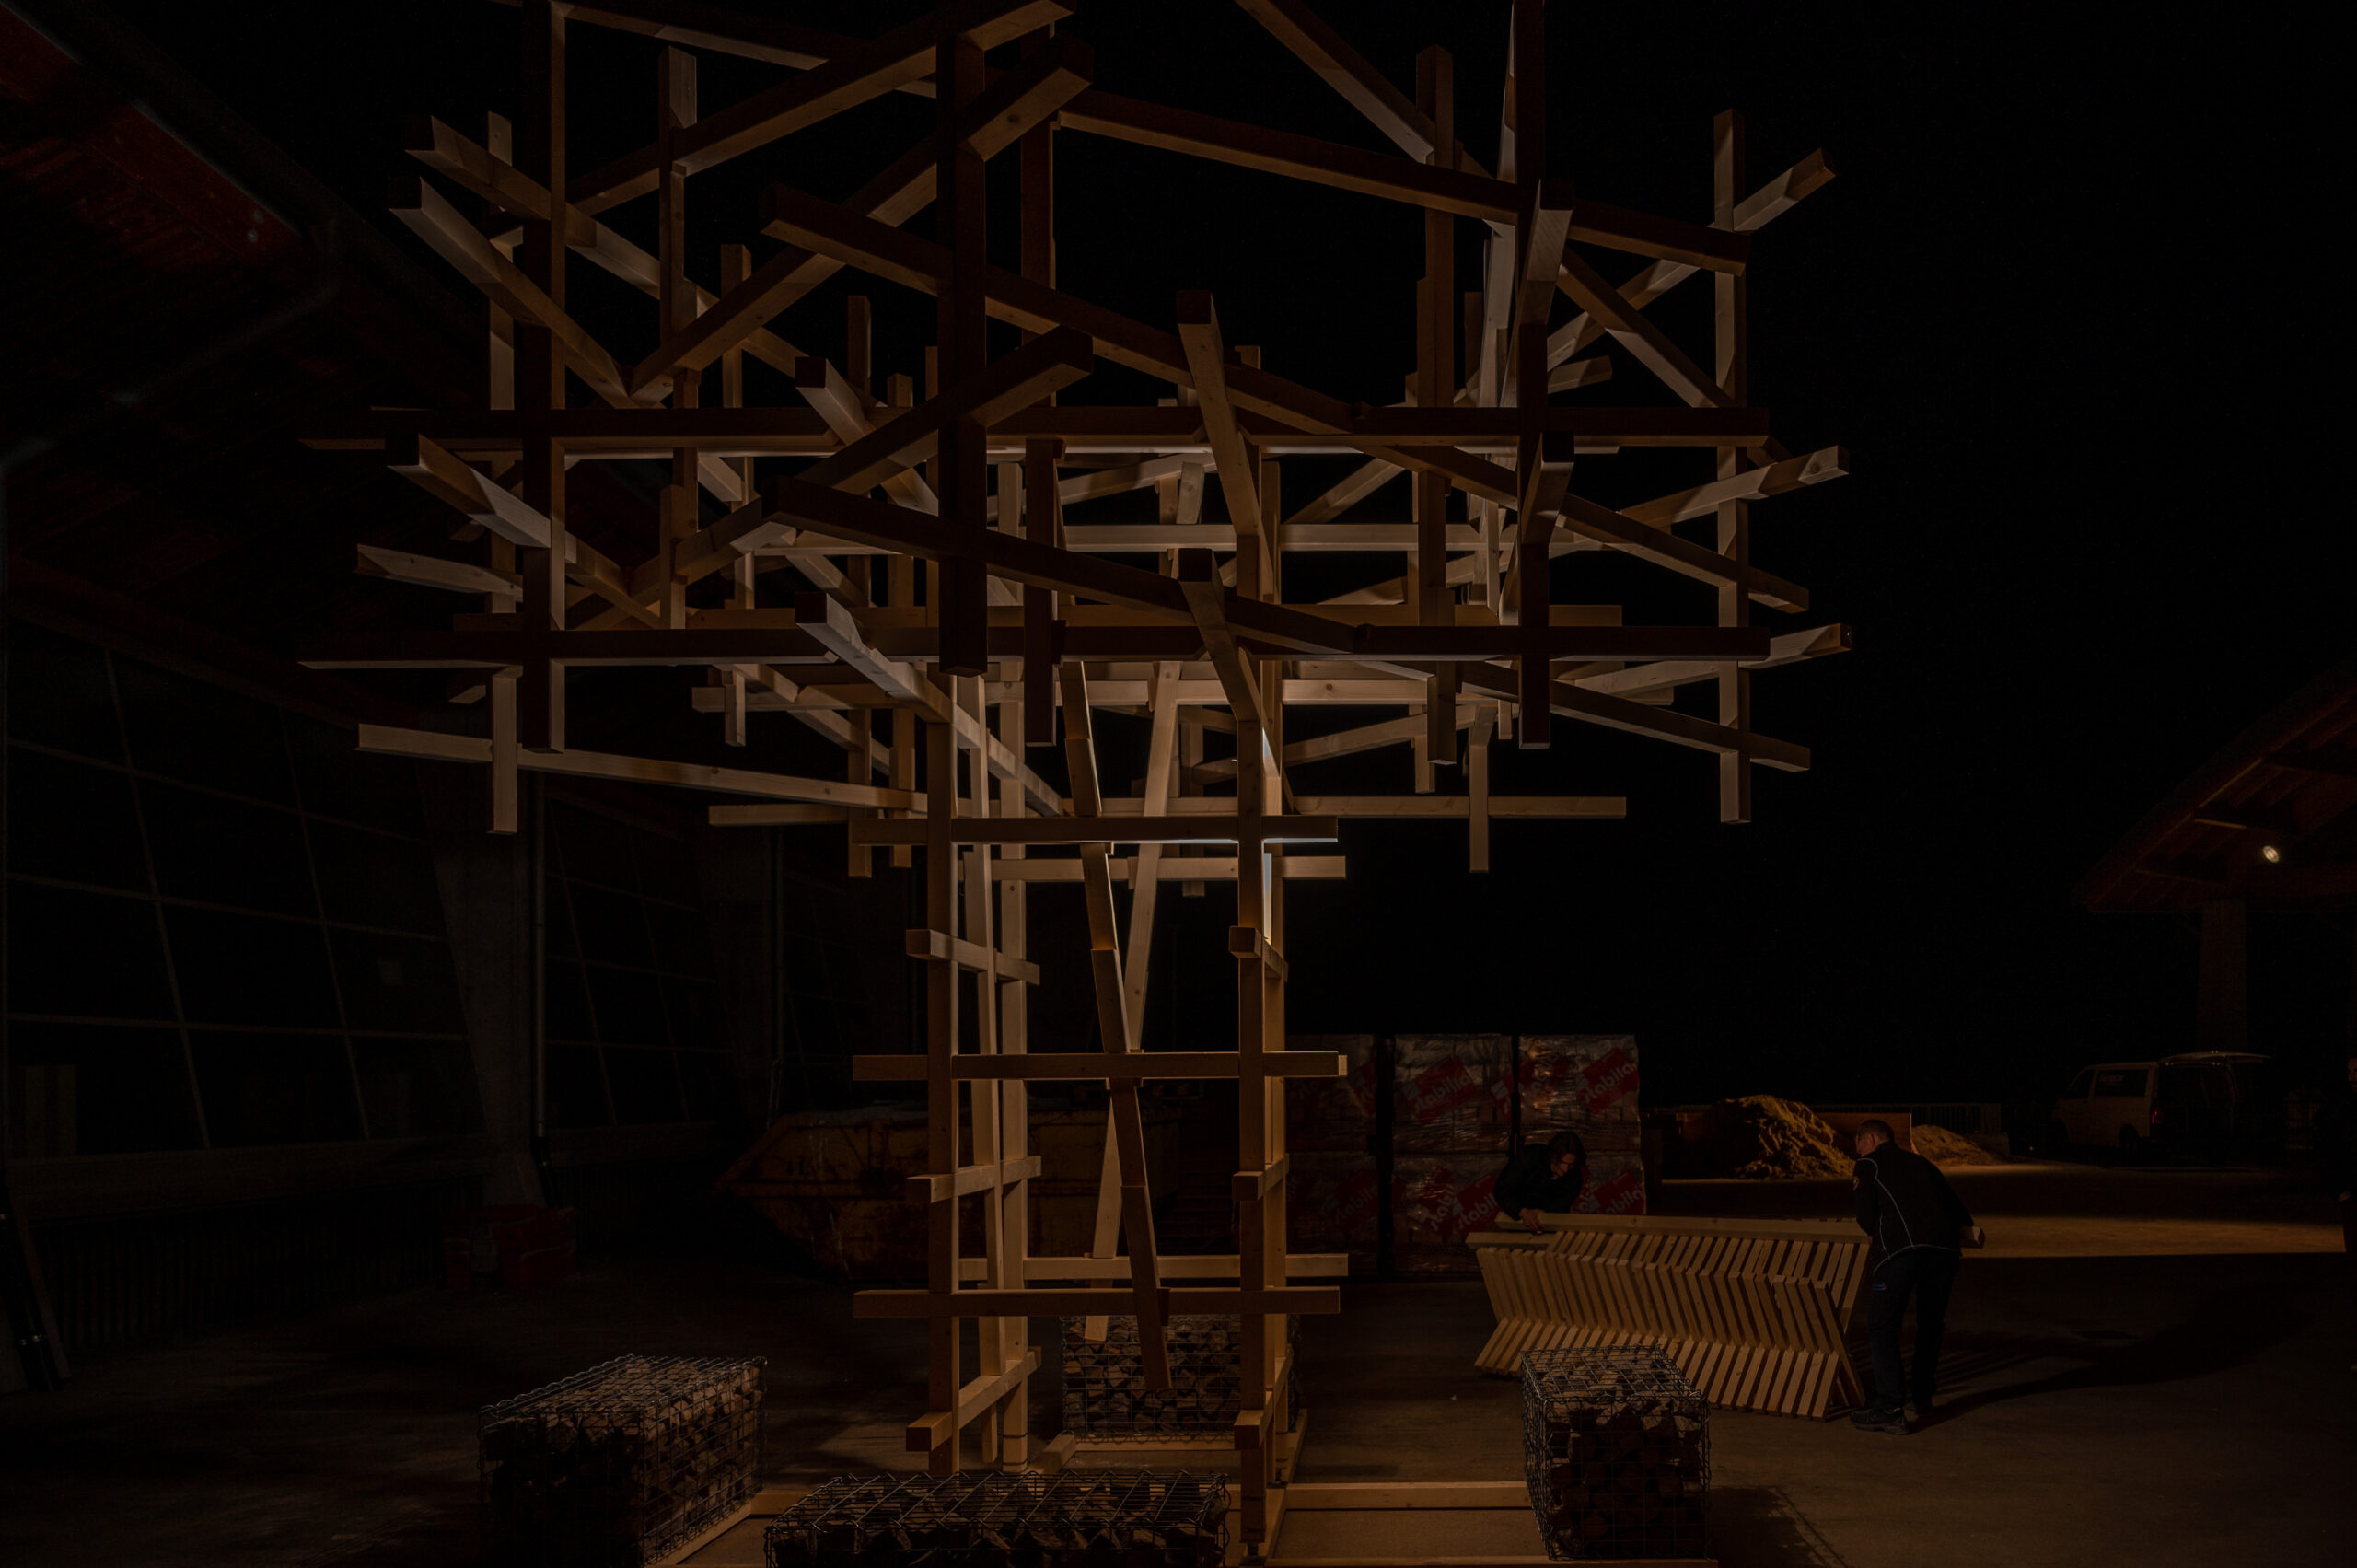
Structural truss 1:200 500 x 40 x 35mm
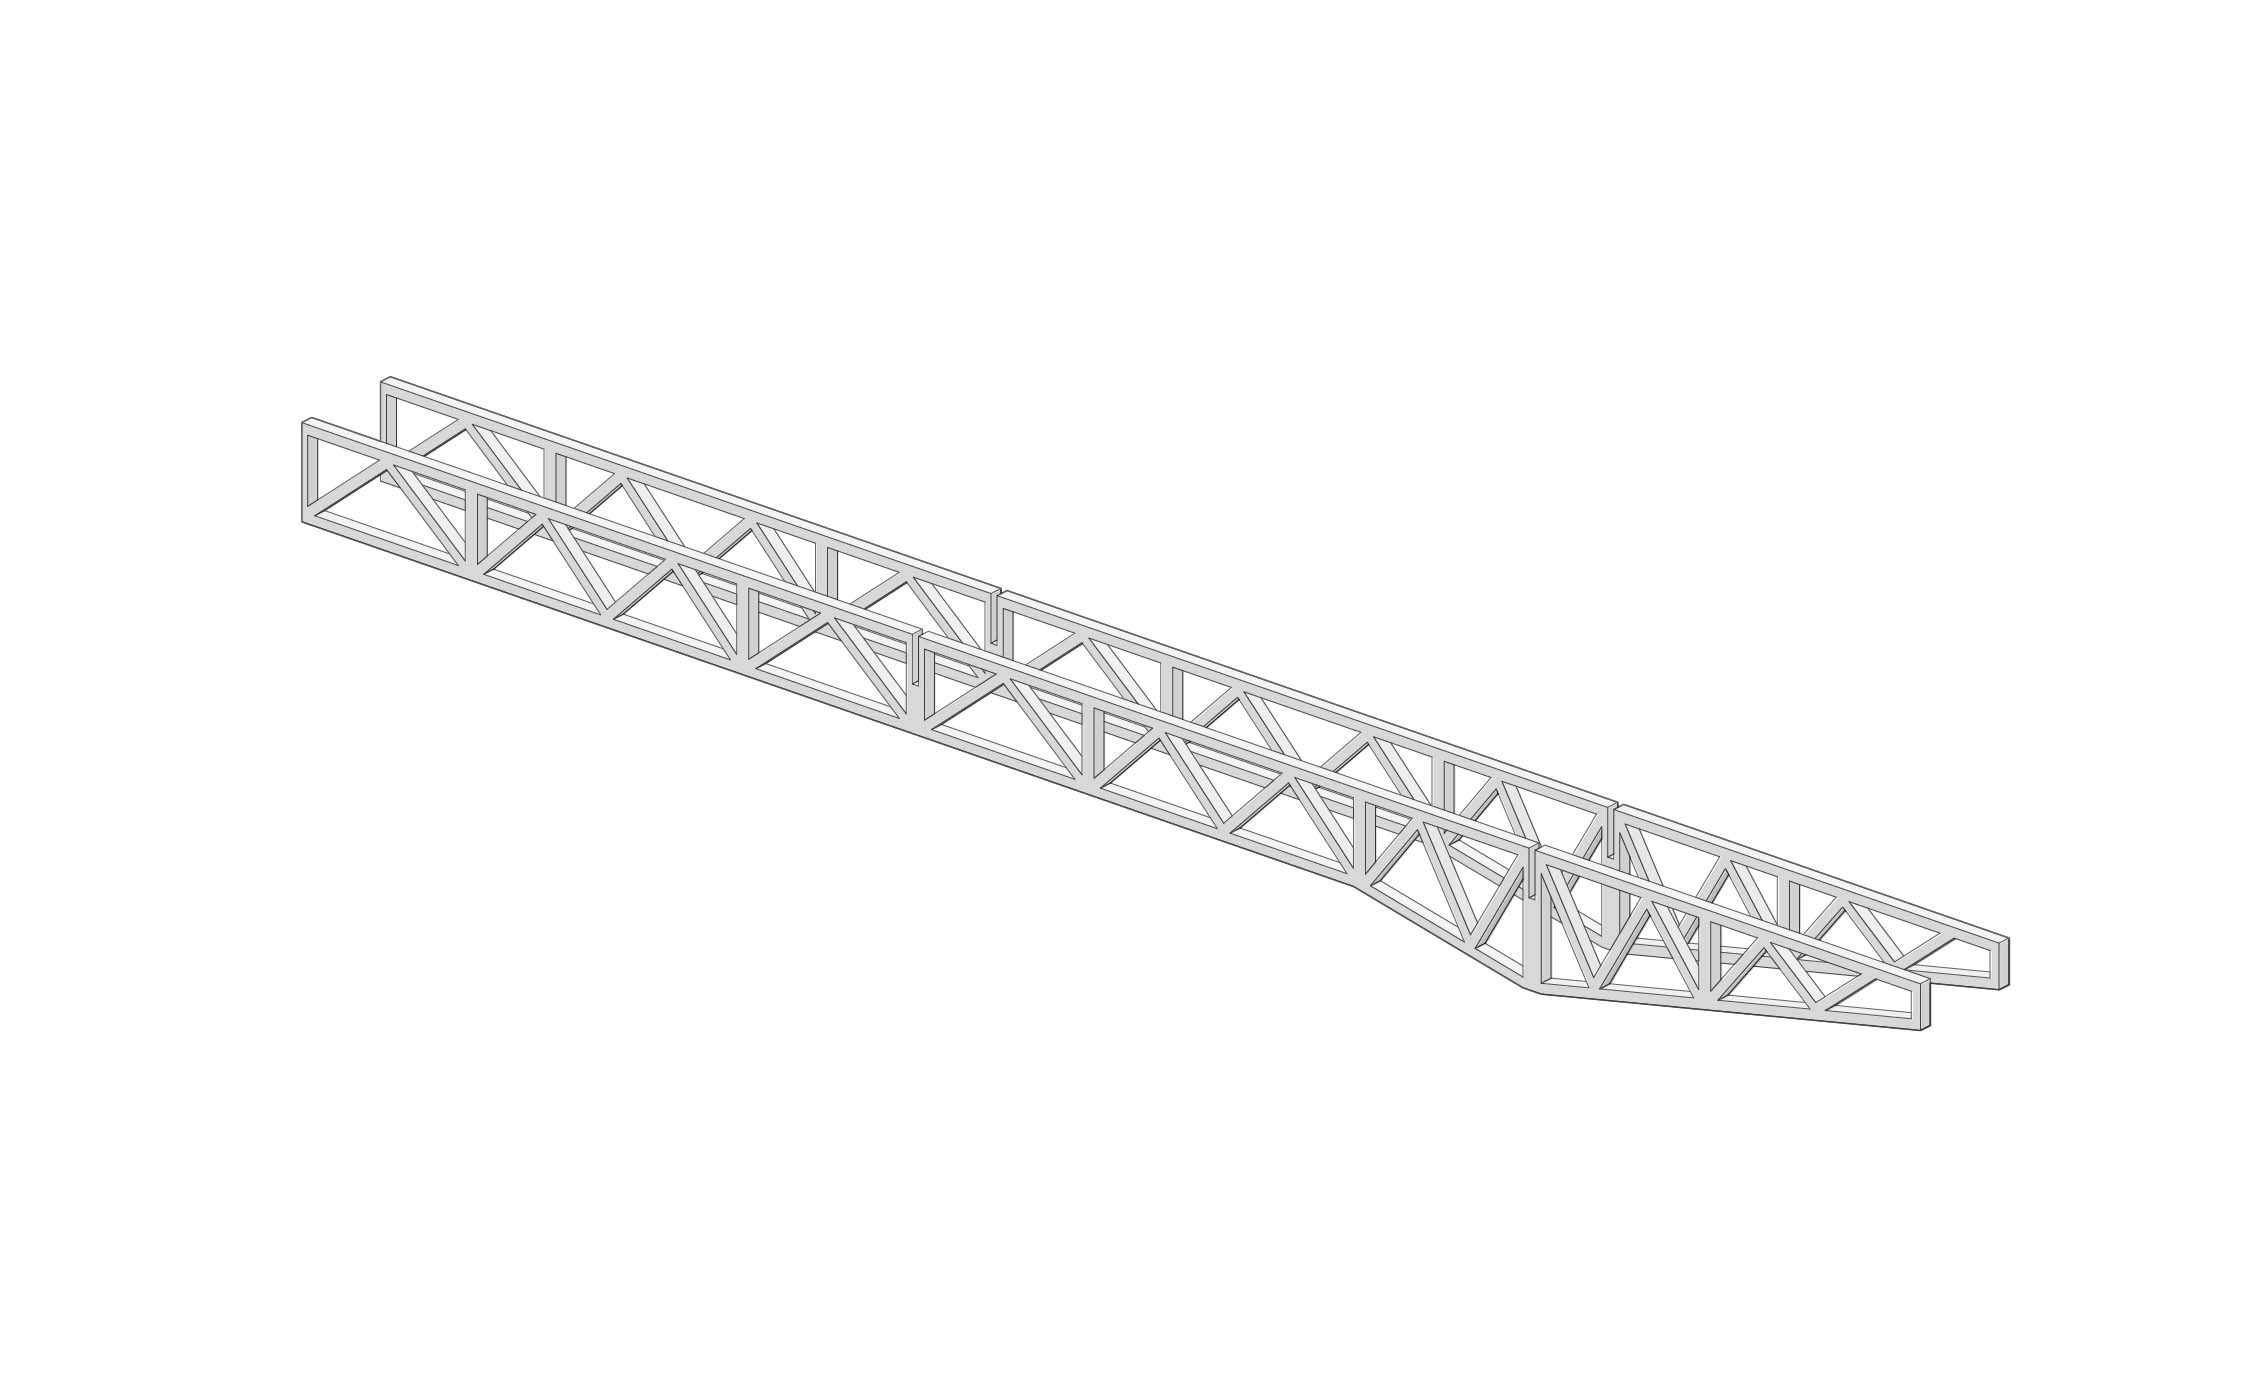
FDM printer ★★
- Structure not too suitable for FDM printing as the profiles are rather thin. Would work for SLS or SLA but would be very expensive to produce at this scale.
- Too large to fit on the 3d printers at the Raplab
- As these parts could easily be produced on a digital cutter there is no reason to print these
Zund Cutter ★★
- Would maybe struggle a bit with the small details
- Would slightly overcut in the corners making them very weak
Laser Cutter ★★★★★
- The laser would have no problem replicating something with these intricacies
- There would be some assembly required
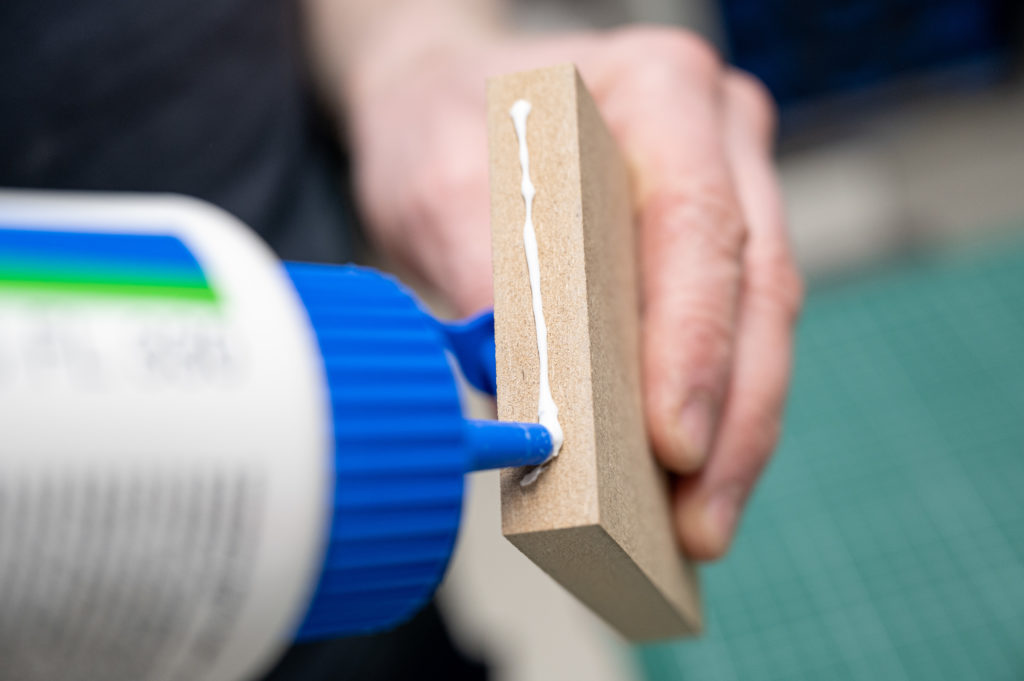
Manual method ★★ (wooden sticks)
- Would take a lot of time and effort to produce something rather fragile.


